Refinishing + Adding Hardwood Flooring
We are a few weeks away from our 1 year anniversary in our new house and we have just wrapped up our biggest project to date – adding and refinishing the hardwood hickory floors. Although we do plan to continue hardwoods upstairs, we opted to focus on the main floor/staircase this year.
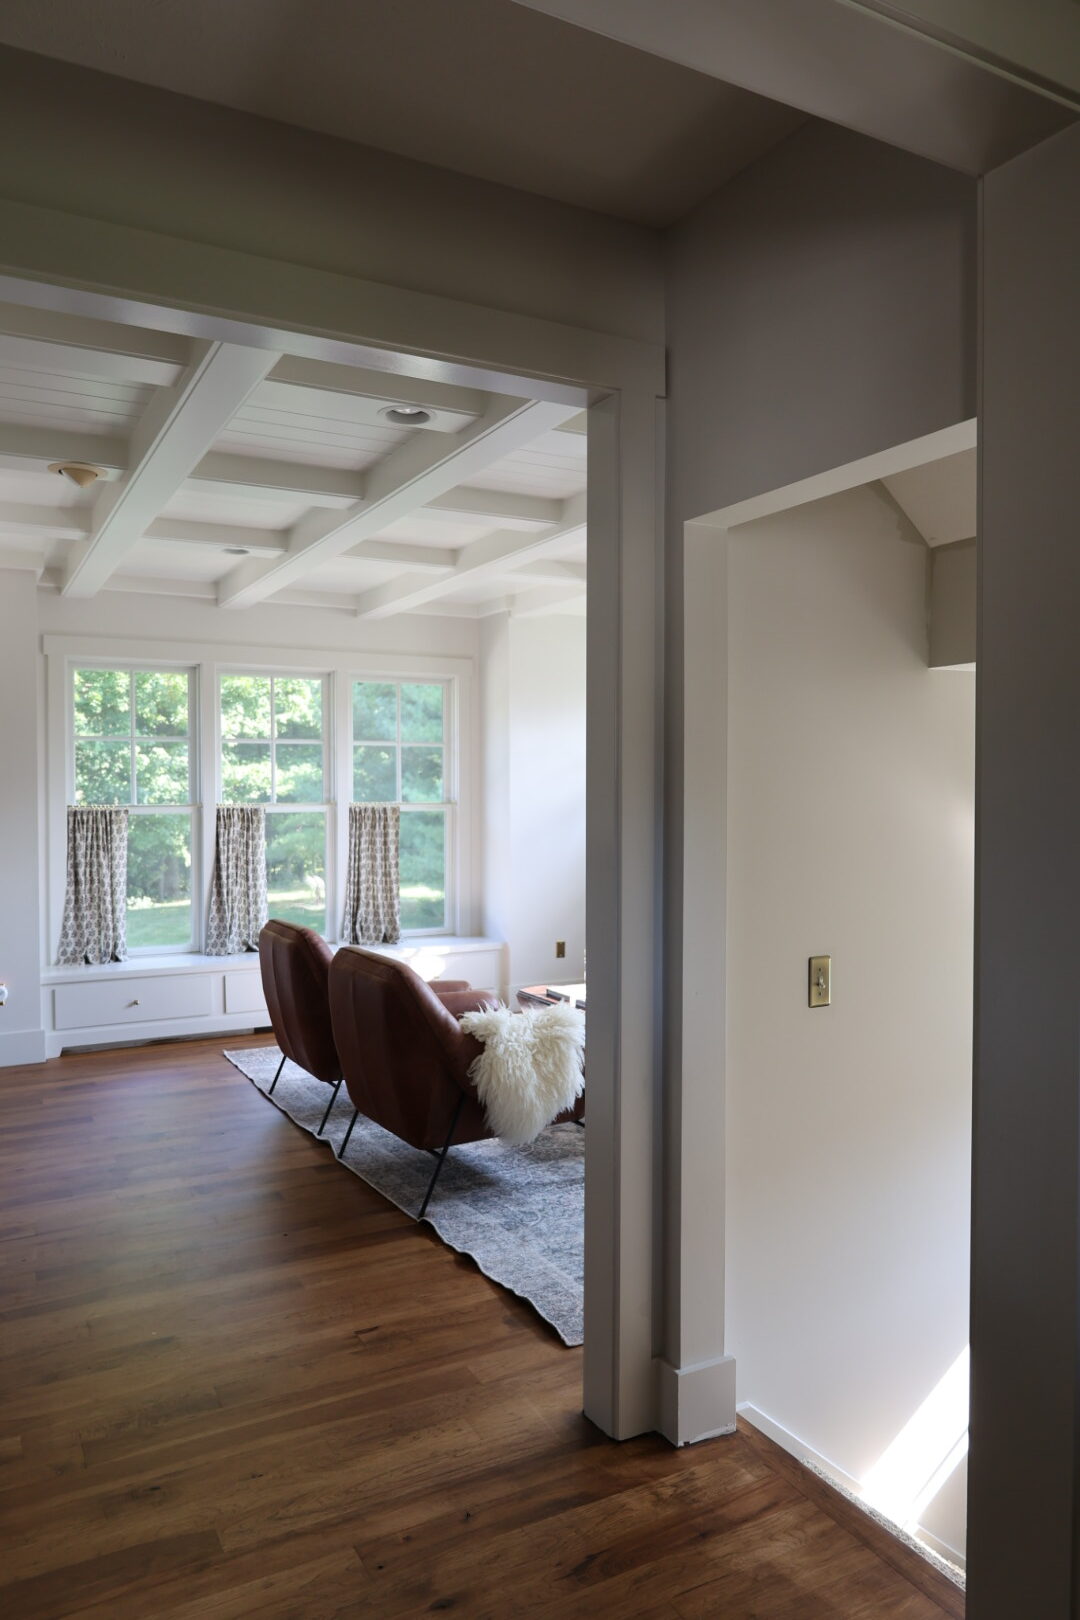
The main floor was 70% Natural Hickory floor and the living room, office, and staircase were carpeted. From a design perspective when you transiton flooring in an open area it visually makes things appear smaller and more closed in. The great thing about our home is that it was built beautifully but it was at the age where things were ready to be replaced. The carpet was one of them so I didn’t feel bad about removing it. The same is true about the Hickory flooring, it was at the age of needing to be refinished anyways. Real wood floors do require refinishing every 10 (ish) years depending on your household activity. With three boys and Maverick (our Bernese) it had quickly declined in 8 months.
We found an amazing contractor that specializes in hardwood flooring to tie in to our existing wood floors. He did such an amazing job. If you didn’t know that carpet had been there – you would never know the difference from new to old. They were meticulous, hardworking, friendly, and dedicated to making the finished project perfect.
We had wooden thresholds on each side of the fireplace that served as an ending of the hardwood and beginning of the carpeted area. We opted to leave those there for a few different reasons. 1. I loved the little added character of having a horizontal board where the rest of the flooring was vertical. 2. To save money. He would need to remove some of the existing flooring in order to organically tie in the new flooring. The labor was a few extra day if all went well and more if it didn’t go well. I wasn’t willing to commit to that doubt or the extra cost.
The Hickory flooring and installation labor (unfinished) was $8,000. To refinish the flooring it would have been an additional $7,000 – 8,000. We of course decided to save the money and got to work. Now, I would be lying if I didn’t tell you that half way into this decision I wasn’t regretting it. I actually was ready to throw in the towel and call them back to come and finish exerting so we didn’t have to. I was working 20-30 hours a week, Jordan works full time, and the kids were home for the Summer during all of this. It was a lot to say the least.
Refinishing step by step:
Step 1 – Sanding
We got to work sanding the existing floor to remove all the factory finish. We rented a large stand behind drum sander and an edging sander. This really didn’t get in the corners or around the little “feet” of our kitchen cabinetry. We ended up purchasing a few other tools to get the job done. With the rentals and Sand paper we spend about $1,500. We ate through a TON of the 20 grit sandpaper (the most expensive at $12 a sheet) because the factory finish was so hard to remove. We sanded at a 40 degree angle to remove the bevel of the existing wood floor. We went from 20 grit paper down to 100 to get everything nice a smooth and ready for stain. For the new wood floor we tied in, we started with 60 and worked our way to 100. We purchased a large heavy duty shop vac with longer hose attachment in order to keep this process as dust free as possible. It really did work. The only dust we had was from the edging sander that occasionally blew the attachment off. I can only image what type of mess we would have had if we didn’t use a shop vac. We went through 9 full 60 gallon bags of saw dust! I also purchased a HEPA filter for the shop vac to be sure those extra fine particles didn’t escape – worth it!
Step 2- Staining
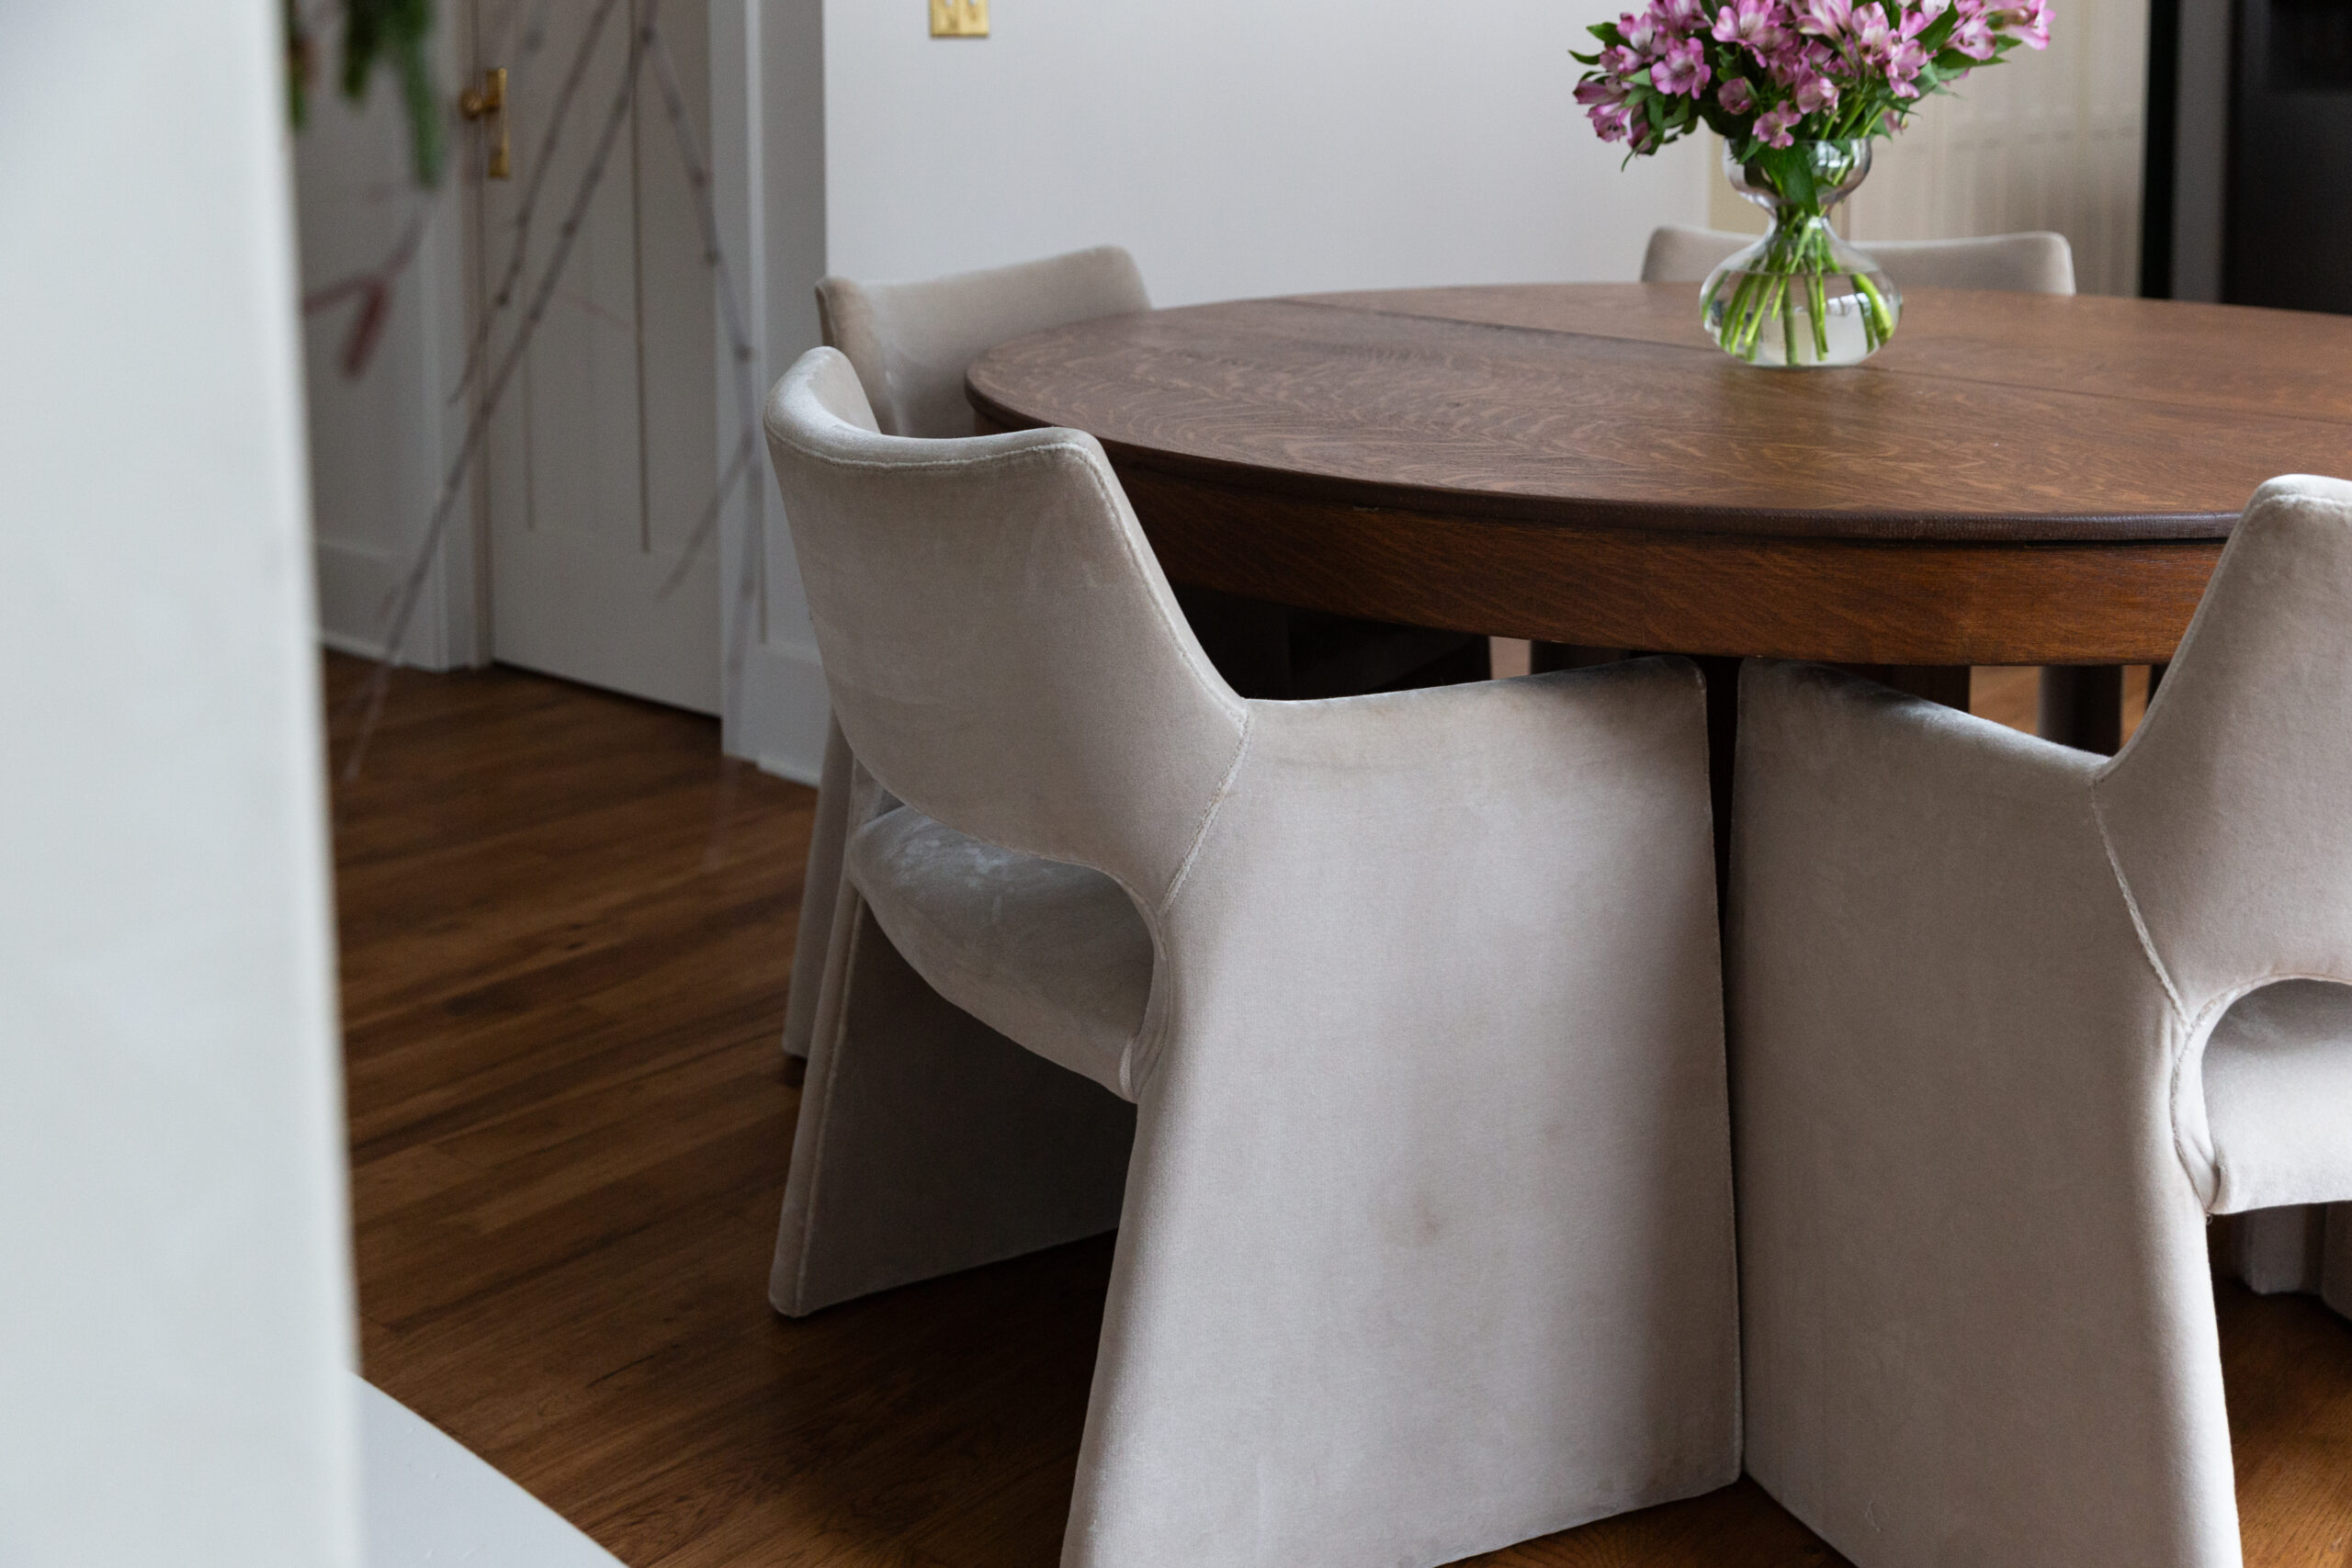
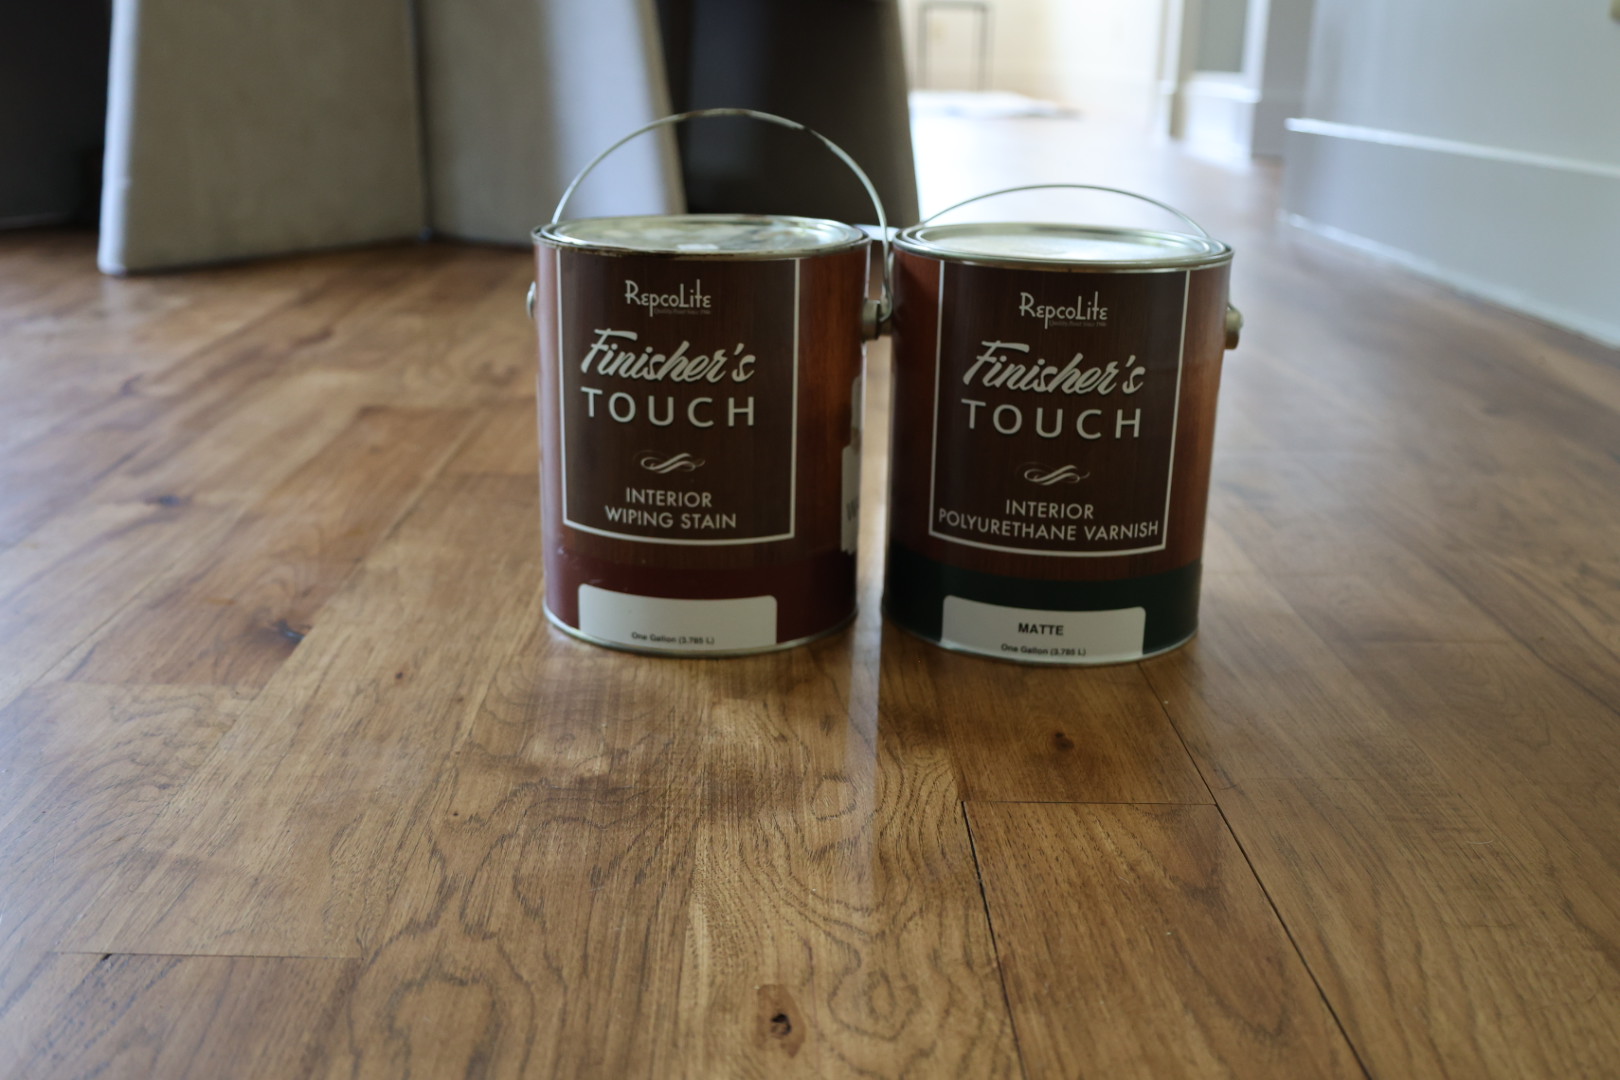
I sampled out several different stains on spare wood before opting to use Walnut by Finisher’s Touch. This is a Rich, Deep brown that gives a classic feel to our Hickory flooring. If you are not familiar with Hickory, the color varies greatly from board to board. There is a lot of movement in the natural wood. I didn’t want to minimize the movement but I didn’t want it to stick out like a sore thumb wither. Walnut was the perfect in-between. We used a wiping stain which is actually thicker than a “normal” stain. This was really helpful when it came to application because it wasn’t easily splashed around. I worked in 3×3 squares starting in the corner and working my way around the room. We did this over several nights opting to wait until Dinner time to start and then keeping all the windows in the house open and all the air doctors going for ventilation. It was STINKY!
We did have a little mishap on the first room I stained and ended up going back to step on and resending it. It is really hard to tell if the floor is perfectly sanded and since we did the 40 degree swipes to begin we thought we had evened it all out BUT WE DID’NT! It was a set back that I cried over but one we knew we needed to fix.
Step 3 -Poly
After several days of staining we were ready to poly! I opted for a Matte Poly from Finishers Touch because I didn’t want the floor to be highlighted but to be soft. We used an Oil Based product for the durability. Oil based can yellow over time but since we had used a darker stain, it really didn’t matter. We applied the poly with Brush and applied three separate layers being sure to let the poly cure for 24 hours in between coats. I also used a fine grit sandpaper to sand in-between the coats. This took us 4 days total. We Stain and Sealed x3 1250 sq feet of Floor.
Step 4 – Move In
We waited about 4 days before slowing start to bring our furniture in. It was August and HOT so the poly dried pretty quickly.
After all is said and done it was worth it. It took us probably 4x as long as it would have professionals but we did it.
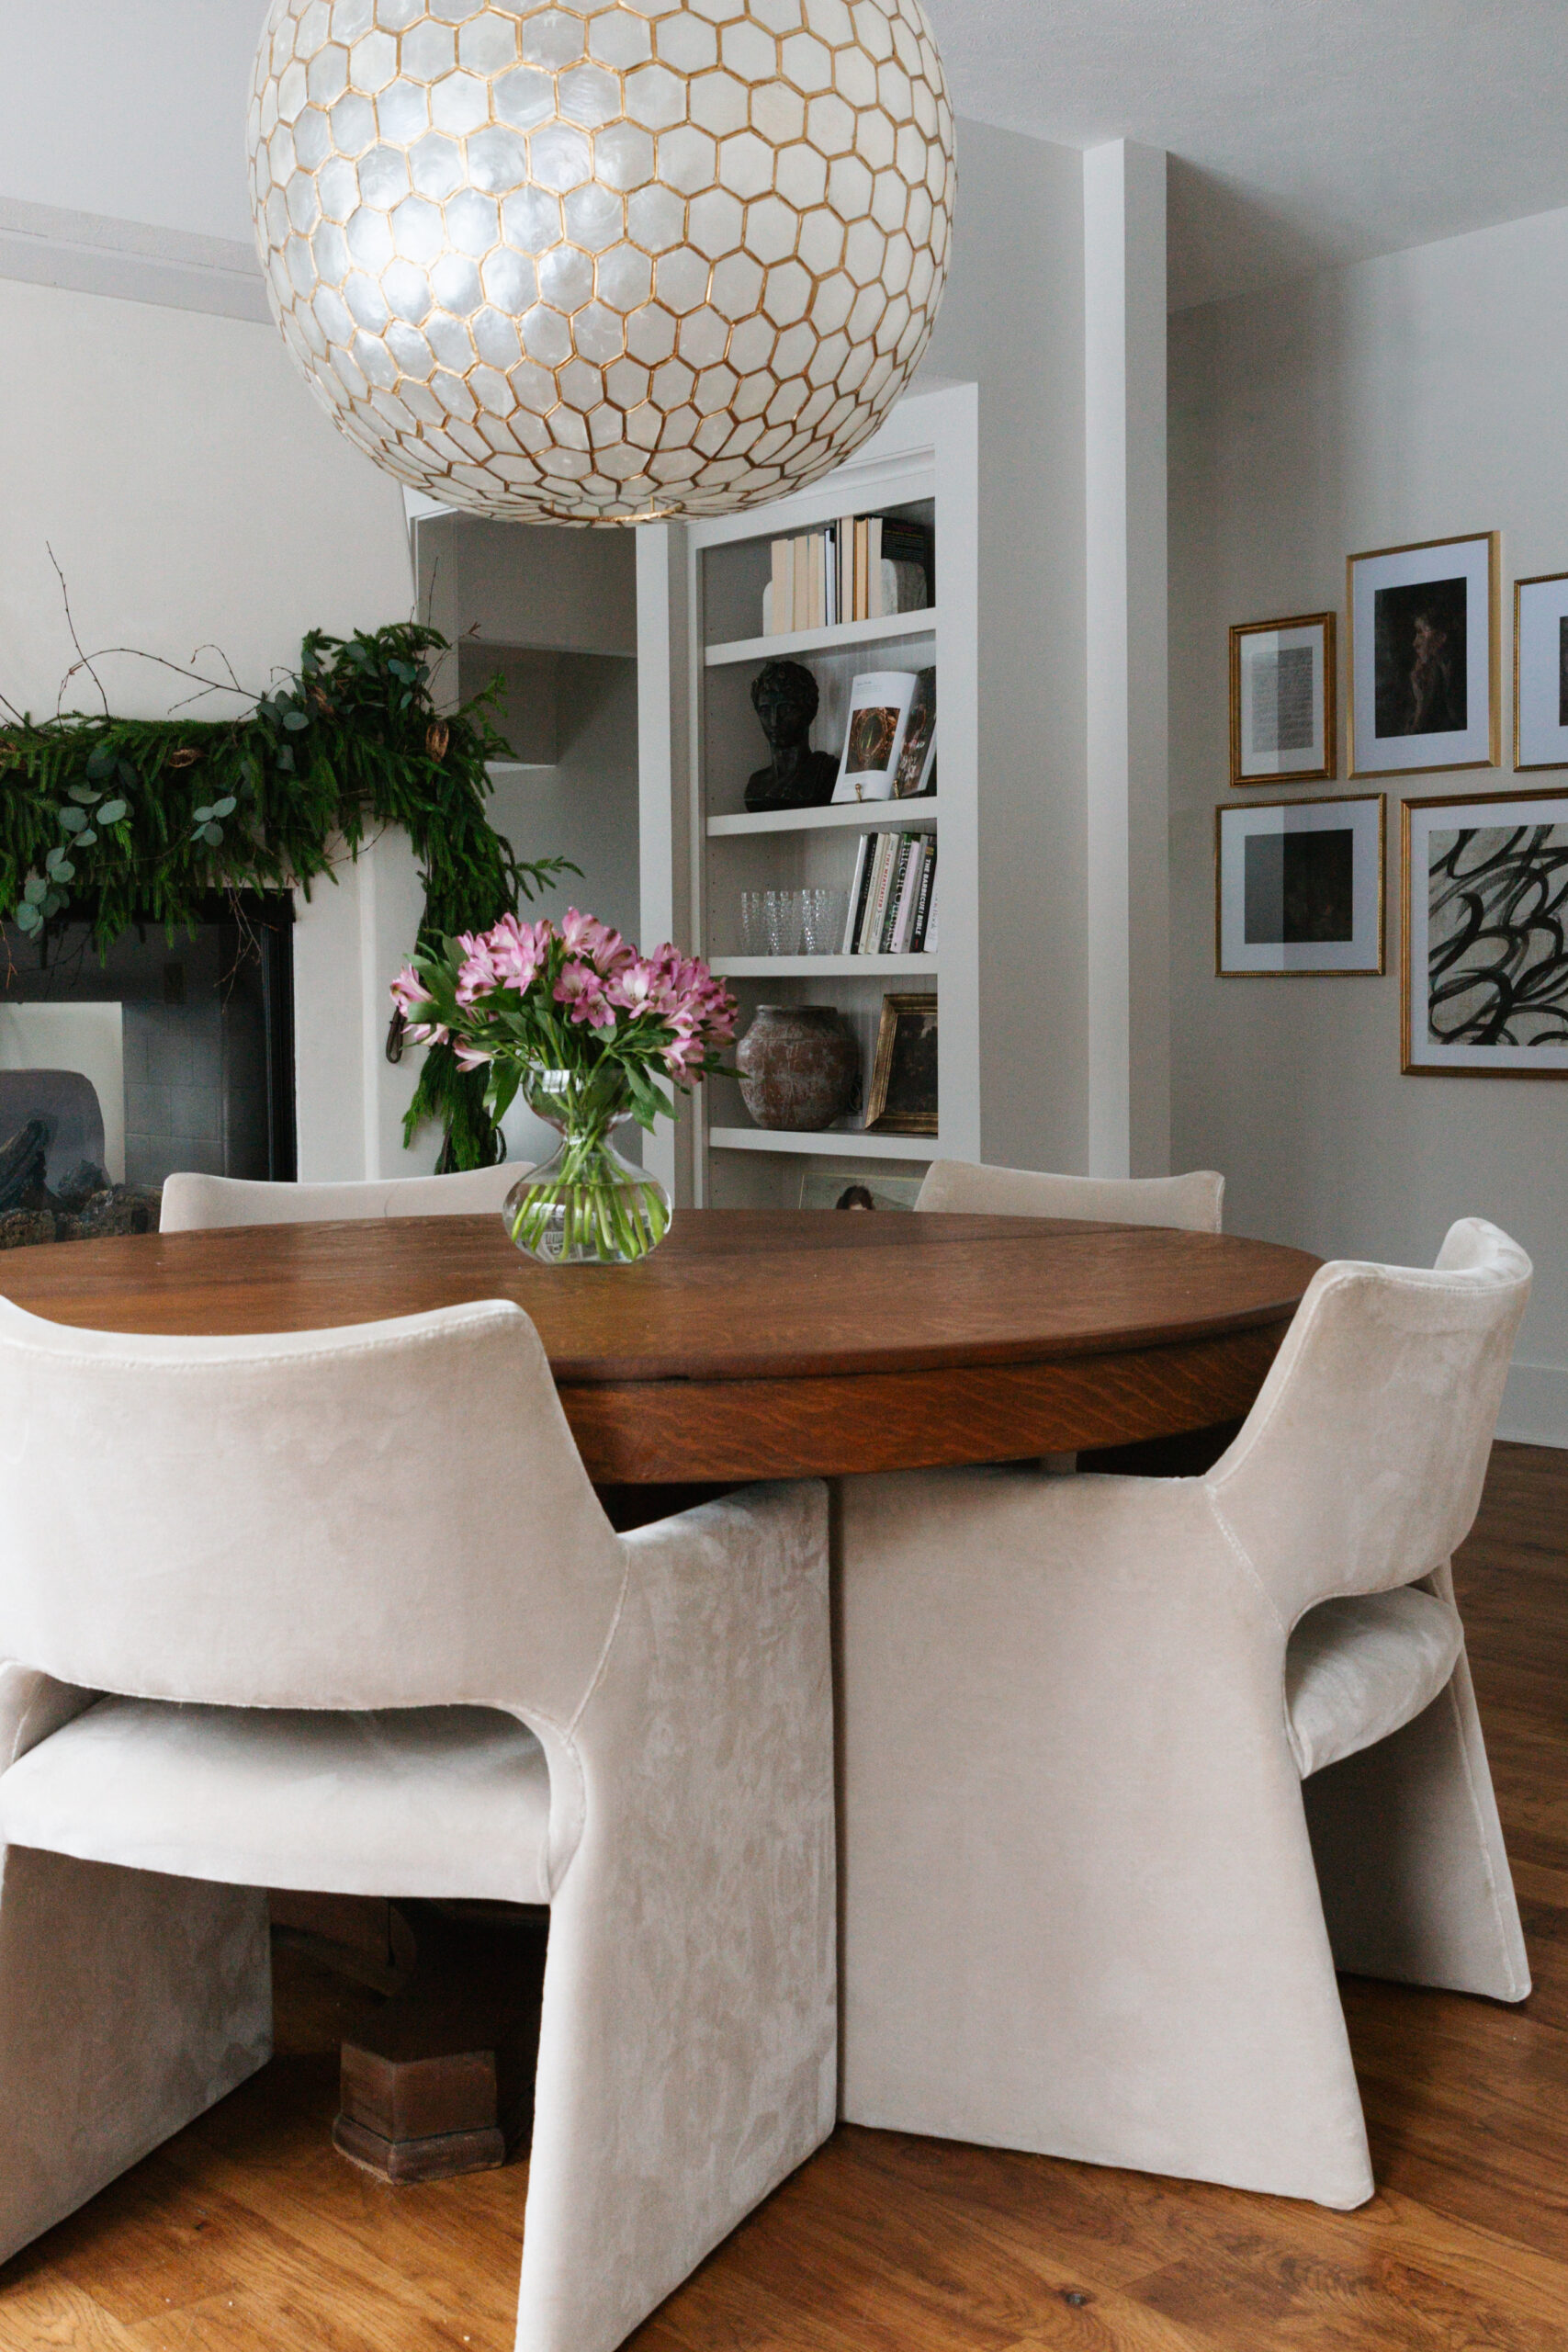
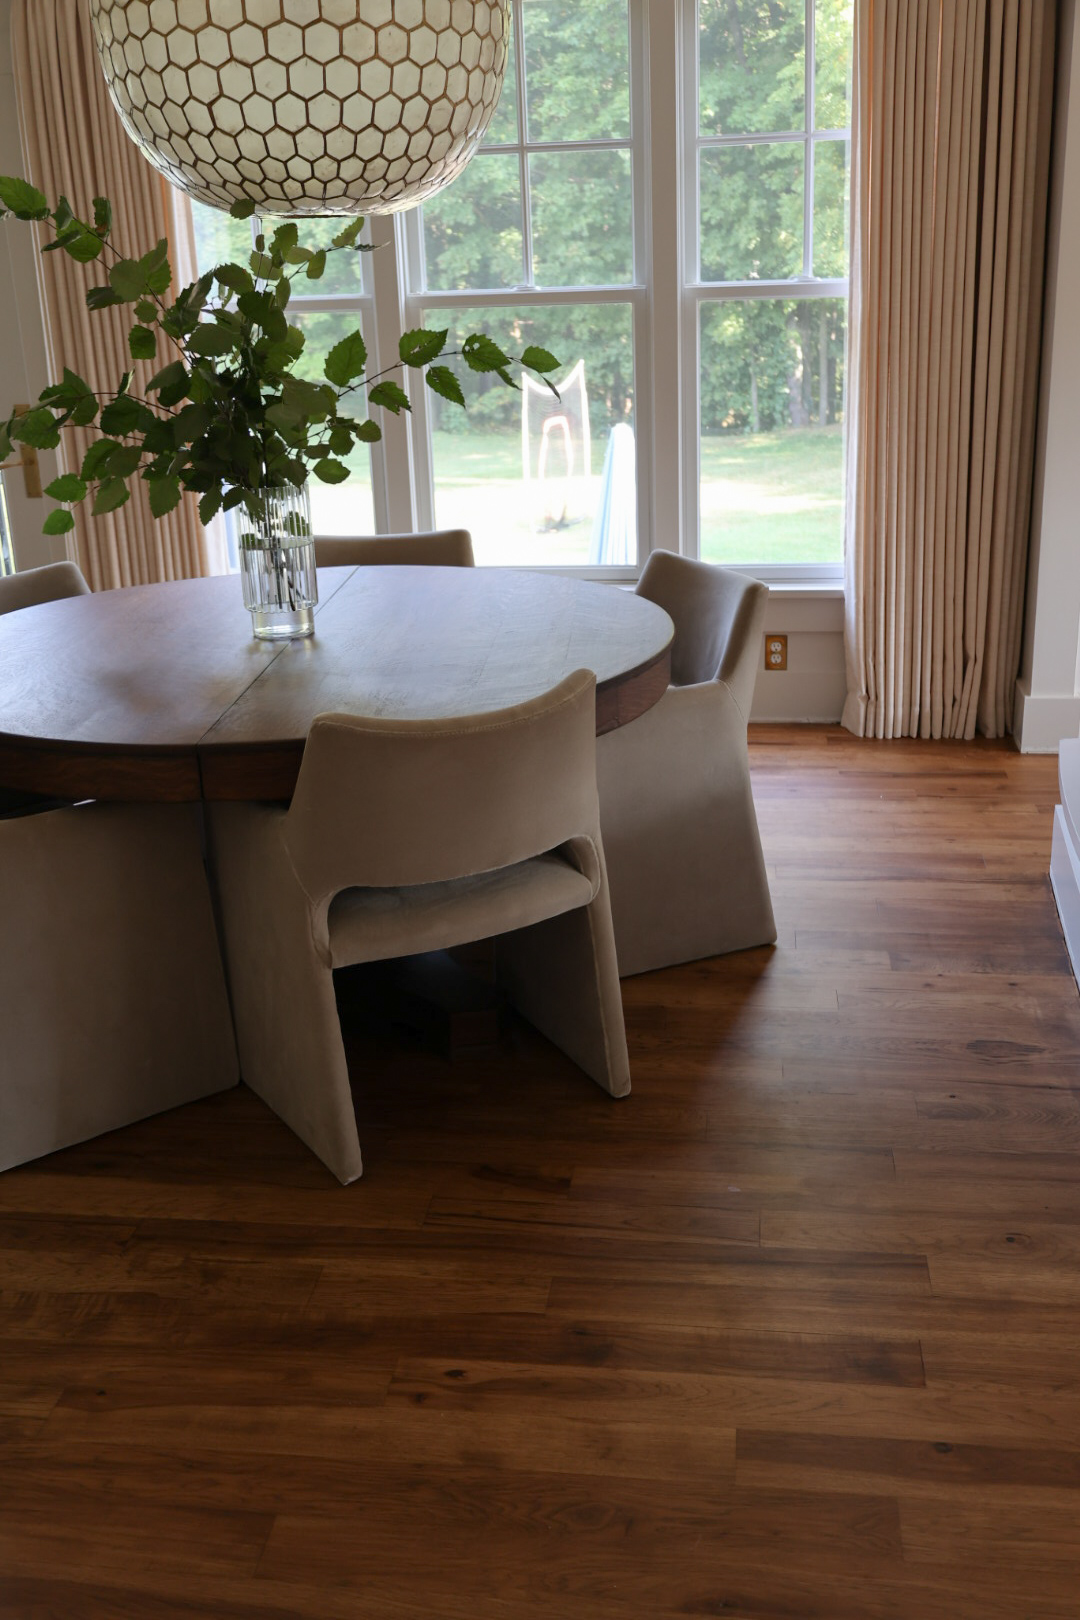
From the first time we walked into our House I knew it needed dark flooring and I am so happy with what we have accomplished.
Would you dare to refinish flooring?