
My First Deconstructed Piece
The bottom of this post has a supply list with affiliated links
I first became completely smitten with deconstructed furniture when RH released their line of NEW chairs and couches made to look old and stripped down. I just couldn’t get enough. Actually there was one chair in particular that I just had to have. This one here.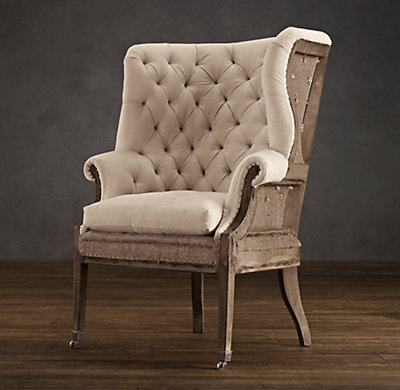 I love the curves, the tufting, and I really loved how the tufting was exposed on the backside. It’s just perfect. So I set on a mission to recreate this chair and that’s really how I got into deconstructing furniture. I’m not going to lie…It’s ALOT of work…..and you will probably bleed so have band aids near by. BUT if you’re all about seeing something frumpy and maybe a little ugly be brought back to life than it’s totally worth it!
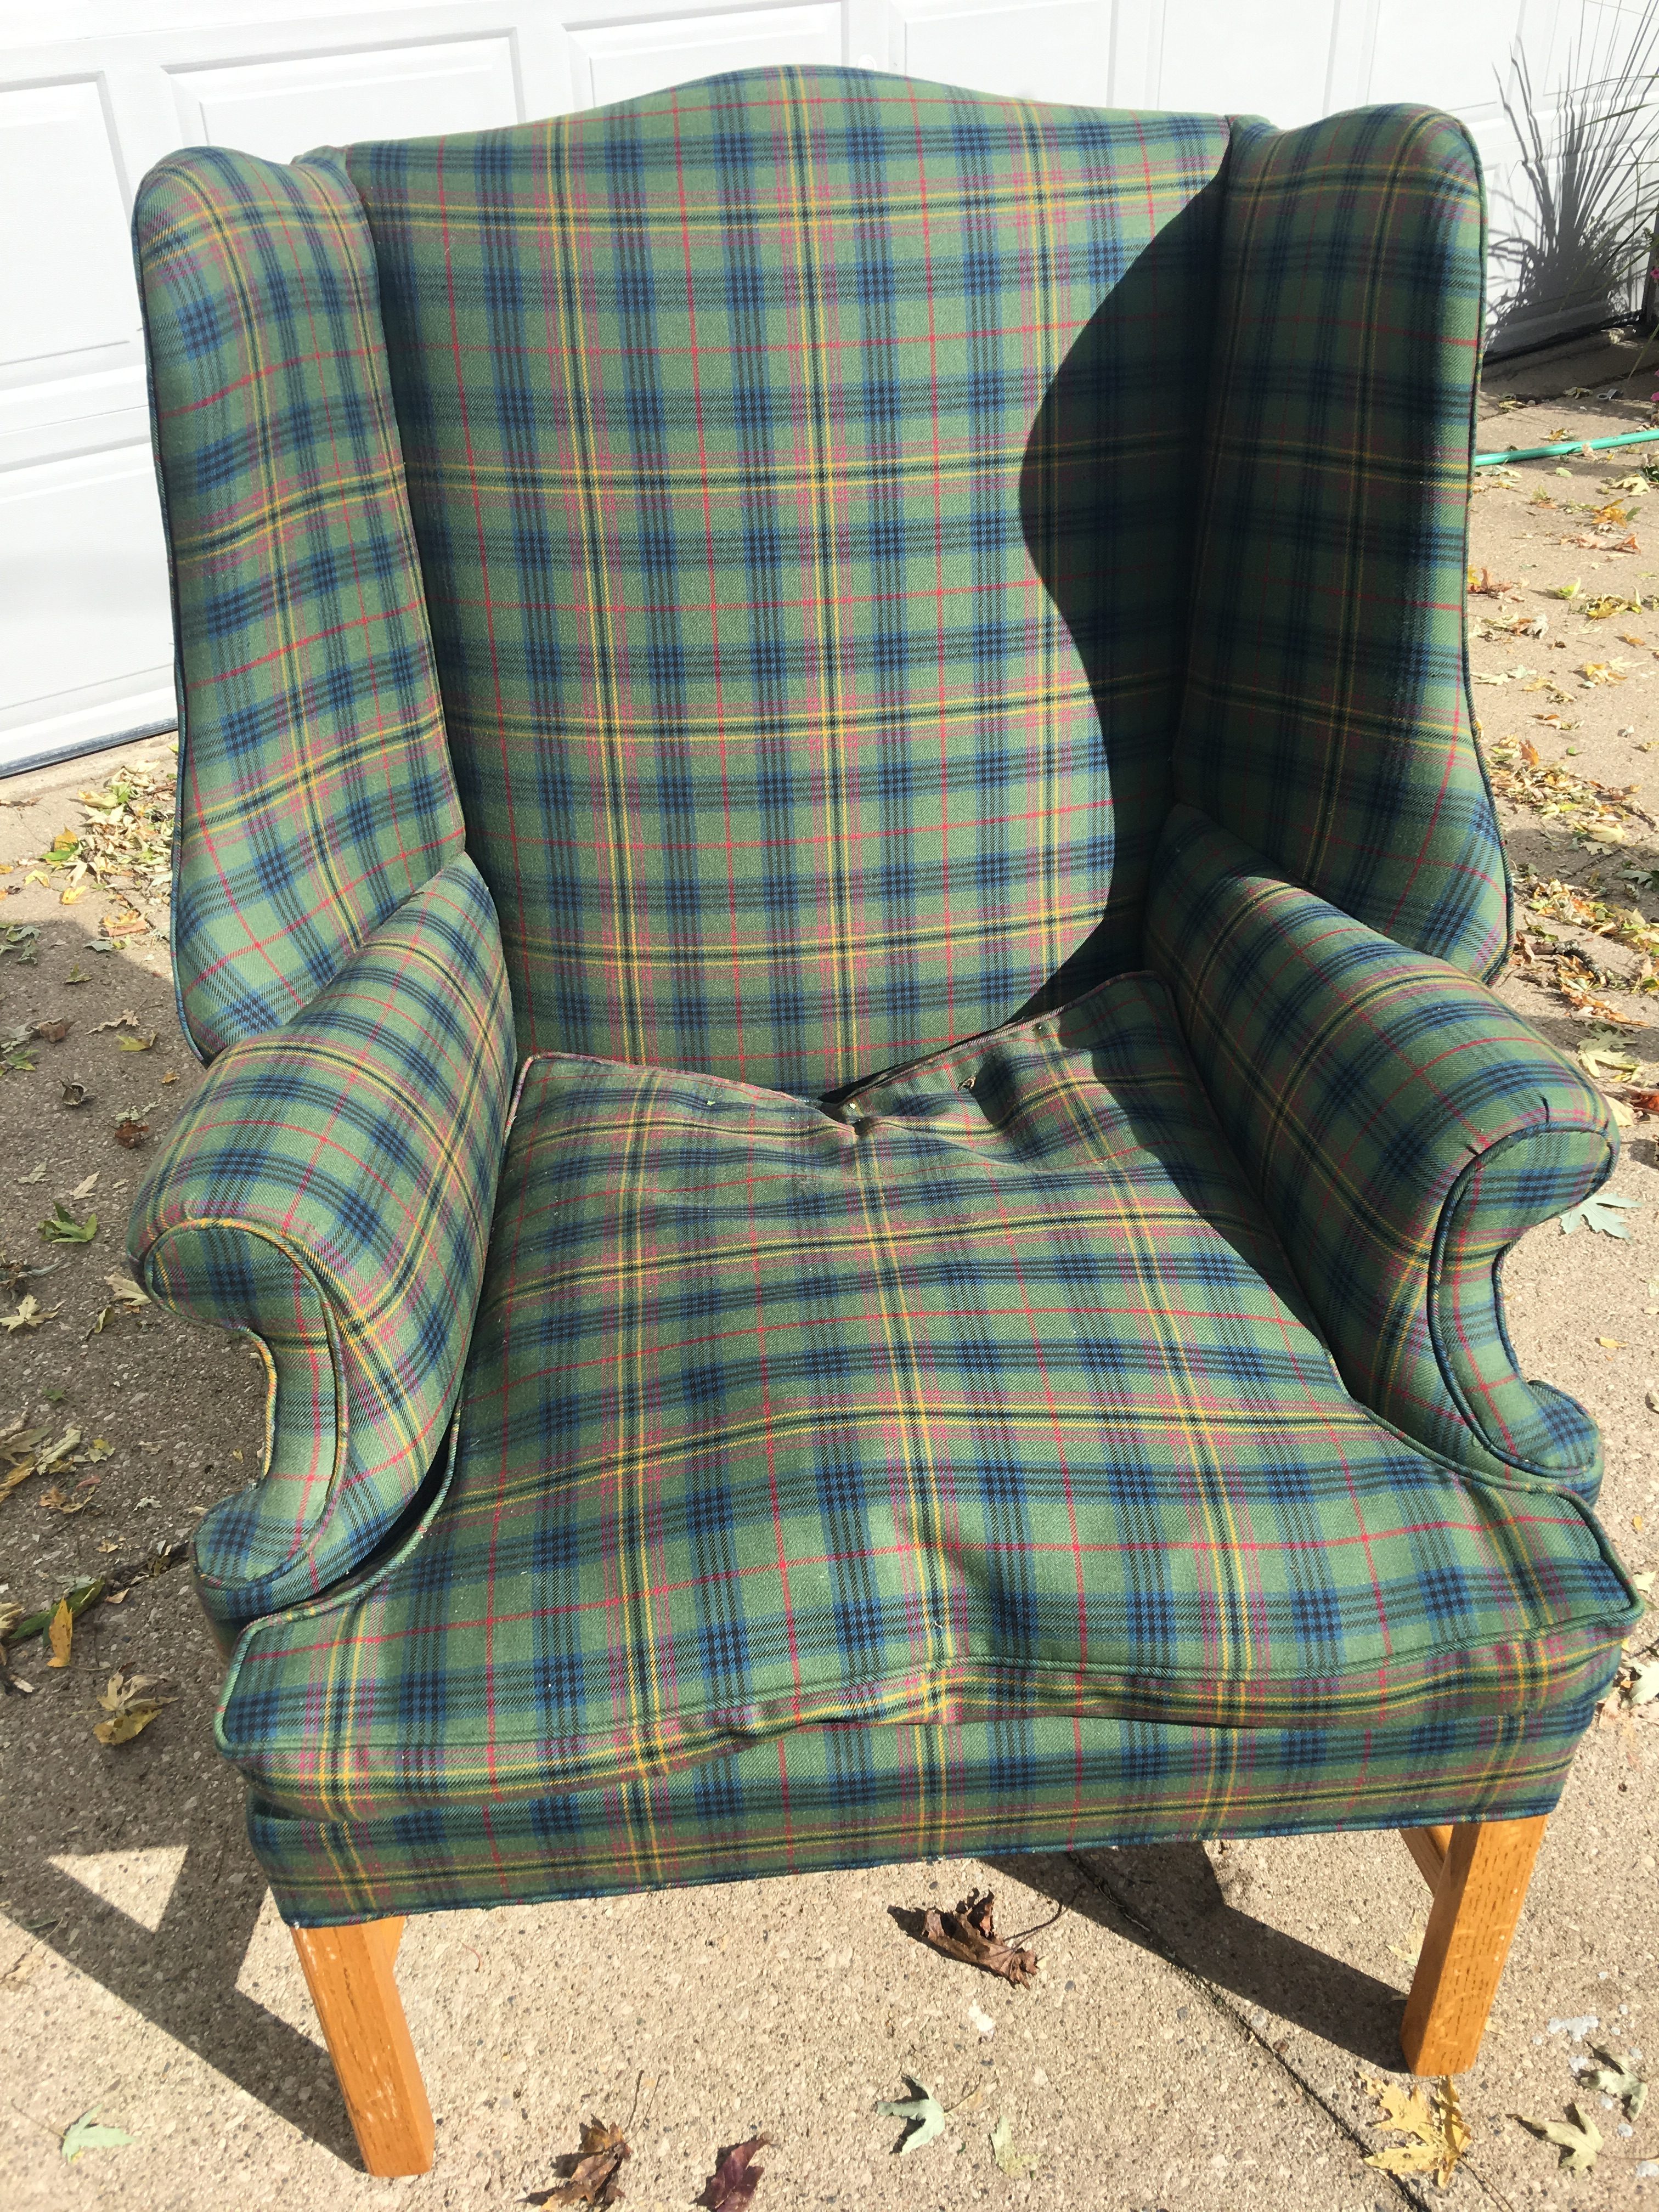 So here is my chair I found while on a weekend getaway with the hubs. See, she had good bones and the shape is similar to the chair I was trying to recreate. The cushion was feathered which is still something that I look for today when choosing a piece to deconstruct. Take note – not all furniture is equal! In my opinion after doing lots of deconstructed projects…The older the piece the better. Now. Also keep in mind that you are removing sometimes hundred year old fabric and sometimes there are smells and dust and …HAIR involved. insert barf emoji. Back in the day instead of using foam and batting, they used horse hair. EW! Its full of dust and if I get down far enough and find it, I do always replace it with foam while trying not to barf. More on that in another post. So back to my RH inspired retro beauty.
 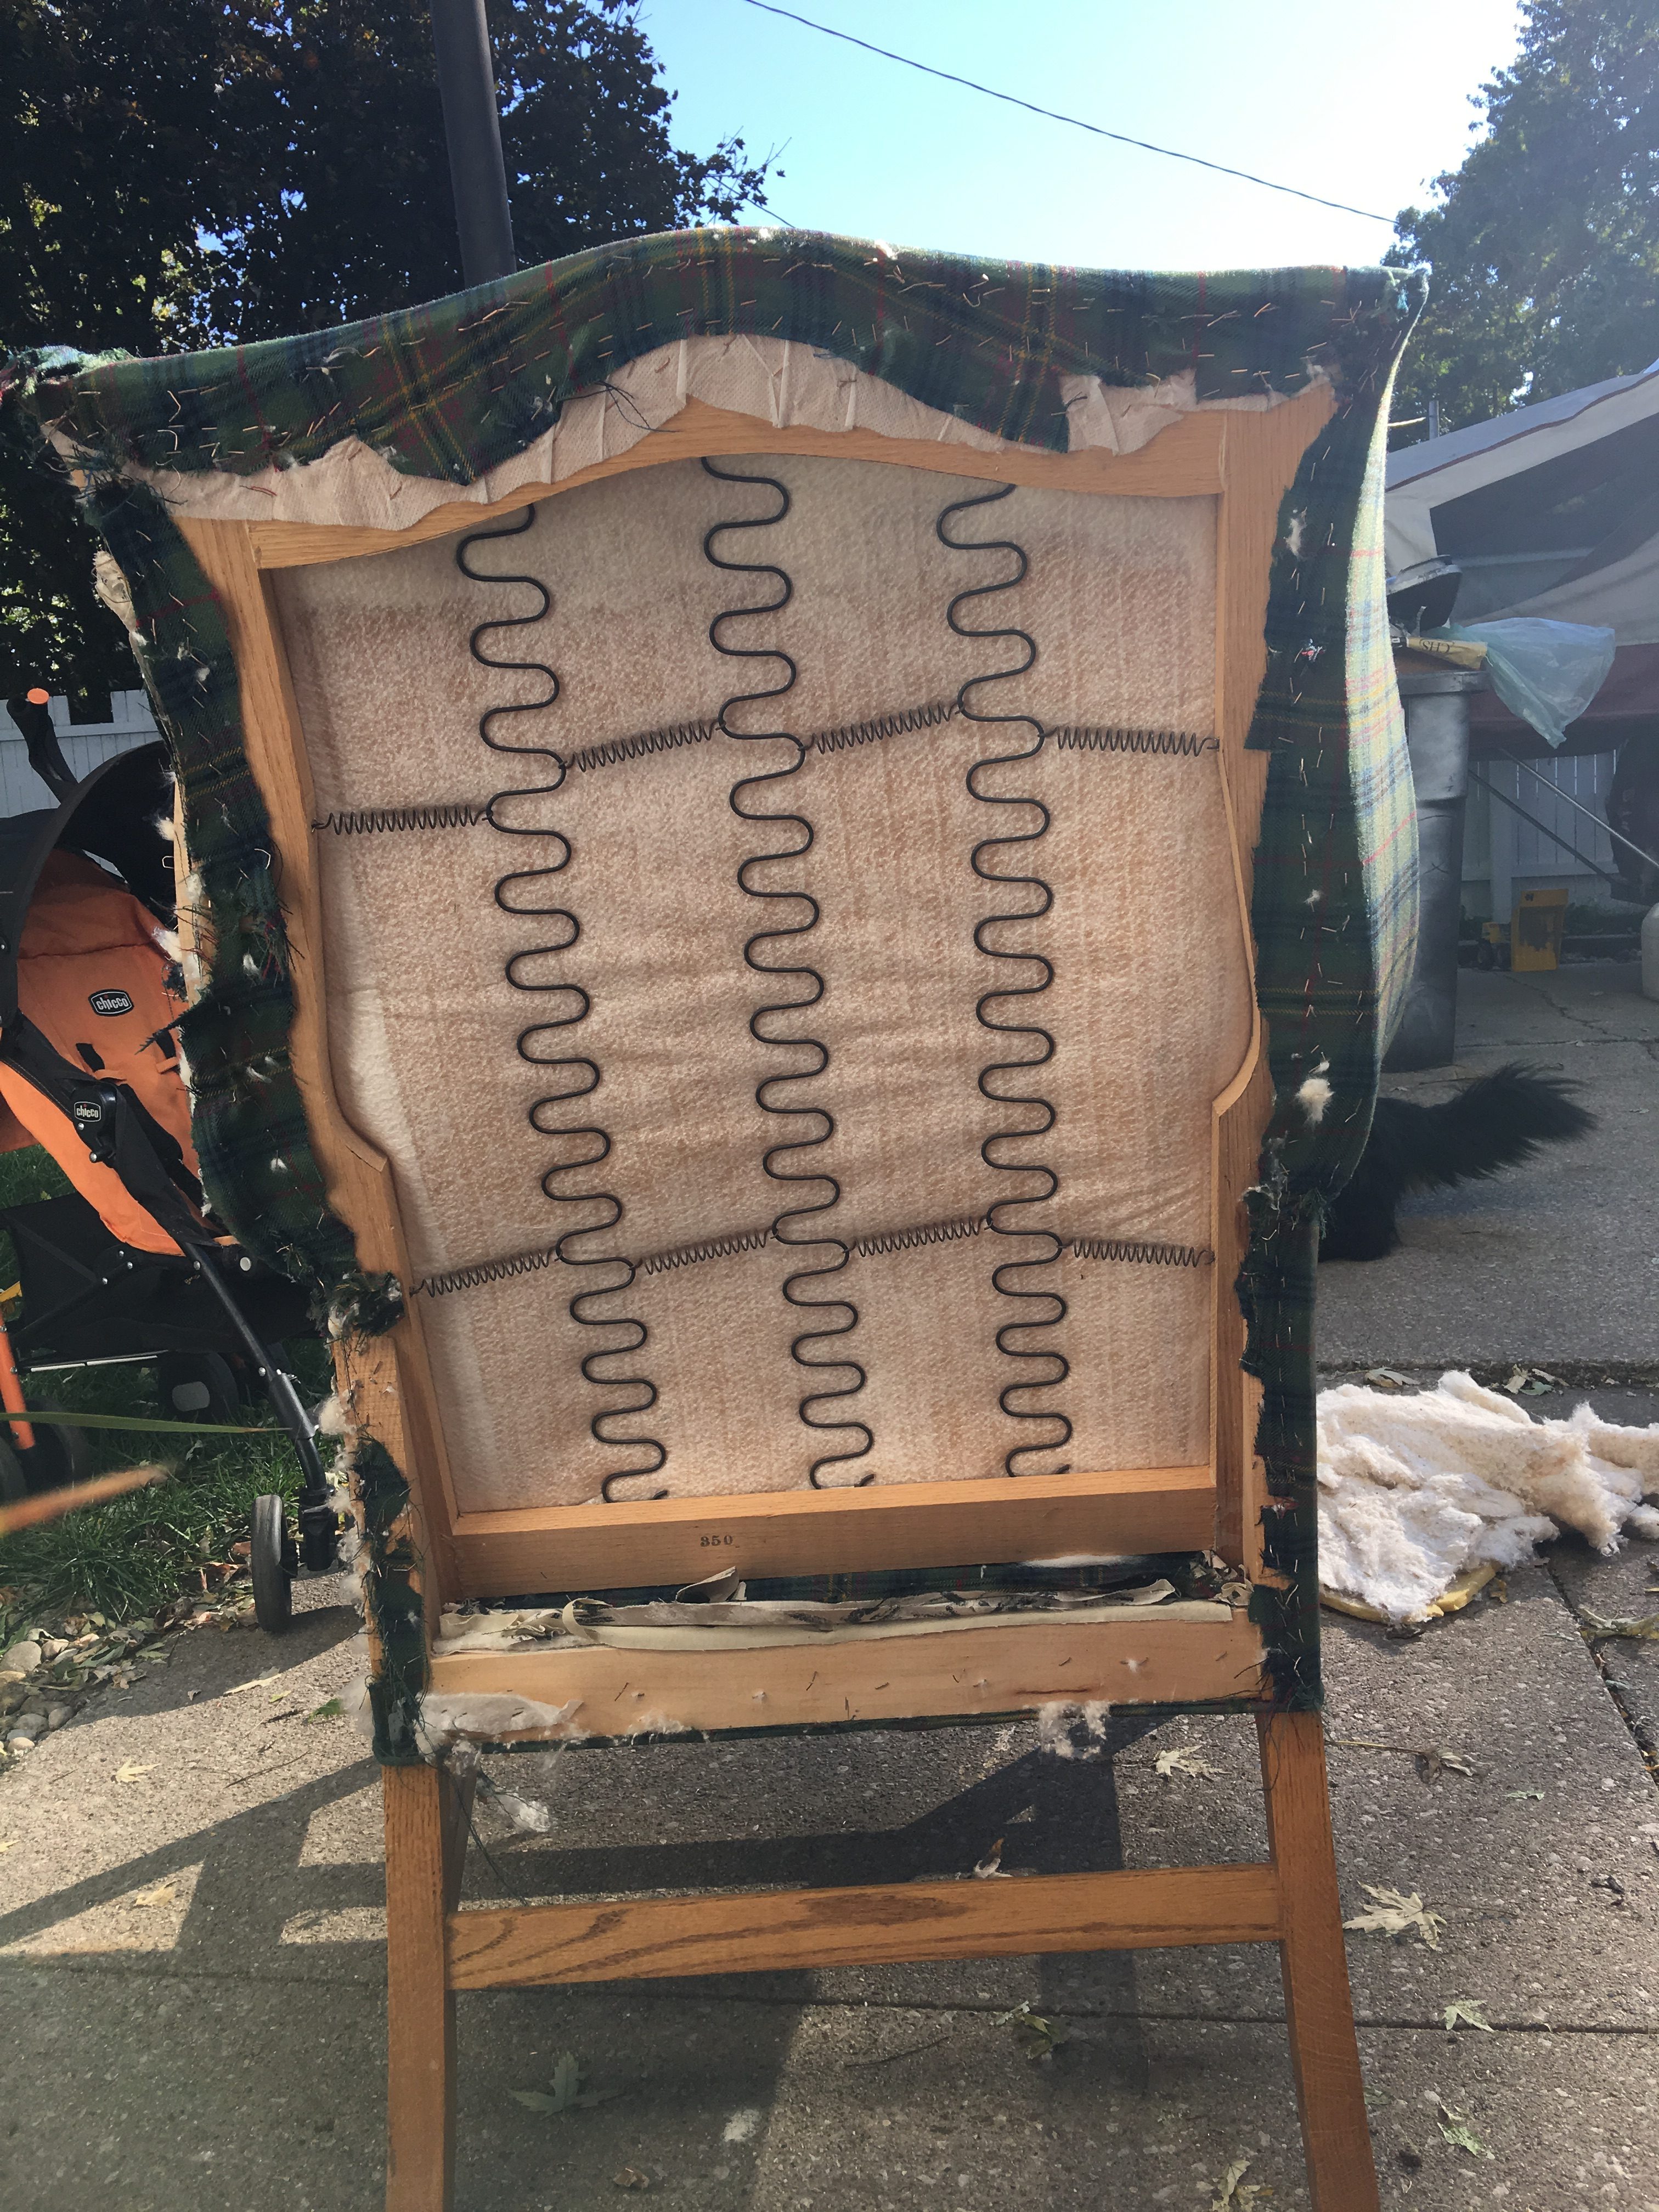 Upholstered furniture is made in layers and that’s what you what to look at when your ready to start peeling back the layers – What was the LAST thing that went on this piece? Start there because I have learned the hard way that starting anywhere else just makes your job harder. Make a small incision with some scissors and start ripping off the fabric. There are LOTS of staples that need to be removed and in this case I wanted burlap backing so I also removed the metal supports. Usually in older furniture metal supports are not there.
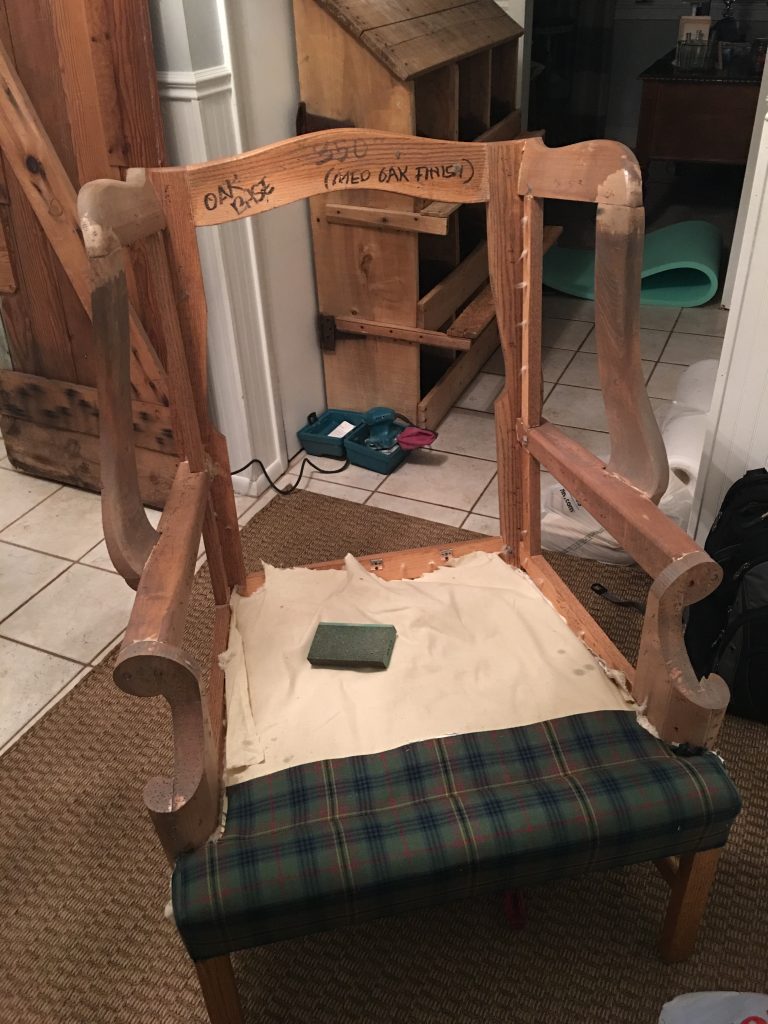
Taking everything down to the wood is the hardest part. one word…STAPLES! You will loath them by the time you have stripped everything off. I have tried several staple removers and have found that the one I linked at the bottom of this blog works best. Now, before I started putting my chair back together – I painted the wood using Saltwash (link at end of post).
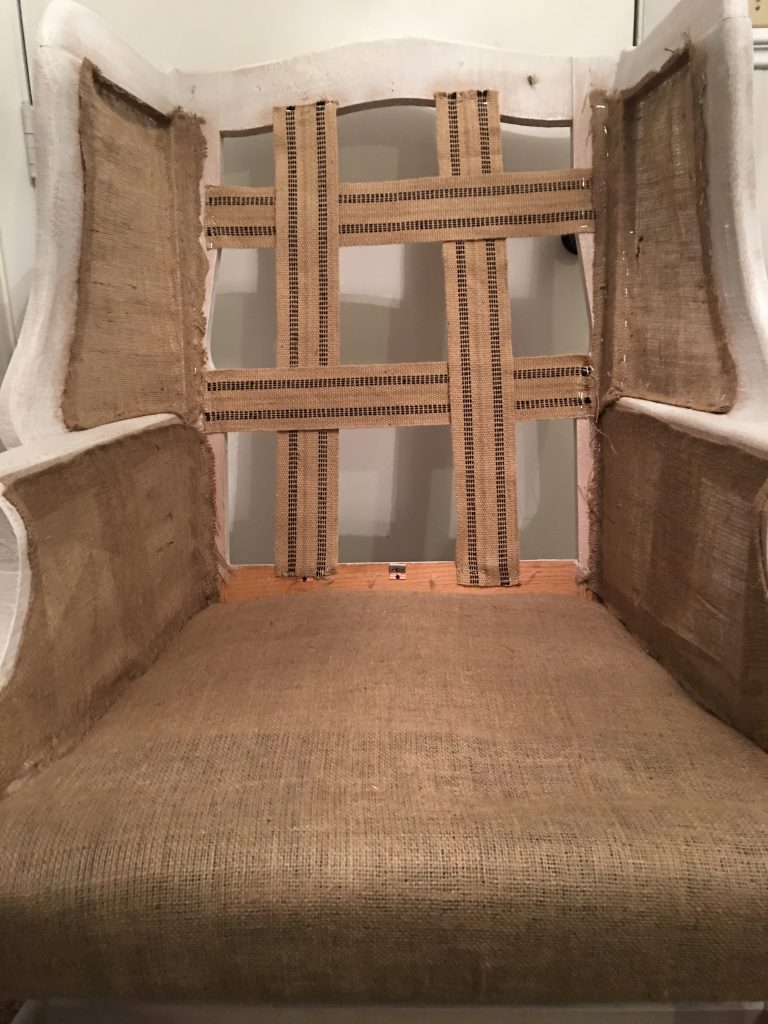
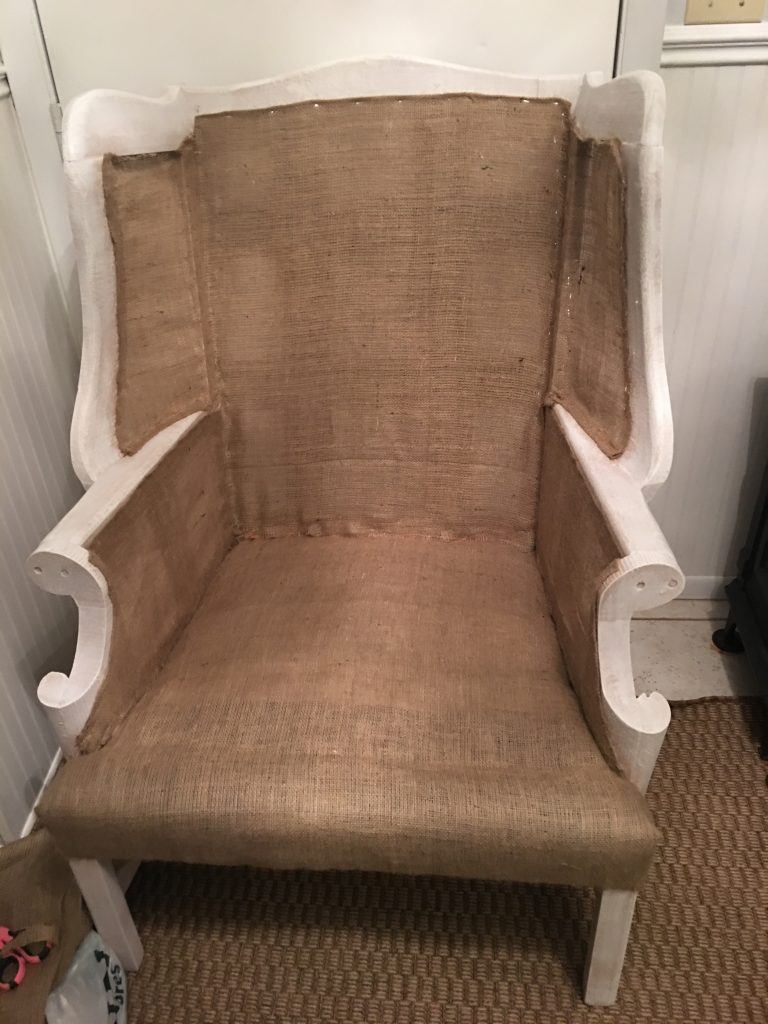
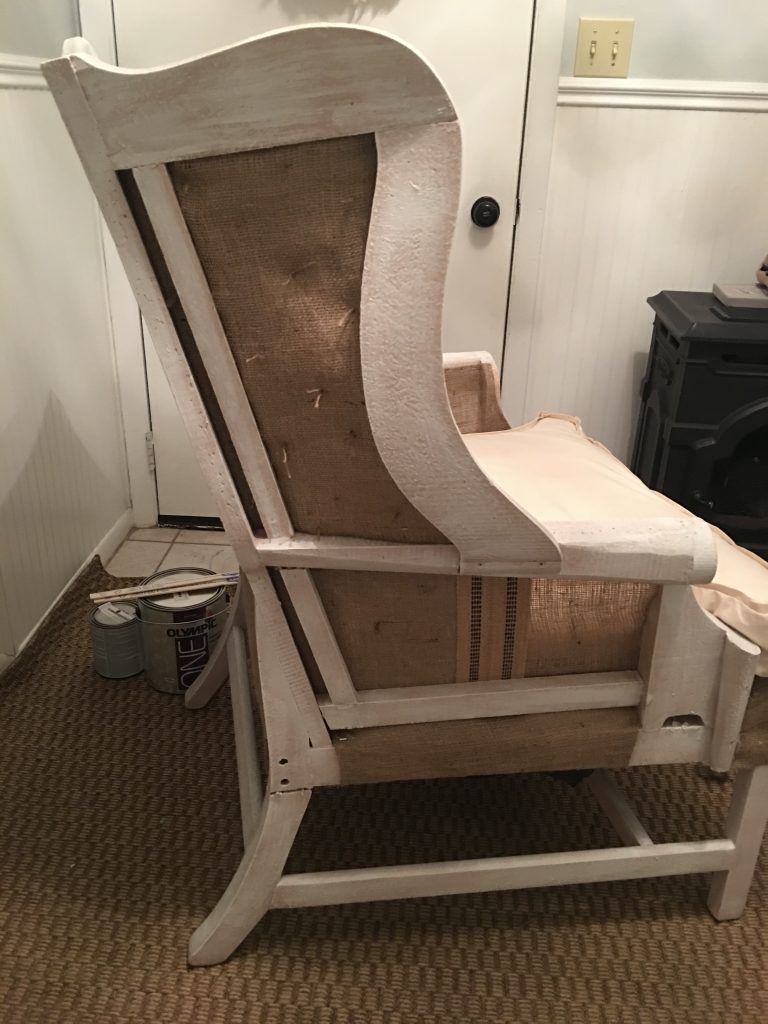
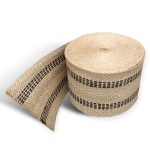
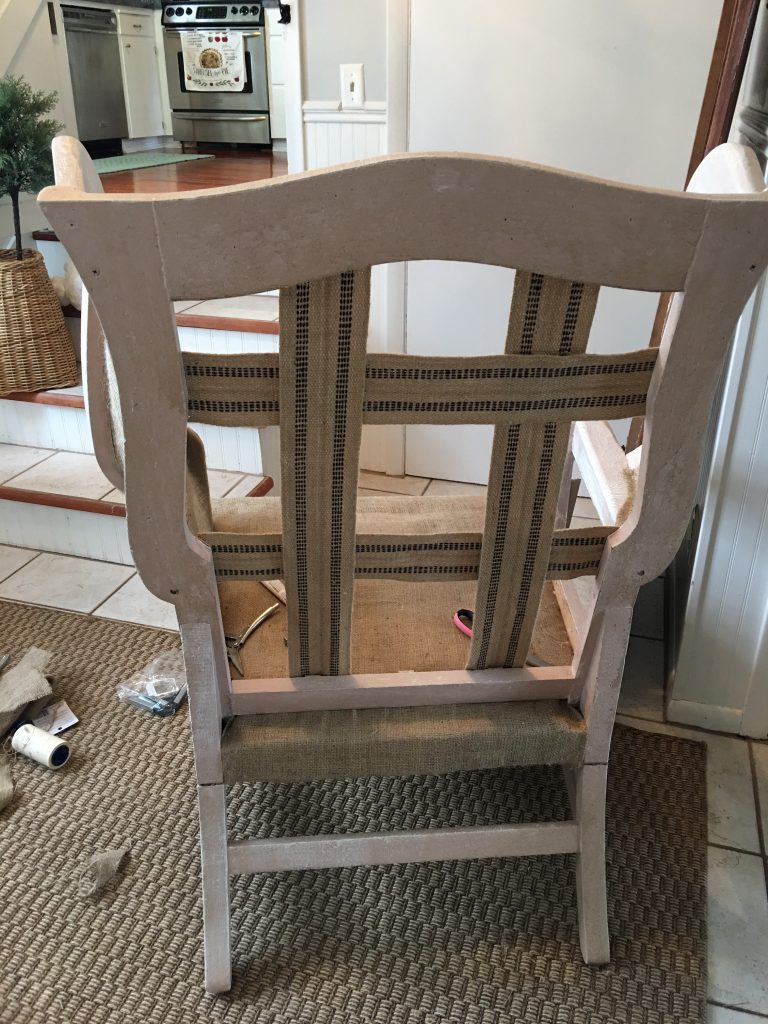 I started with stapling on the upholstery tape To the back as pictured above and the sides as shown blow. (The picture above shows my error in not weaving correctly, don’t worry I fixed it.) And then I stapled on the burlap covering to the sides, back and the seat portion. To measure I just held sections of burlap up on the chair and drew where it needed cut and then added a half-inch all around. There can be rough edges because no one will see it! So don’t worry too much about making your cuts perfectly straight
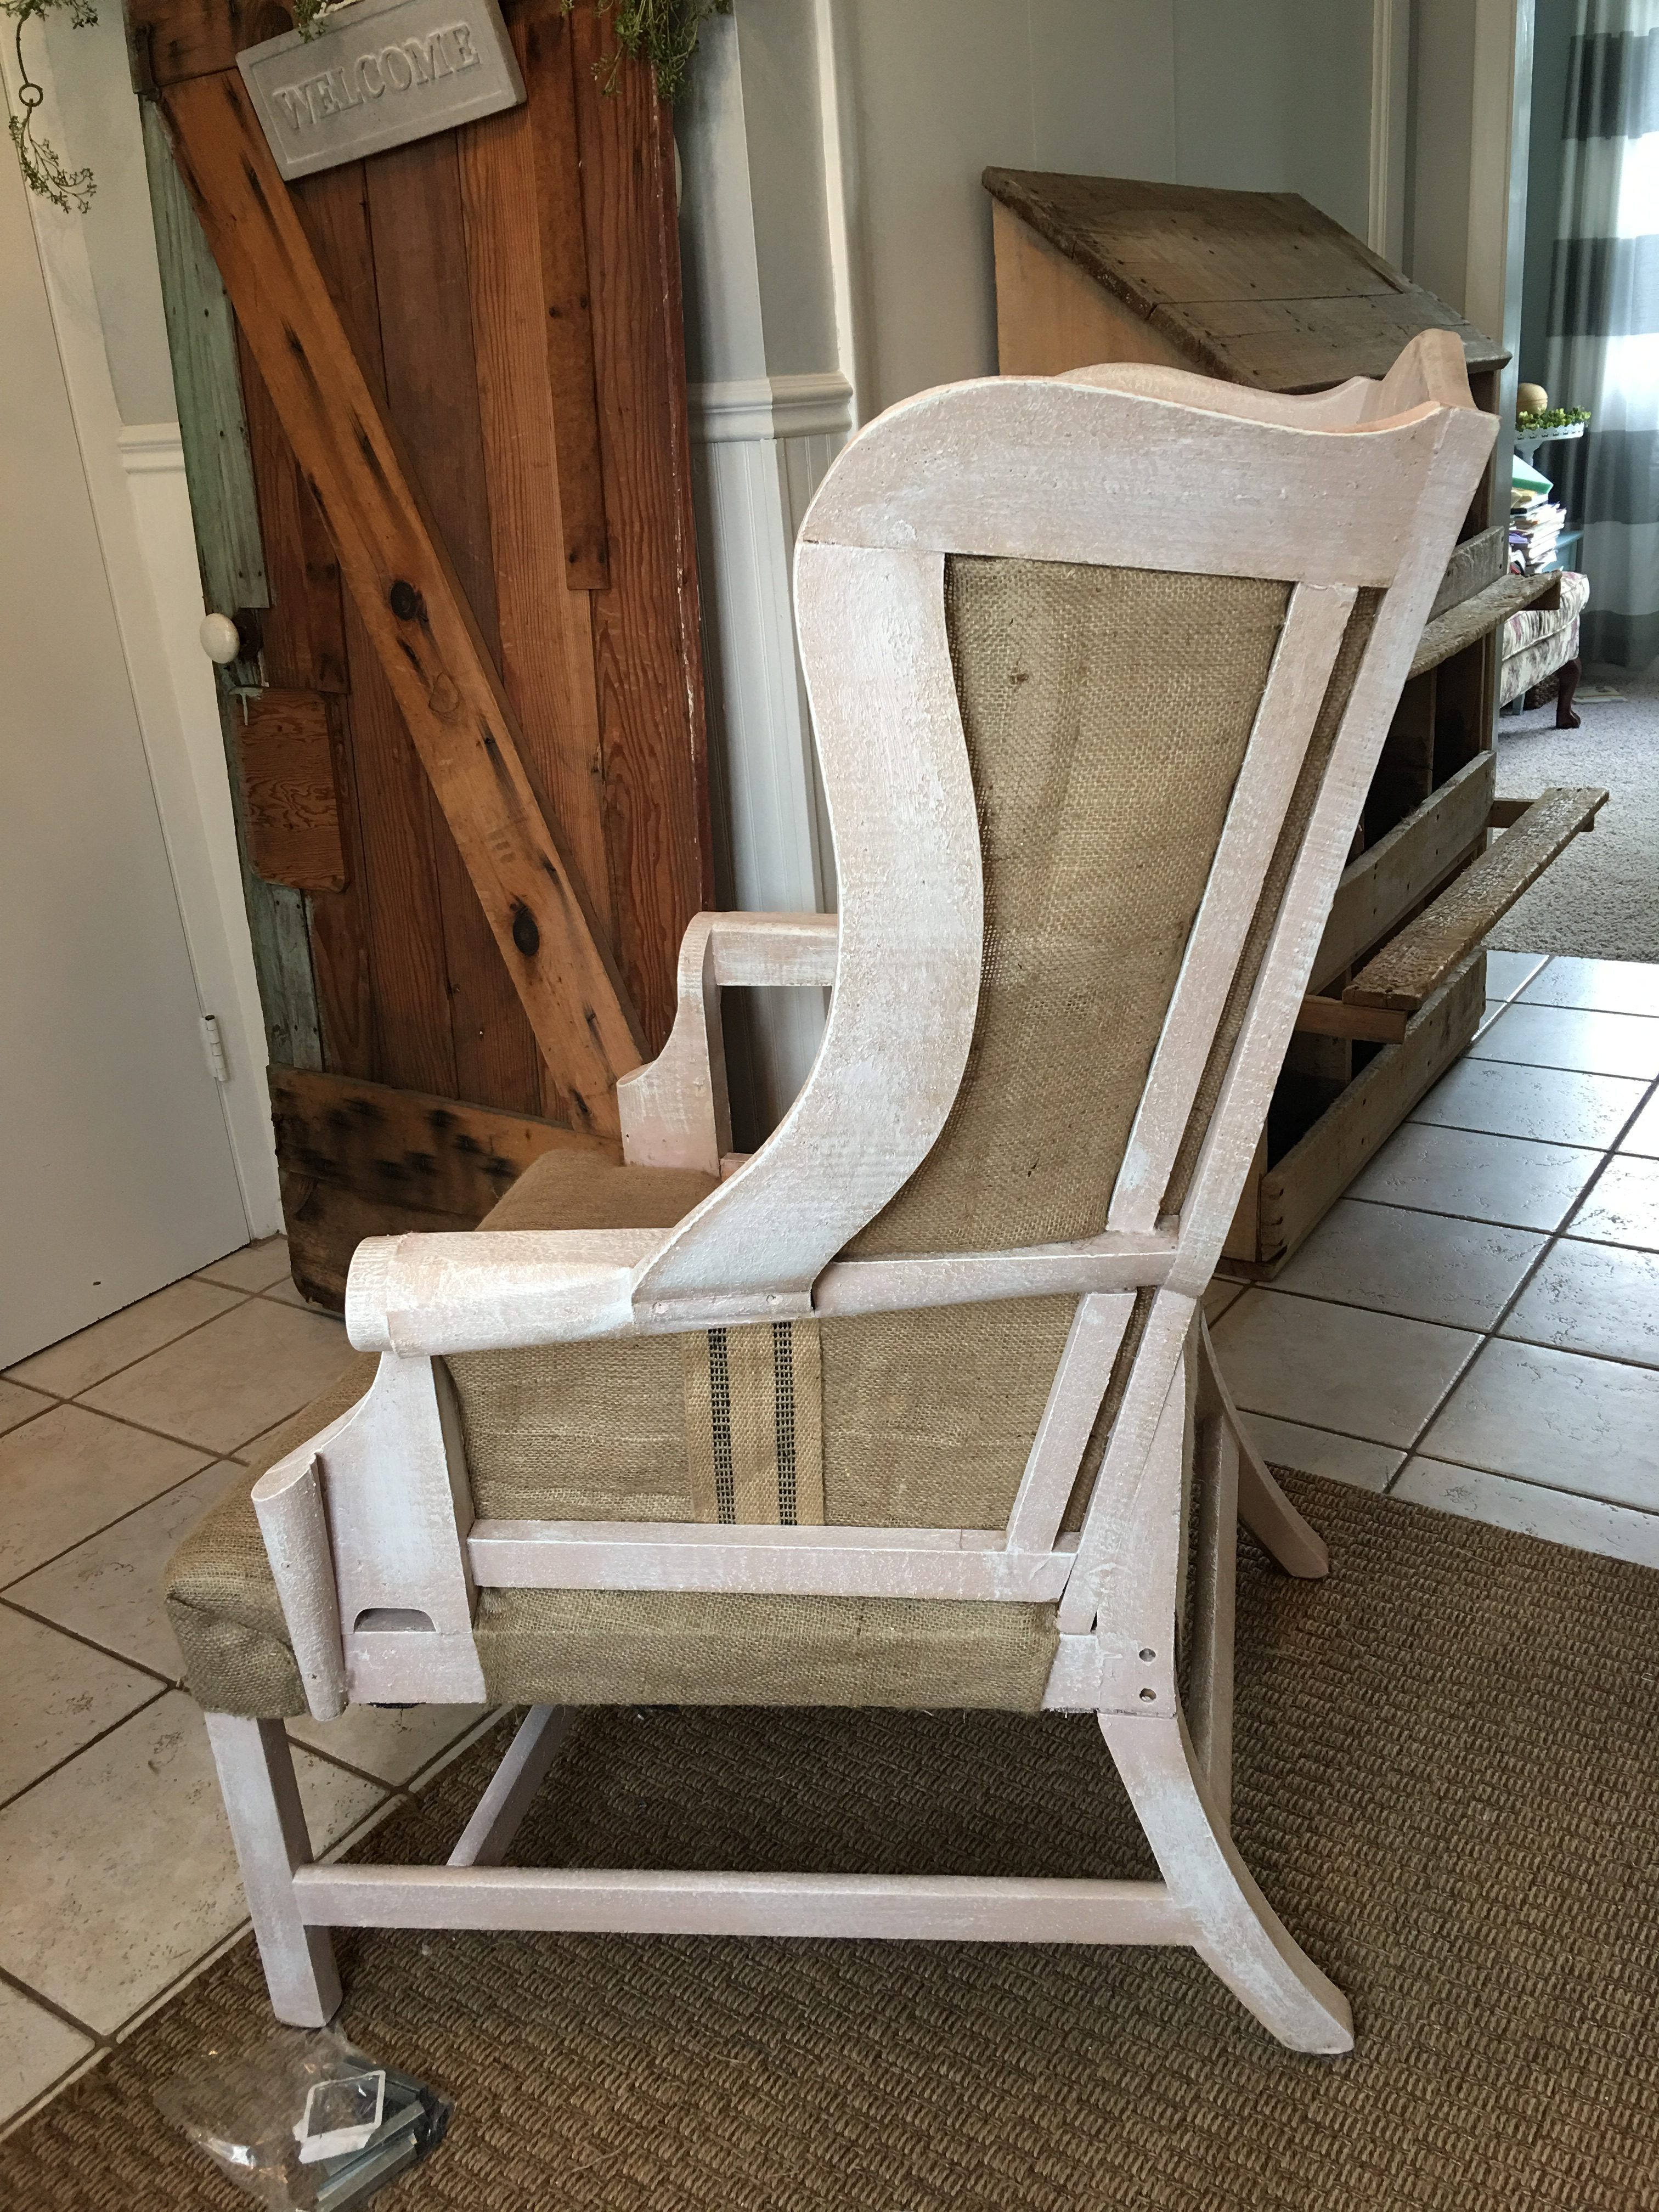
Now because I wasn’t planning on blogging any of this process I didn’t take pictures of the following steps. I used 2 inch foam to cover the back and side wings and I also attached that using a staple gun. I stapled the foam above the burlap just a hair because I didn’t want the burlap to be seem above the fabric. I also left the arm rest sides as is. I wanted them to be burlap but you can easily cover them too if you wanted. After the foam was added I measured out where I wanted the tufts to go. I spaced them fairly close together. I want to say they were aprox. an inch to an inch and a half apart. Also, I must add that a lot of upholsterers cut there tufts BEFORE the foam is added to the chair and It is better that way but since this was my very first upholstery/deconstructed project I was a rookie and that was easiest for me and to be honest I still do it that way. I marked where I wanted a tuft with a sharpie and then cut a cross shape with scissors. Just me careful not to cut the burlap on the other side. If it’s easier for you, mark and cut before its attached. After your foam is attached I covered it with batting and suck my finger through each hole.
I then made my button tufts (linked at the bottom of the post are the buttons I used). This is a long process but I love how the fabric covered buttons look. I then draped the fabric I was using over the chair, secured it with tacks at the top only and then went to town sewing my buttons on. Make sure you have an excessive amount of fabric left over because tufting really takes up quite a bit.
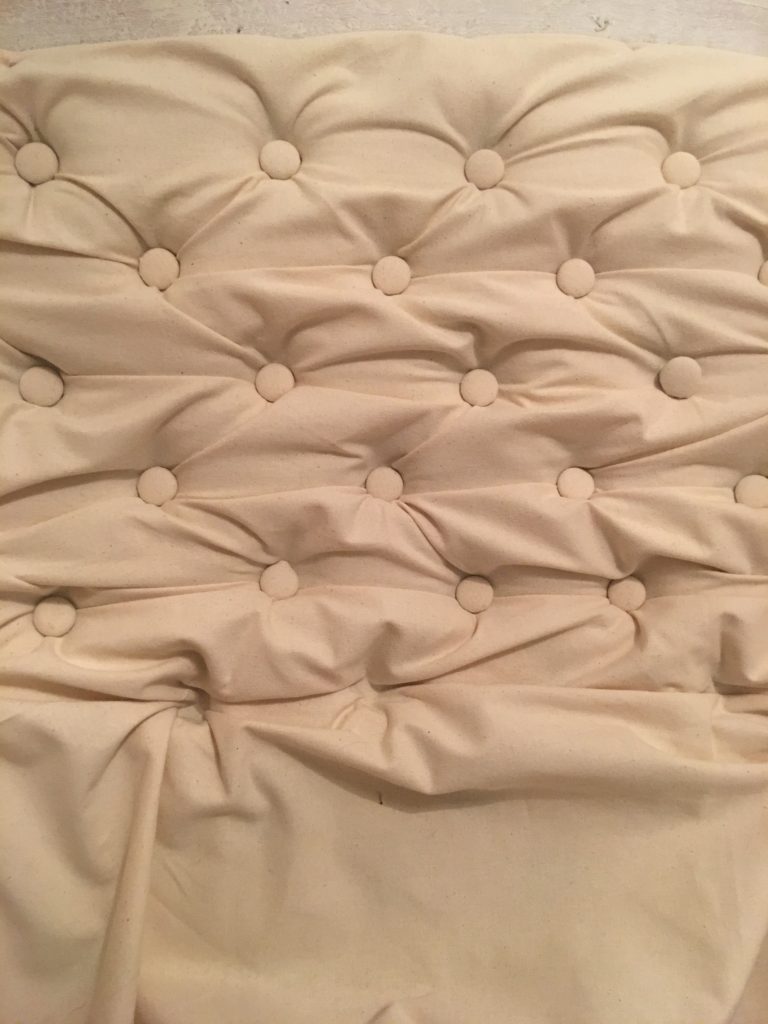
Sewing the buttons were probably my favorite part. I poked my finger into each tuft hold I had created with scissors first to be sure I had enough fabric everywhere. For my thread I used twine (linked at the end of the post). I tied a double knot around my button with my twine and then tied a knot to attach my upholstery needle (these things are hard core and also linked below) and then pushed it through the open tuft hold I created. Now, there may be an easier way to tuft but again, this is what I did. If you find another way easier – do that! I didn’t take a upholstery class and I just figured it out as I went. Once I had my needle through the foam and burlap and the button pushed into the hole I created I cut the twin that was attached to my needed and then tied a triple knot in the back. Keep doing this until all your tufts are in place and then tack the remaining fabric to your chair and cut off the loose fabric so it looks “unfinished”.
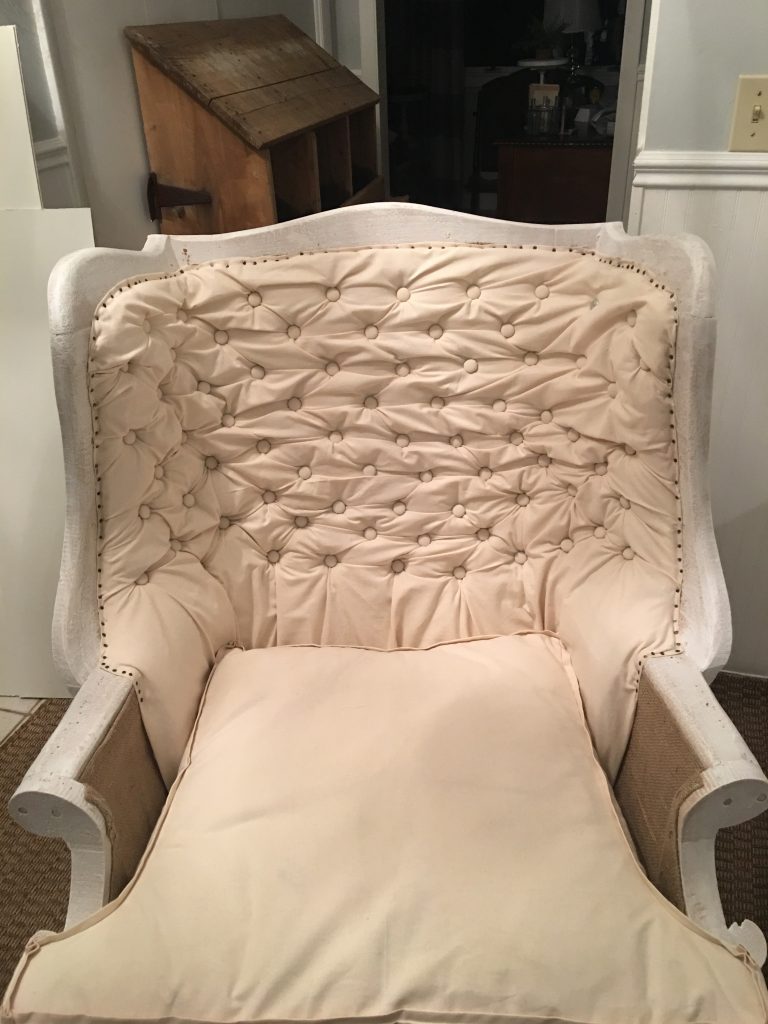
So above is the finished product. I had my friend Jessica from Twin Fibers sew the cushion cover for me so that is something to keep in mind if your chair has a cushion. you will need to sew the cover or hire it done.
My tufts are not perfect and I should have continued down farther but I think all in all for my very first upholstery job/deconstruct it was a success. Stay tuned for lots more Deconstruct tutorials coming soon. This project was done over a year ago so the progress pics and lack there of is because these were just for me and not something I was planning on sharing. But its ALWAYS fun to see evolution in your work, right? So although this isn’t perfect it gives you an idea of the process and to stick with something you love to do and see what happens! I would love your feedback in the comments section! xo ALI

Upholstery Needles
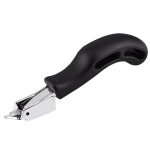
Staple Remover
Tack Hammer

Tacks
Twine
Foam
Buttons
Webbing

Love the chair.
Thank you so much Michele!
This is incredible Xx
Thank you so much Jennifer!
Would it be possible for you to do a video tutorial on deconstructing. 🙏 I would love to give this a try but there are some things I’m not quite understanding. Thanks.
Yes, I am working on getting something like this started. Thanks for your feedback!
Love these posts! Your deconstructed furniture have me so inspired ❤️
wow! Thank you so much Alexandra. That means so much. Deconstructed furniture is such a fun twist on vintage furniture.