
DIY Plaster Fireplace
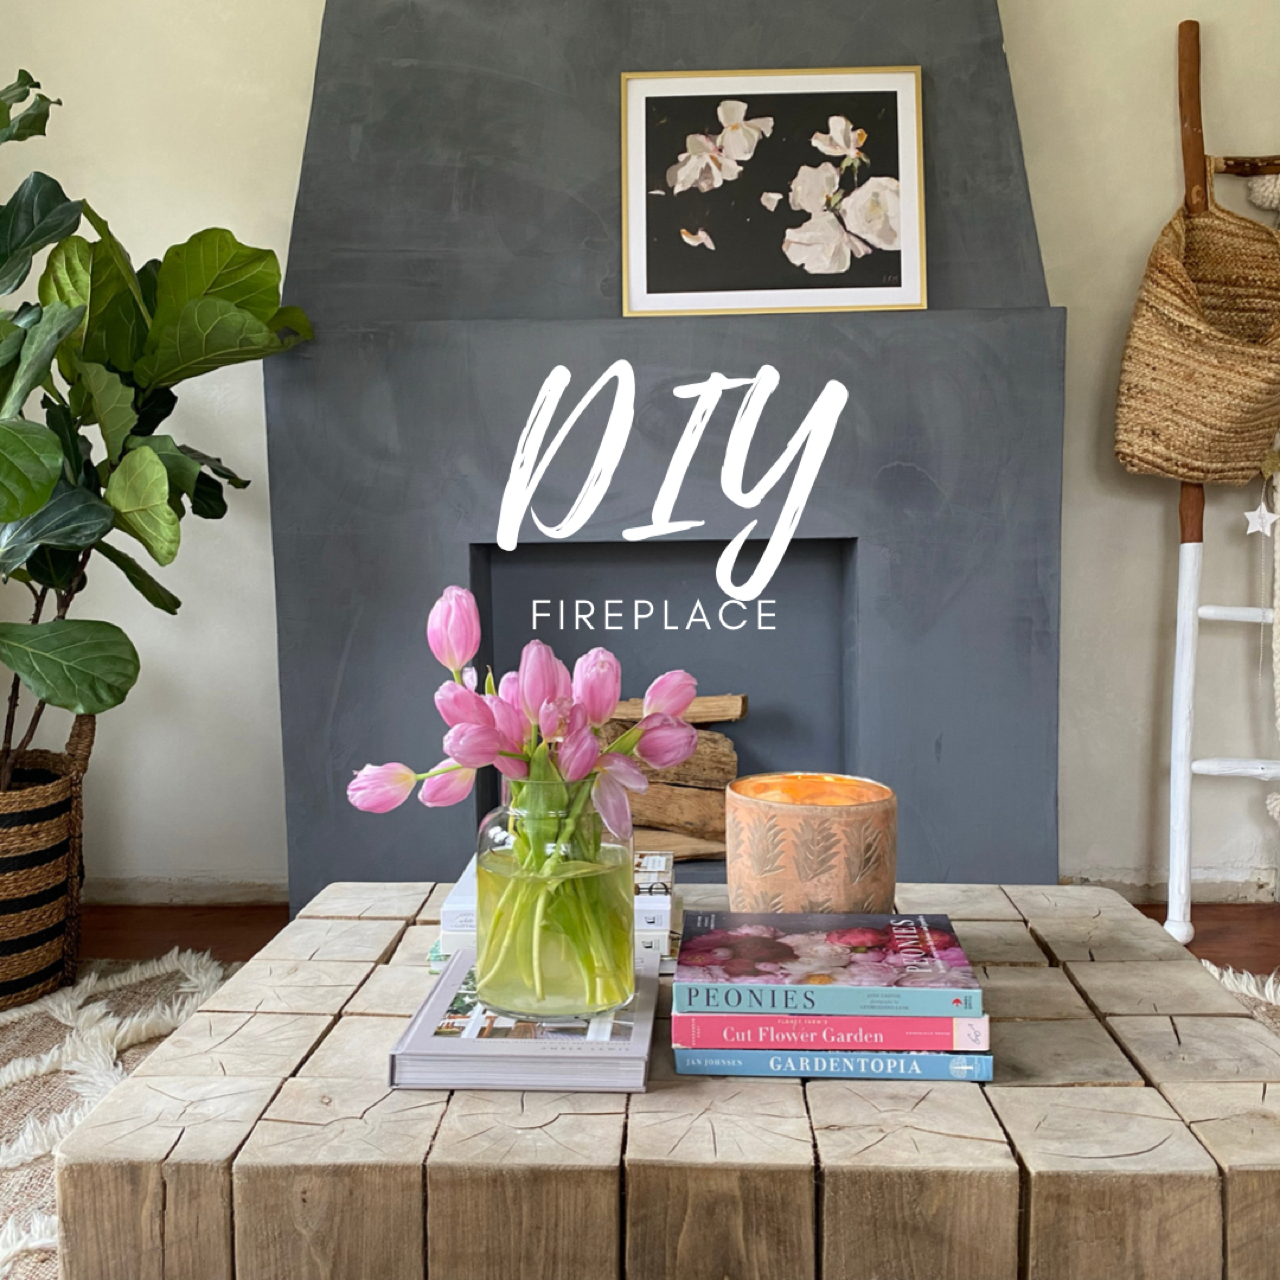
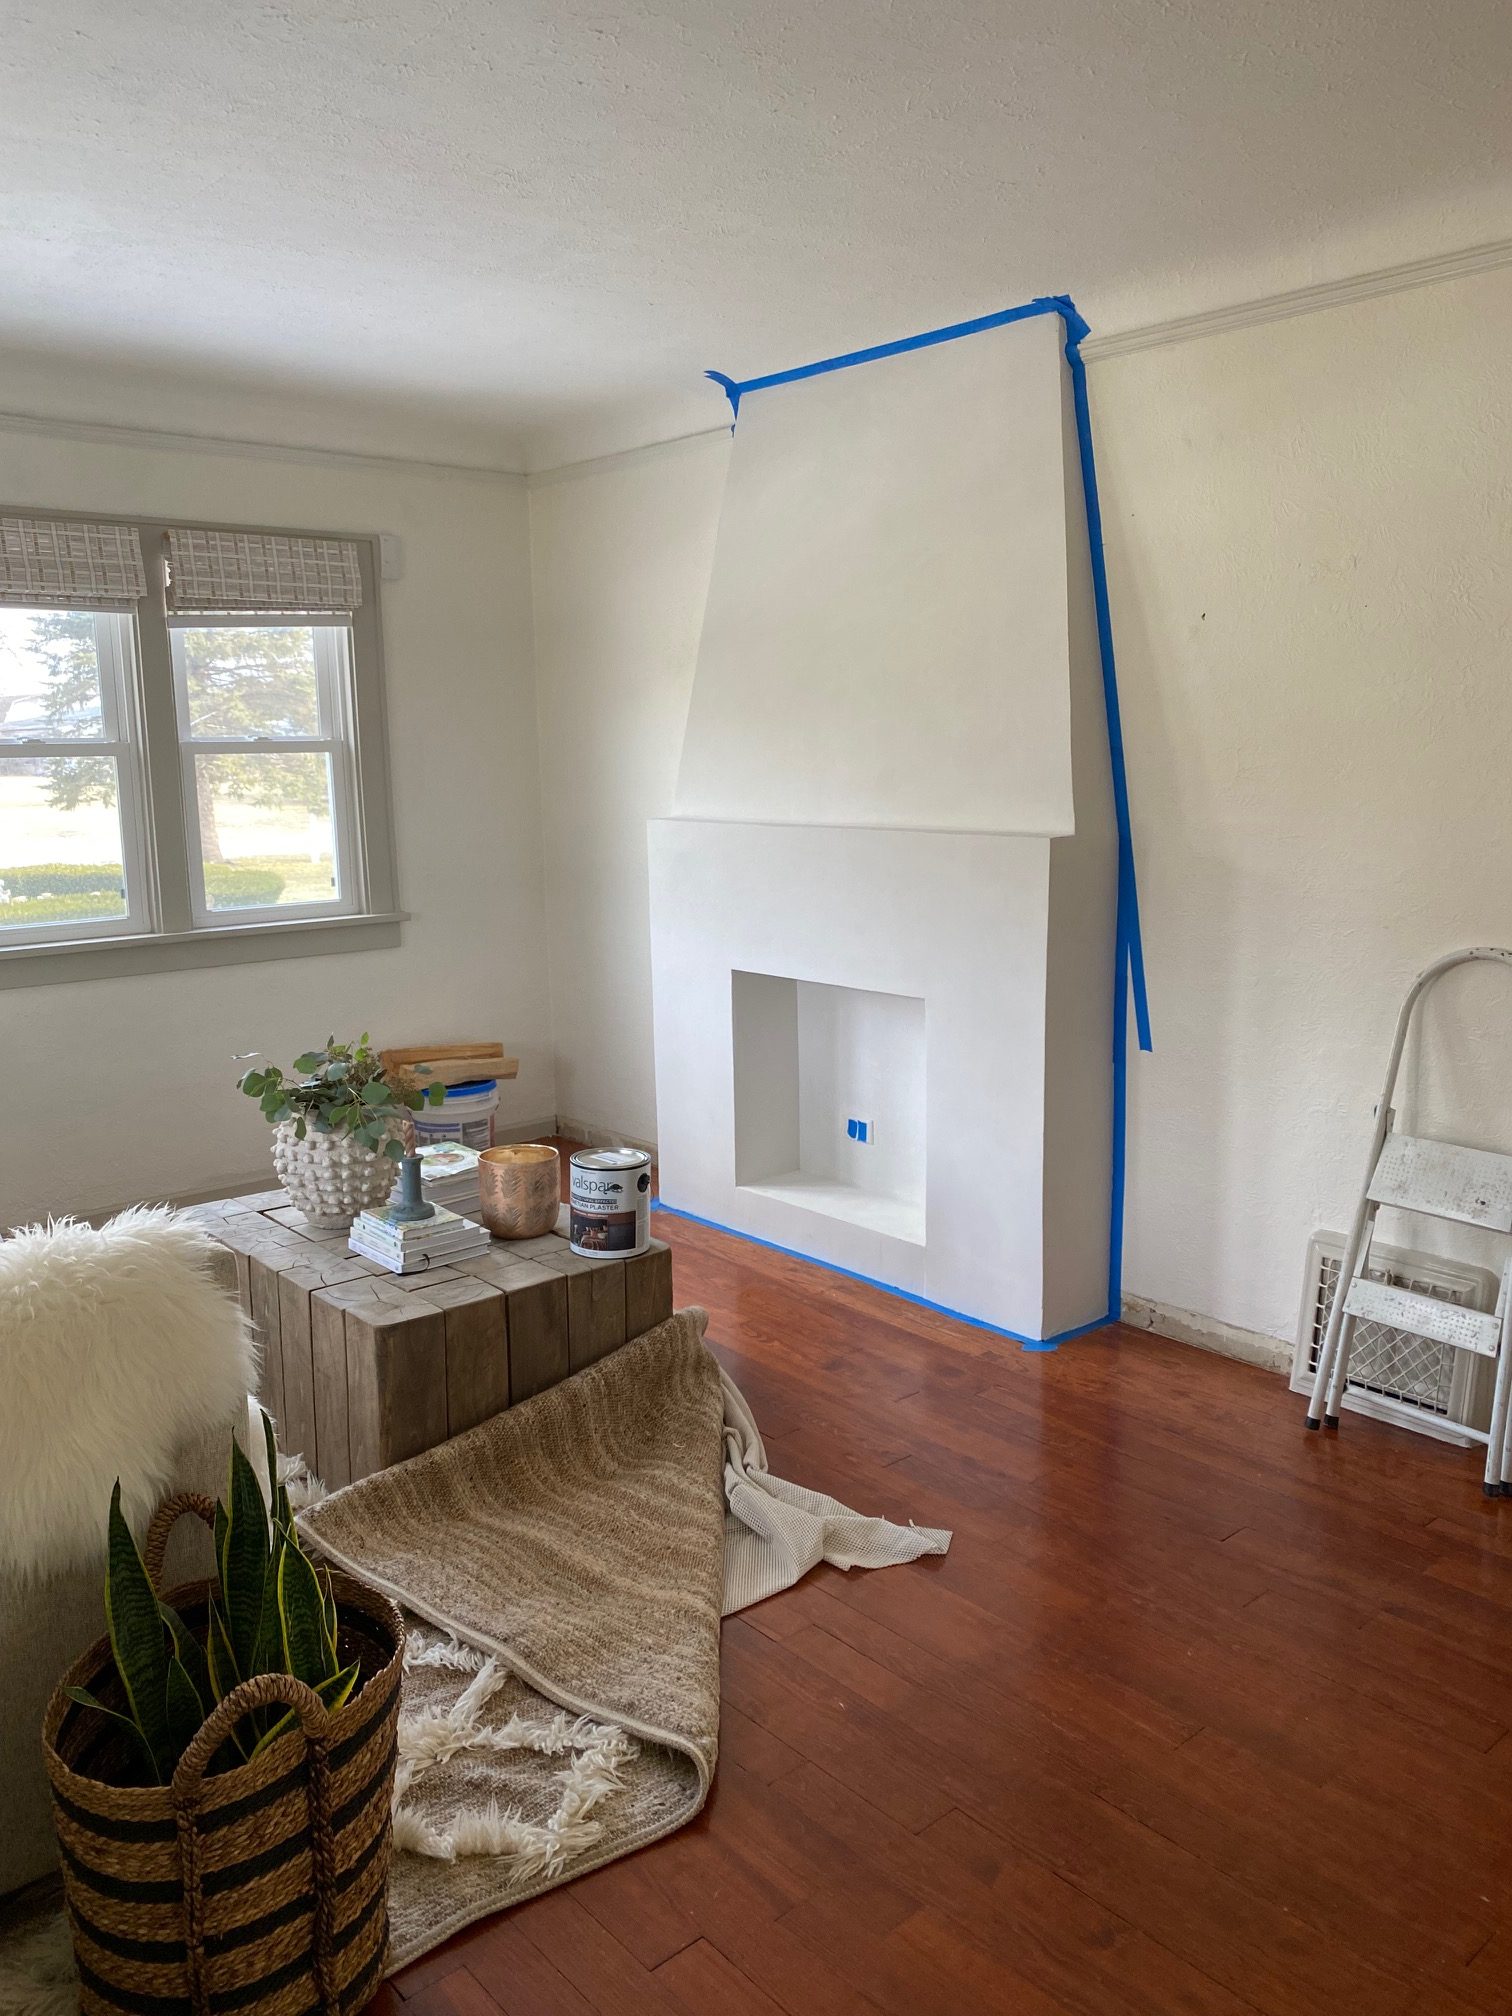
I have been wanting a fireplace in our home for awhile now. We really lacked a focal point in our living room and I knew that a fireplace was just the thing that would really impact this small space. Anytime you add a big statement piece it adds coziness, creates impact, and draws your eye towards a main focal point which can actually make a smaller space appear larger.
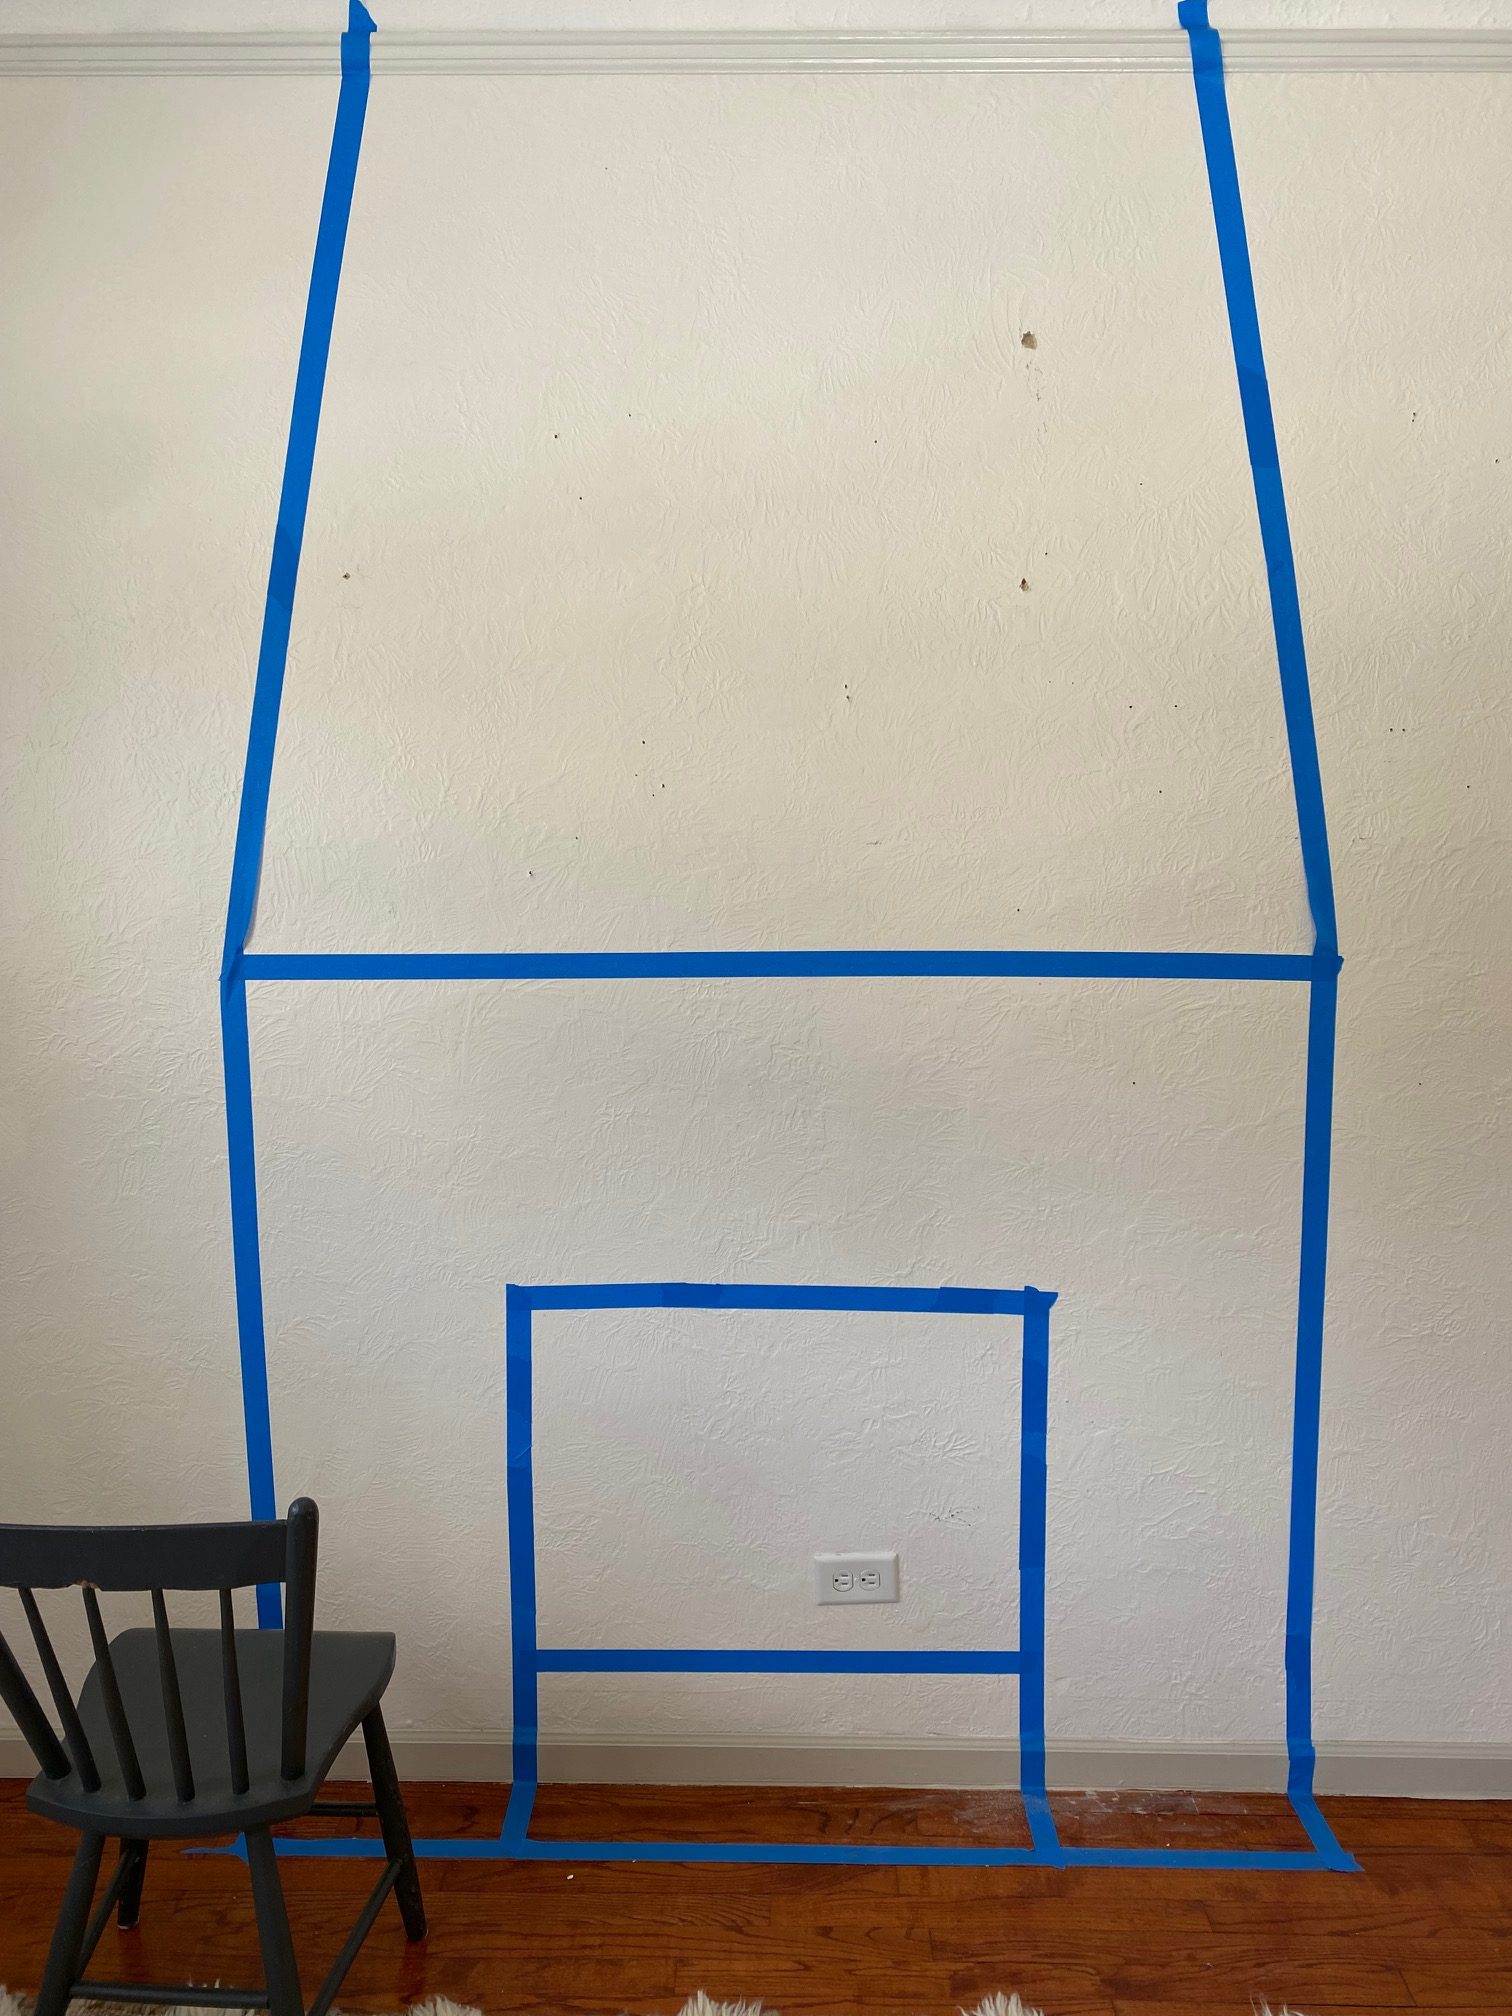
The first thing that I did was use some painters tape to decide exactly how big I wanted our fireplace and played around with a few different shapes. After some trial and error I decided on this shape and size. One of the easiest ways to see if your will really like the size of something in your home is to map it out with painters tape, paper or even some cardboard. I do this with art, furniture hanging photos etc.
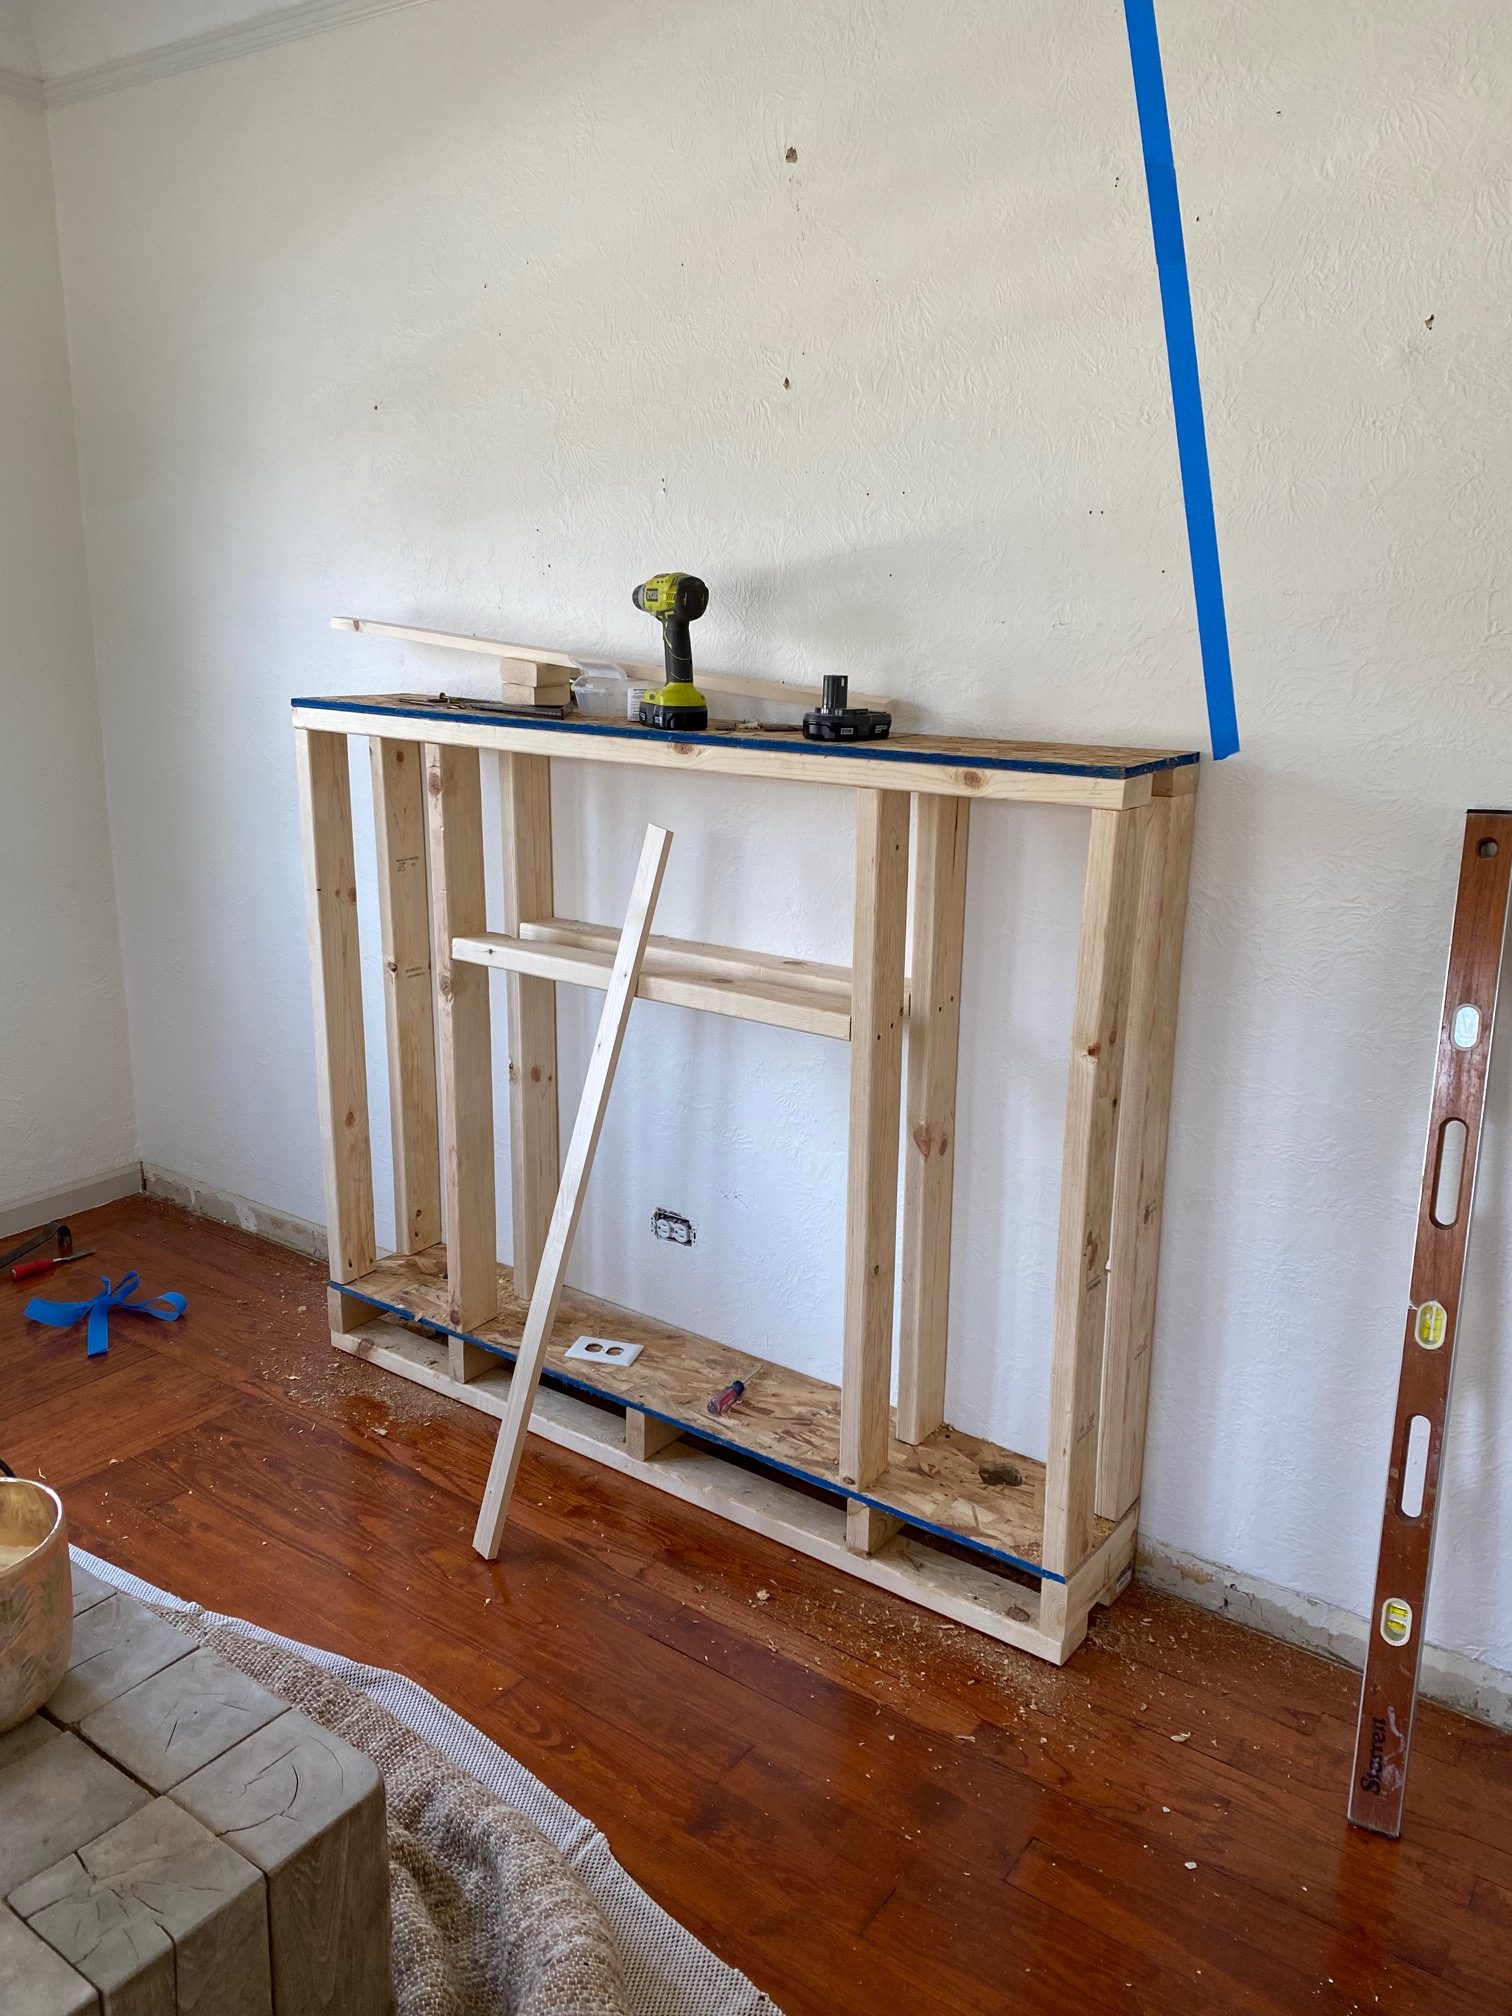
We started framing with just common 2x4s and some plywood we had leftover from a previous project. We made sure to measure out (and pick out) a electric insert that will eventually fit in the center.
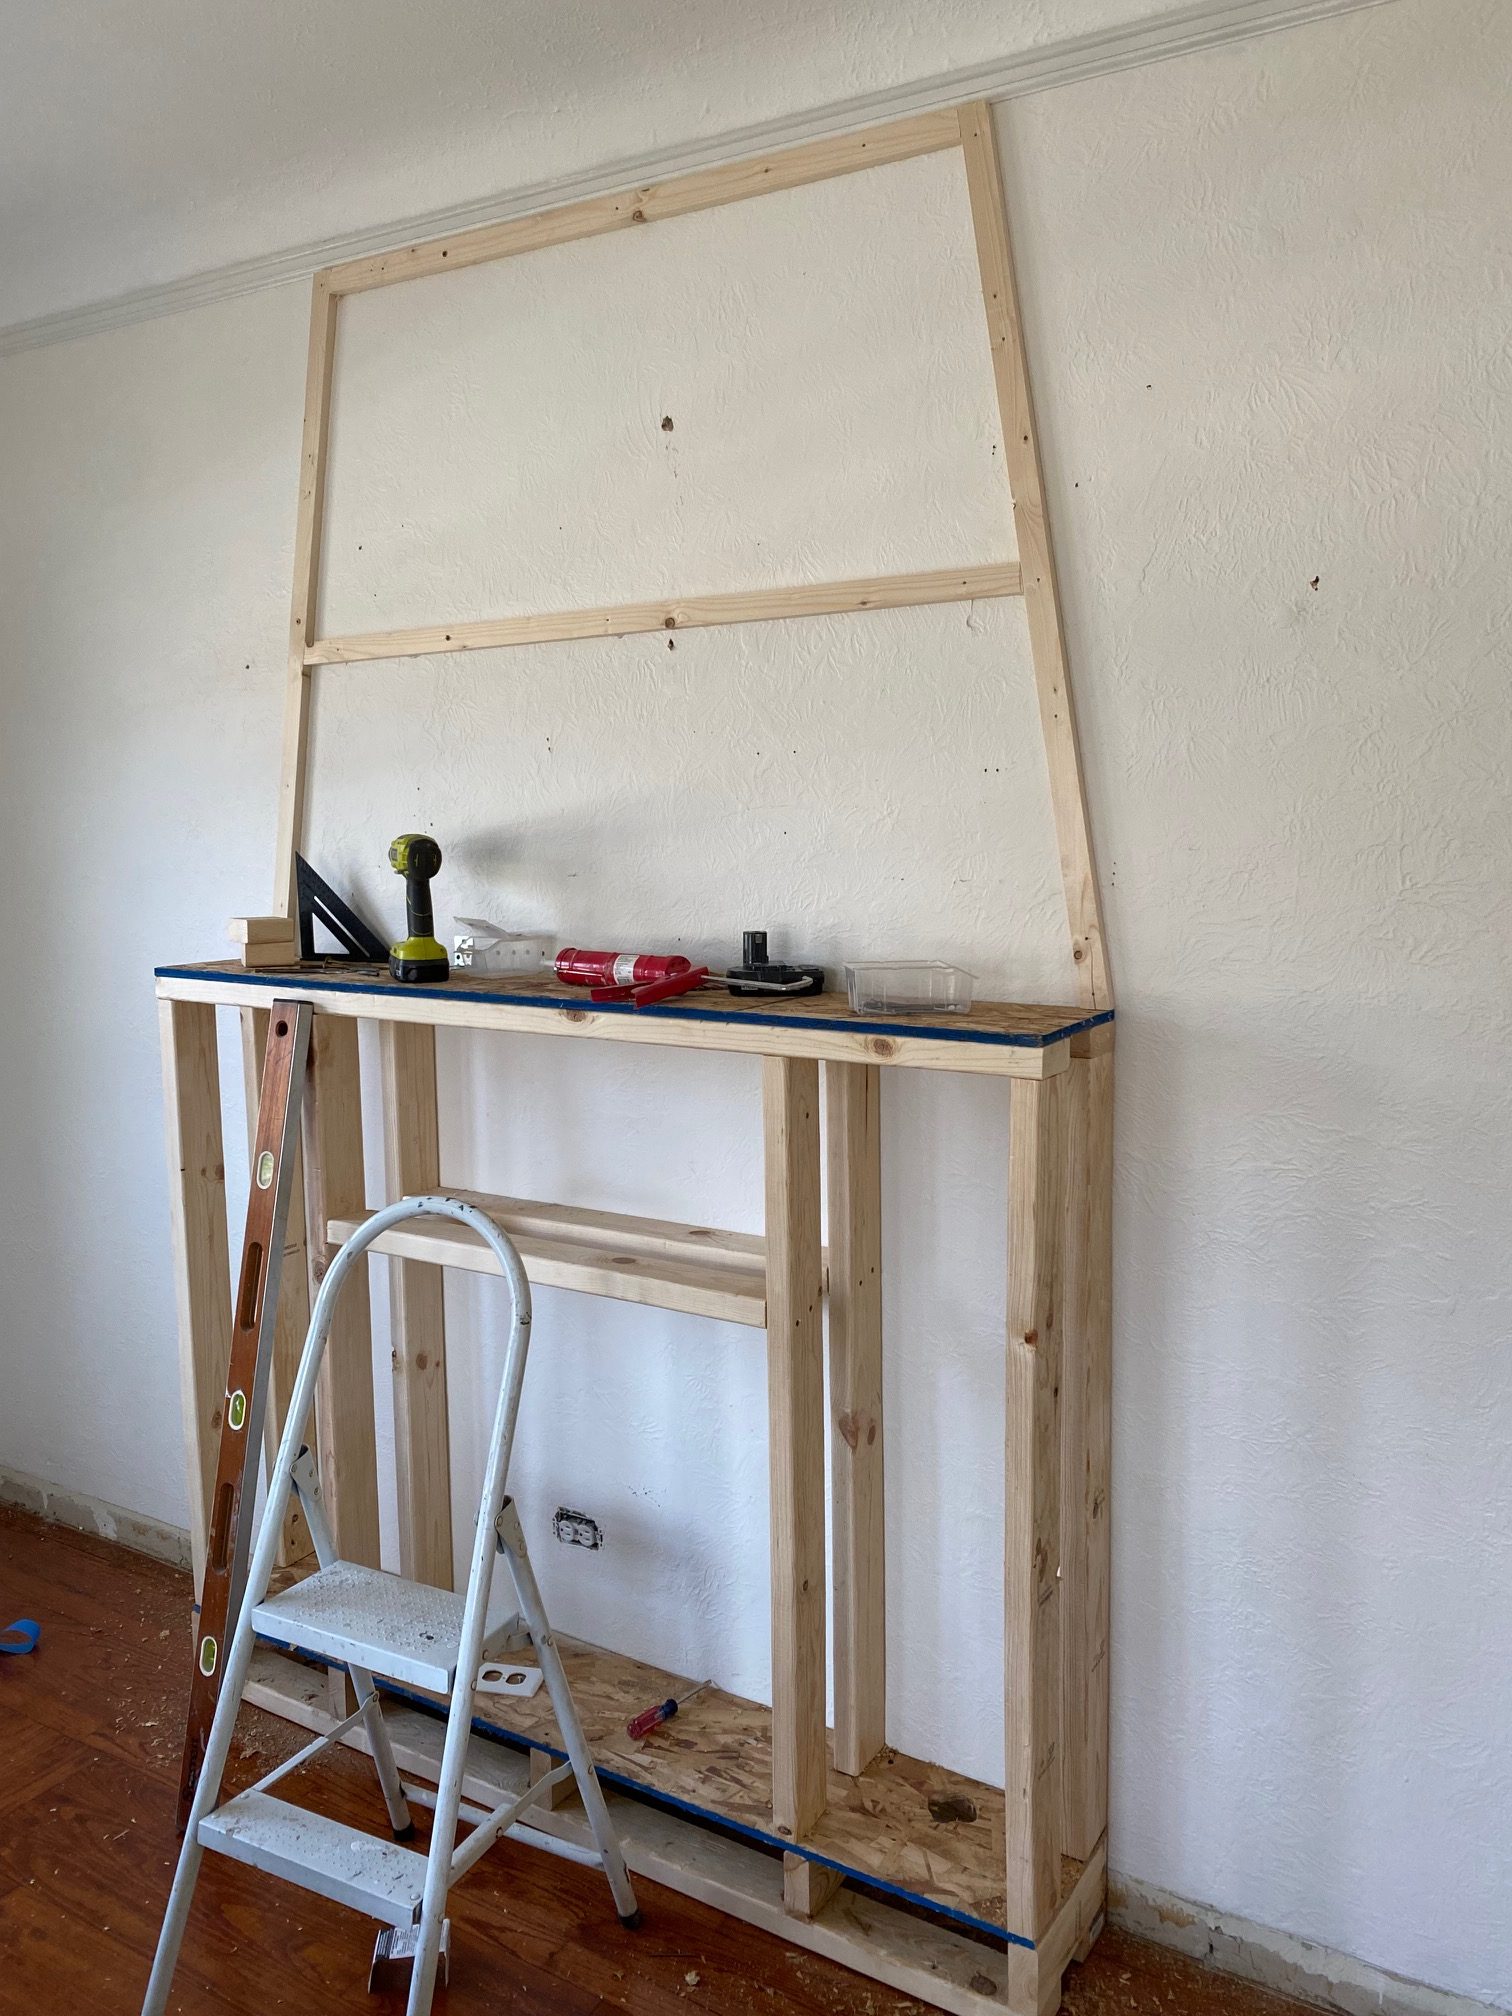
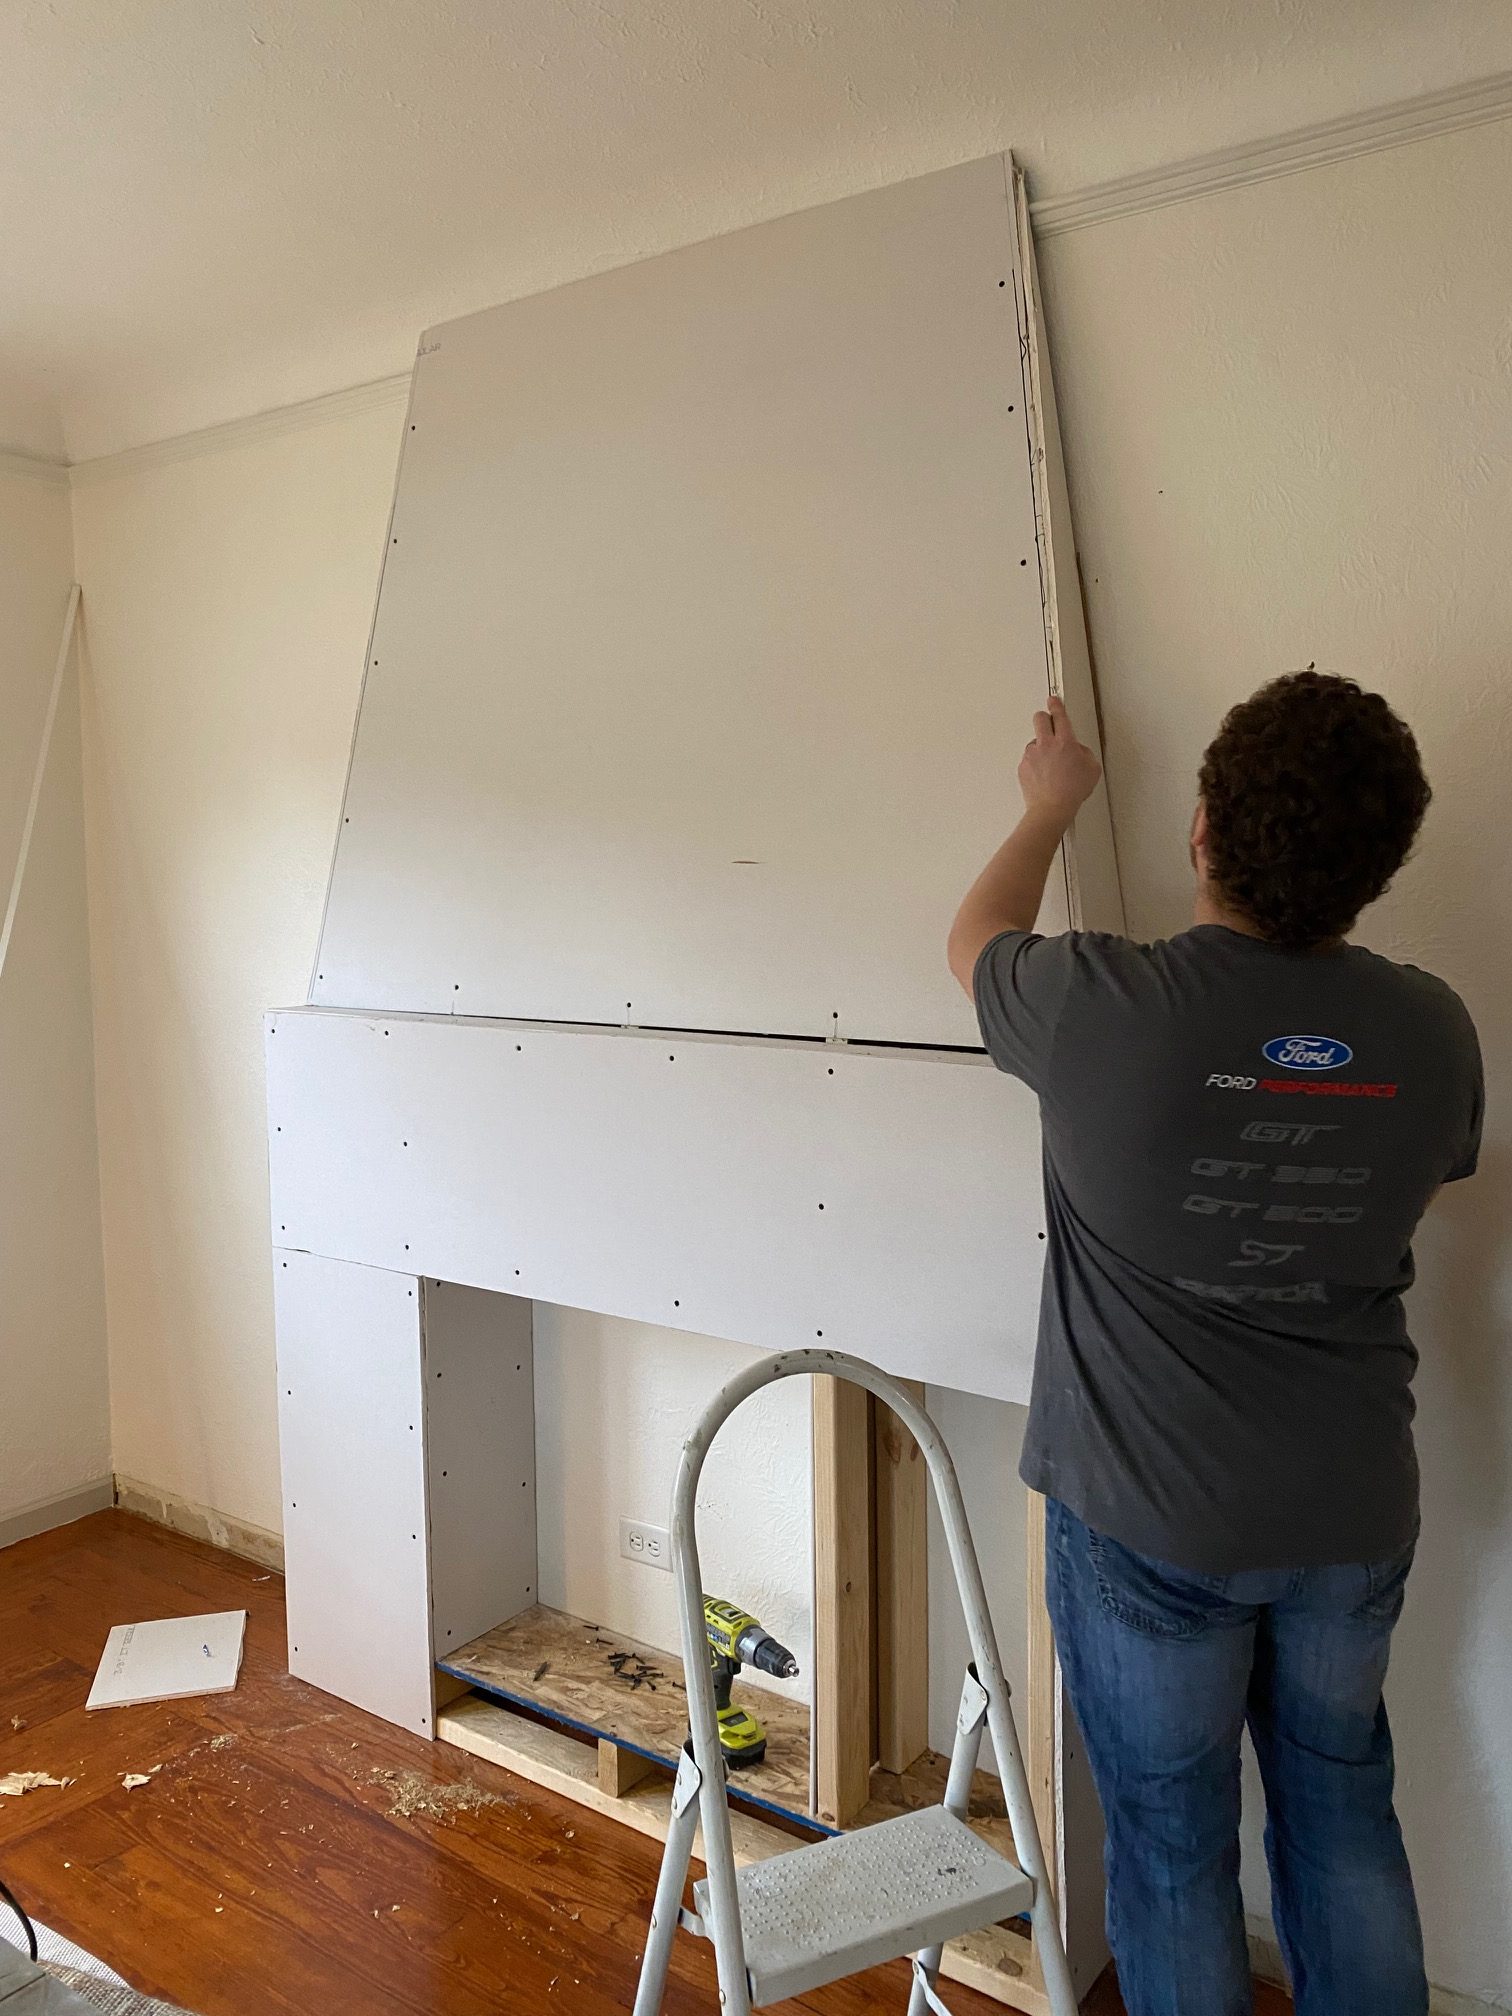
Jordan used 1x2s to attach to our plaster walls to start the top of the fireplace.
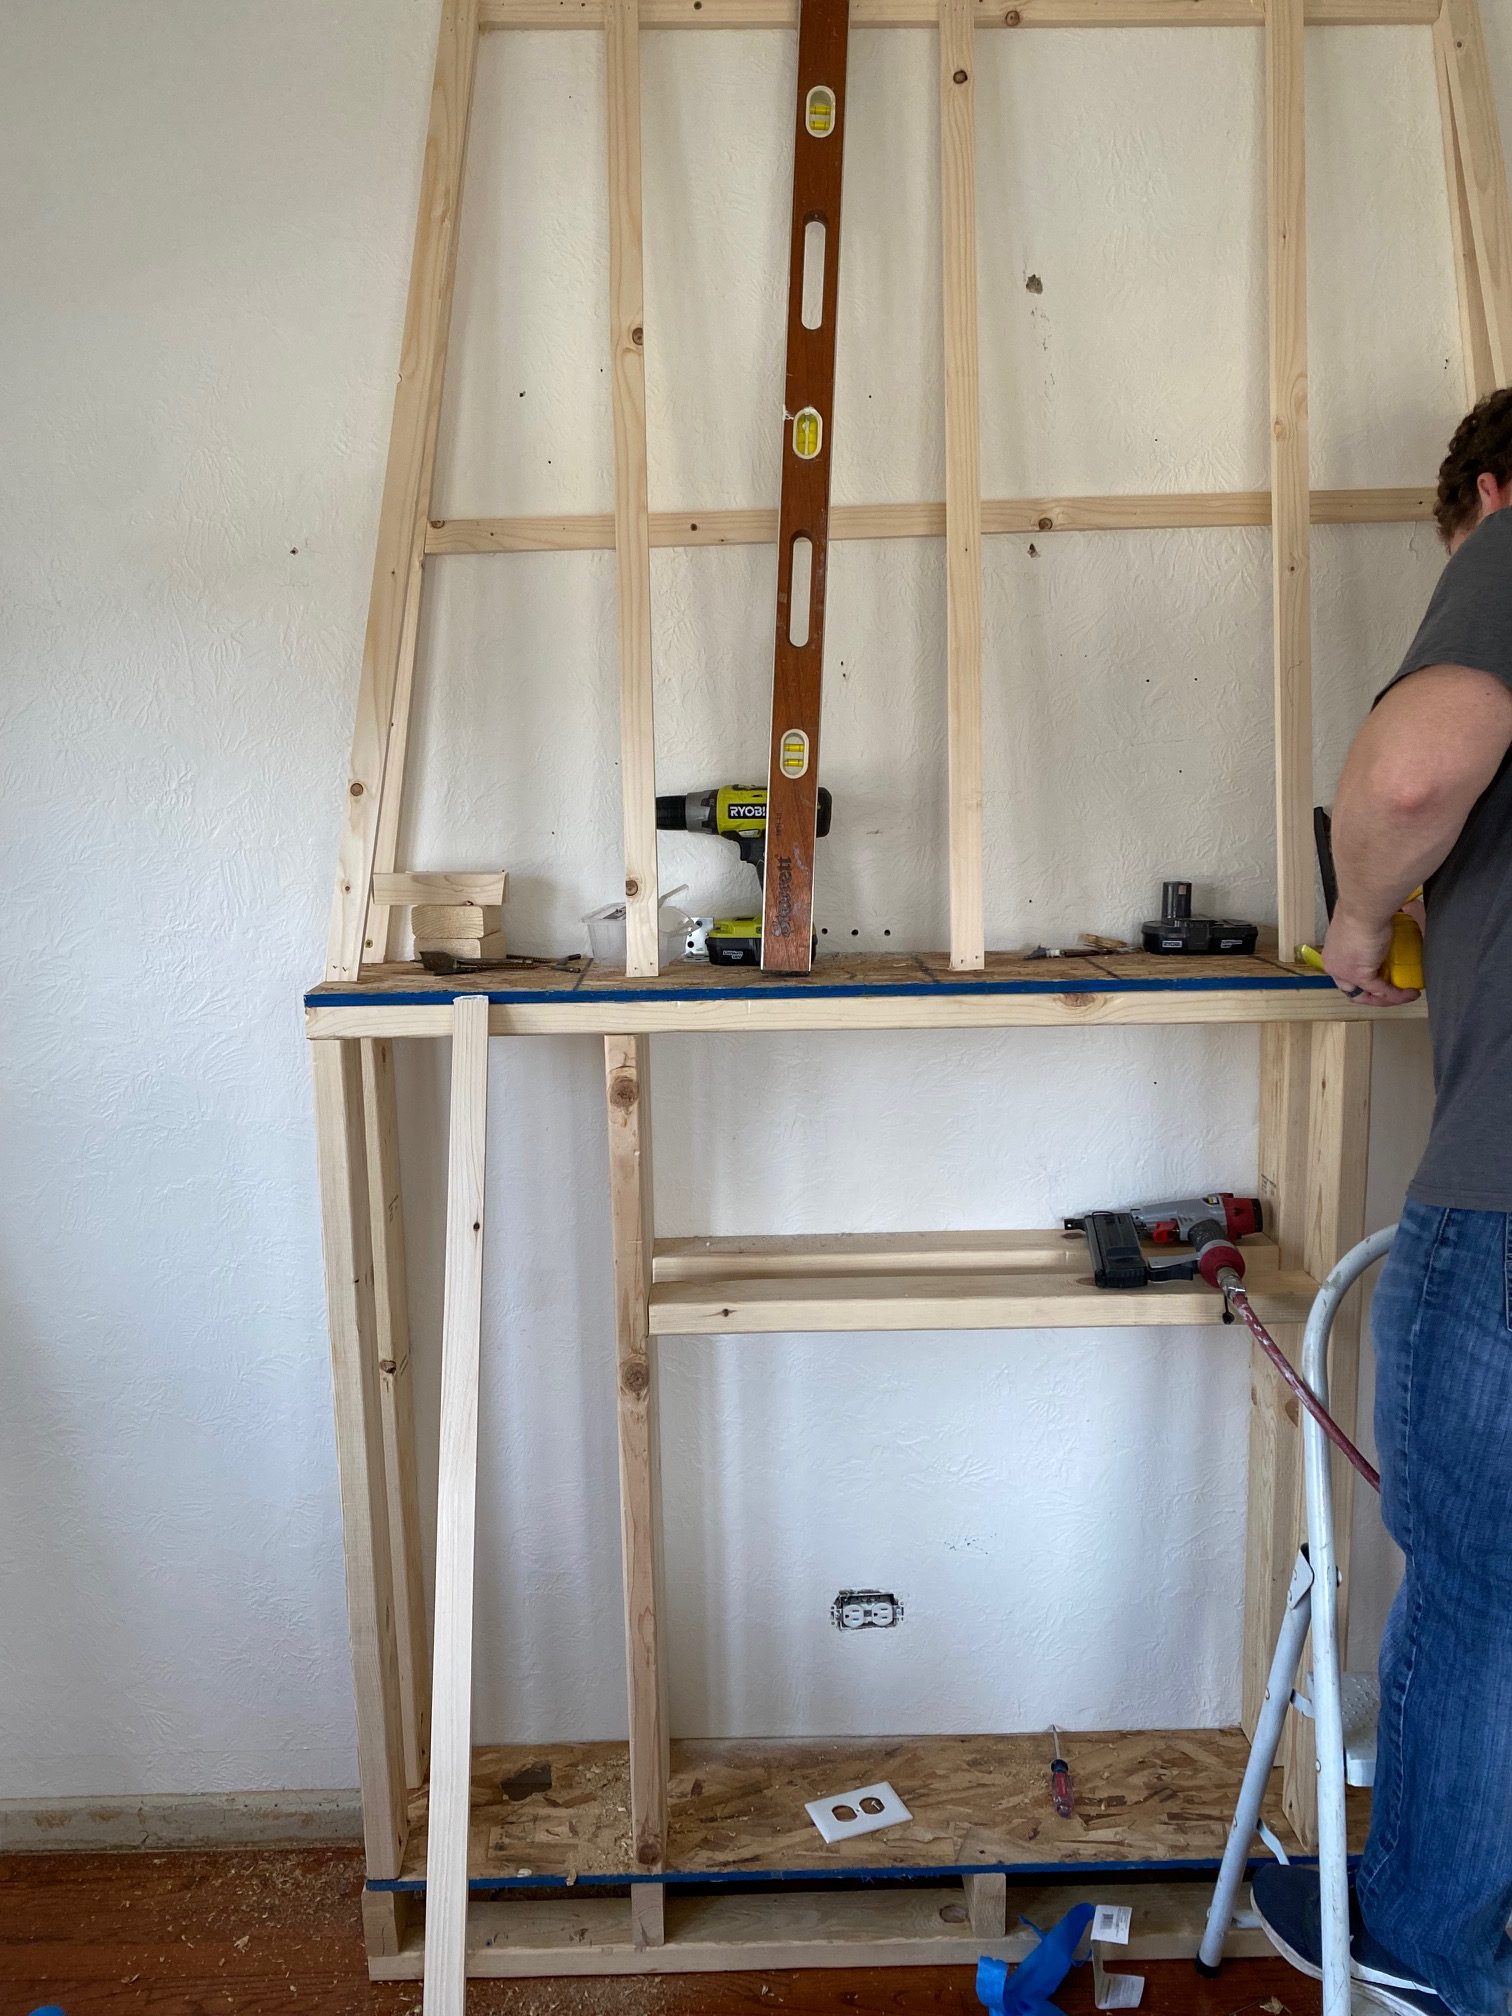
The top of the fireplace actually goes into the wall so at the top near the trim it is only a few inches deep. 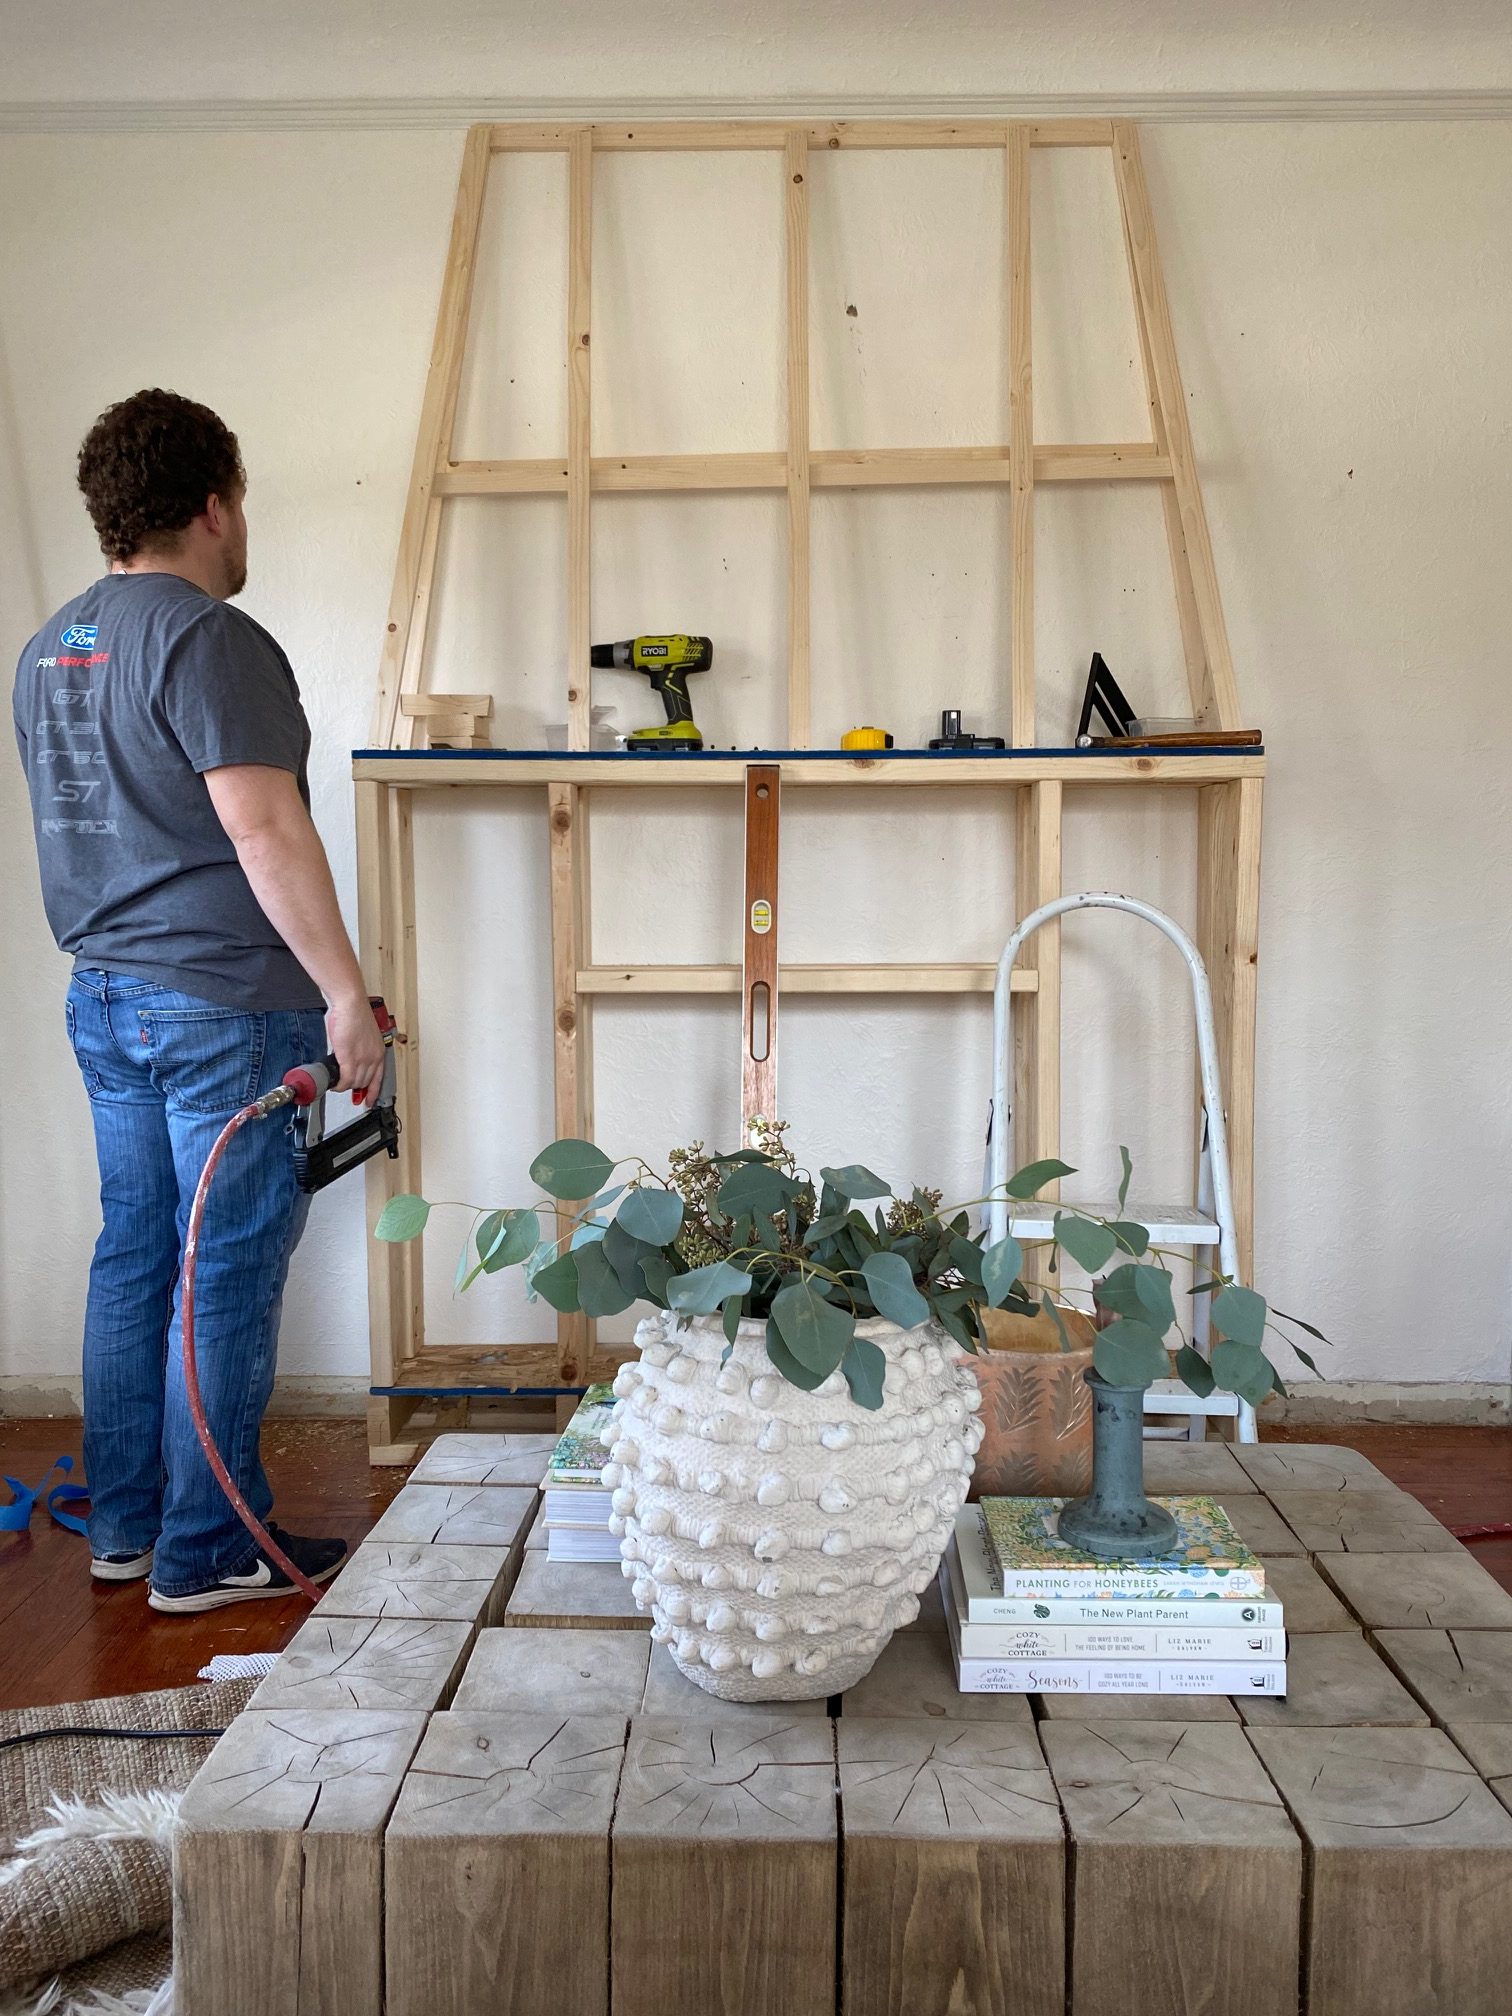
Next up is drywall.
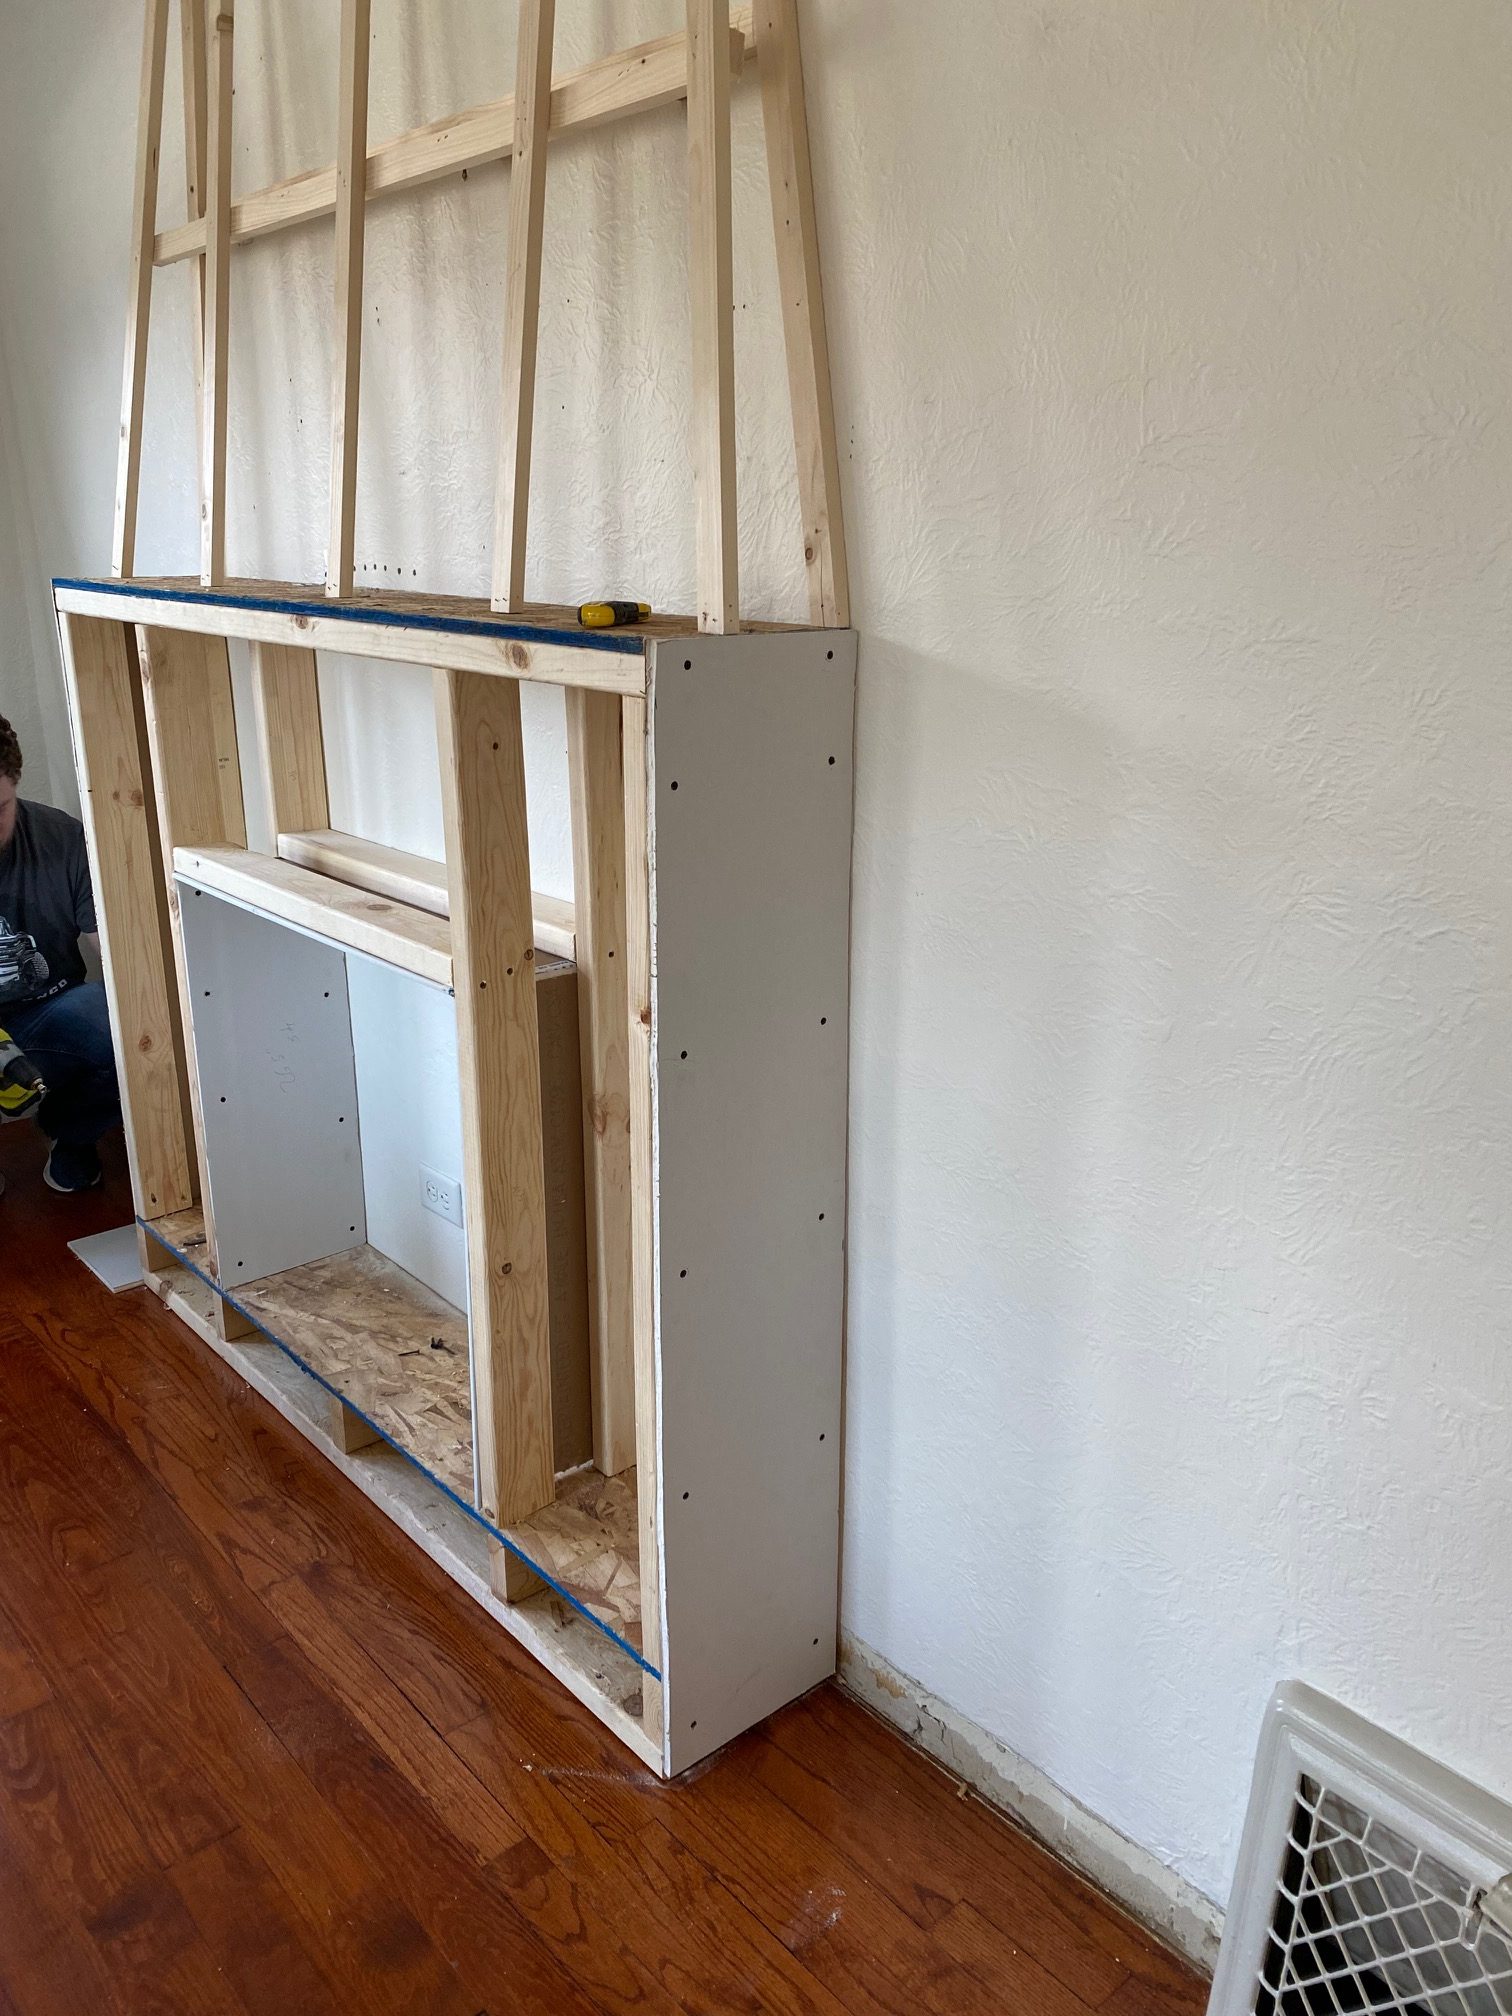
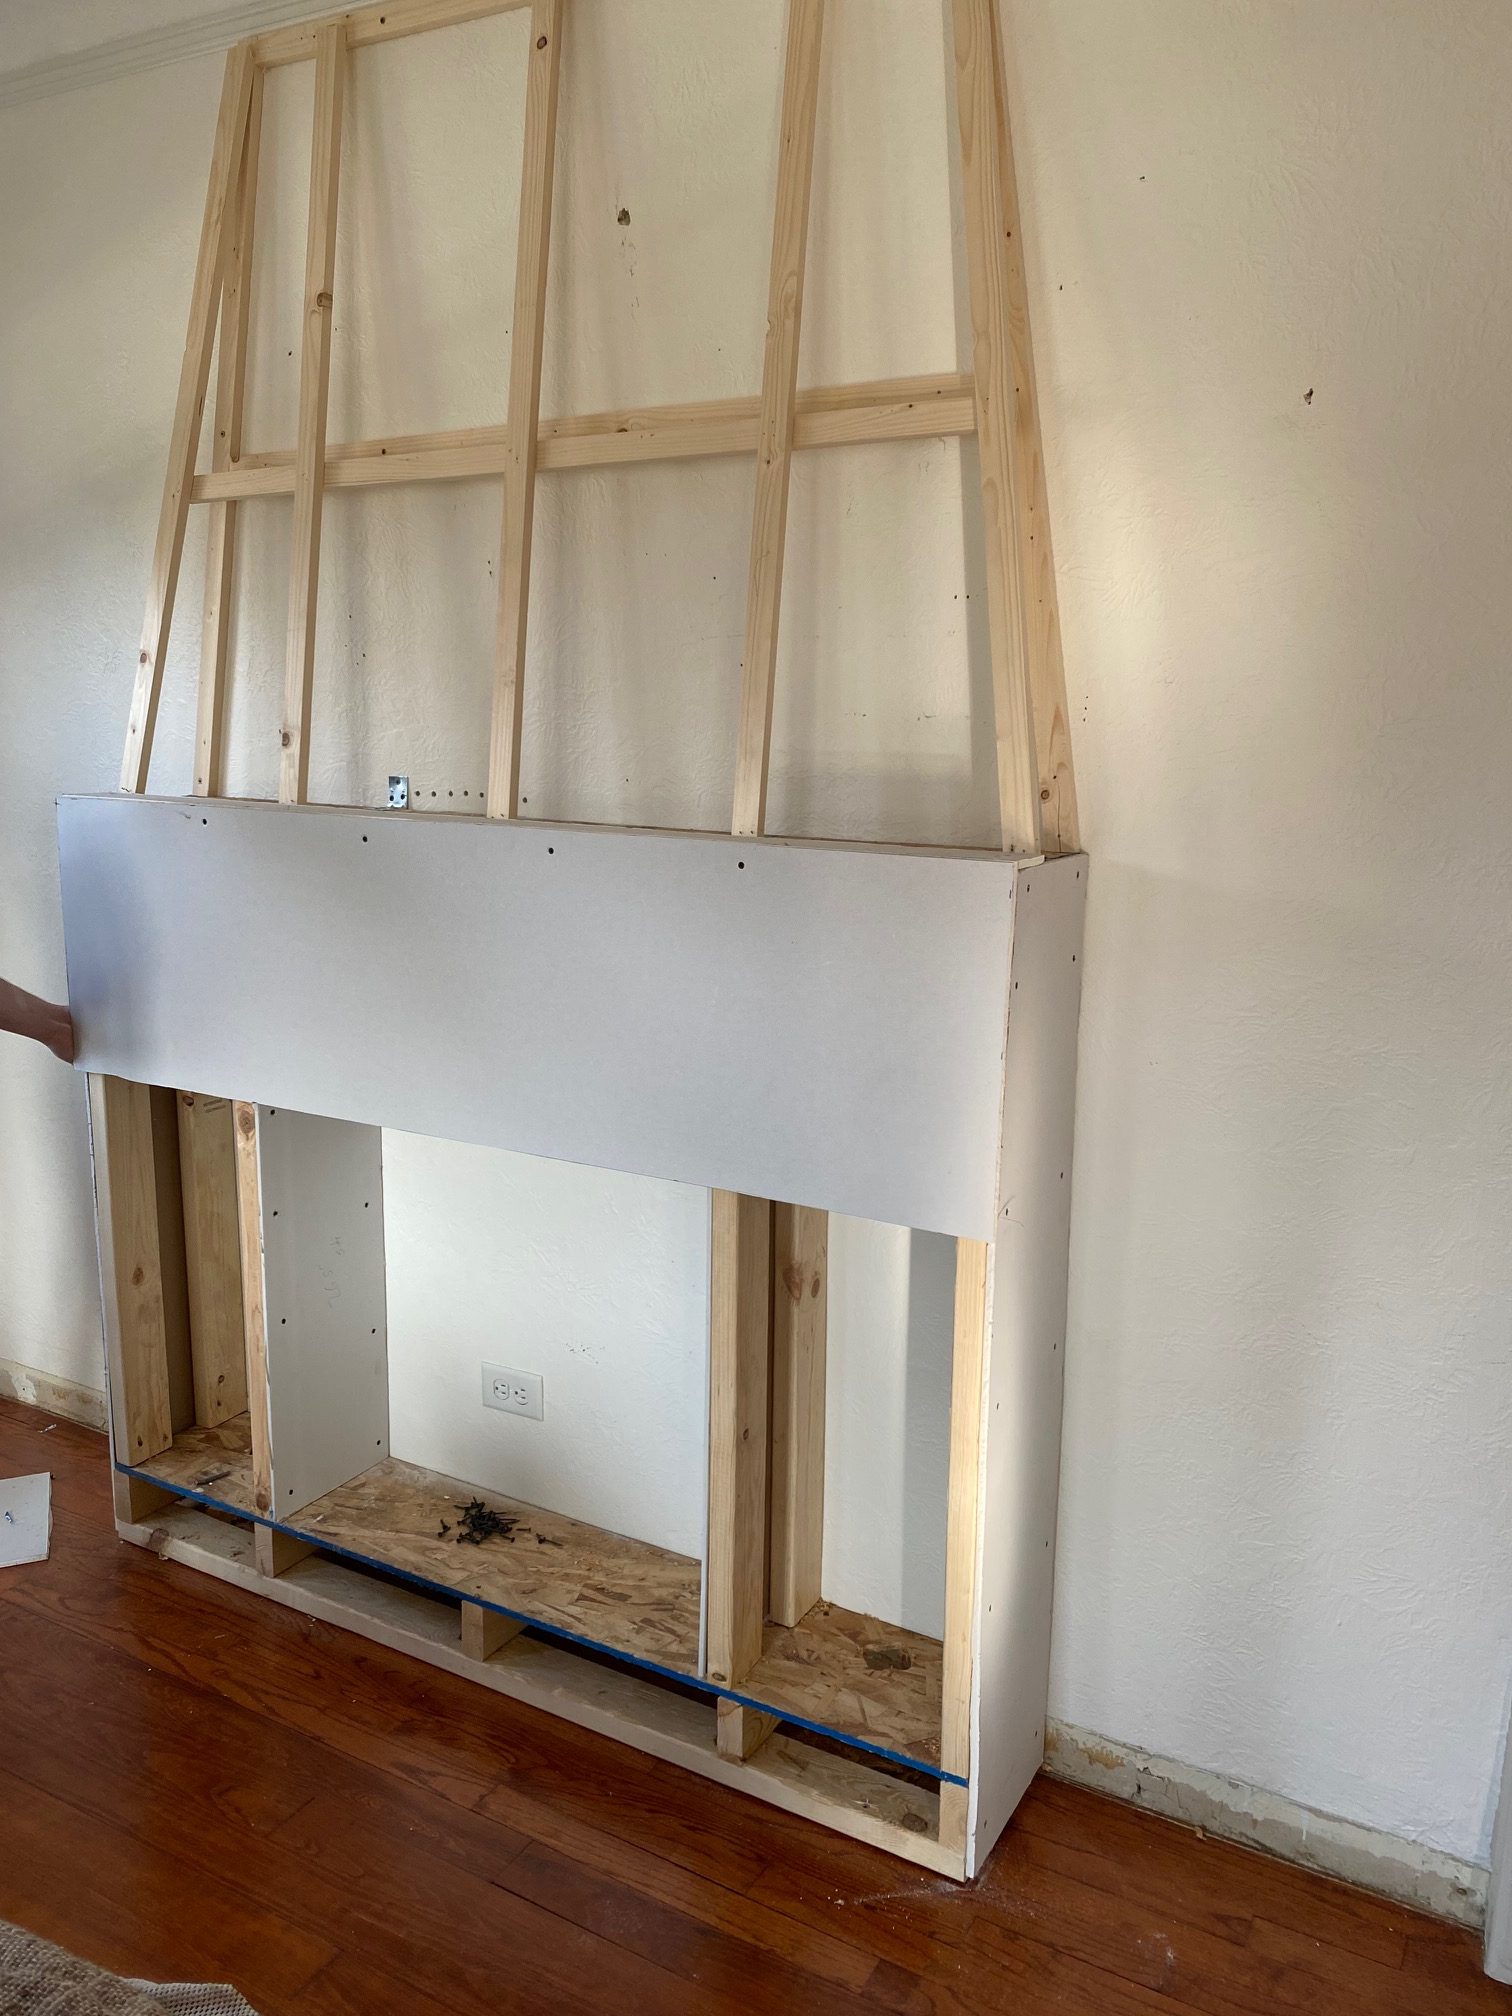
One of the mistakes that was made during this process is not removing this picture trim piece. I planned to remove it and sheetrock all our walls to get rid of this texture anyways and by not removing this trim it created a bit more work in the end.
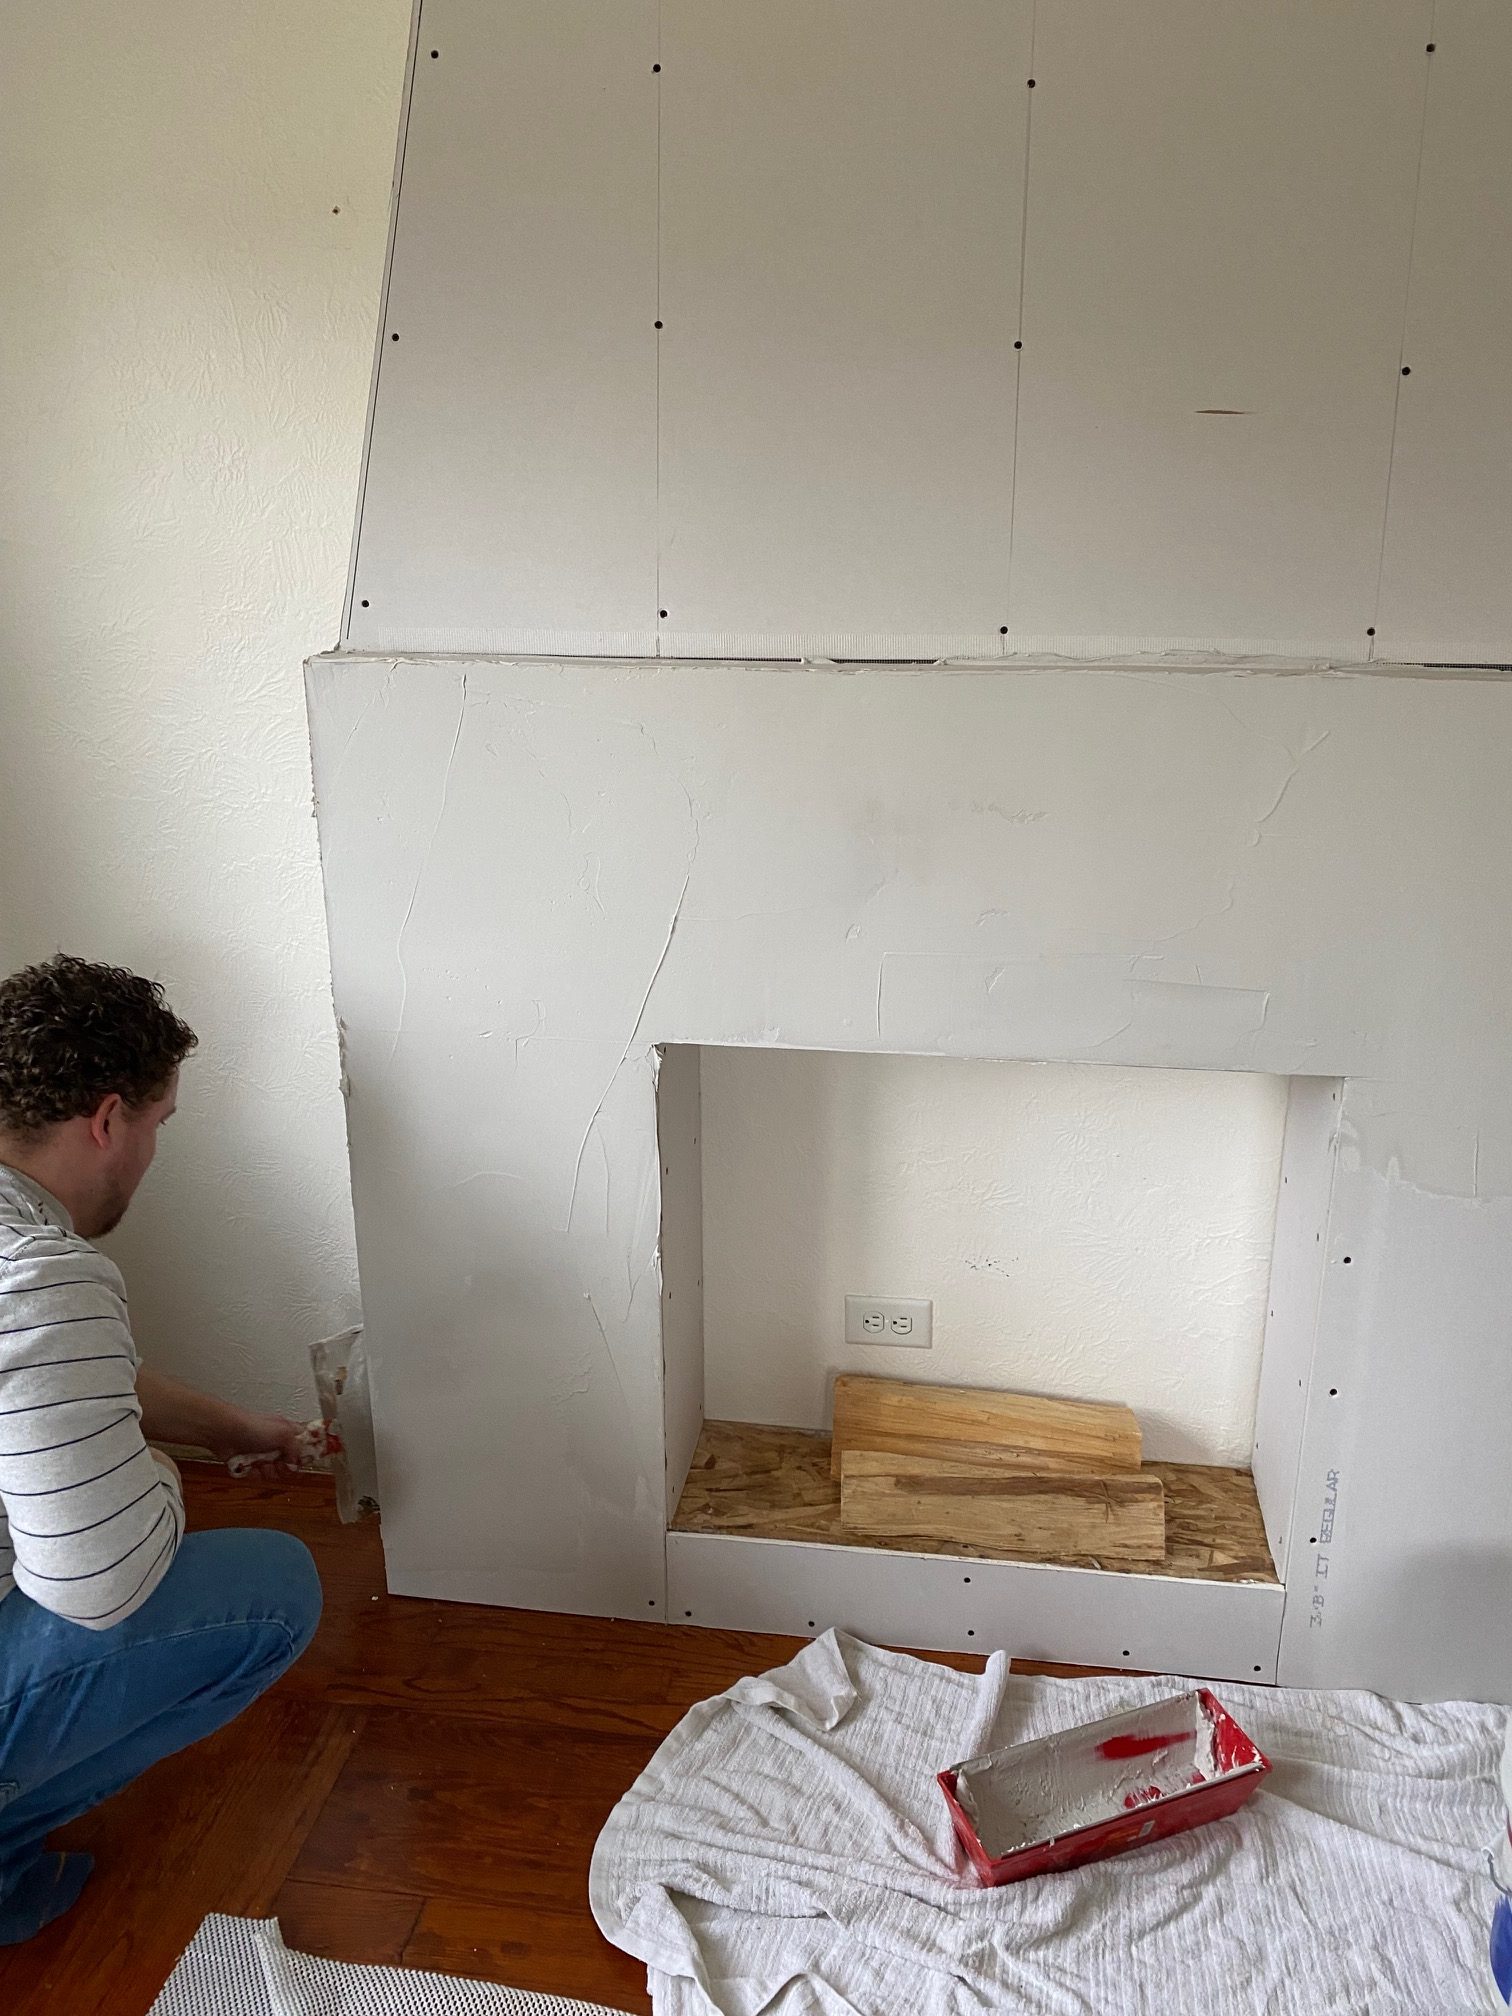
Drywall is totally done and now we are adding some drywall compound.

Done! Mudding was intimidating to me but it was actually really easy which gave me the confidence to sheetrock over our entire living room which I will post later!
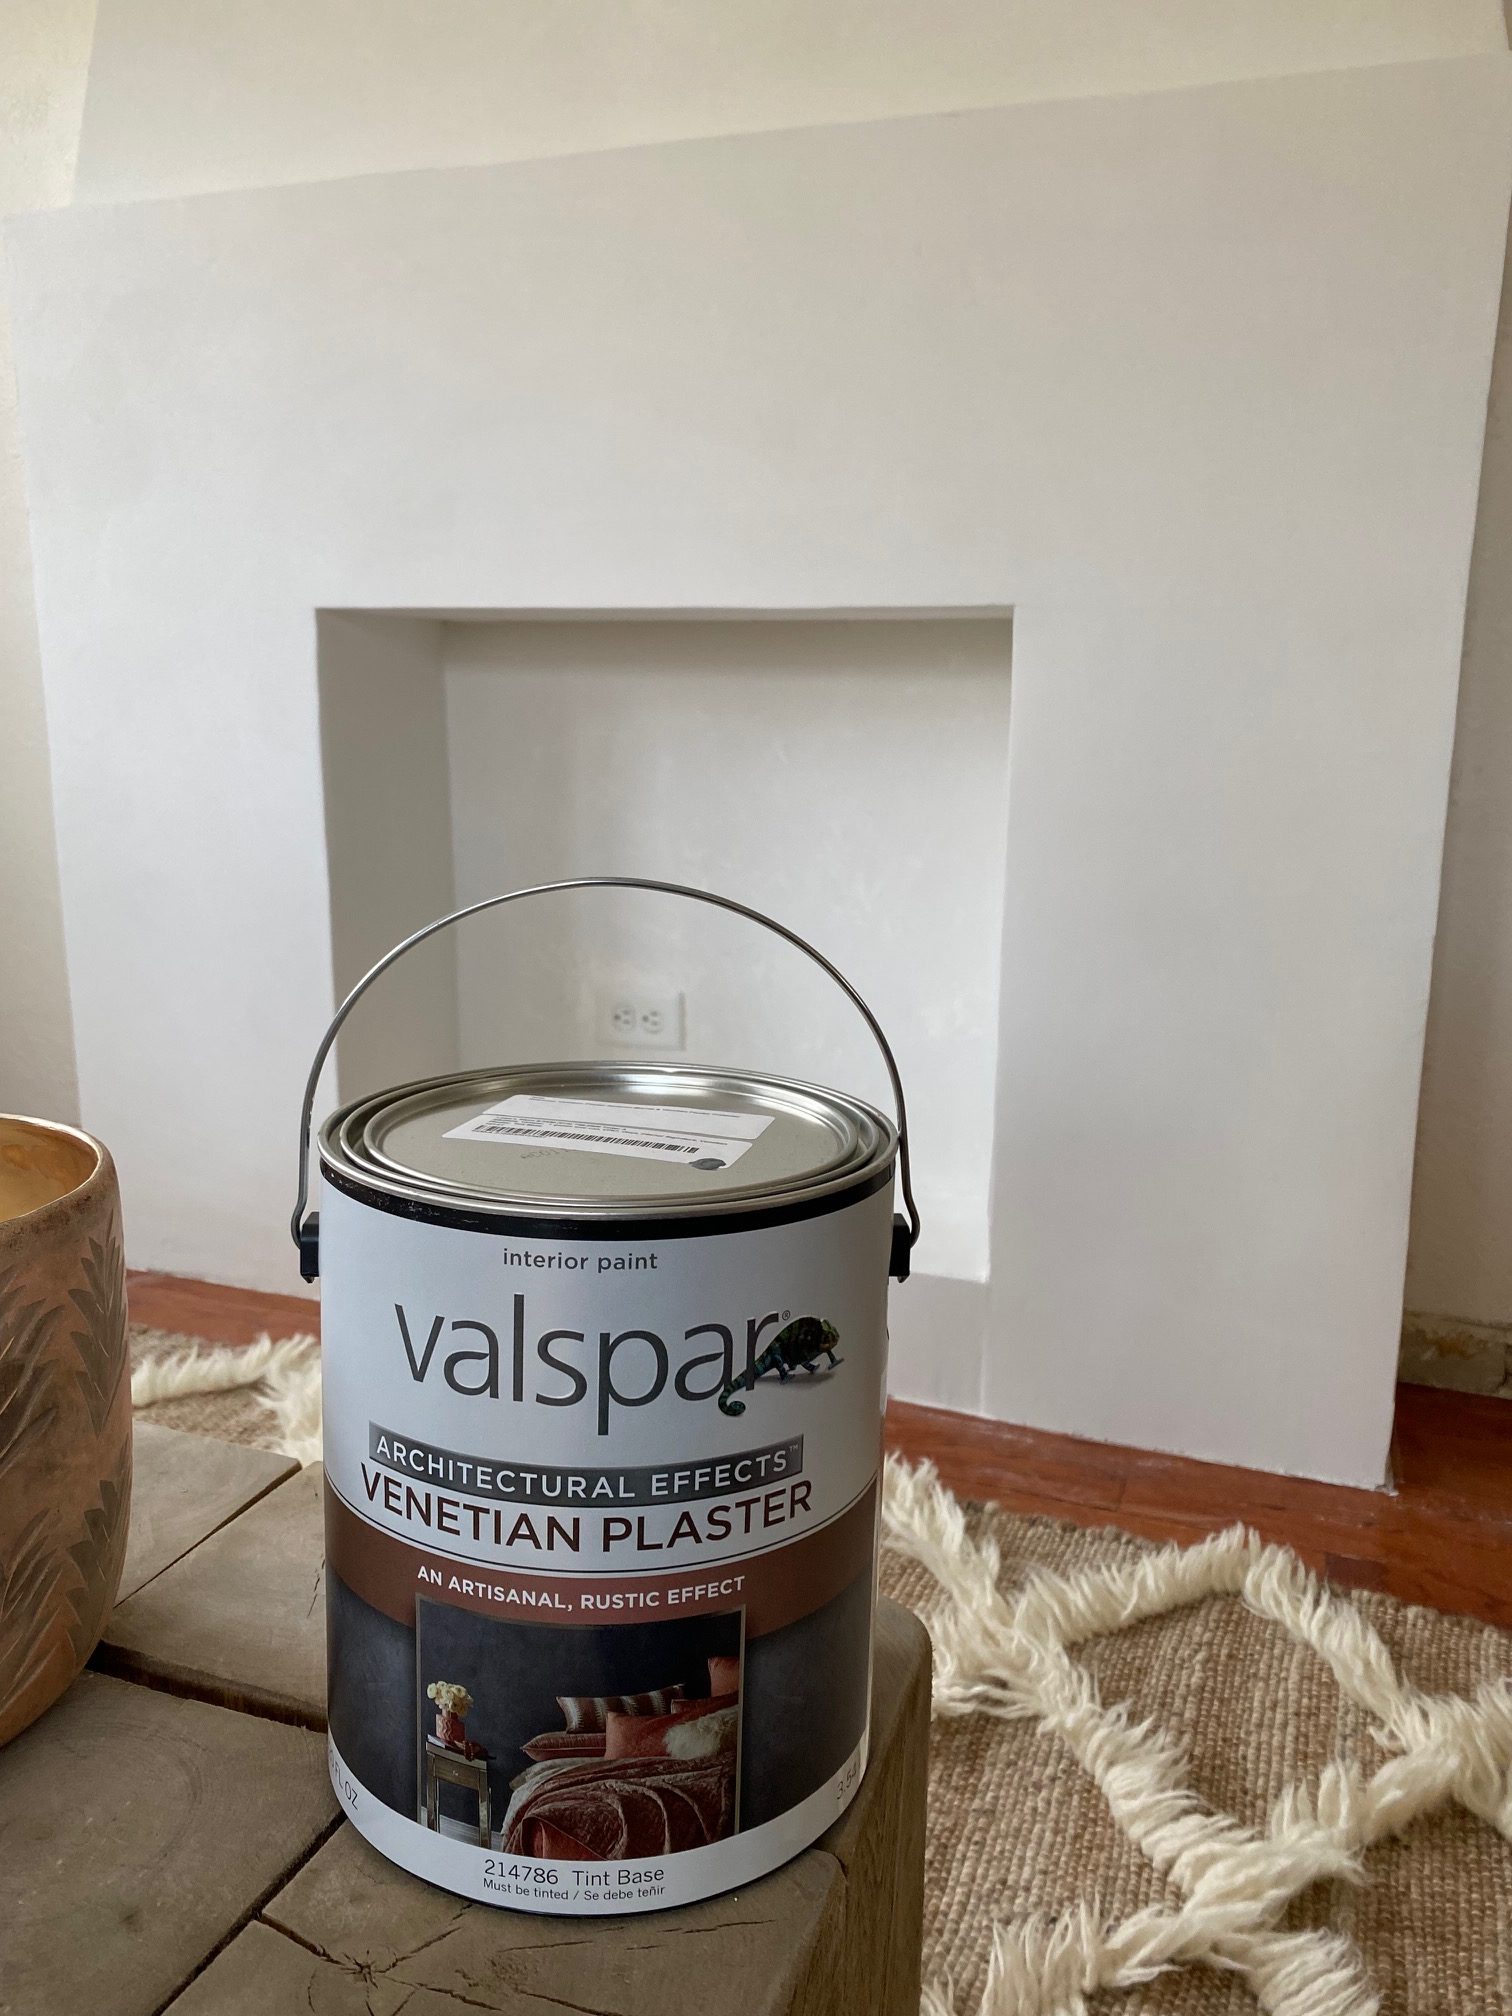
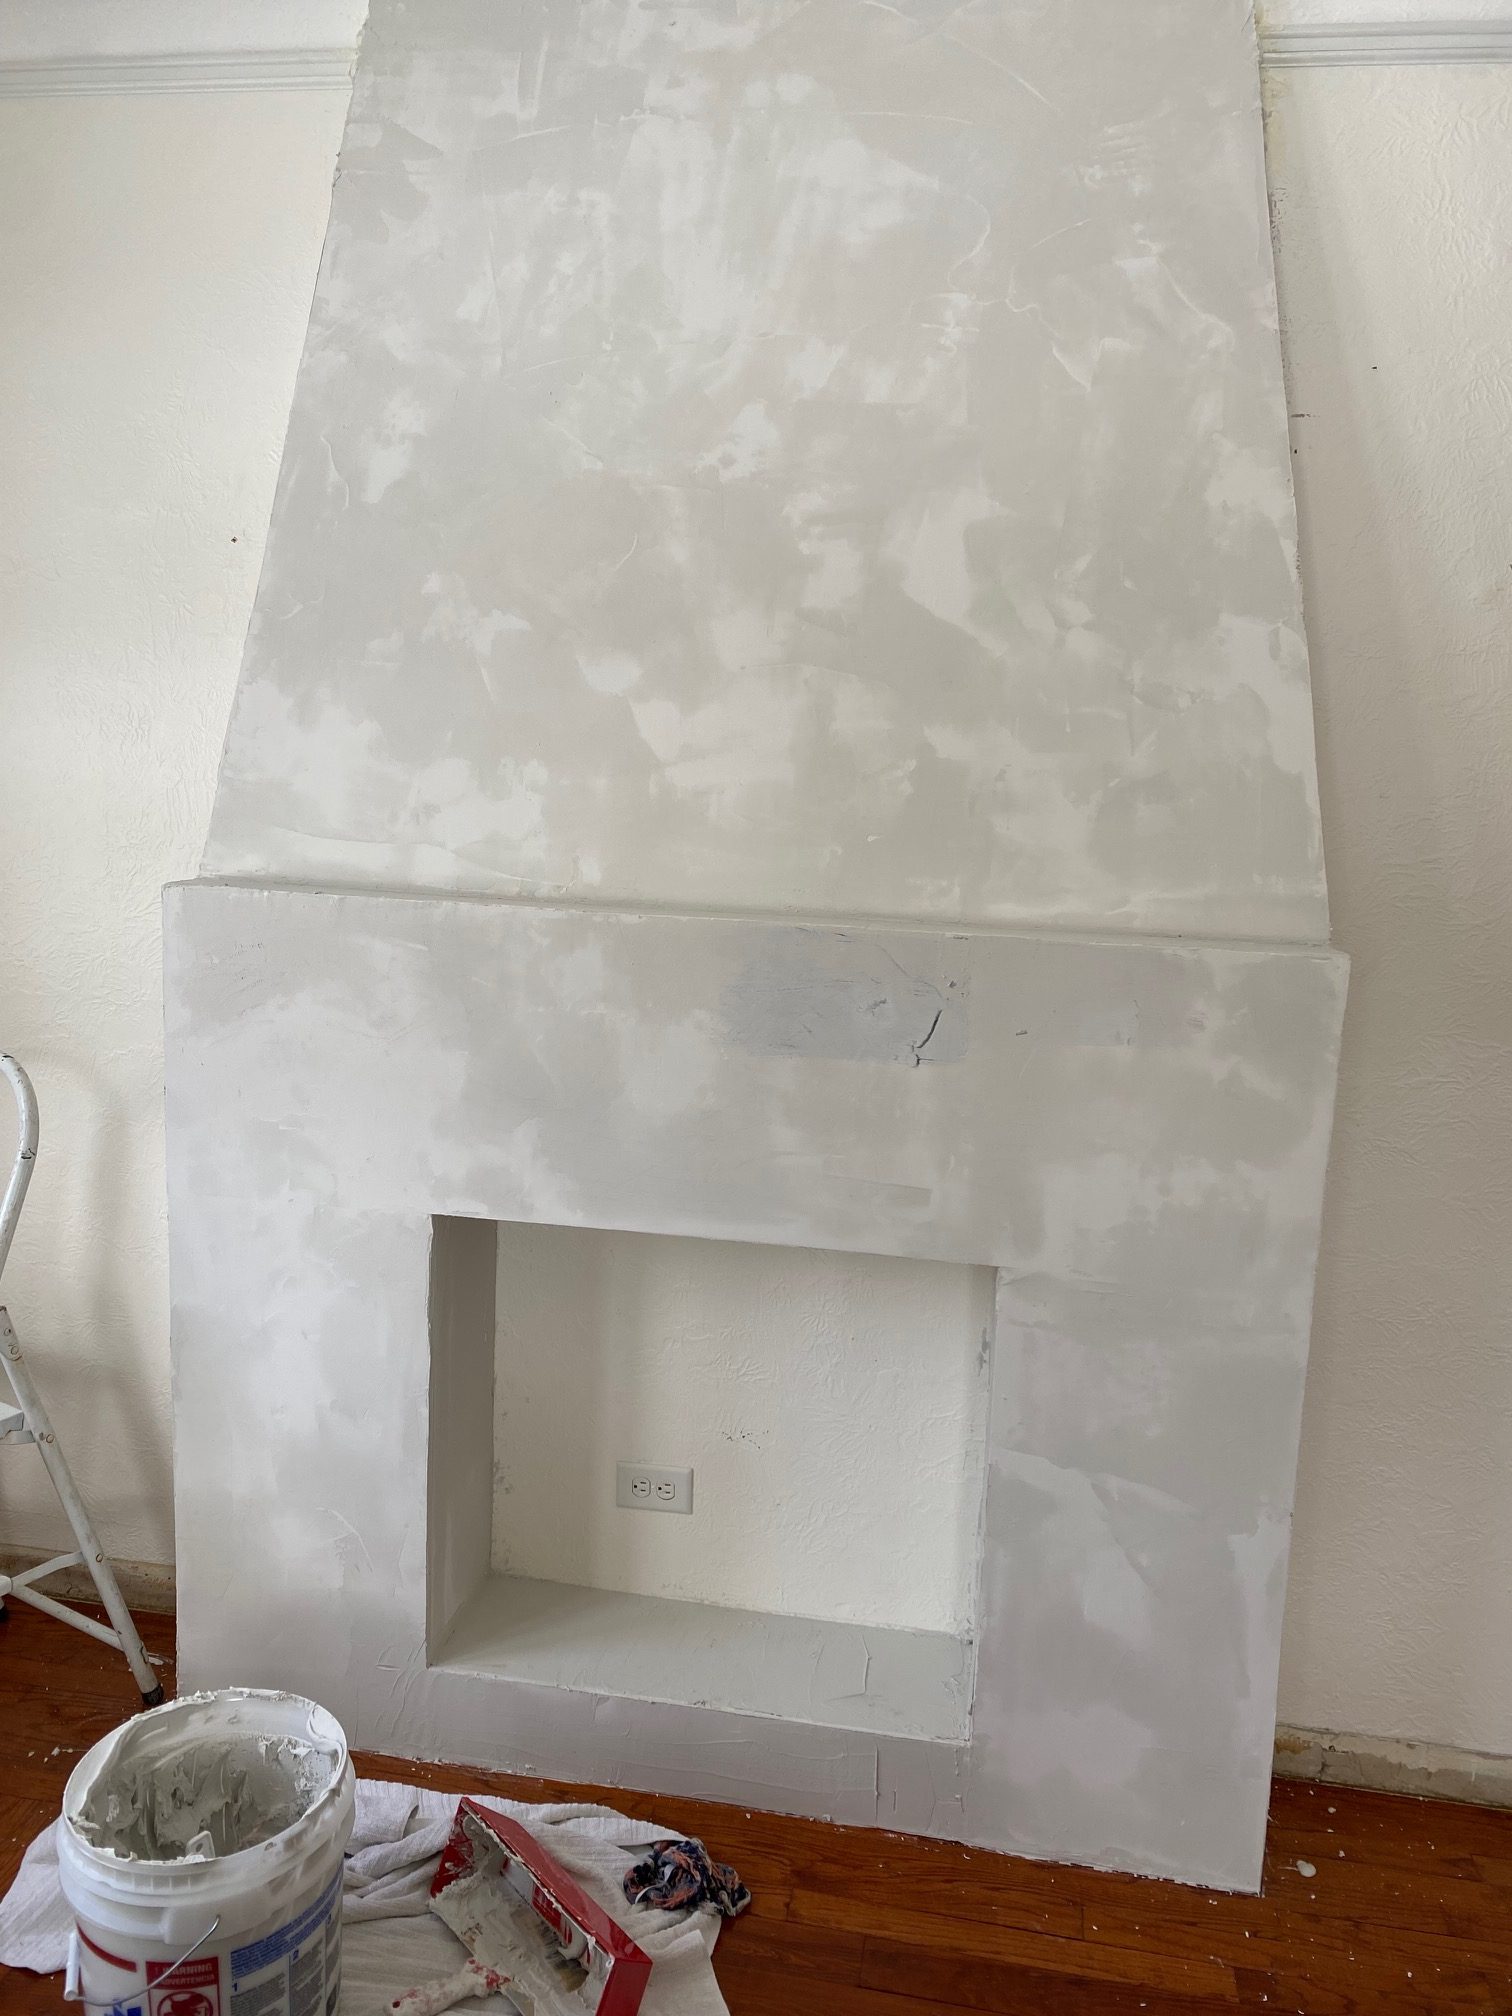
I found this Product from Lowes (HERE) and it turned out amazing! This is hands down one of my favorite paint techniques and its really affordable compared to a lot of other things out there right now. We used the color dark slate and only used about half a gallon for multiple layers on this fireplace.
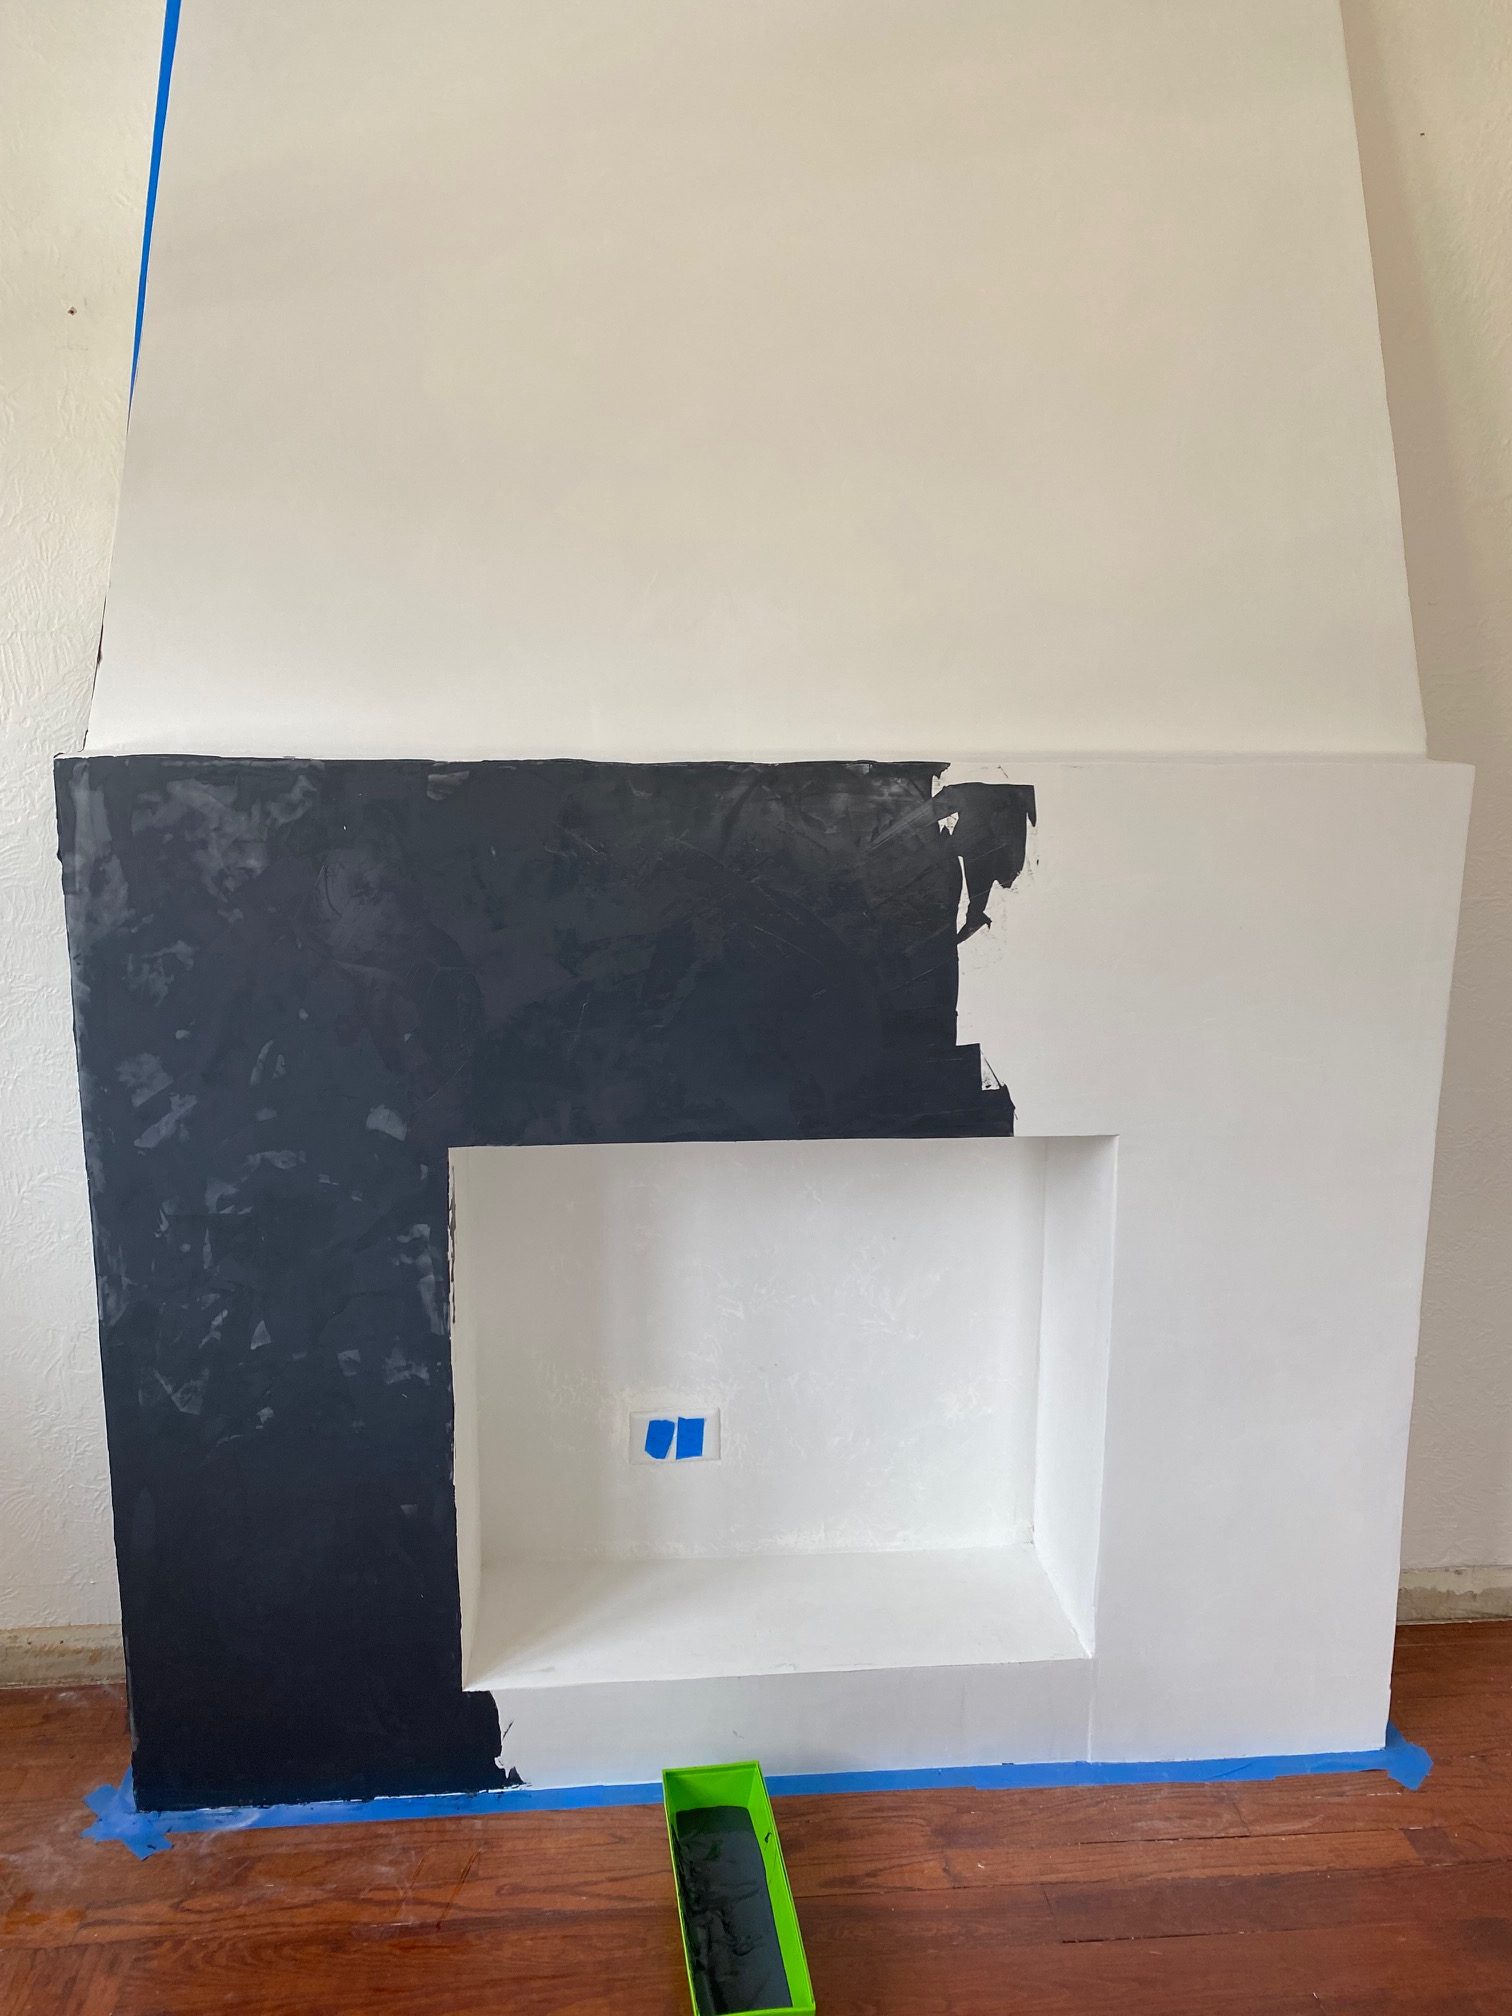
To apply the “plaster” which actually ends up looking more like stone you use a trowel. Its important to work in small sections as it does dry super fast.
As it is drying it does dry lighter.
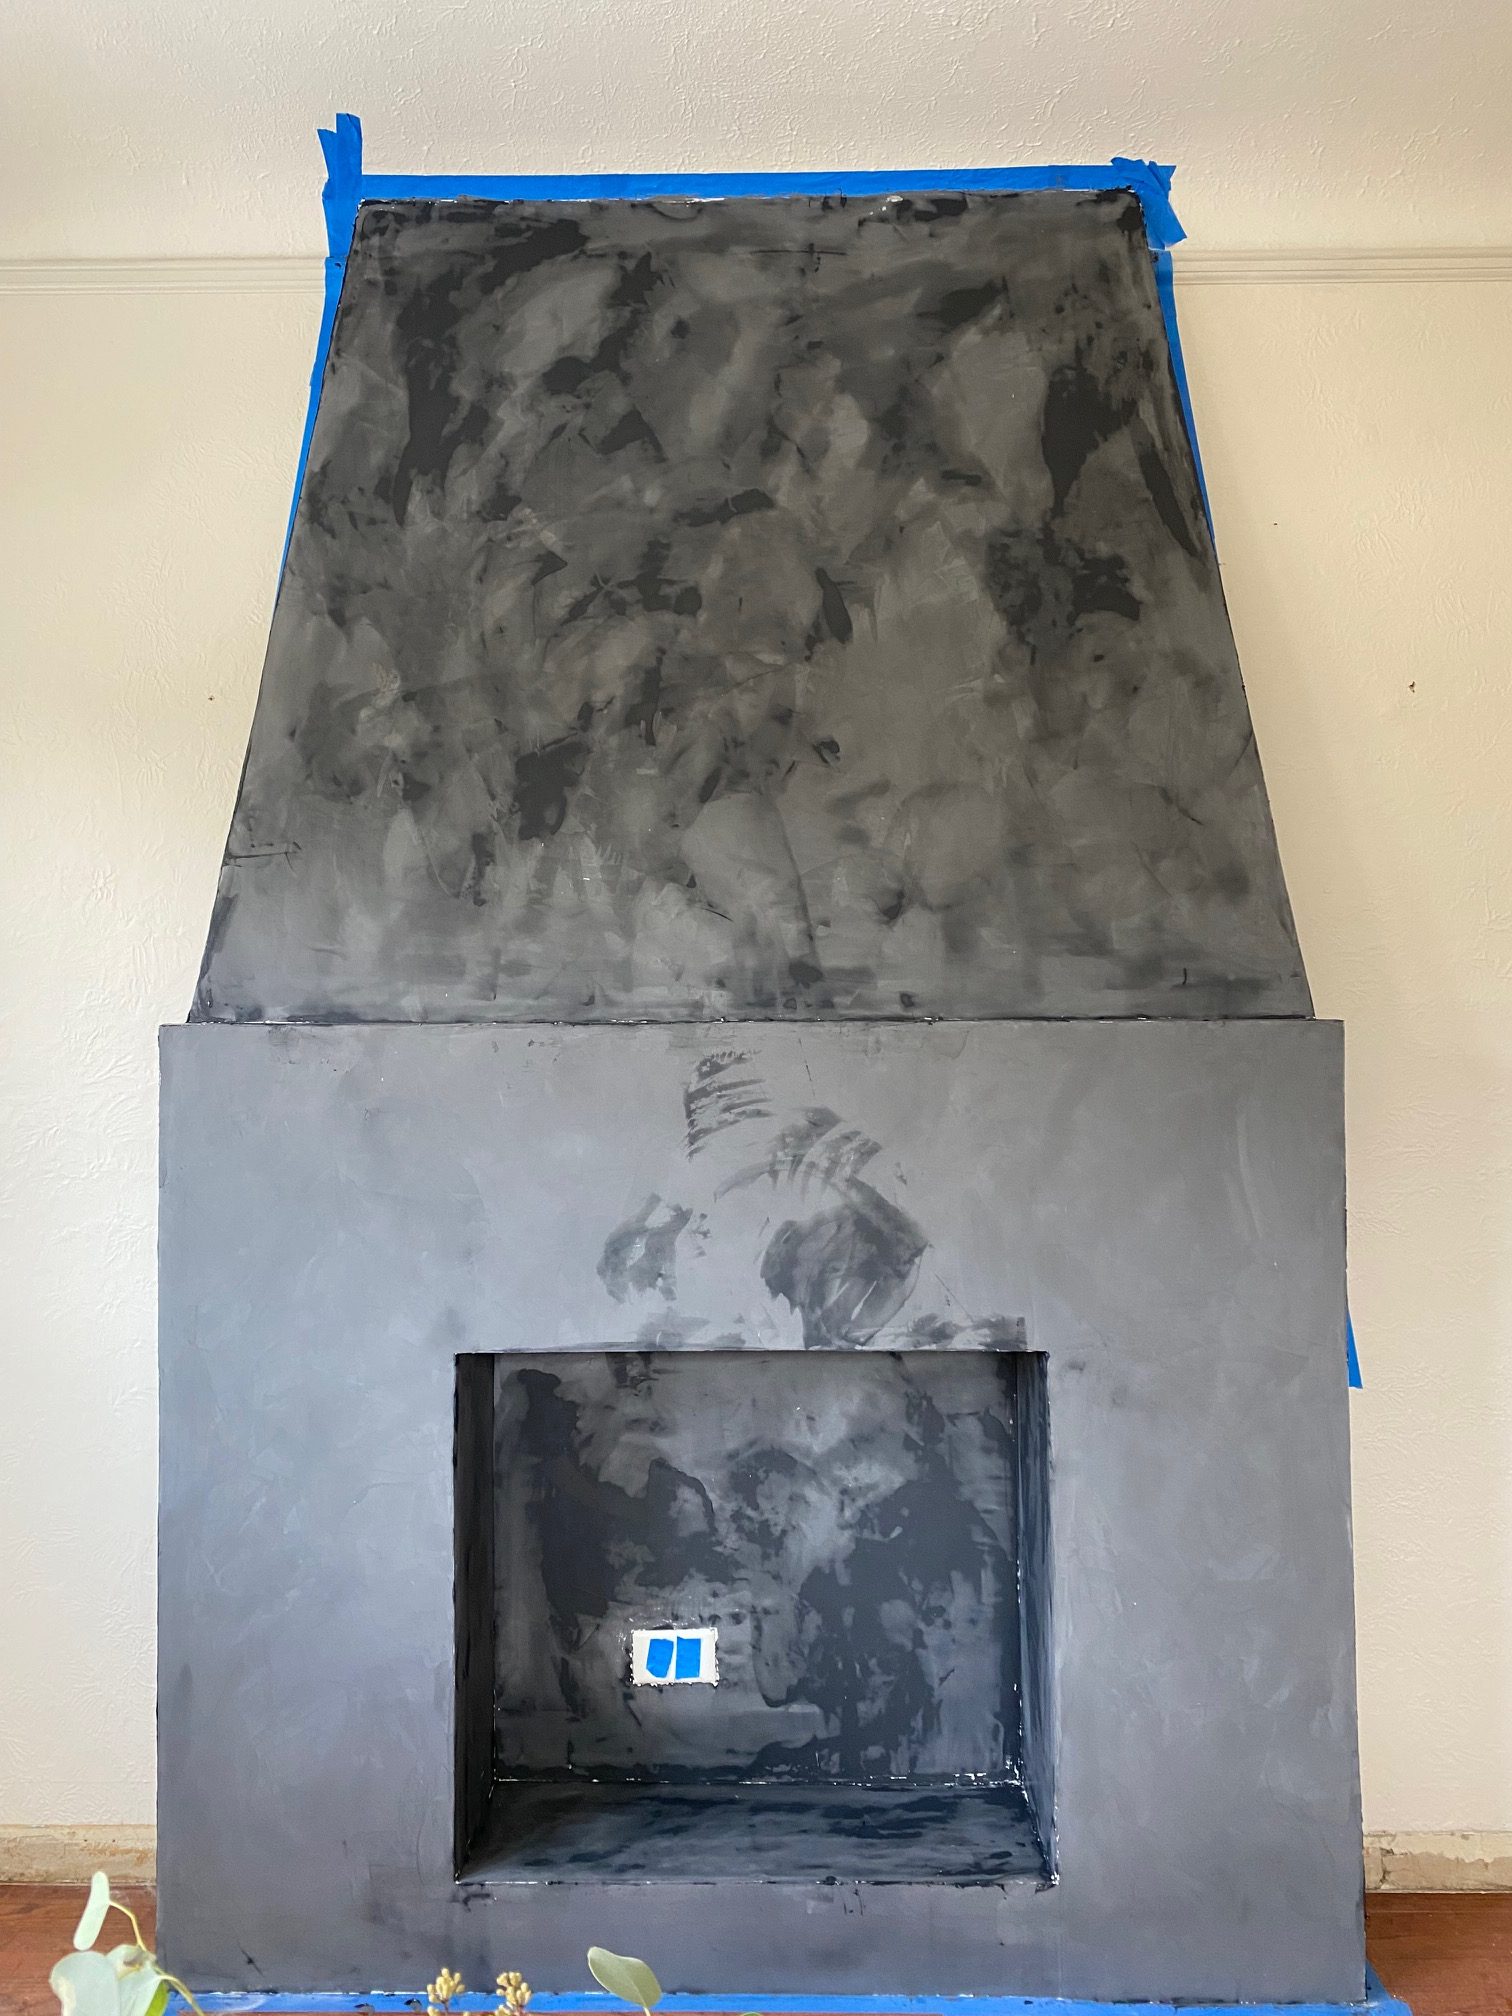
First coat is drying.
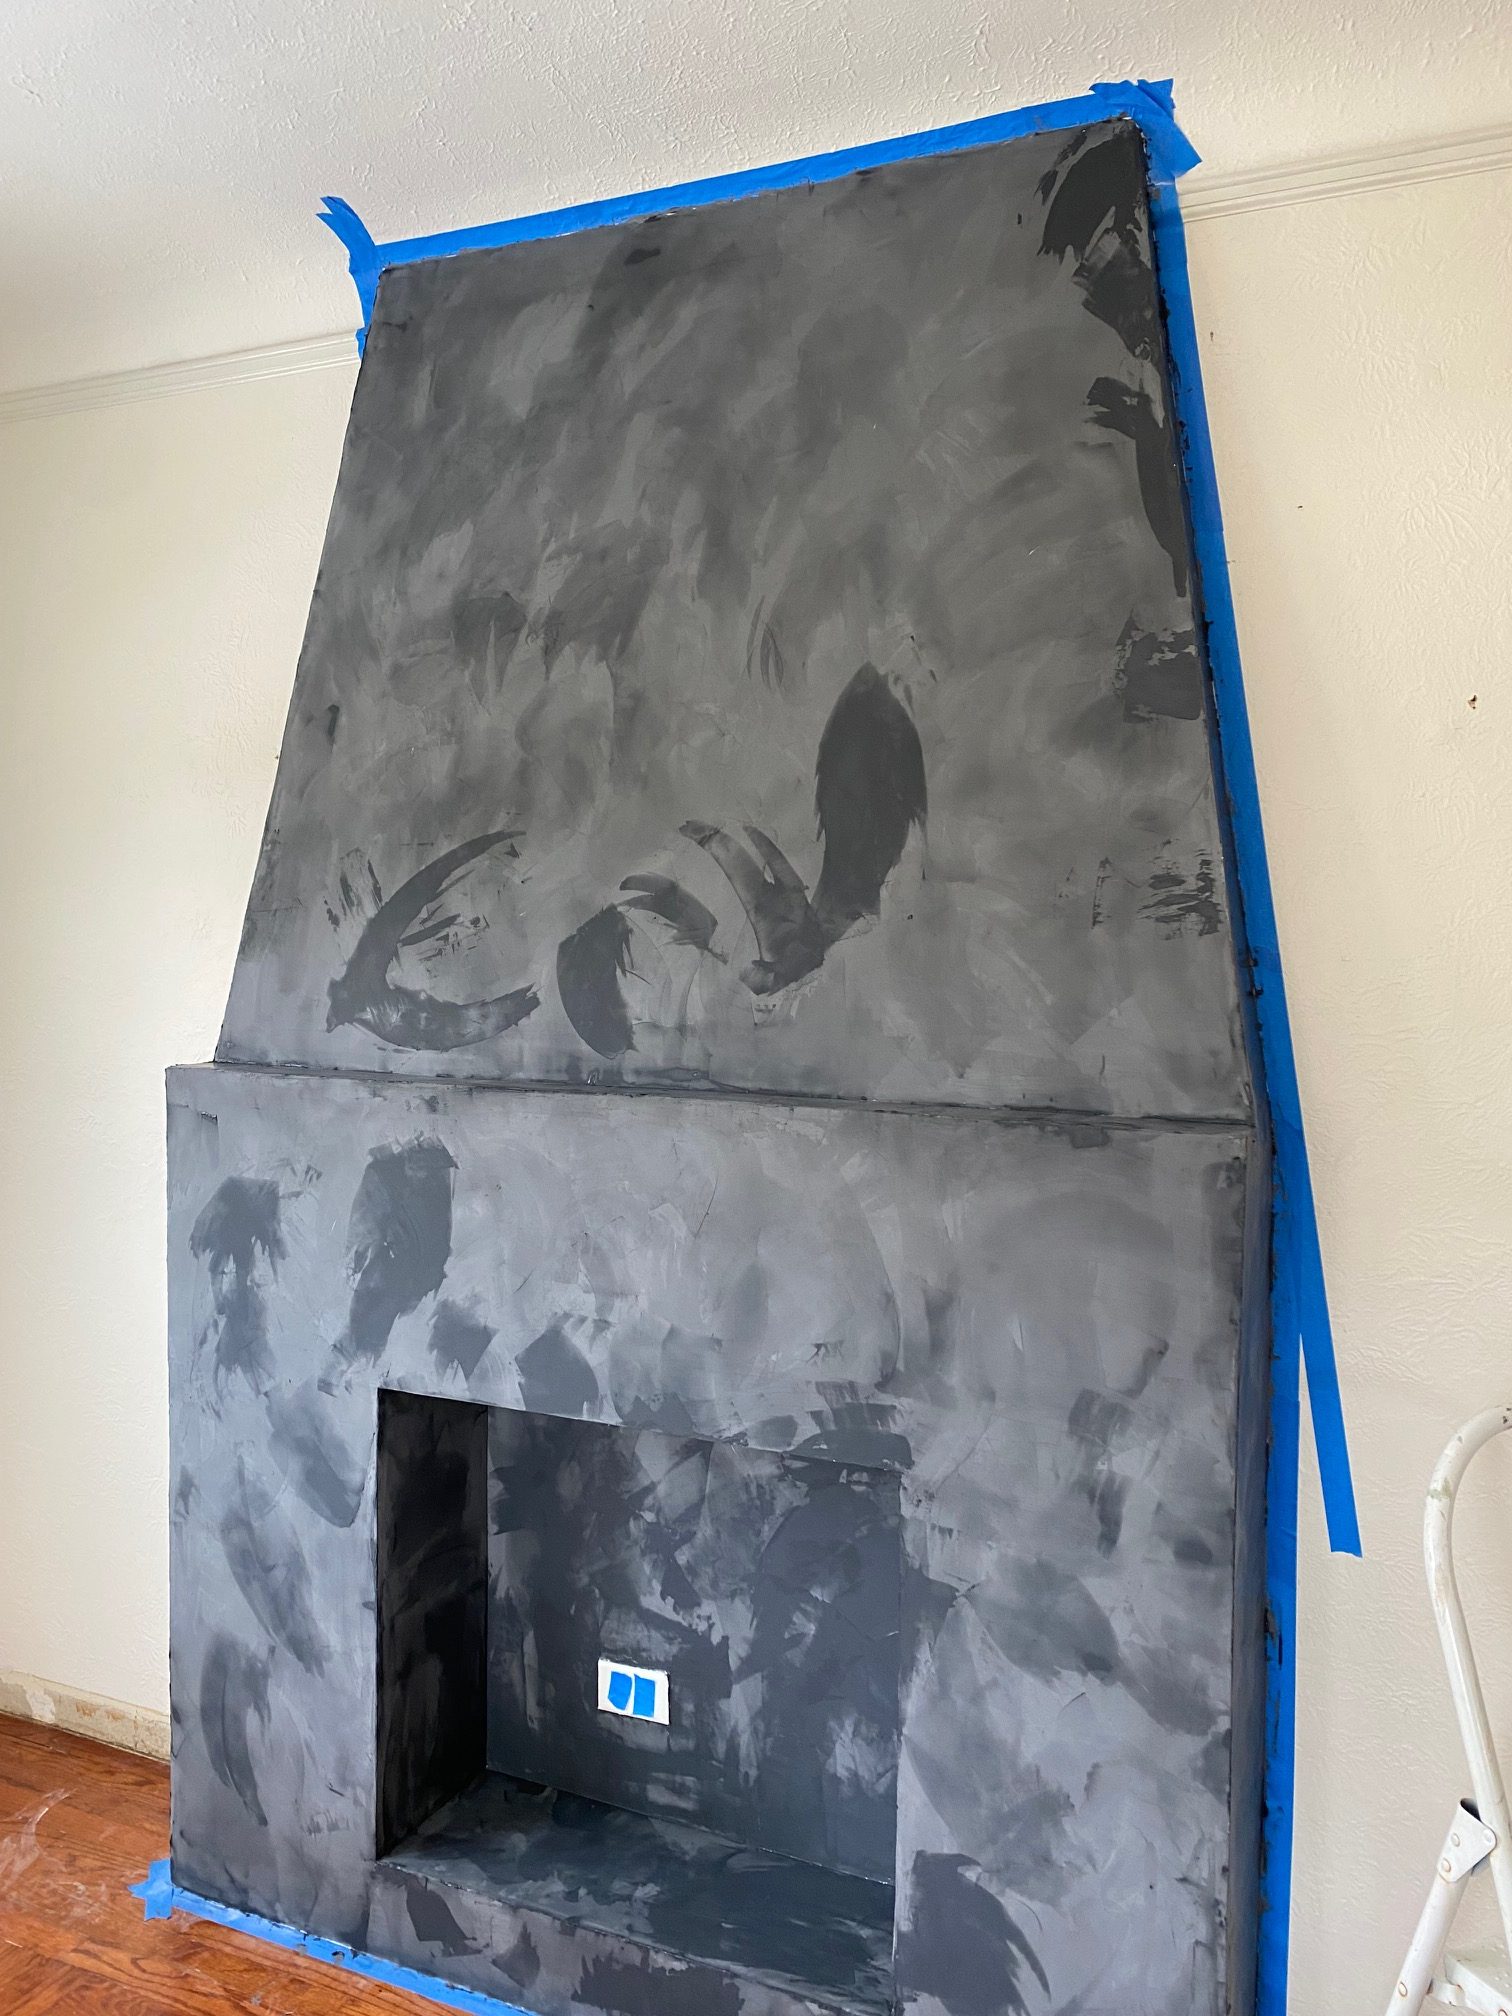
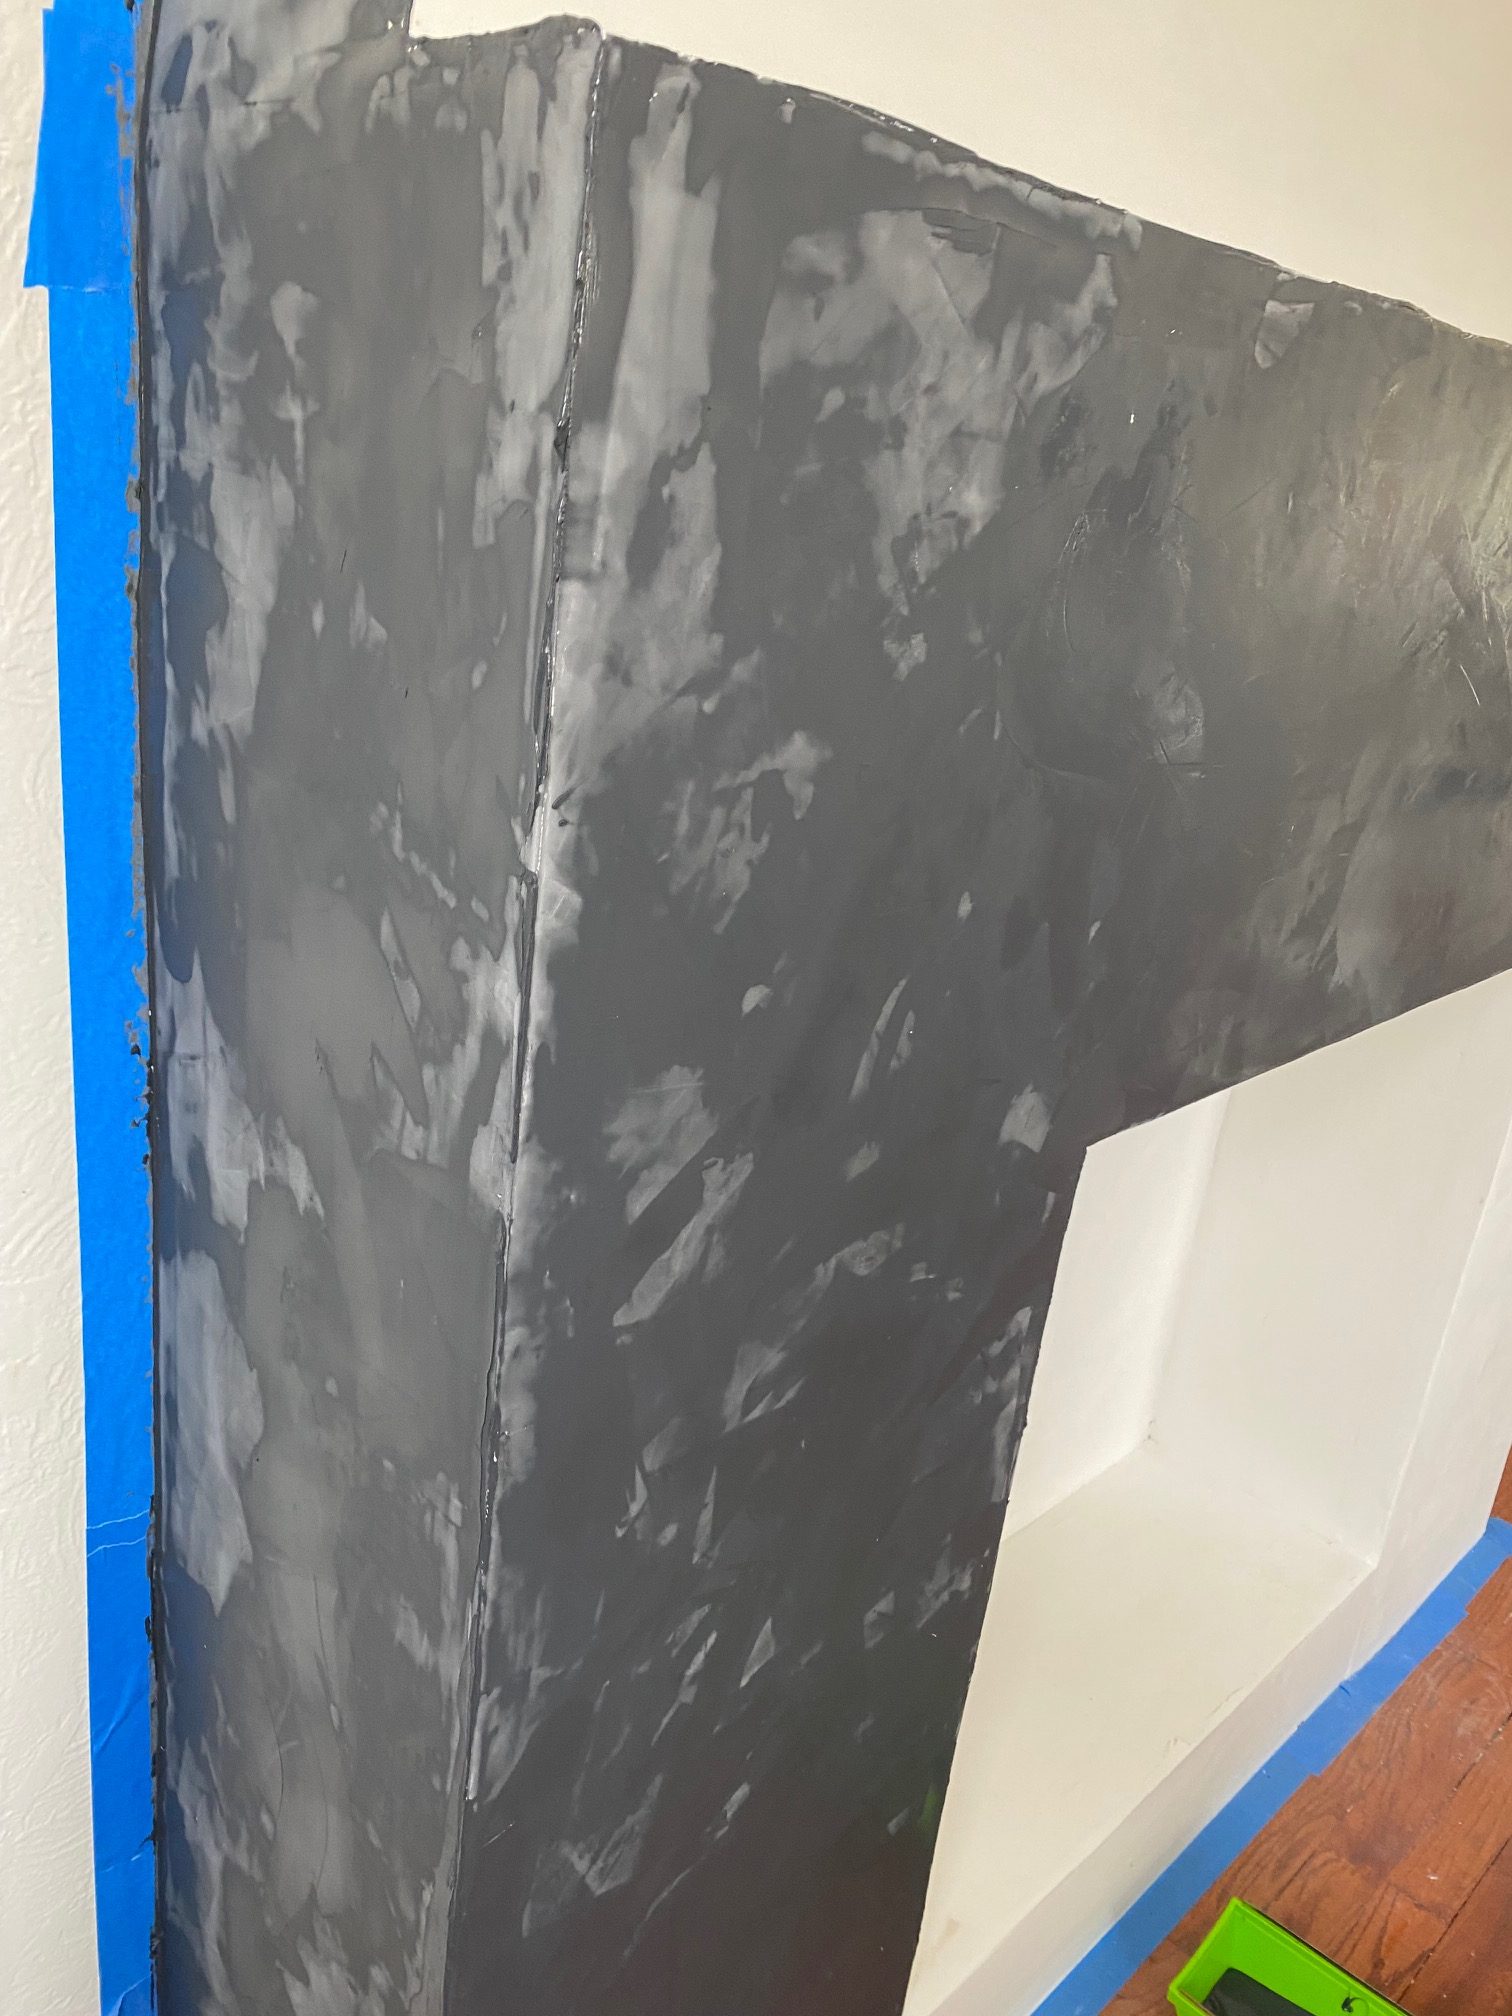
For the second coat I did the same technique but was random about where I applied. This creates texture and depth. After everything was dry I took a light grit sandpaper (380) and lightly sanded it down.

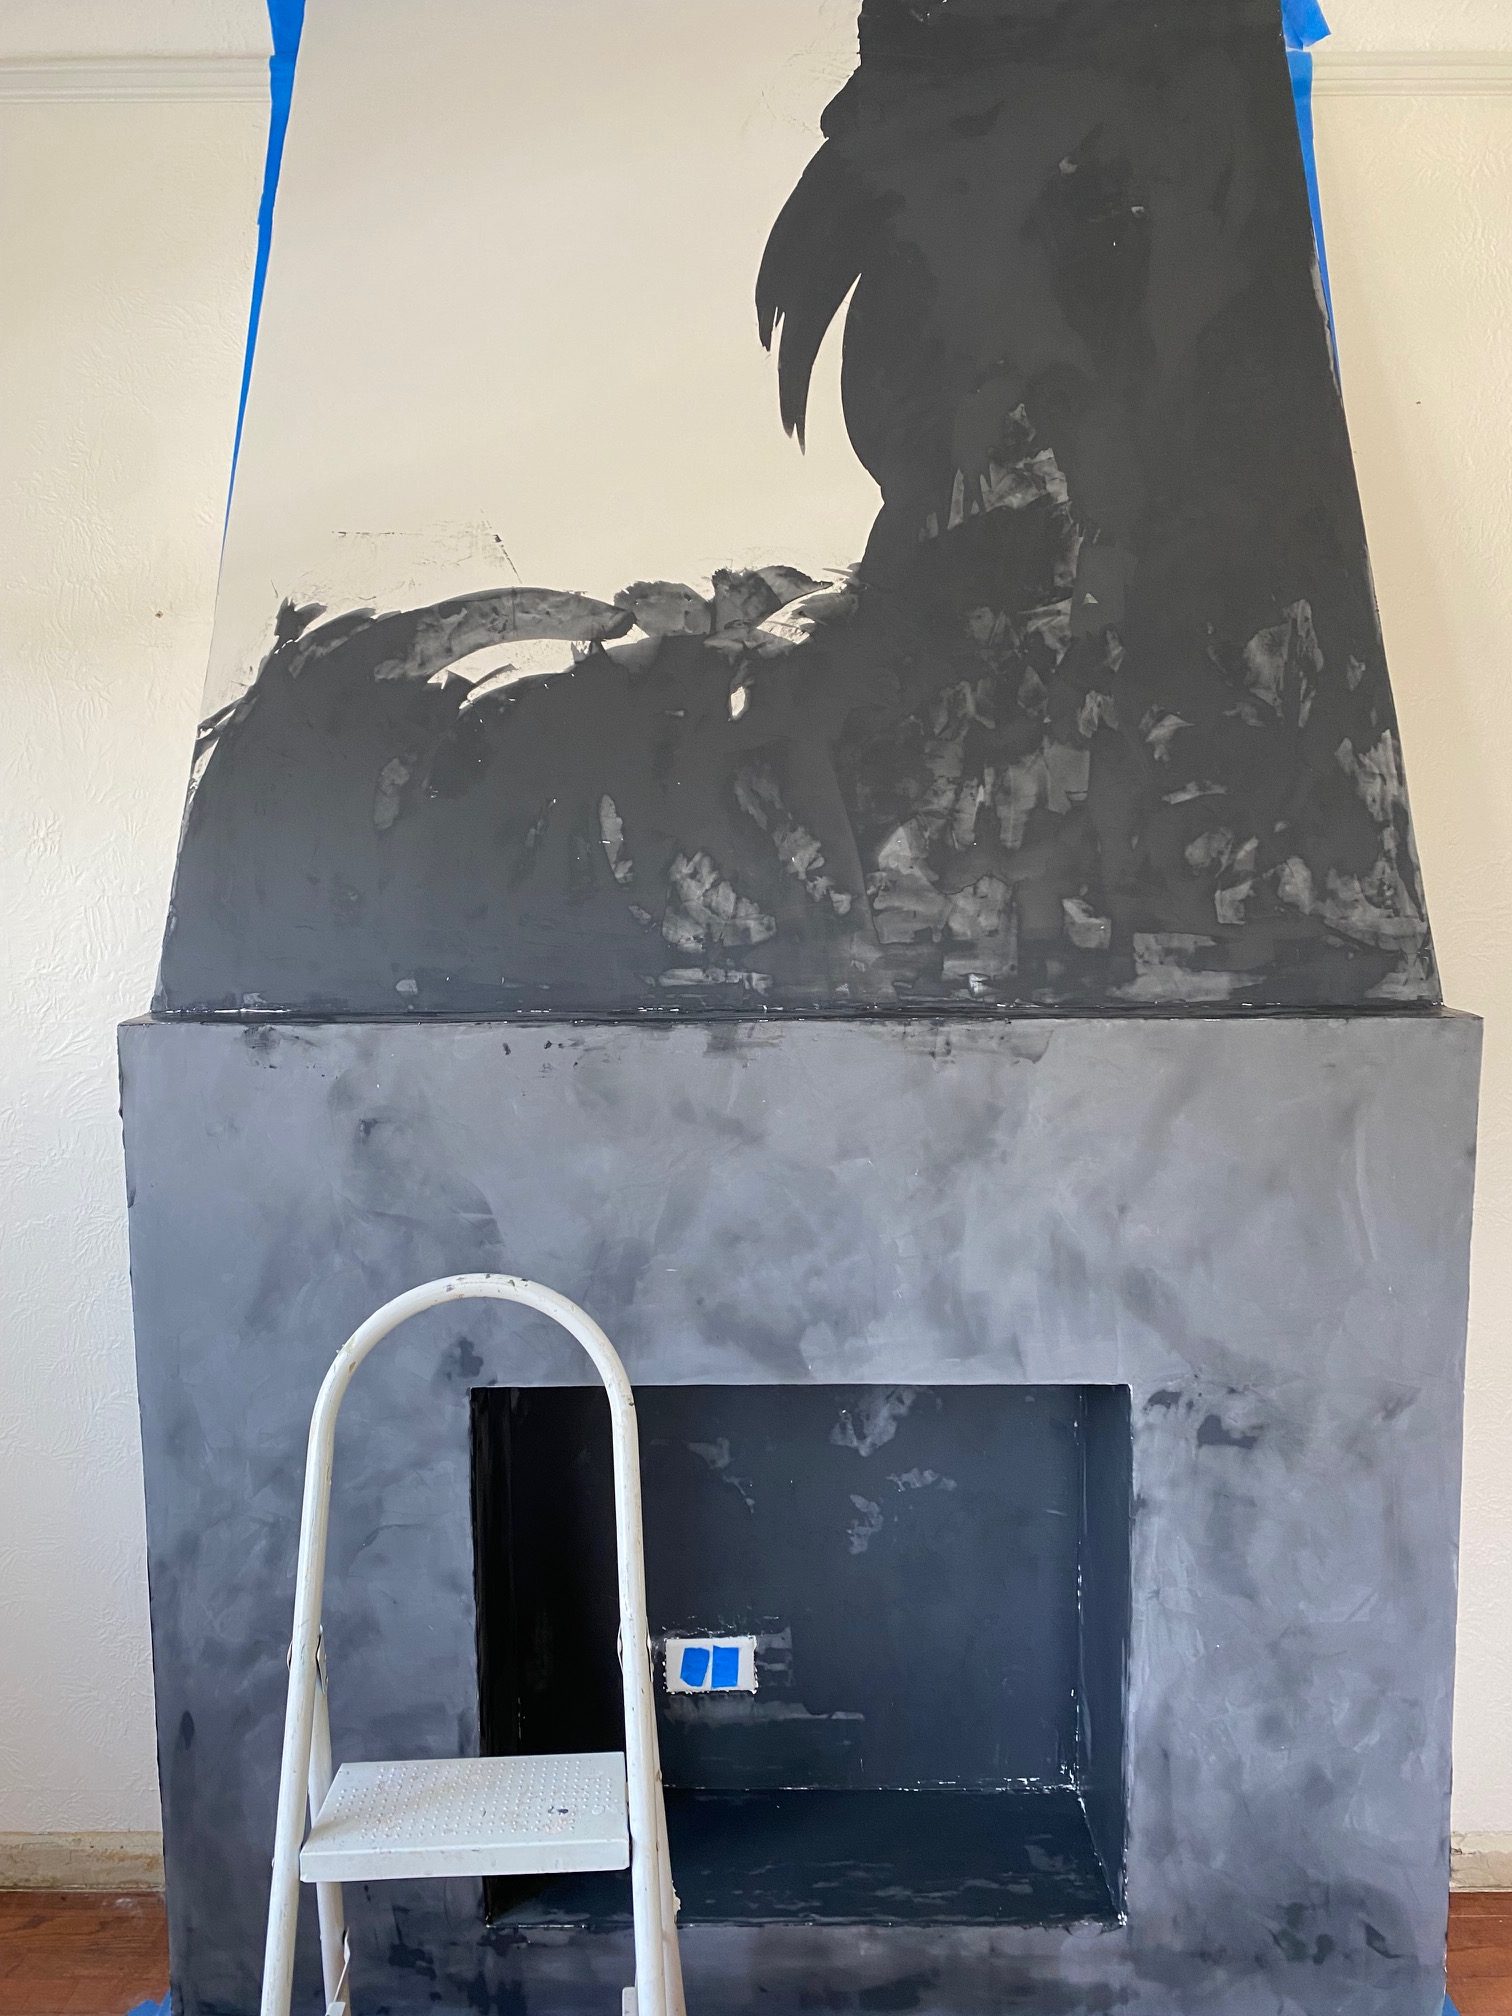
Here is what it looks like all sanded. Next up- skim coating all these walls + removing that picture trim.
It took us about two weeks to get it completely done and was about $150 in materials and paint but we did have some leftover lumbar from previous projects. It would be about $200 with all materials and paint.
Thanks for stopping by,
Ali
Beautiful! I want one like this, still trying to talk my husband into building it! The only change would be a mantle and arched opening! We live in Florida and don’t need the insert or heat!