
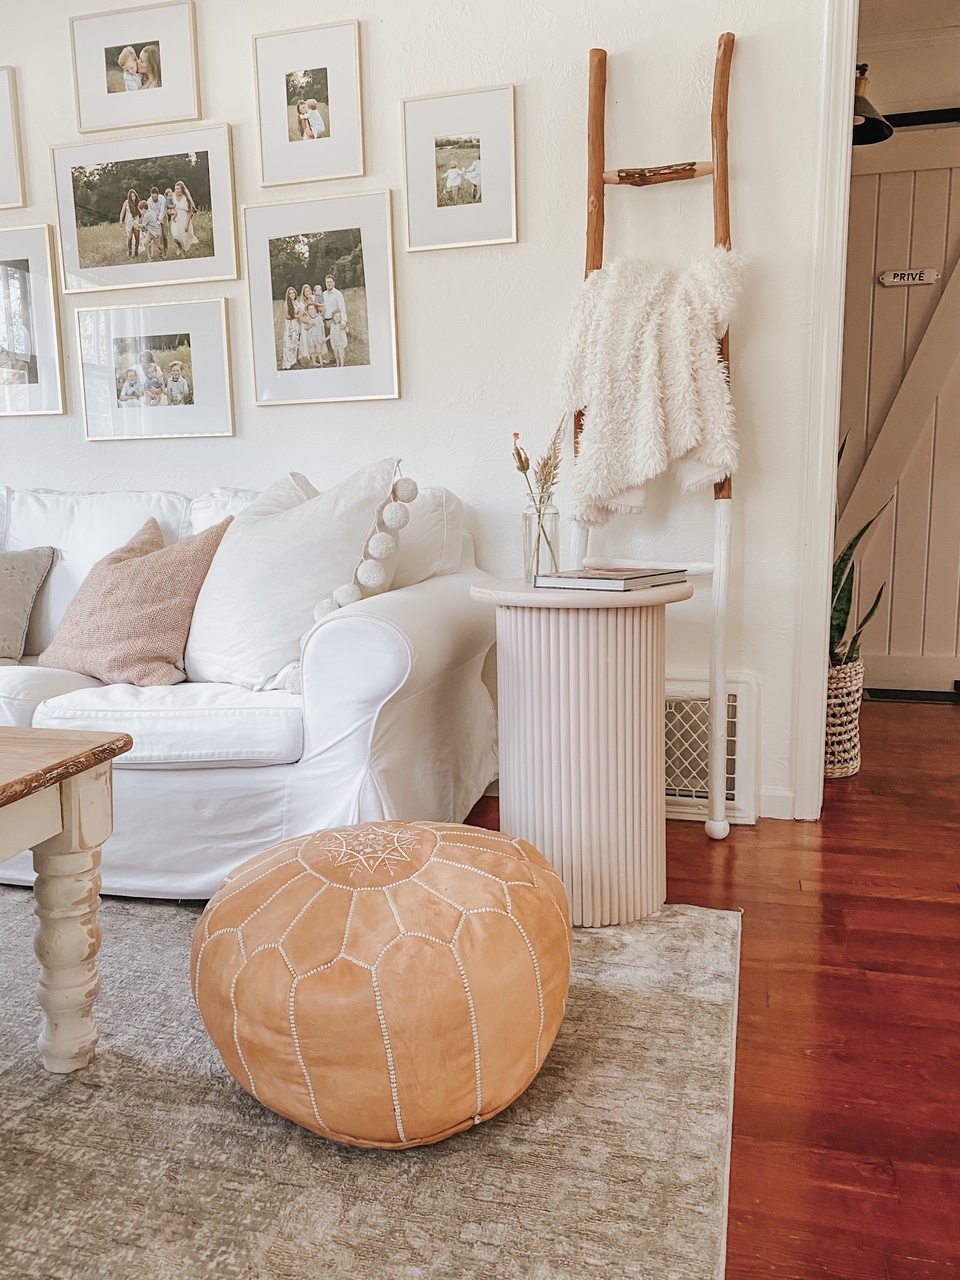
DIY Fluted Side Table
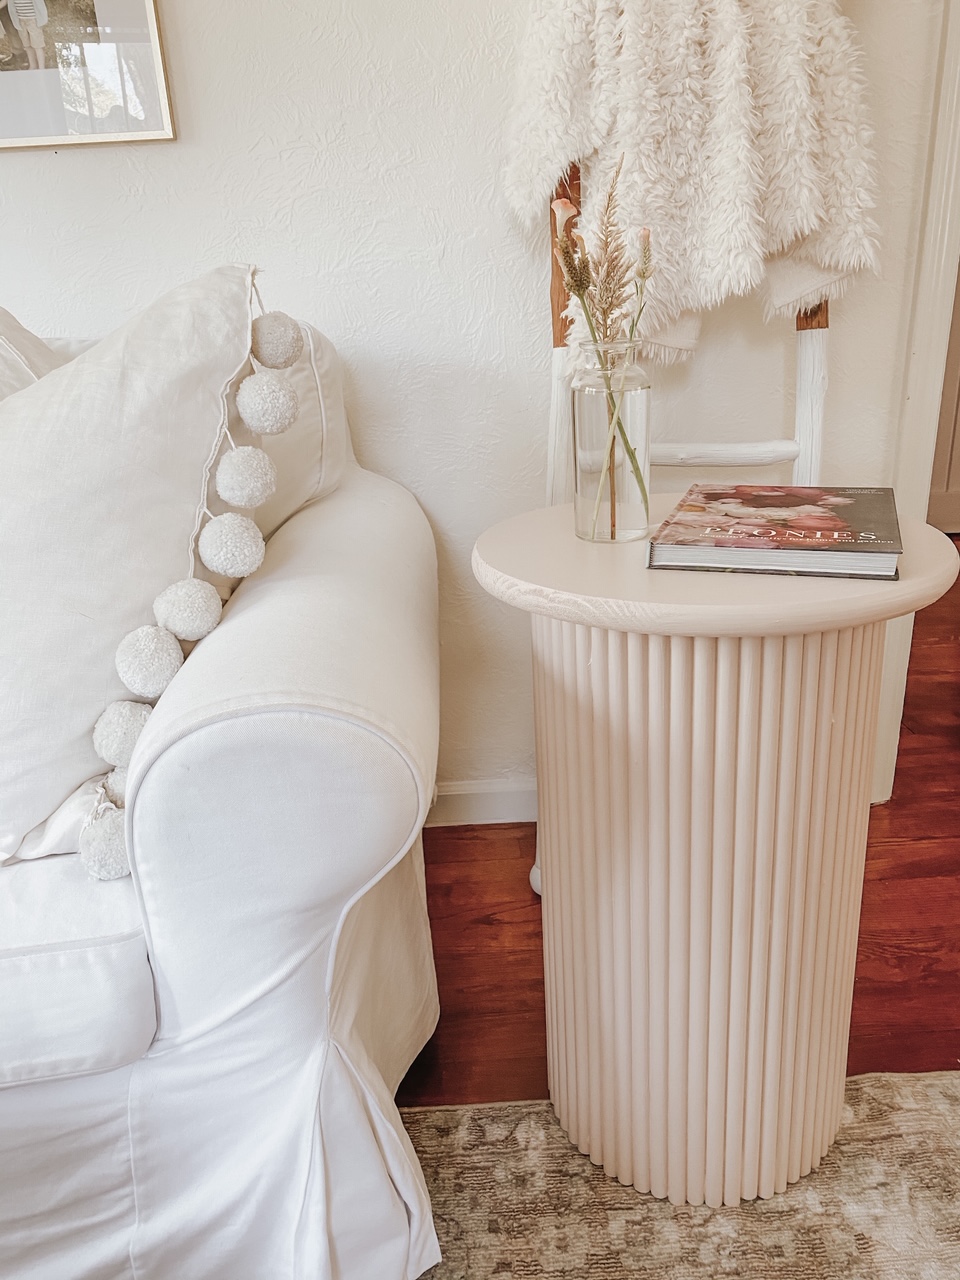
It all started with this West Elm side table that I just couldn’t stop thinking about. I pretty much fell in love with it and knew I needed something like this in my home. It was more than I would normally spend for a small side table and I really wanted two so I decided to try and figure out how to make something similar.
Supplies:
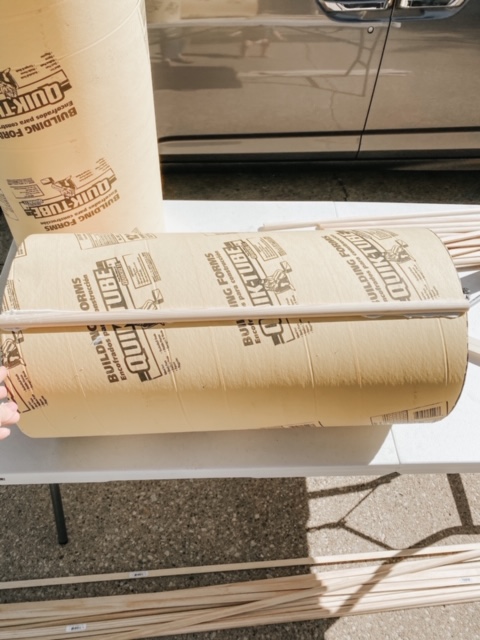
- 4′ X 12″ Concrete Form cut in half
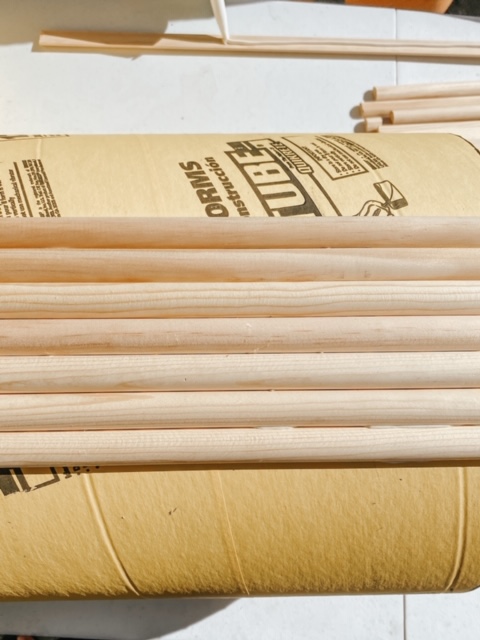
- 13 8′ half round pine trim pieces cut down to 2′
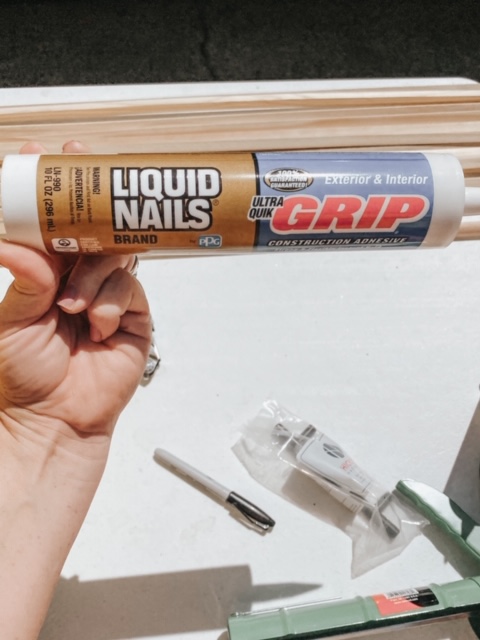
- Liquid Nails
- Strap/ bungee to secure ends of table while drying
- paint + paint brush
- 18″ pine round table top
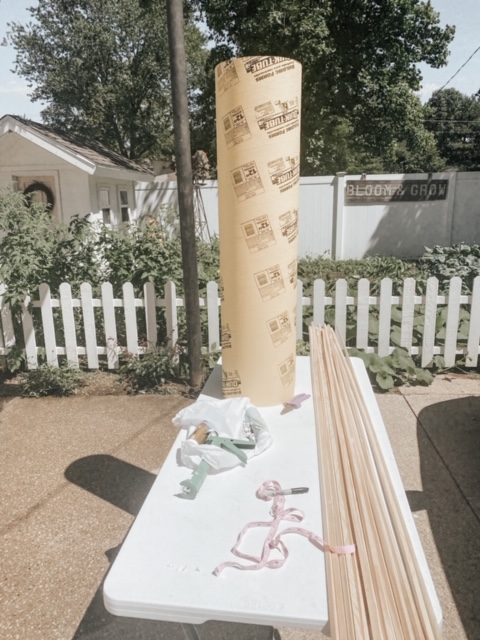
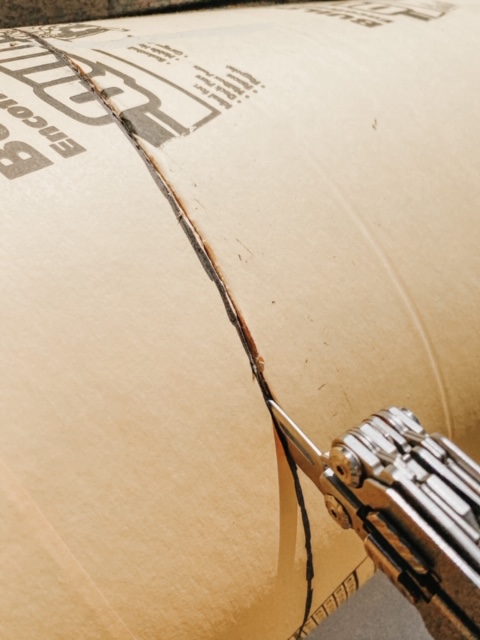
I had been browsing through Lowes and stumbled upon their concrete forms. I’m not going to lie, I wasn’t confident that a round cardboard tube would actually work but it was $12 and worth a shot. The smallest version they had in the store was 4′ x 12″. I ended up cutting it in half to make two 2′ tables.
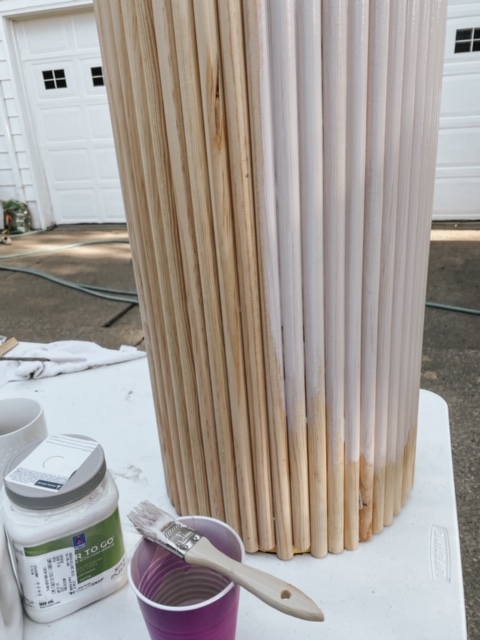
Next, I purchased quarter rounds. I had planned to put them together and caulk the seam, however, my husband is much smarter than me and informed me that they had half round trim pieces that i wouldn’t have to caulk! So, I ended up returning that quarter rounds for the half rounds. The trim ended up being the most expensive part of this project. I cut the 8′ trim half rounds down to 2′ sections.
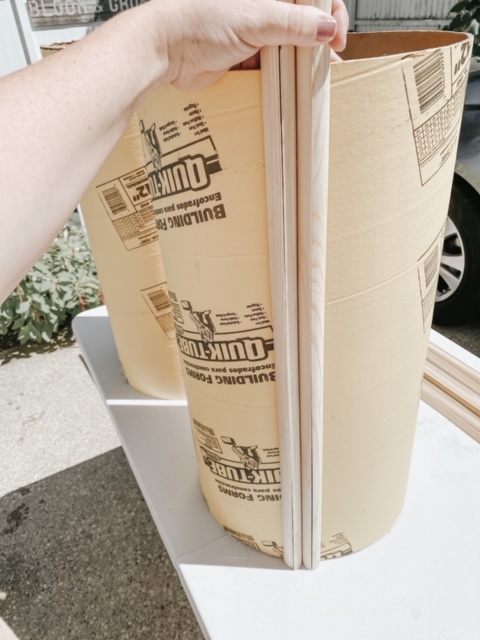
(above photo was the quarter rounds I originally planned on using.)
I used liquid nails to glue the trim pieces to the concrete form and then used a bungee cord and a strap to secure the two ends and let it dry overnight. Liquid nails does dry in an hour or so but I wanted to make sure that my wooden trim pieces didn’t warp.
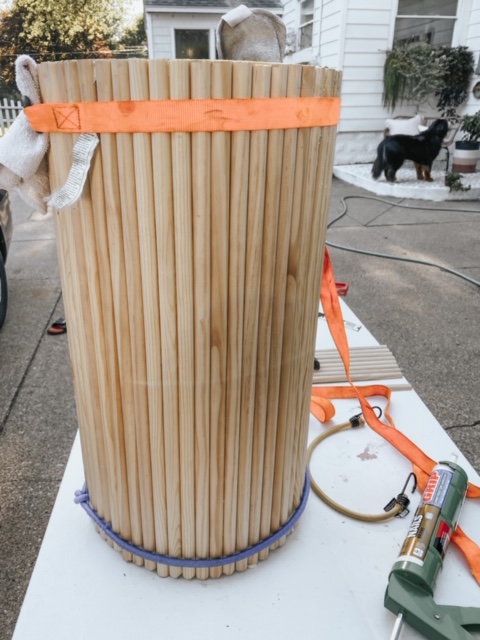
(Not pretty but it worked great.)
The top of the table is just a stain-able pine 18″round piece from Lowes. I used the liquid nails to attach it to the base of the table and let that dry for a few hours before painting.
For the paint I really wanted a light pink color and decided to mix a few samples I had together to create my own. I used equal parts SW Simply White and BM Dusty Ranch Brown to create this super light blush pink color.
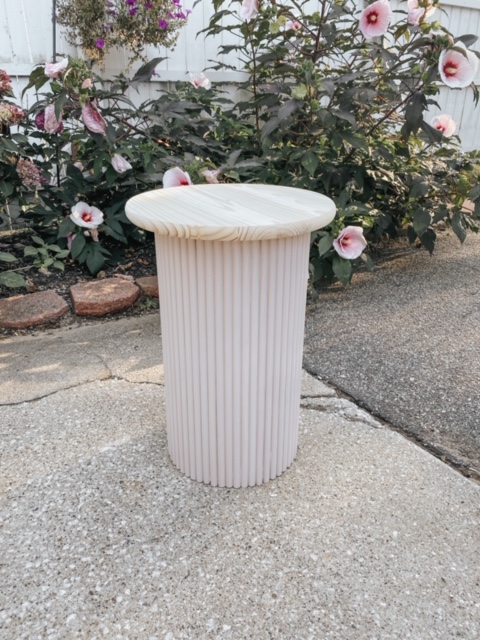
I am so happy with how it turned out! I decided to try using half foam dowels for the other table and compare the two. The foam dowels are way cheaper and if the look is the same and its stable I think it would be just as great. I’ll update this post with both options.
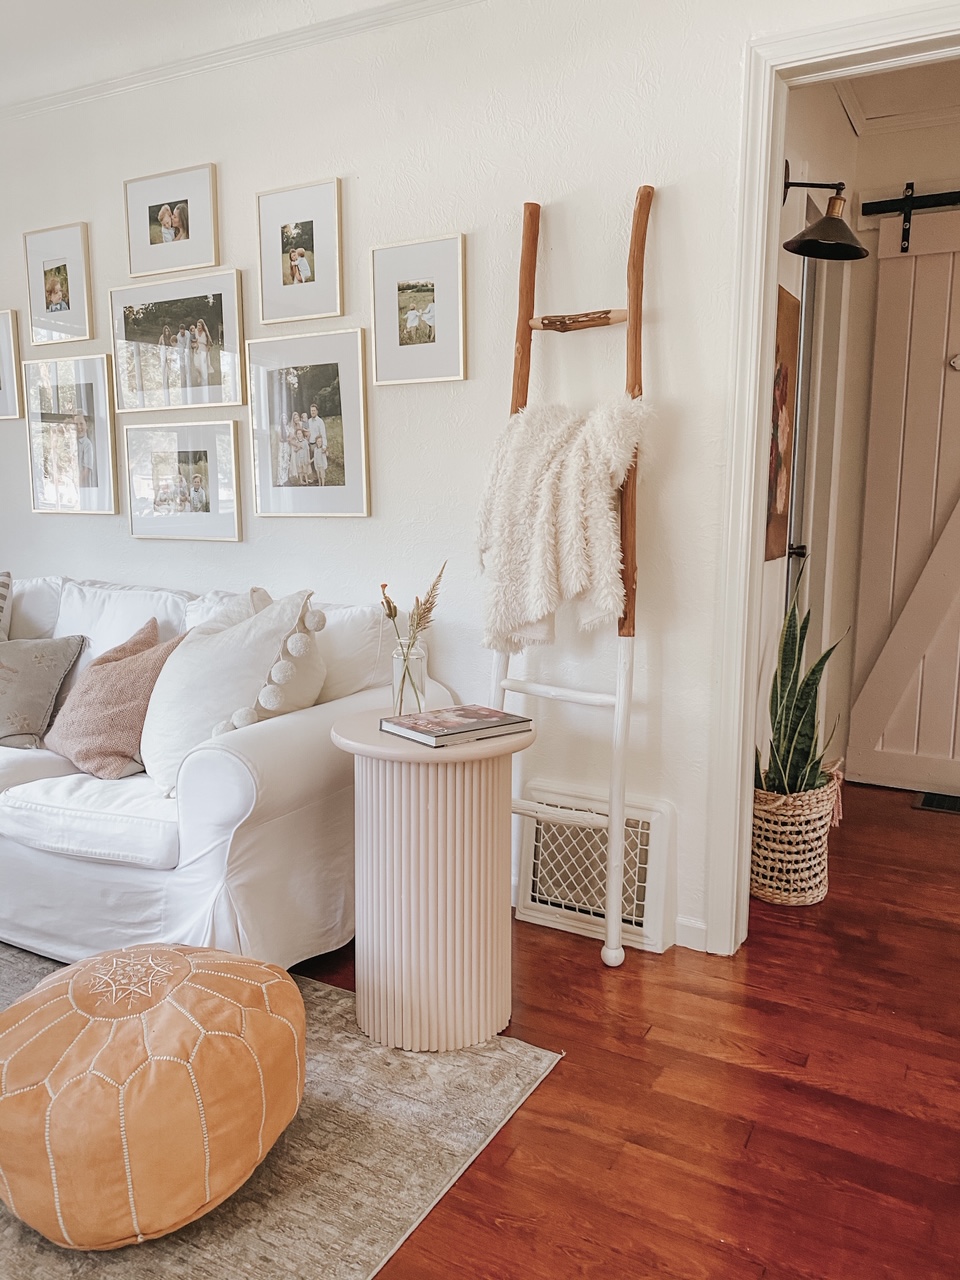
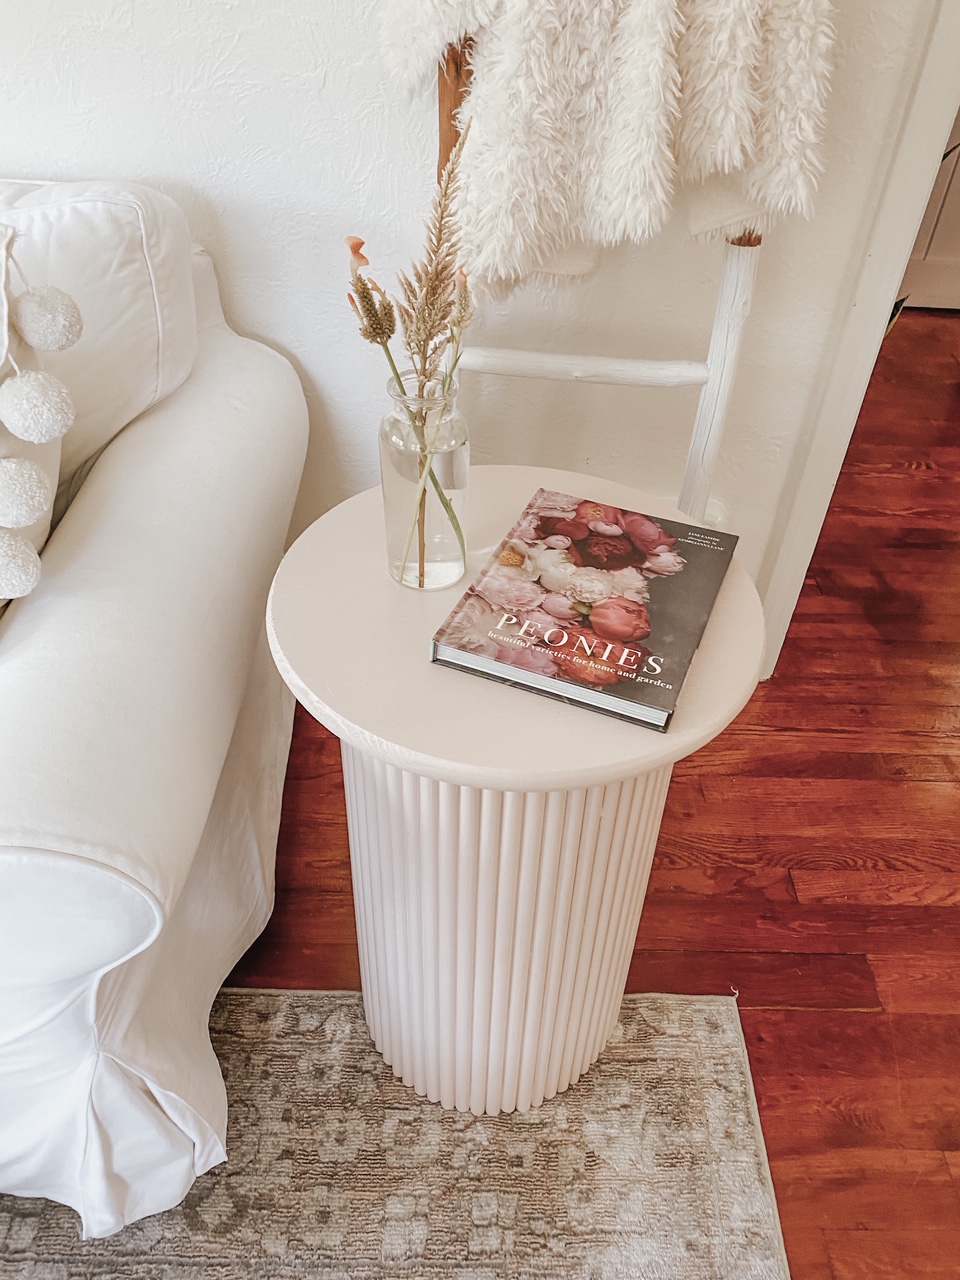
Thanks for stopping by the blog today!
Ali
Hi! This is amazing! Just wondering if you managed to try it with foam dowels? I would love to try this idea but the pine trims are out of my budget and I’m looking for something cheaper to work with. X
I am making this today! Did you ever try the foam?
What I liked the most was how it made the IKEA sofa look great too. I have two 20 years old Ektorps, which have been refreshed several times, by new covers. Every year IKEA offers a bargain priced cover, in a different neutral hue. I’ve added more foam to make the cushions taut.
That a great Idea Bebe. Yes- we love our Ikea sofas too!
Hello, I plan on attempting to make this table myself-thanks for the tutorial! Curious if you ever made the planned second table using foam half dowels and how that compared to the wood one?
Thanks!
HI Adee- I need to update this post with the foam Dowels. I did make it and it did turn out great. I do feel like the wooden ones are better long term wise but the Foam side table is up in my daughters room and she loves it!
can you share links of what you got?