
DIY Fresh Eucalyptus Wreath
DIY Fresh Eucalyptus Wreath
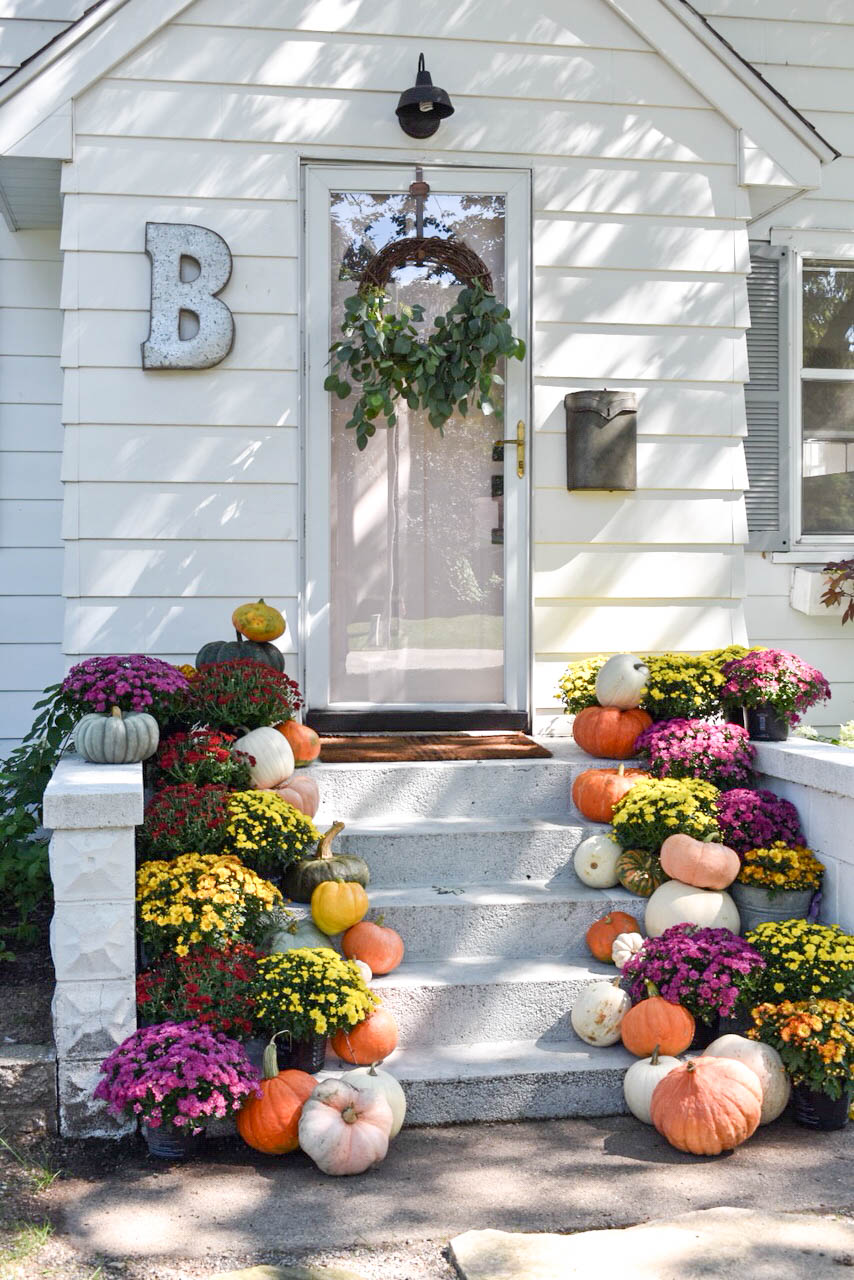
Wreaths are a staple in our home. I always change them out seasonally and they can really add so much to your home with very little investment. Its a quick way to update the exterior of your house or even to add a element of interest indoors.
I absolutely love Eucalyptus. It’s one of those greens that transitions so well into each season. I add it into all my spring wreaths and in my Christmas wreaths. I love that it dries beautifully and it is hardy and lasts for a very long time in the world of stems. So its no surprise that this is my favorite wreath to make. It’s simple, wild, unique and a statement piece. Could it get better? Yes, because it can be very affordable depending on how much Eucalyptus you add and the size of your grapevine wreath.
What you will need:
- Silver Dollar Eucalyptus ( I used two bundles)
- Seeded Eucalyptus ( I used one bundle)
- Grapevine wreath in your choice of size ( I used a 24″)
- Scissors
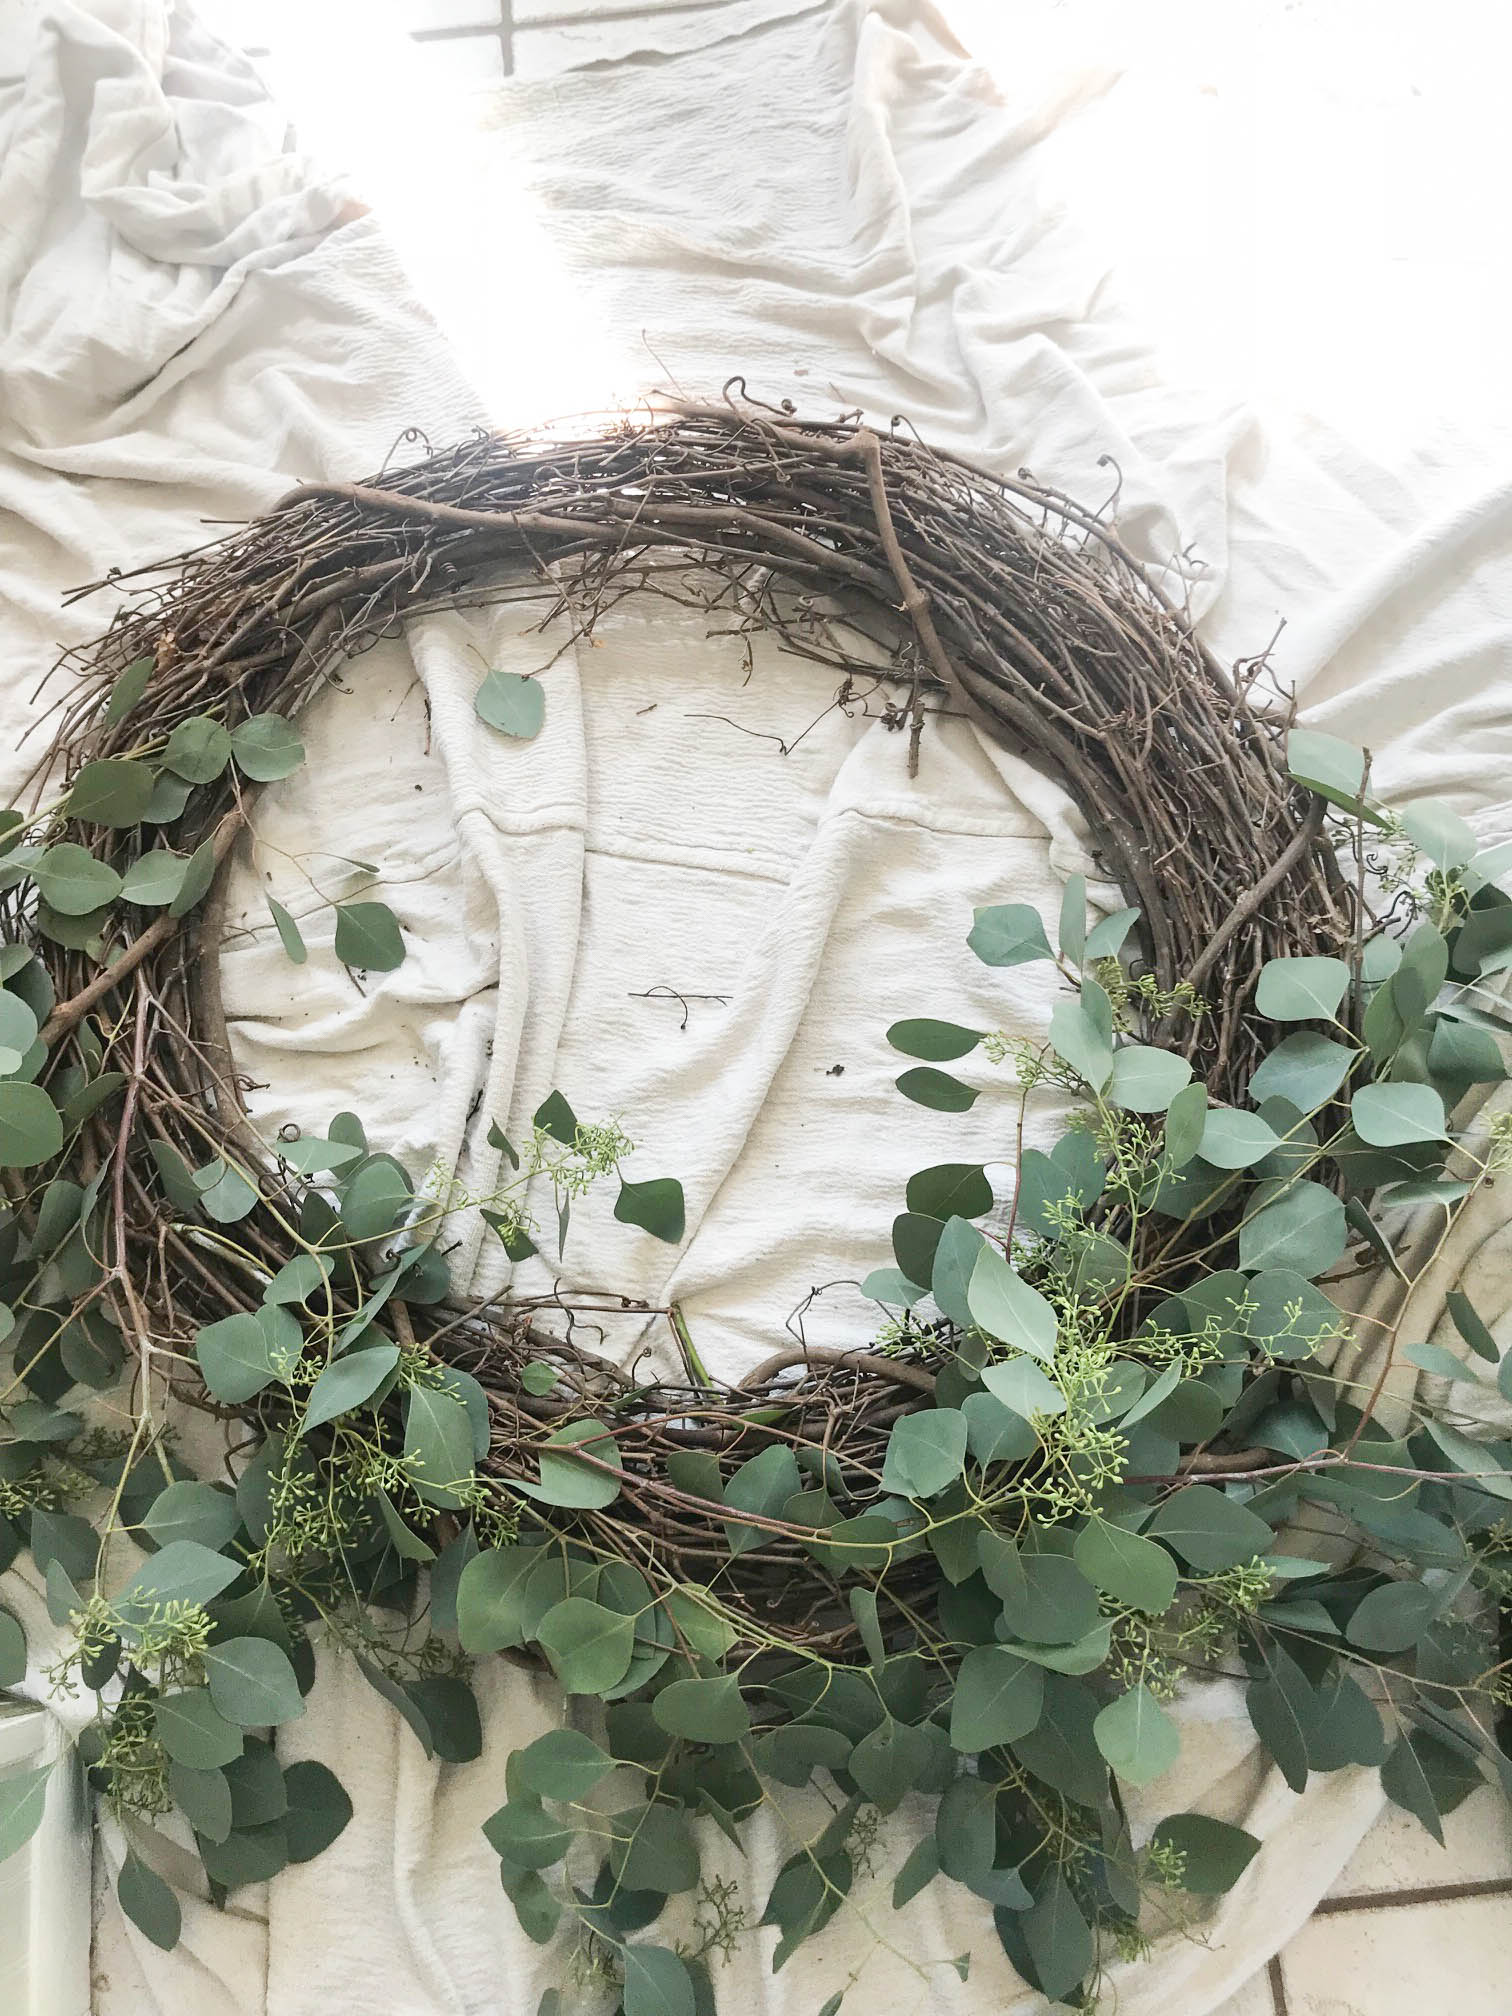
This process can actually be pretty messy because the grapevine wreath usually sheds. If you are working inside I would suggest putting down a sheet or drop cloth where you are working to avoid the big mess. Ok, now to the good stuff.
 So the 24″ grapevine wreath I am using is the largest wreath I make. Its perfect for over a mantel, a large front door or you could make two for French doors.
I start with the seeded Eucalyptus. Separate the bundles into individual stems. From there you weave the stem of the Eucalyptus into the natural pattern of the grapevine. By weaving the stem in with the natural flow of the vine it not only secures it but also hides the stems too. I add one layer of the seeded in the area I want my wreath to be filled. I like a full and wild wreath but adjust depending on your personal style and preference.
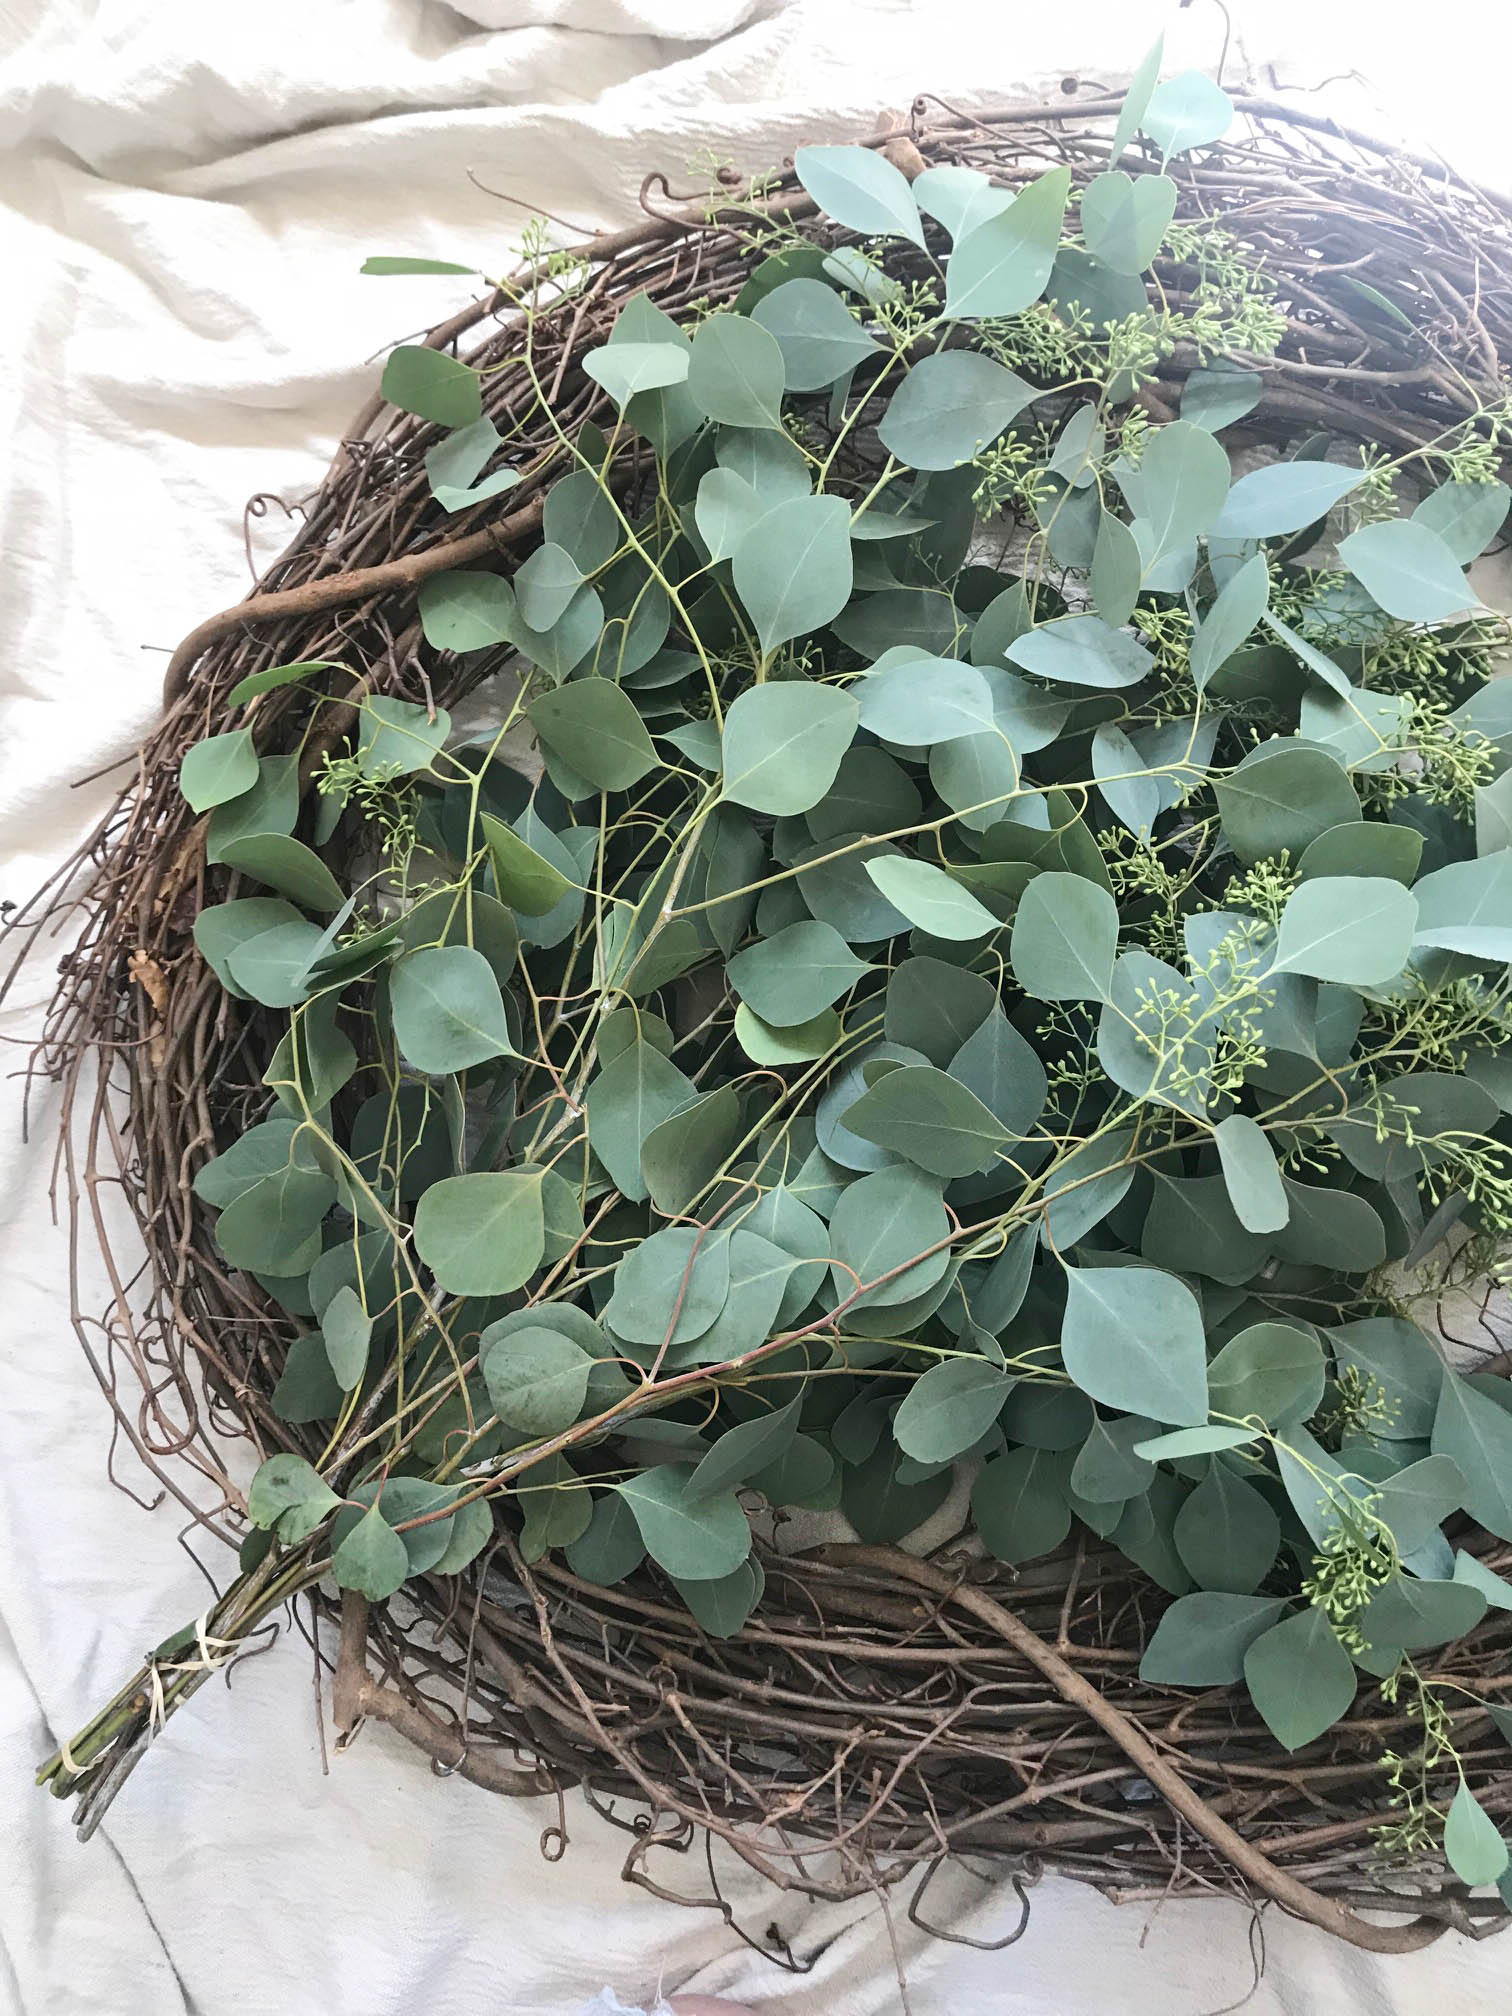

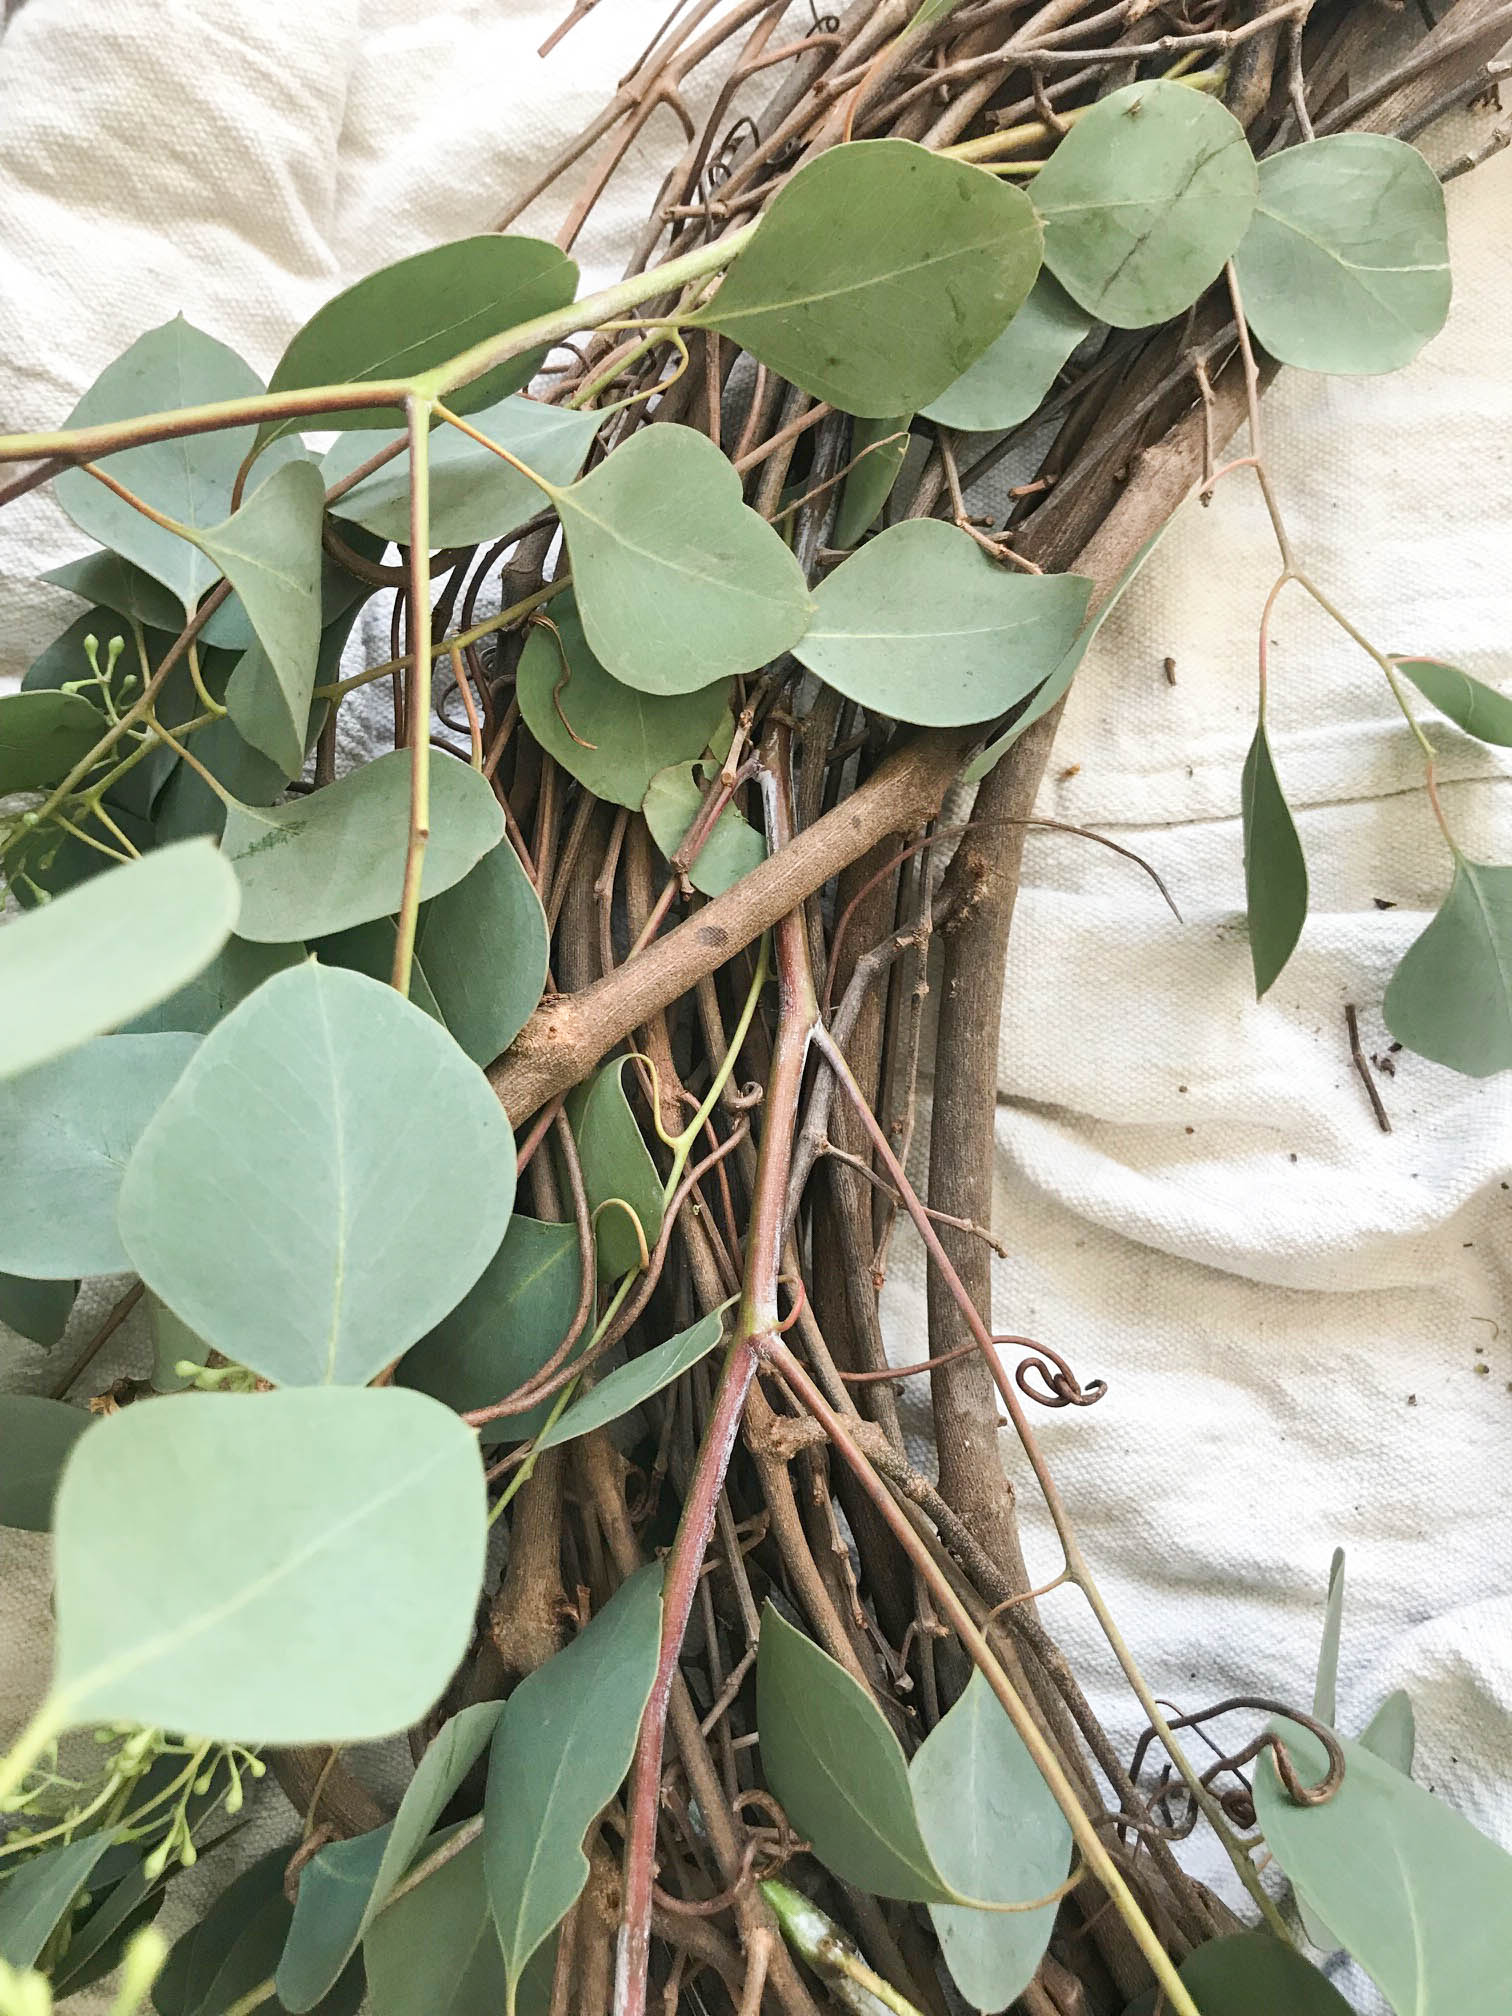
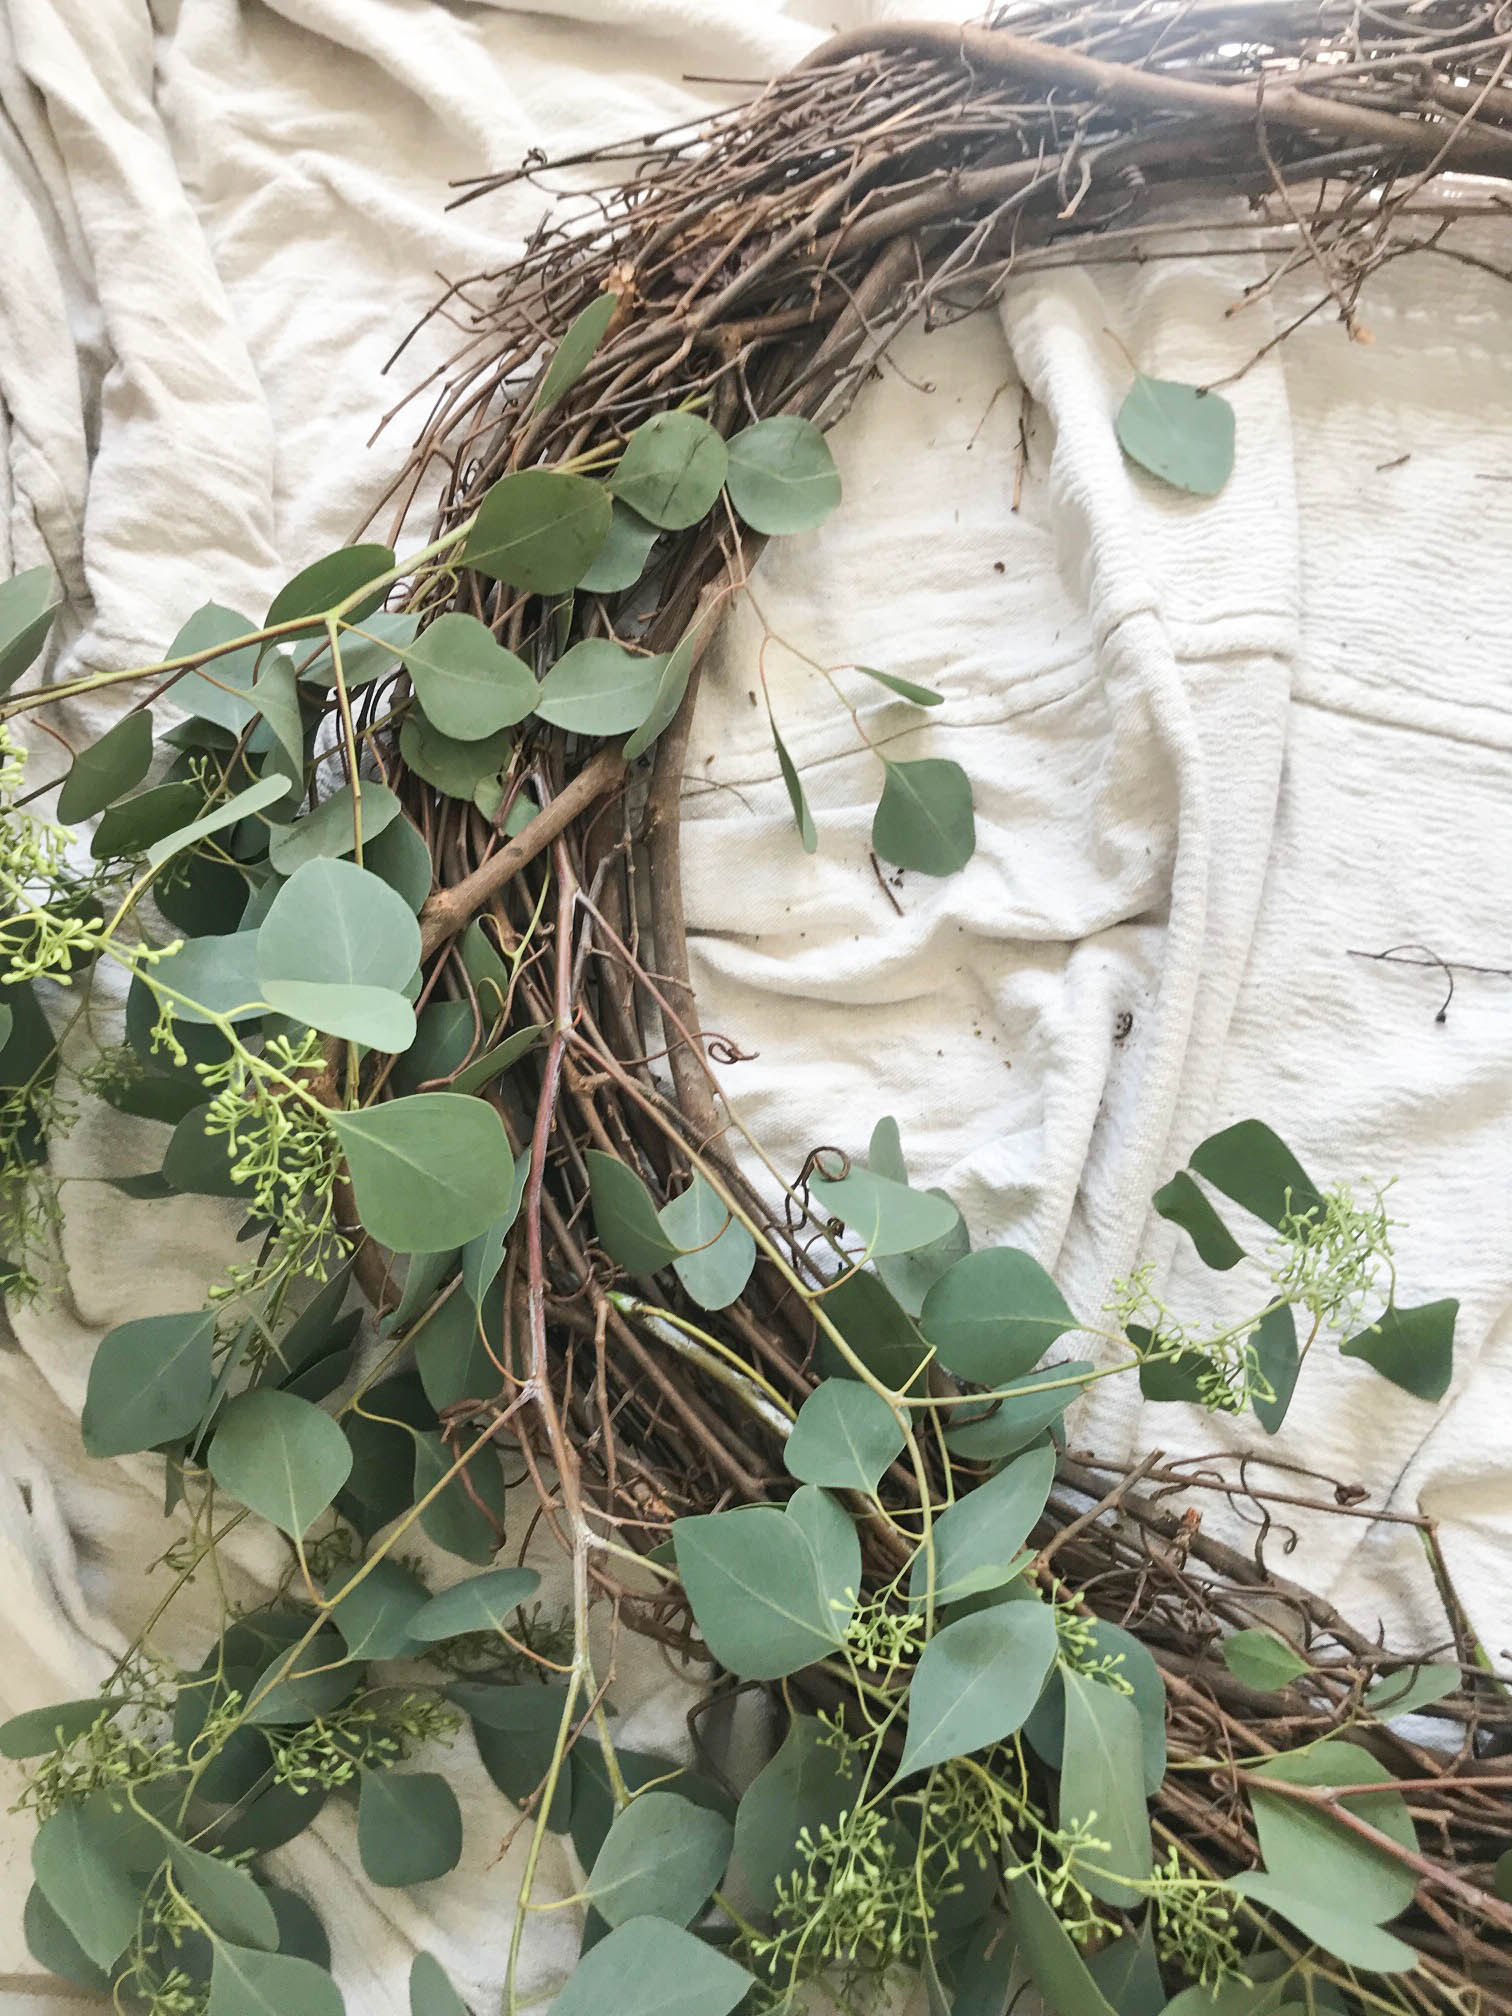
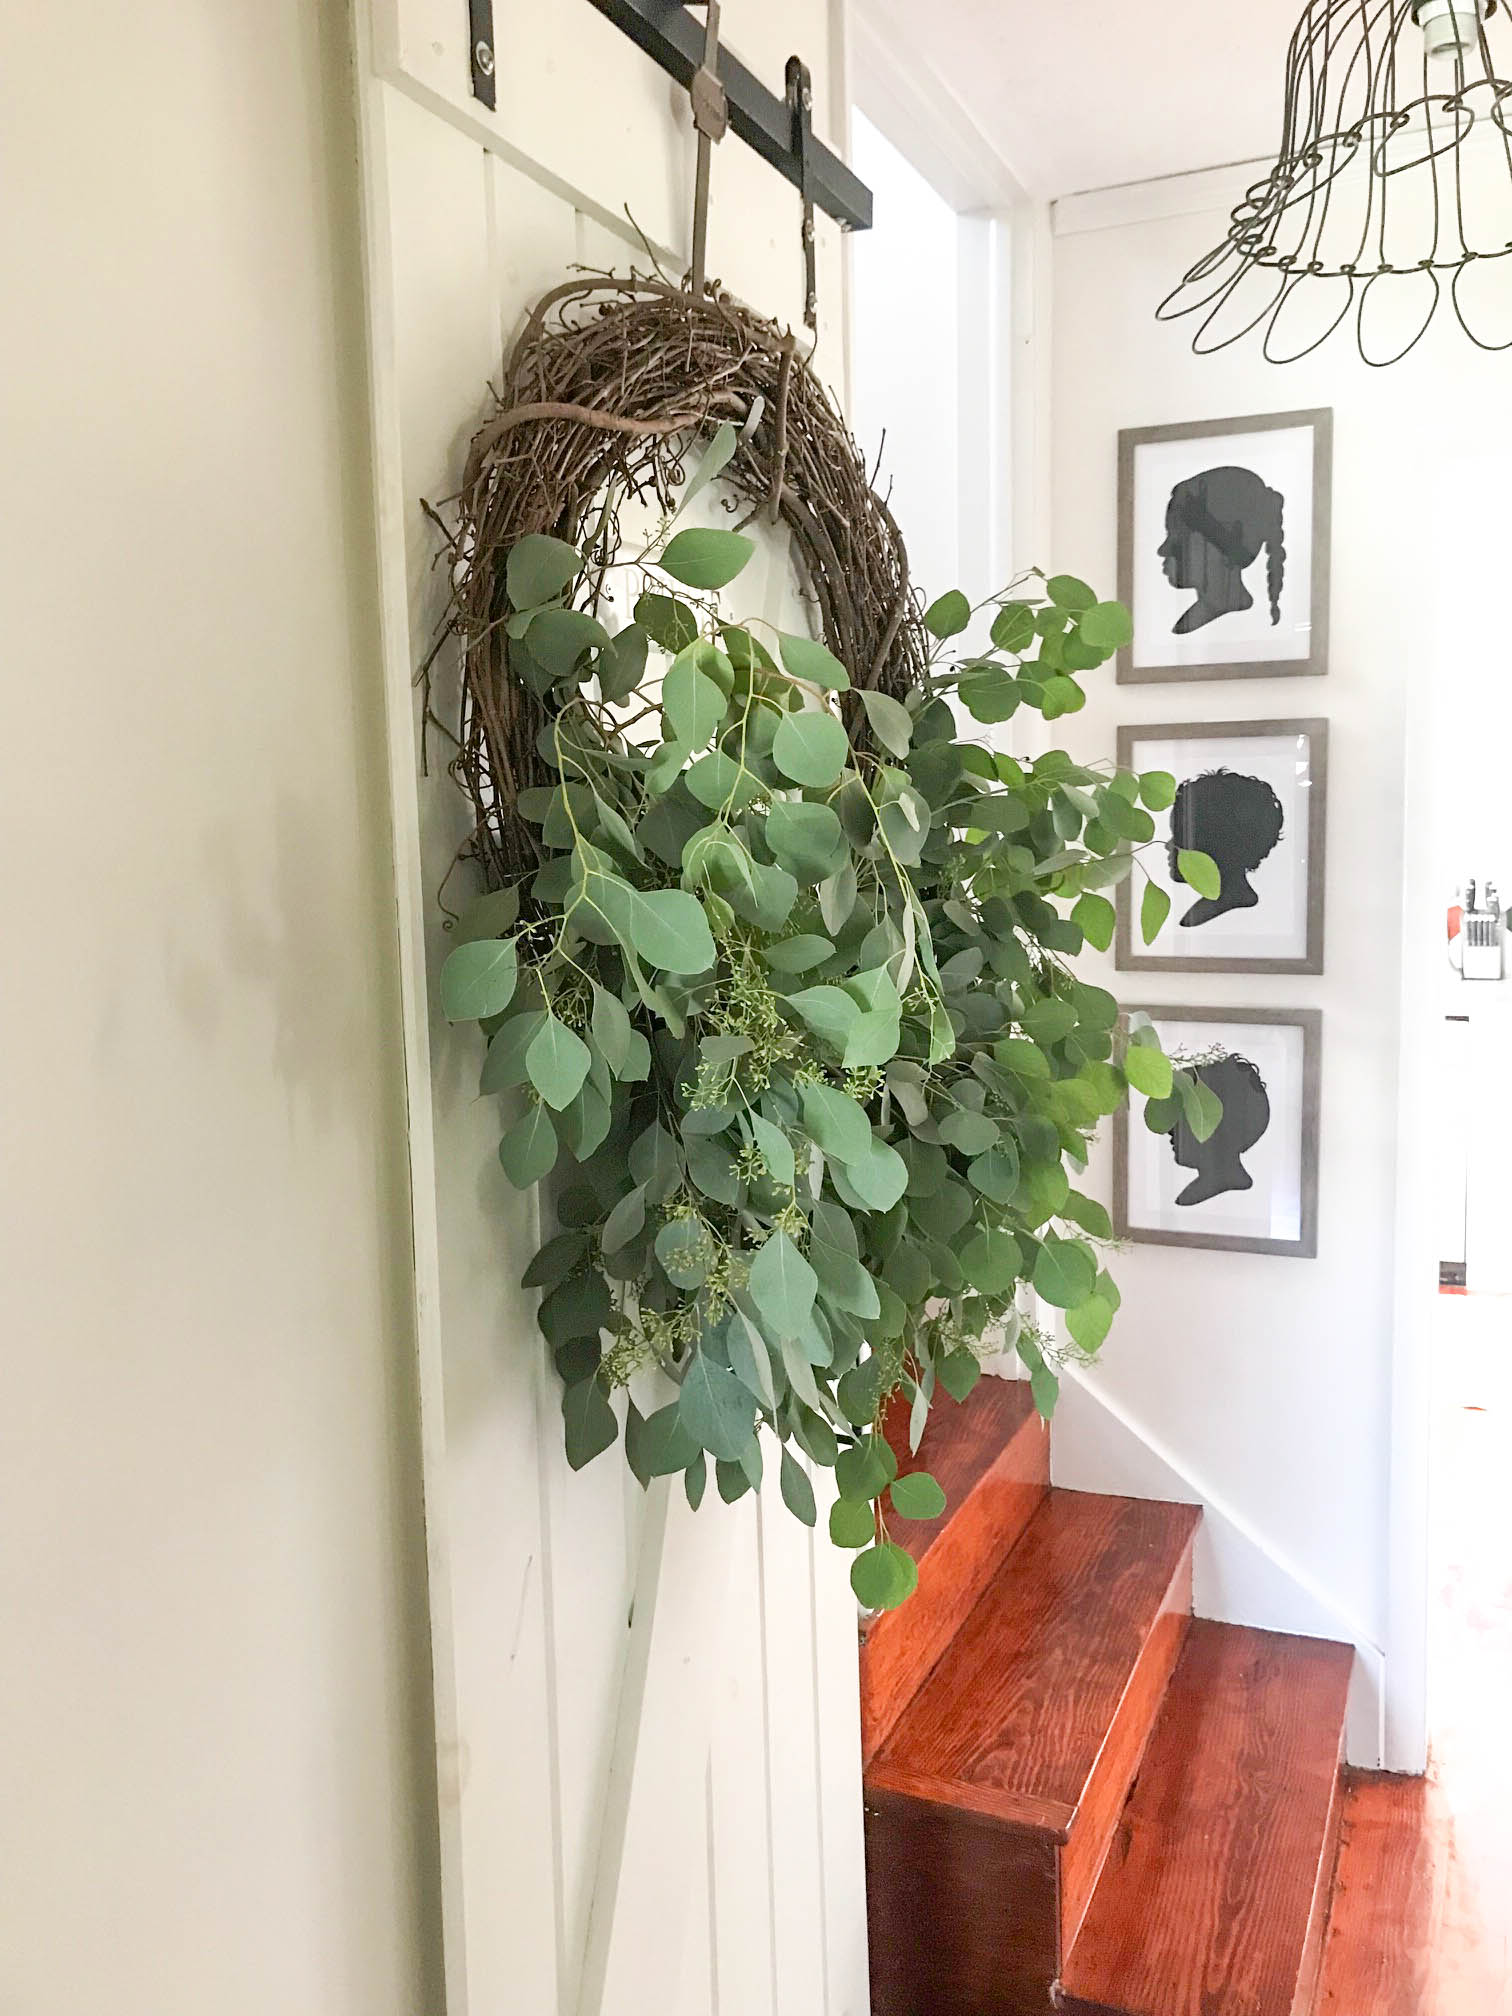
From there I do the same with the Silver Dollar. Cut apart the bundles so they are individual stem and then weave them into the natural flow of the grapevine along with the greens you have already added. Again, add more depending on how you want it to look. I always do a hang test. Making a wreath on the floor requires it. Go and hang it up to see how everything lays with the weight of the greens and adjust if necessary.

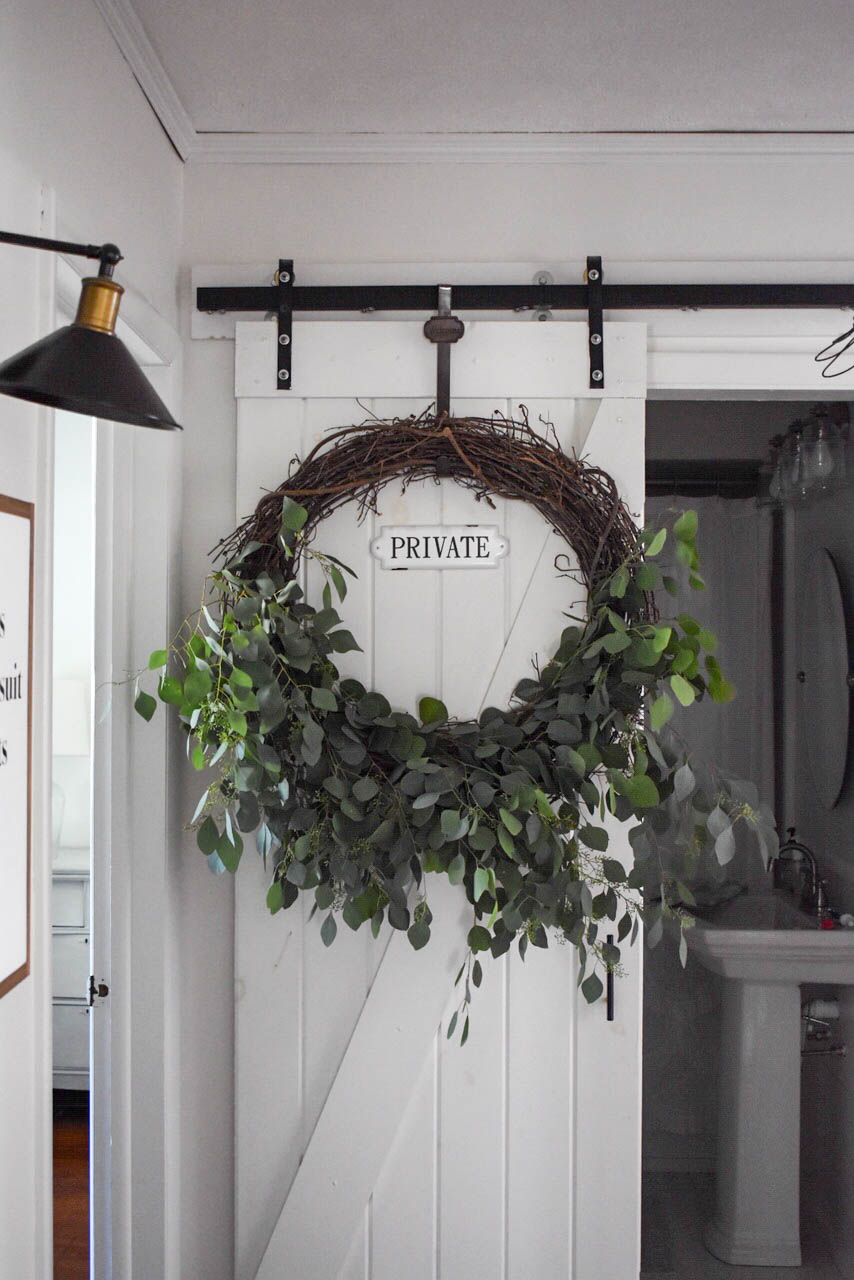
And tada – you have yourself a Eucalyptus wreath that can transition into all season and if you take care of it, it will last as long too. I like to spritz the back of my grapevine with water once a day for the first few days/week. I find that is slows the drying process and makes them last even longer. Eucalyptus keeps its color when dried but just like any dried green, its fragile if jostled around to much the leaves will fall off. So just take extra care to place it in a place that it won’t be constantly smashed on.
Thank you so much for stopping by today and learning about how to create your very own Eucalyptus wreath. I hope you have a wonderful day.
xo
Ali
Where did you fin your eucalyptus? Love your wreath.
Hey Amie,
Thank you! I purchased my Eucalyptus from my local flower shop!
Will you be making your GORGEOUS piney greens wreath this year? I got one last year at The Found Cottage and it was hands down the most beautiful wreath I’ve ever had. Please tell me you’ll be making them again 🤞🏼🤞🏼🤞🏼🤞🏼
YES!! I sure will and I have been playing around with doing a workshop too!!
Did you do all the eucalyptus going the same direction or did you do opposite directions from each side?
Hi Kathy. The Eucalyptus is all going in the same direction.