
How to Transform Thrifted Lamps into Pottery Barn Dupes

I have been searching high and low for a lamp with an “old” looking patina that is big enough to make a statement in a smaller space but is IN stock and affordable. Since this post is DIY you and guess I didn’t find what I was looking for but decided to take matters into my own hands since we don’t have ANY lighting in our bedroom since I switched our scone lights into the Kitchen several Months ago. Old houses dont actually have overhead lighting for whatever reason, so our master has no ceiling lights nor does our living room. I am pretty used to it but my husband would be fumbling around in the dark with a flashlight trying to get ready for work and I knew I needed to do something quickly!
Marketplace is always the first place I go when I am looking for something new. I love to see how much money I can save buy buying second hand and love a good project.
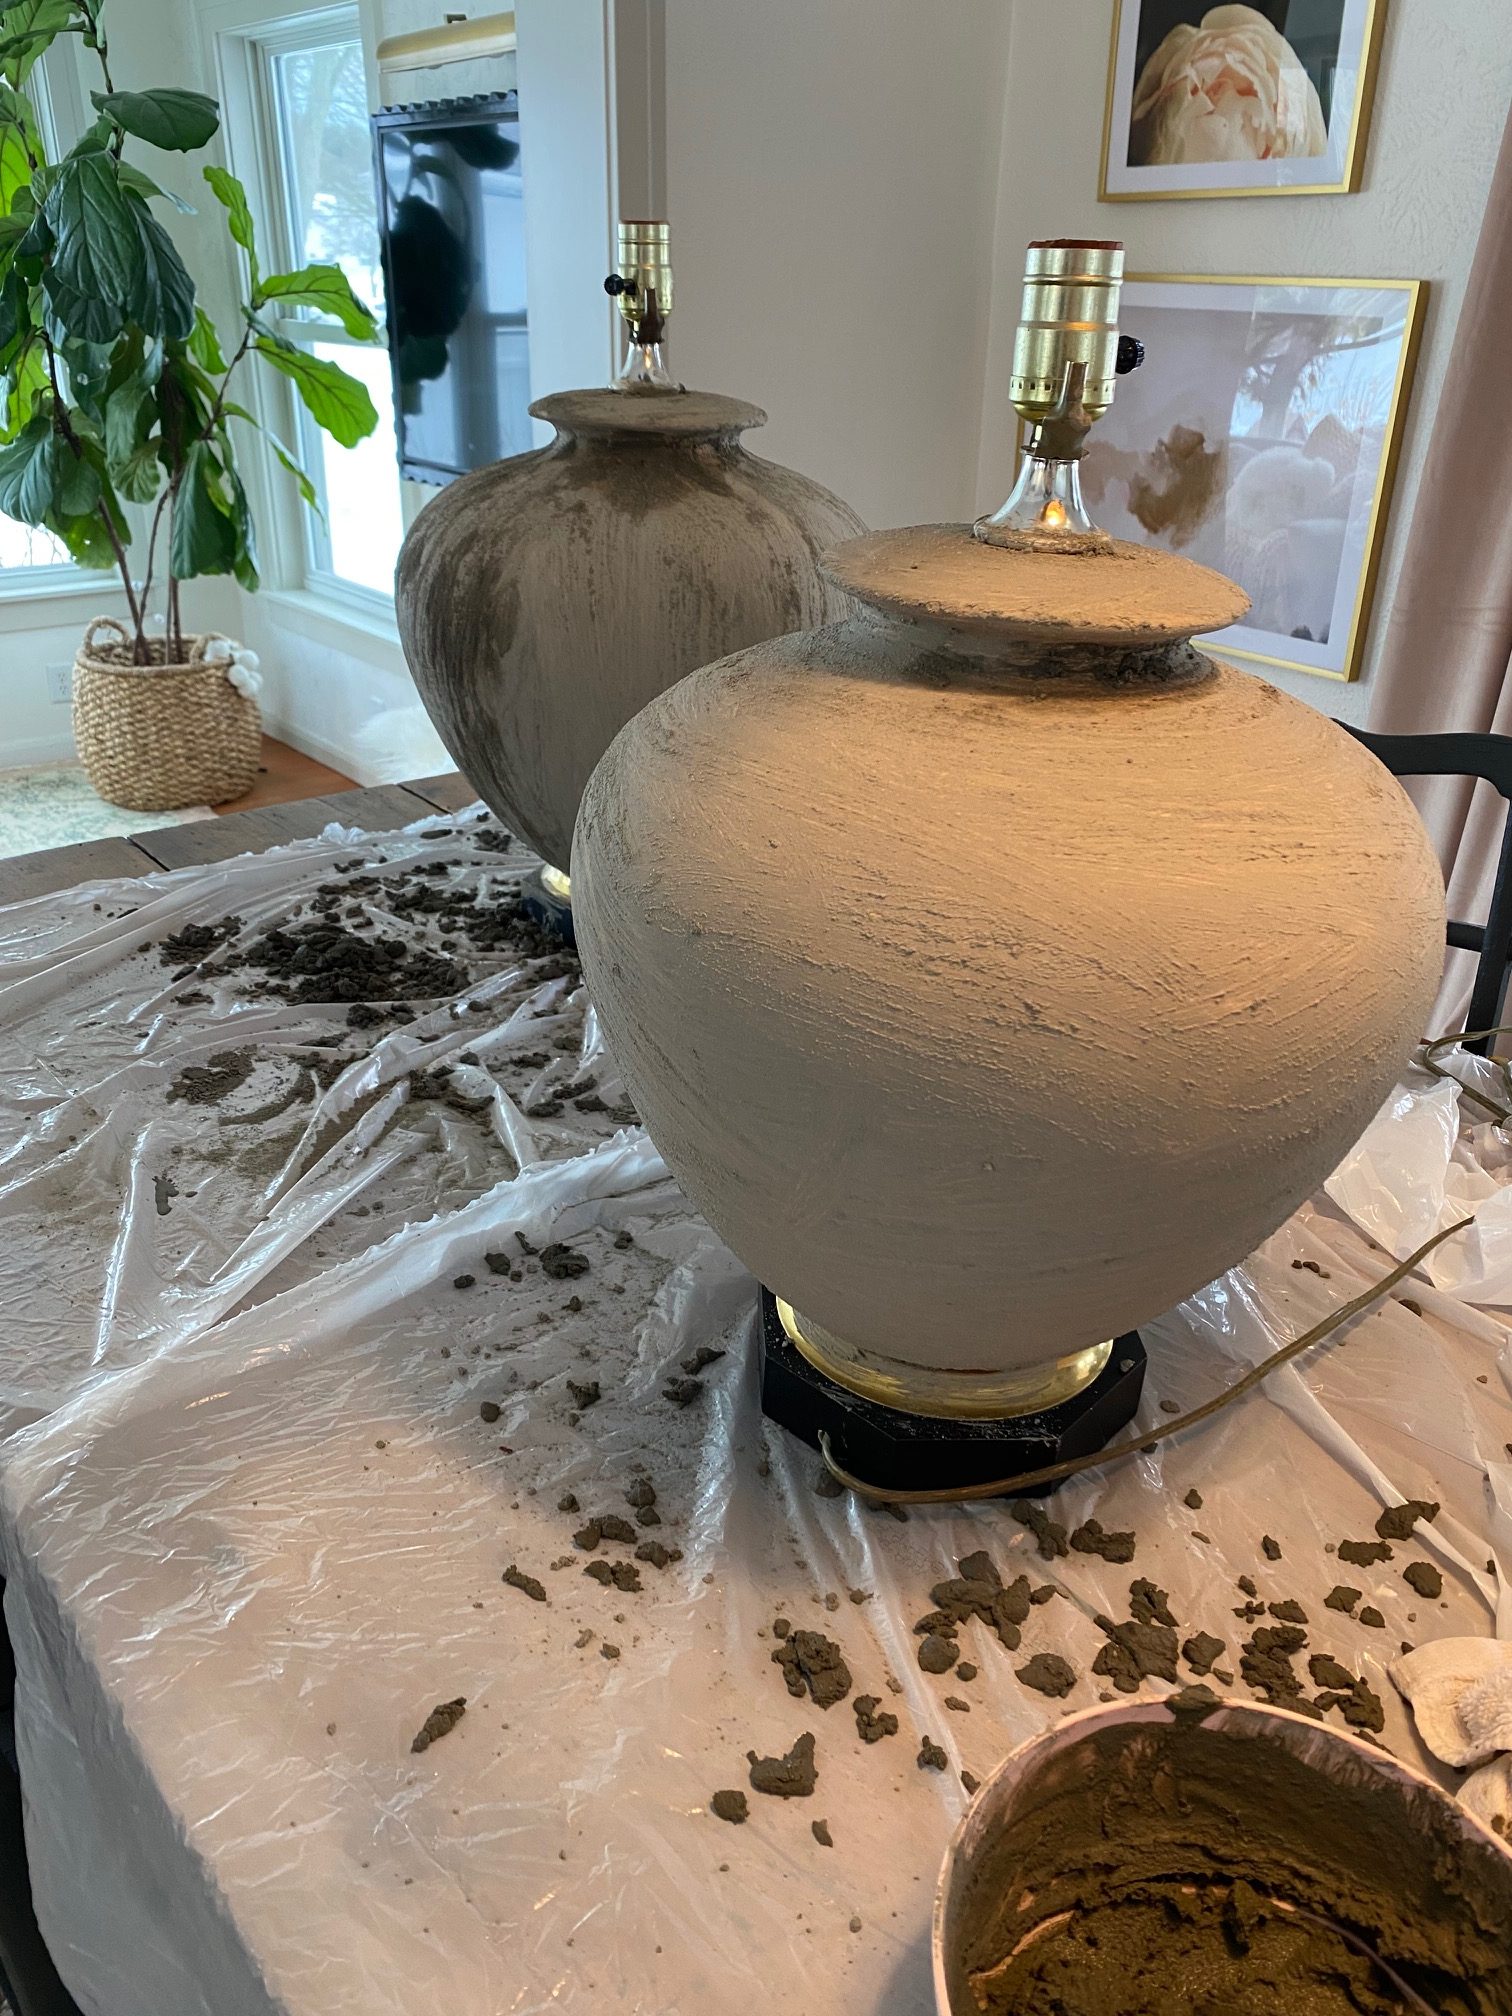
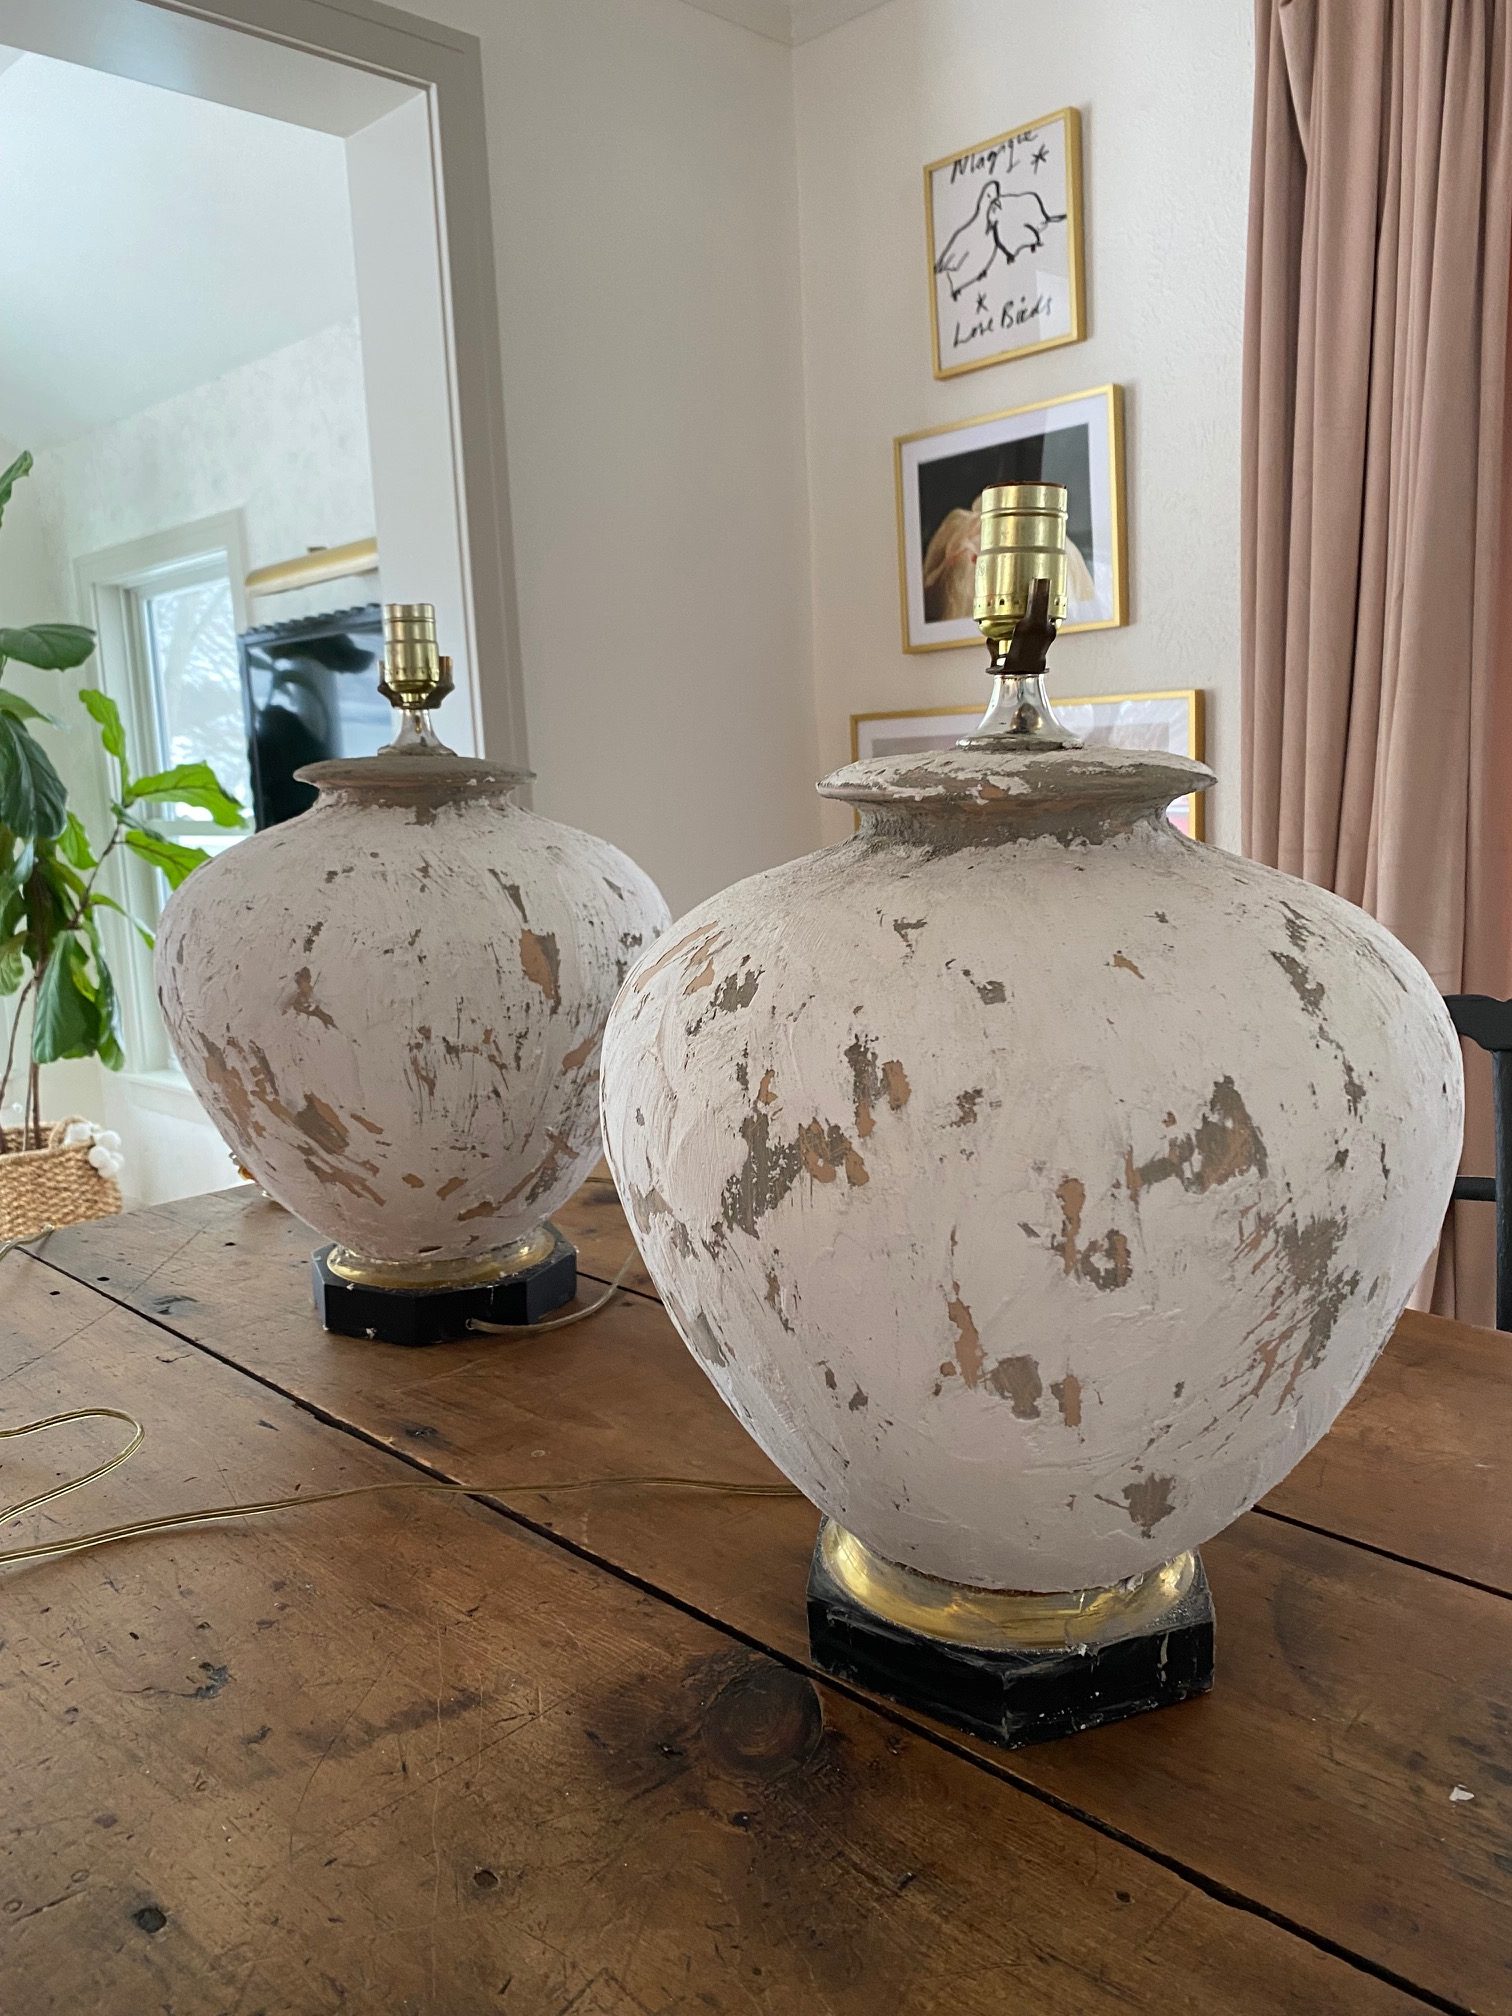
Lucky for me there is no shortage of lamps that could use a good makeover. I purchased these large matching lamps for $40.
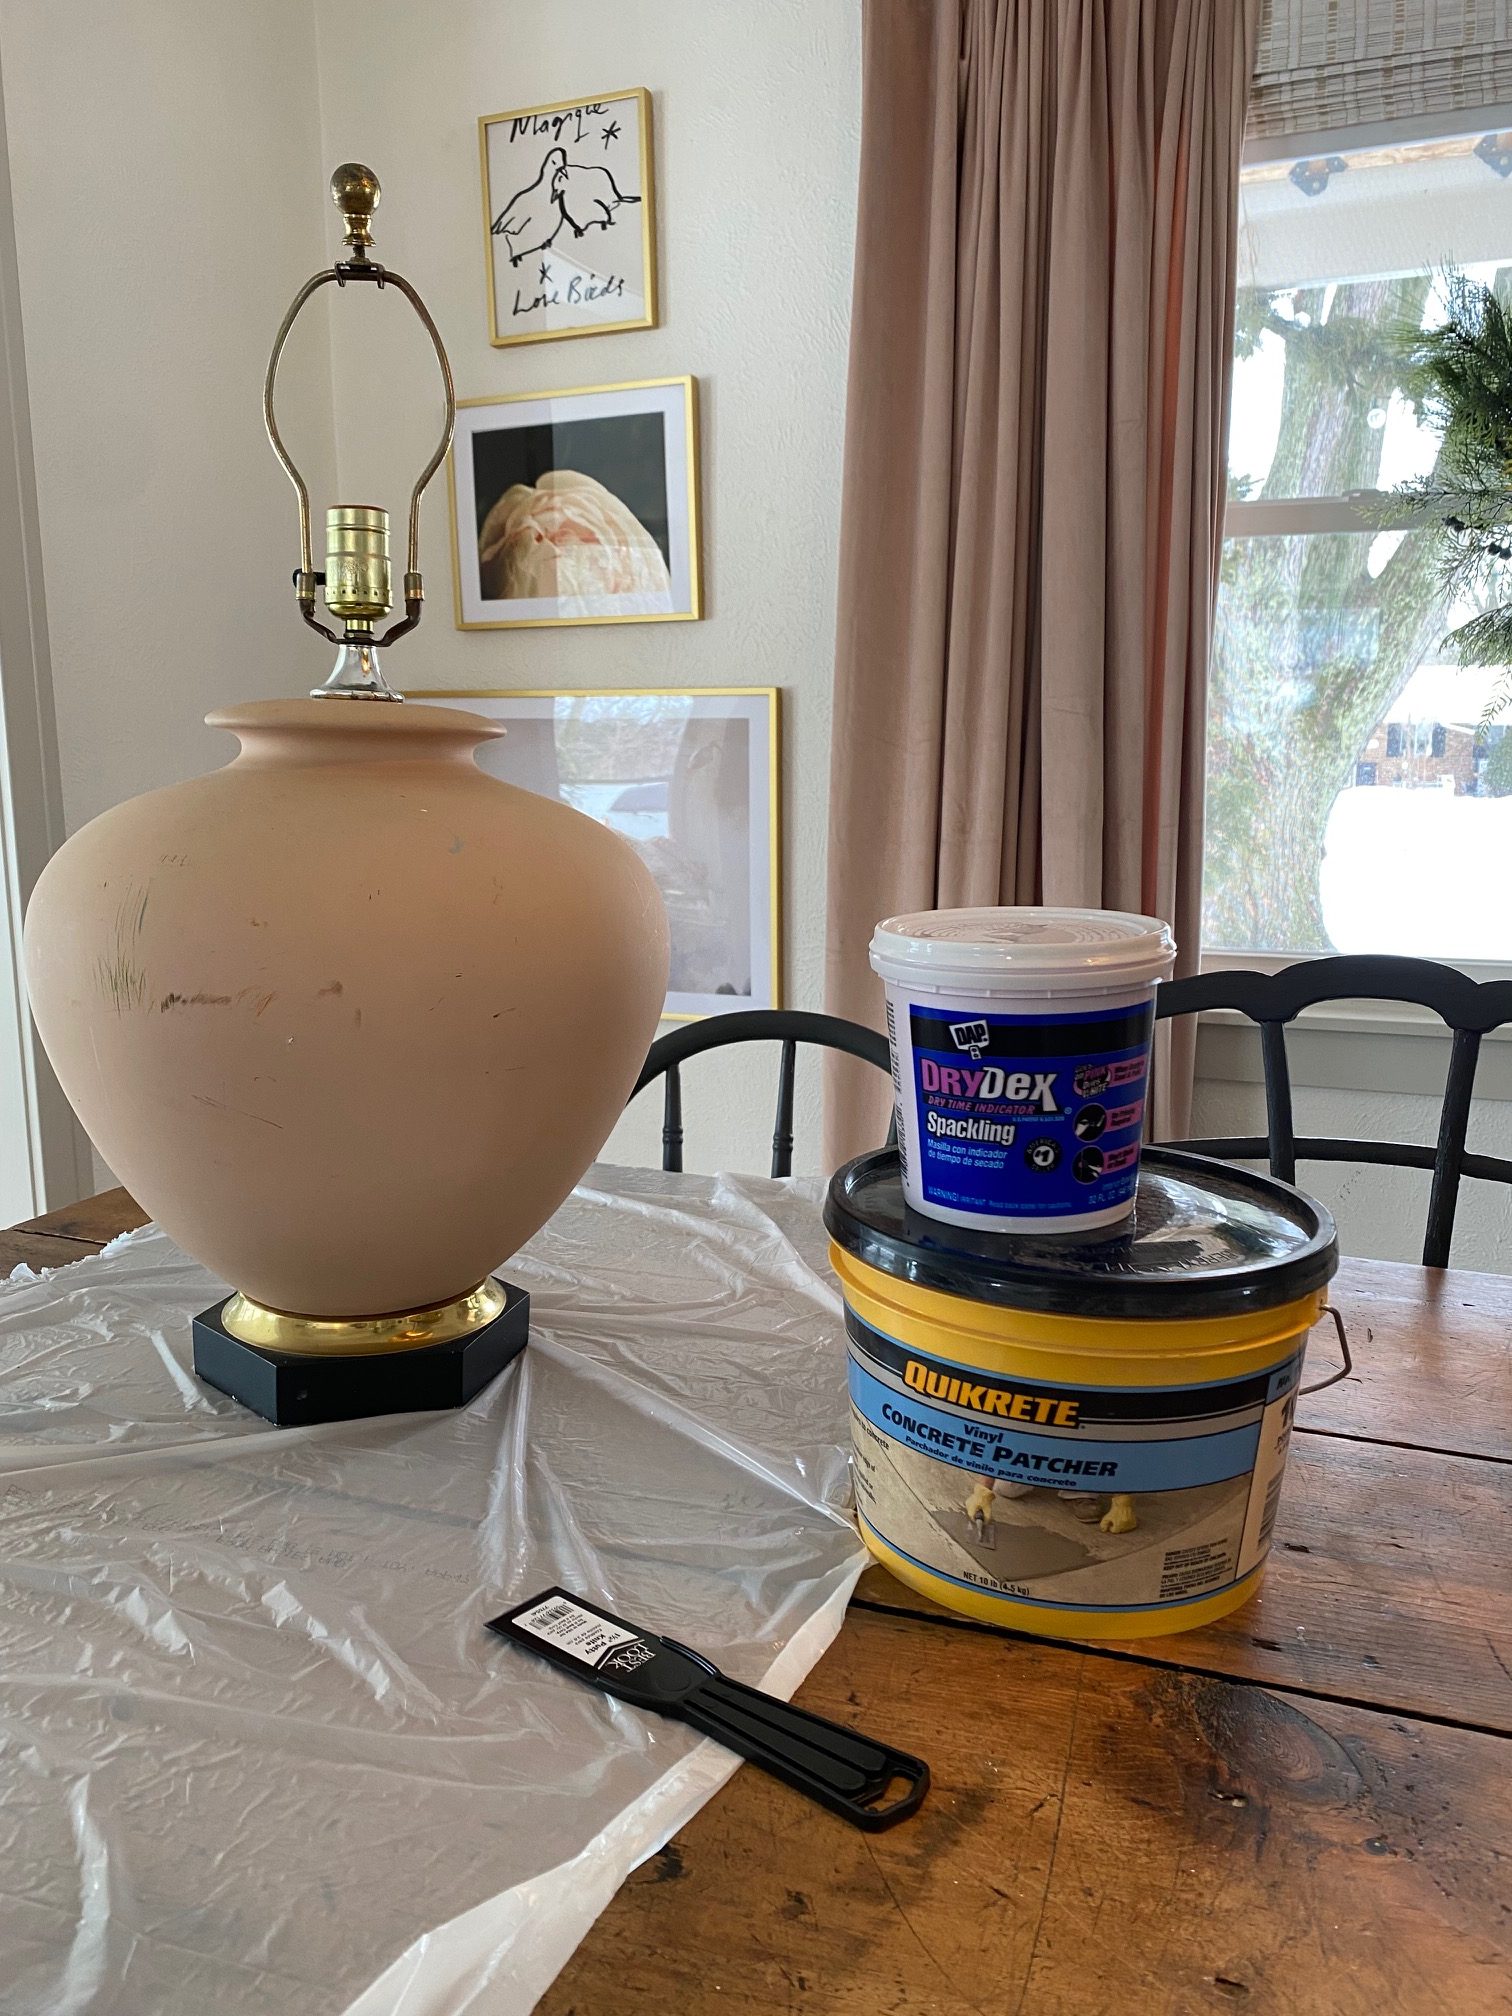
Supply List
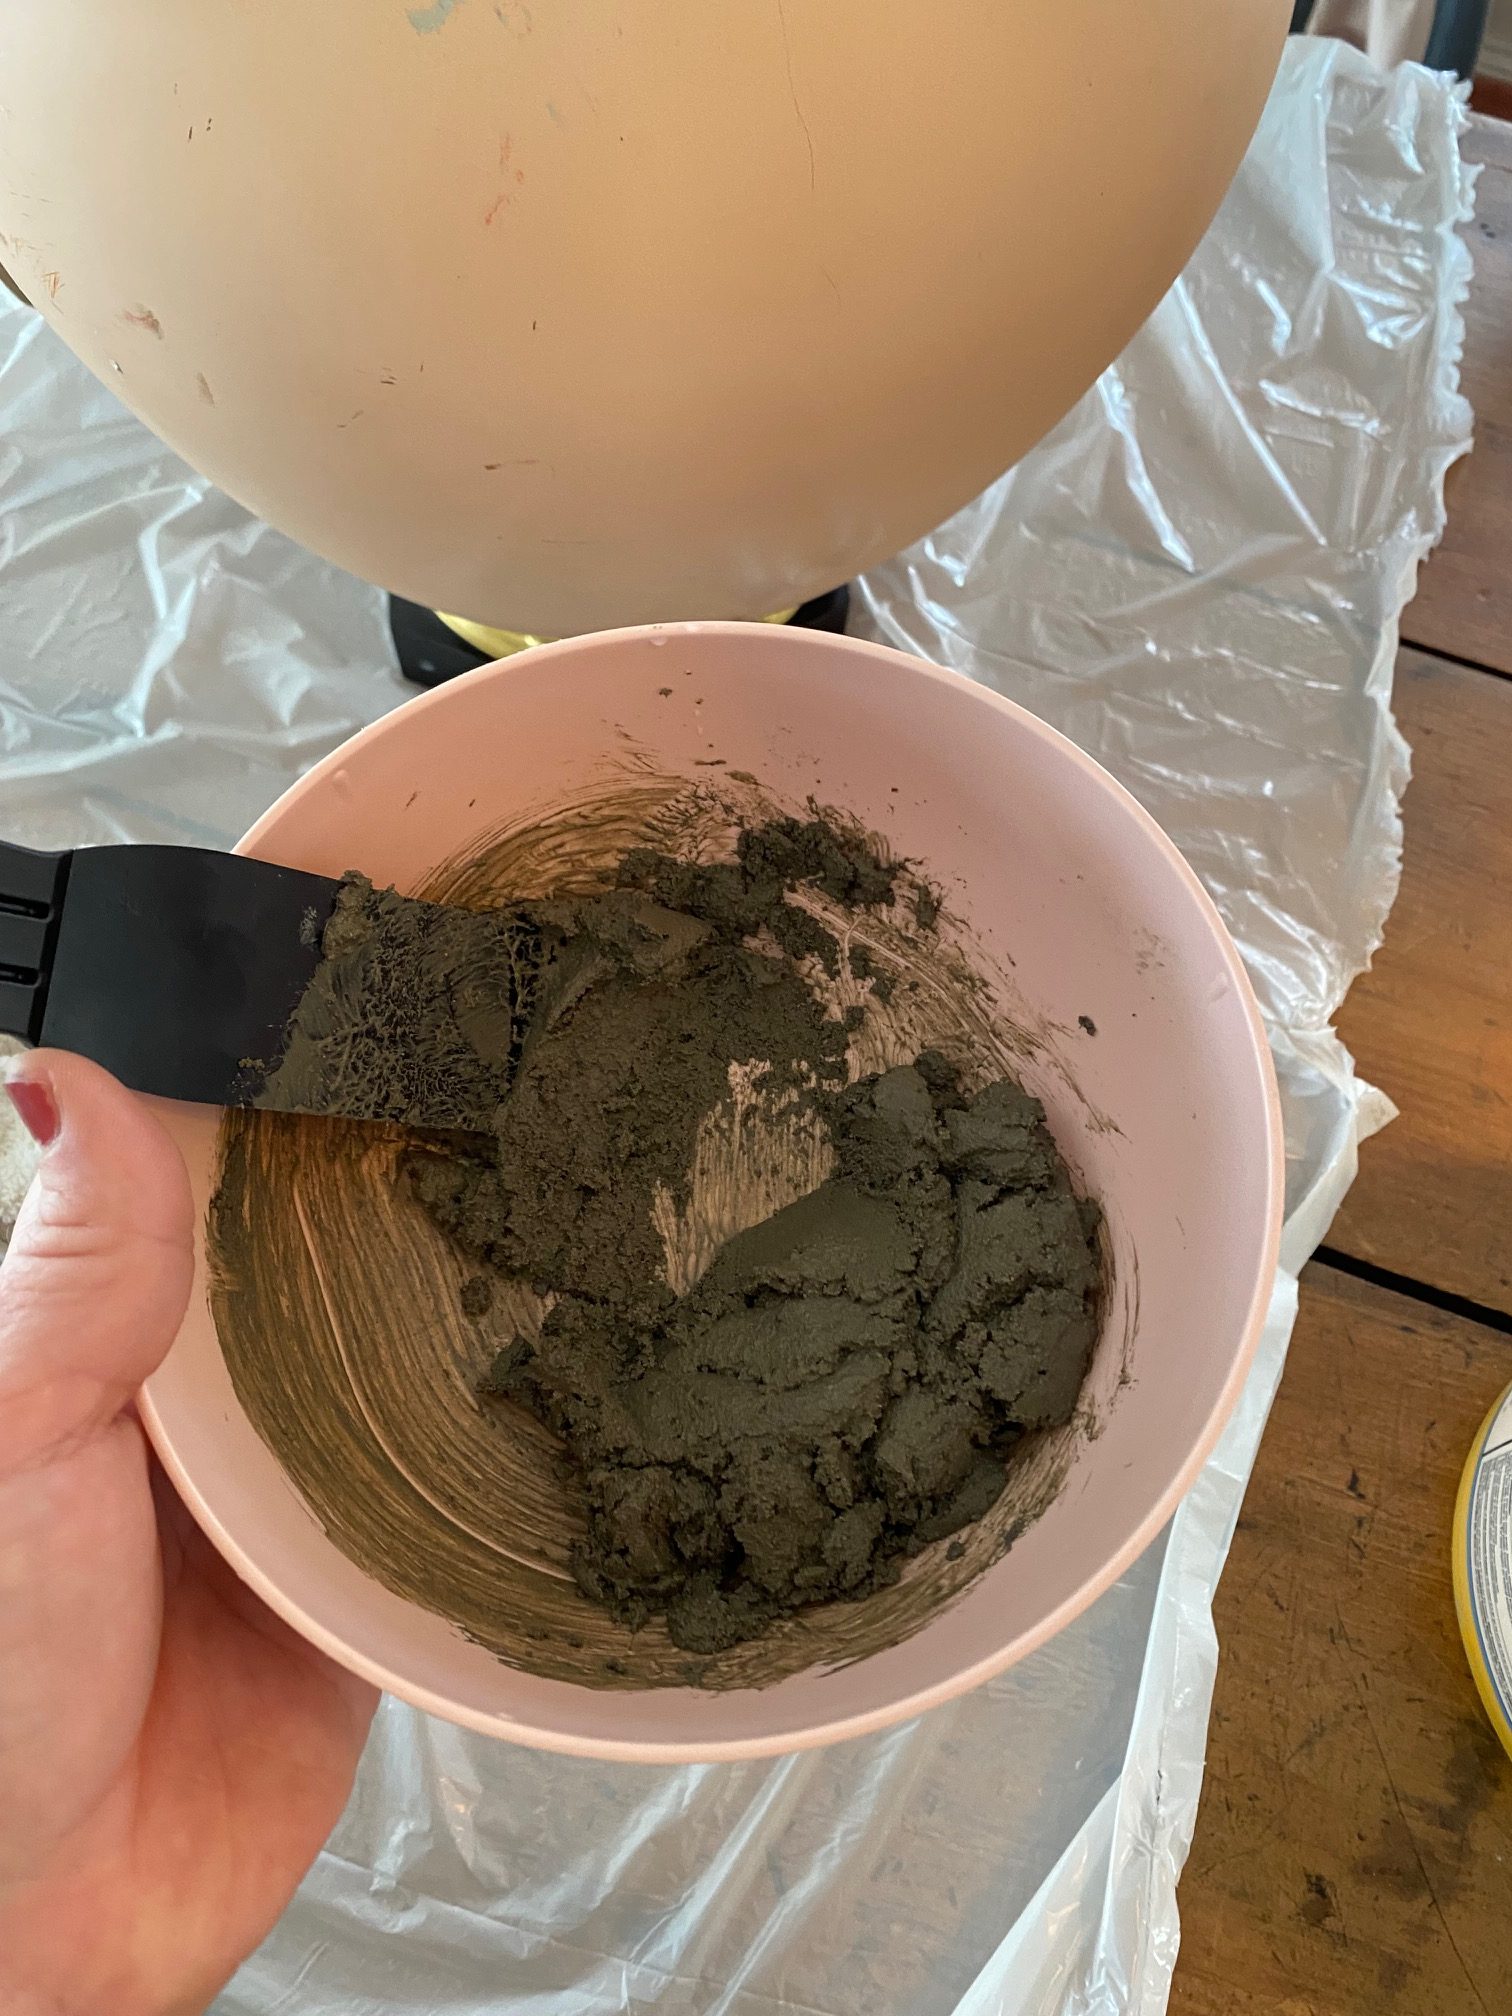
- Concrete patch (here)
- Spackling (here)
- Spackle knife
- Cheap paint brush
- Gray paint (or color of choice)
- Black paint (for color of choice for depth)
Steps
- Grab a wet cloth and wipe down lamp
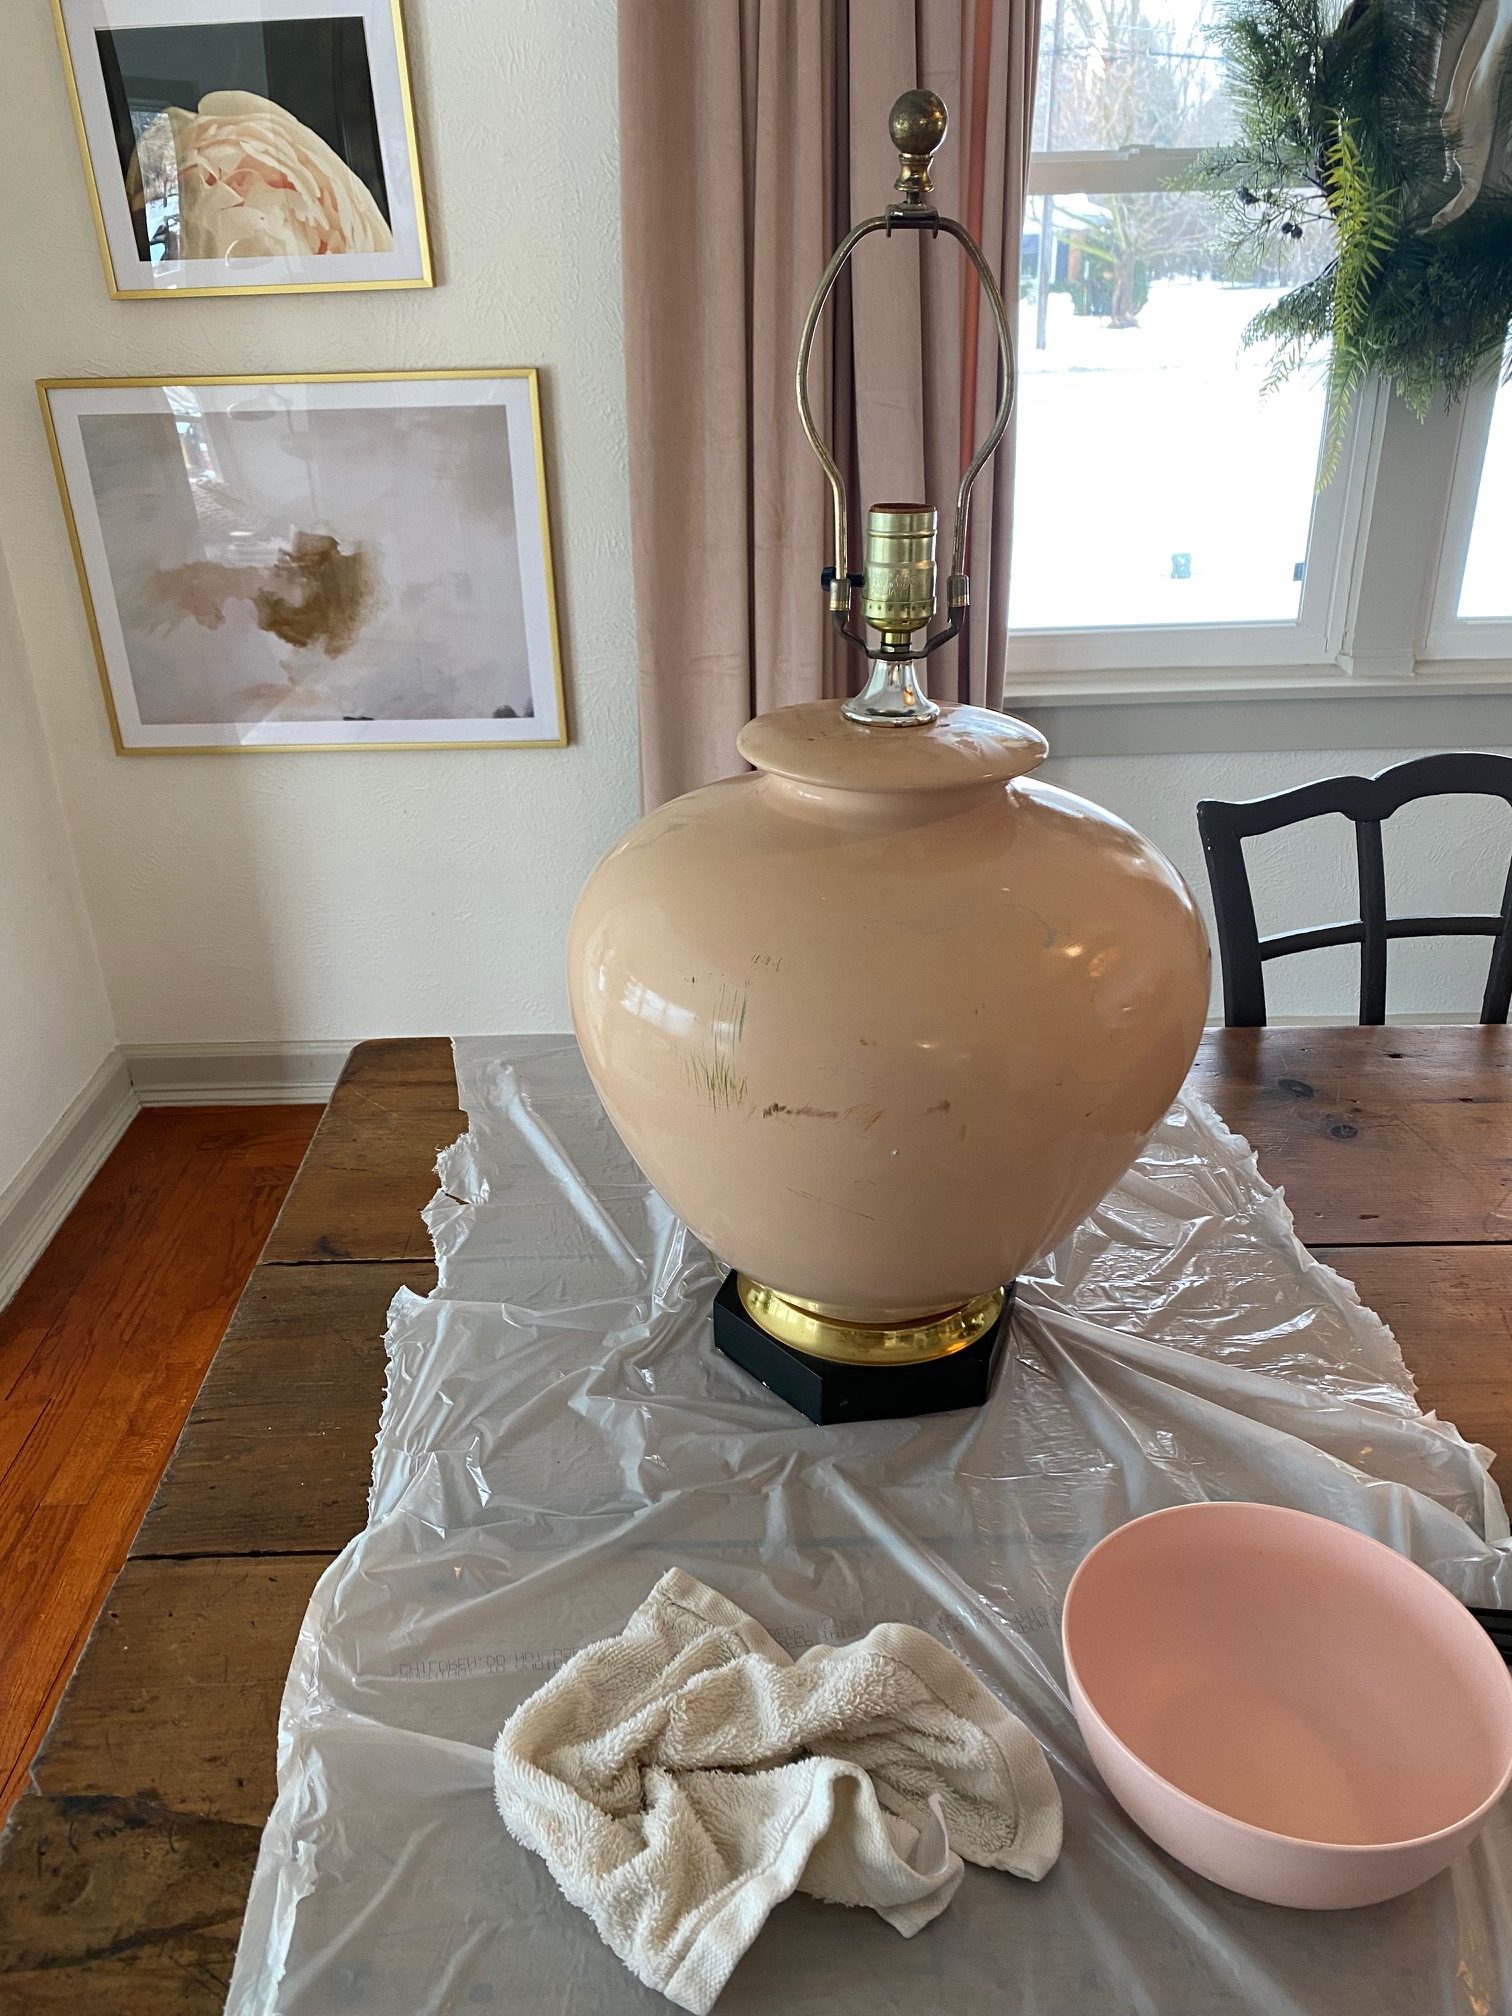
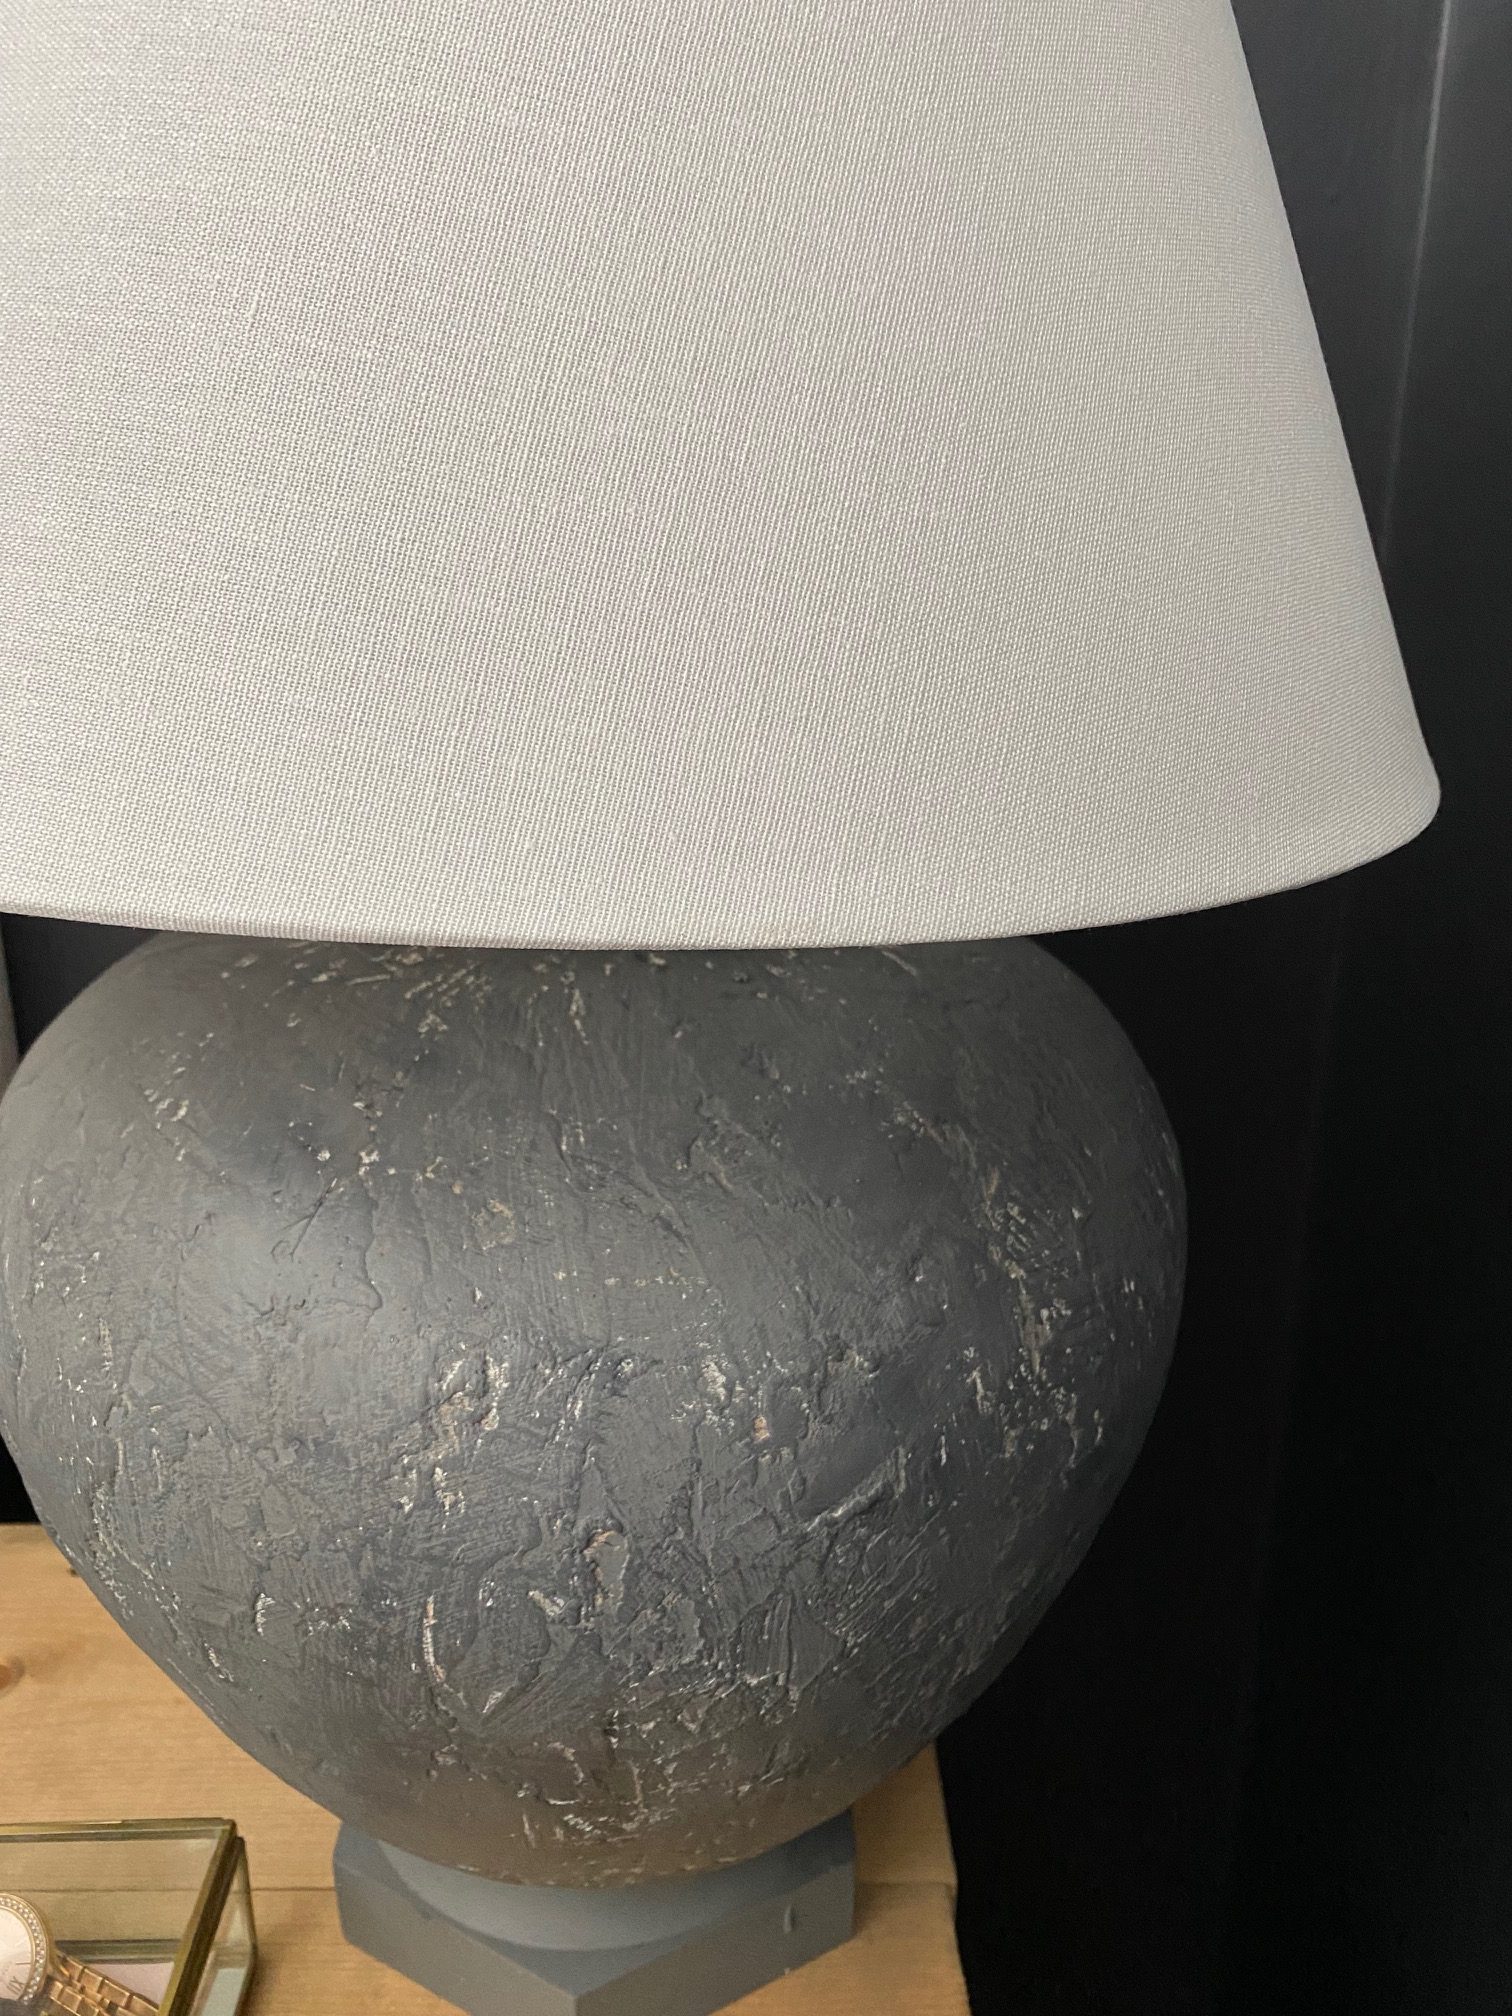
- For this step I actually used my hands which ended up being a lot easier for my specific lamp. You could also use the spackle knife. I rubbed two layers on each of my lamps allowing it to totally dry in between coats.
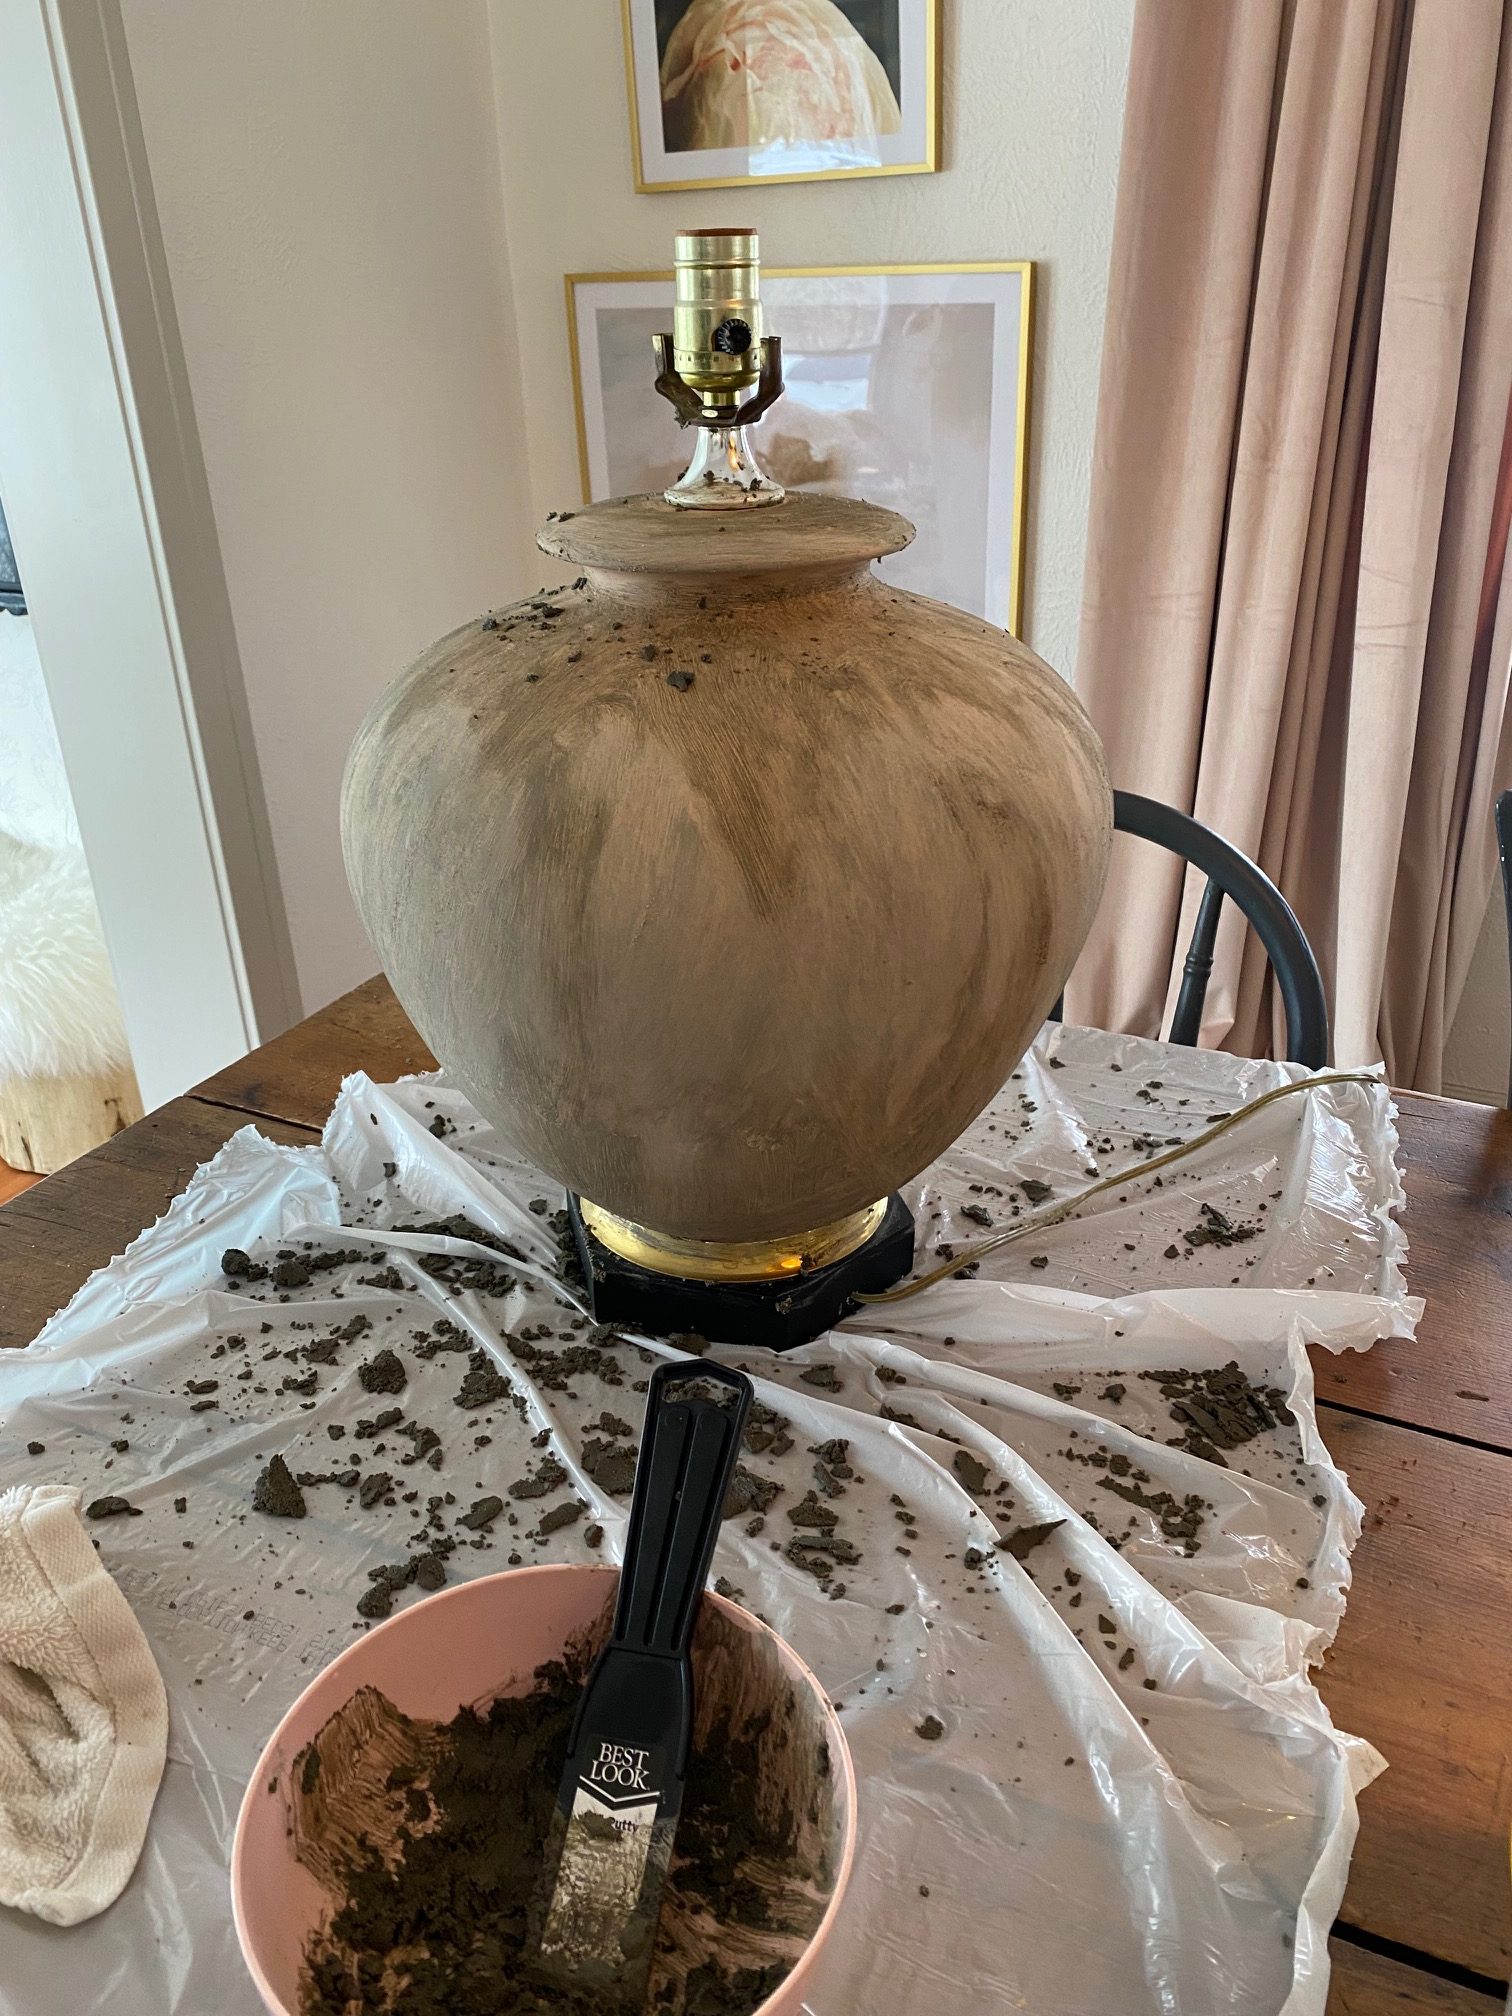
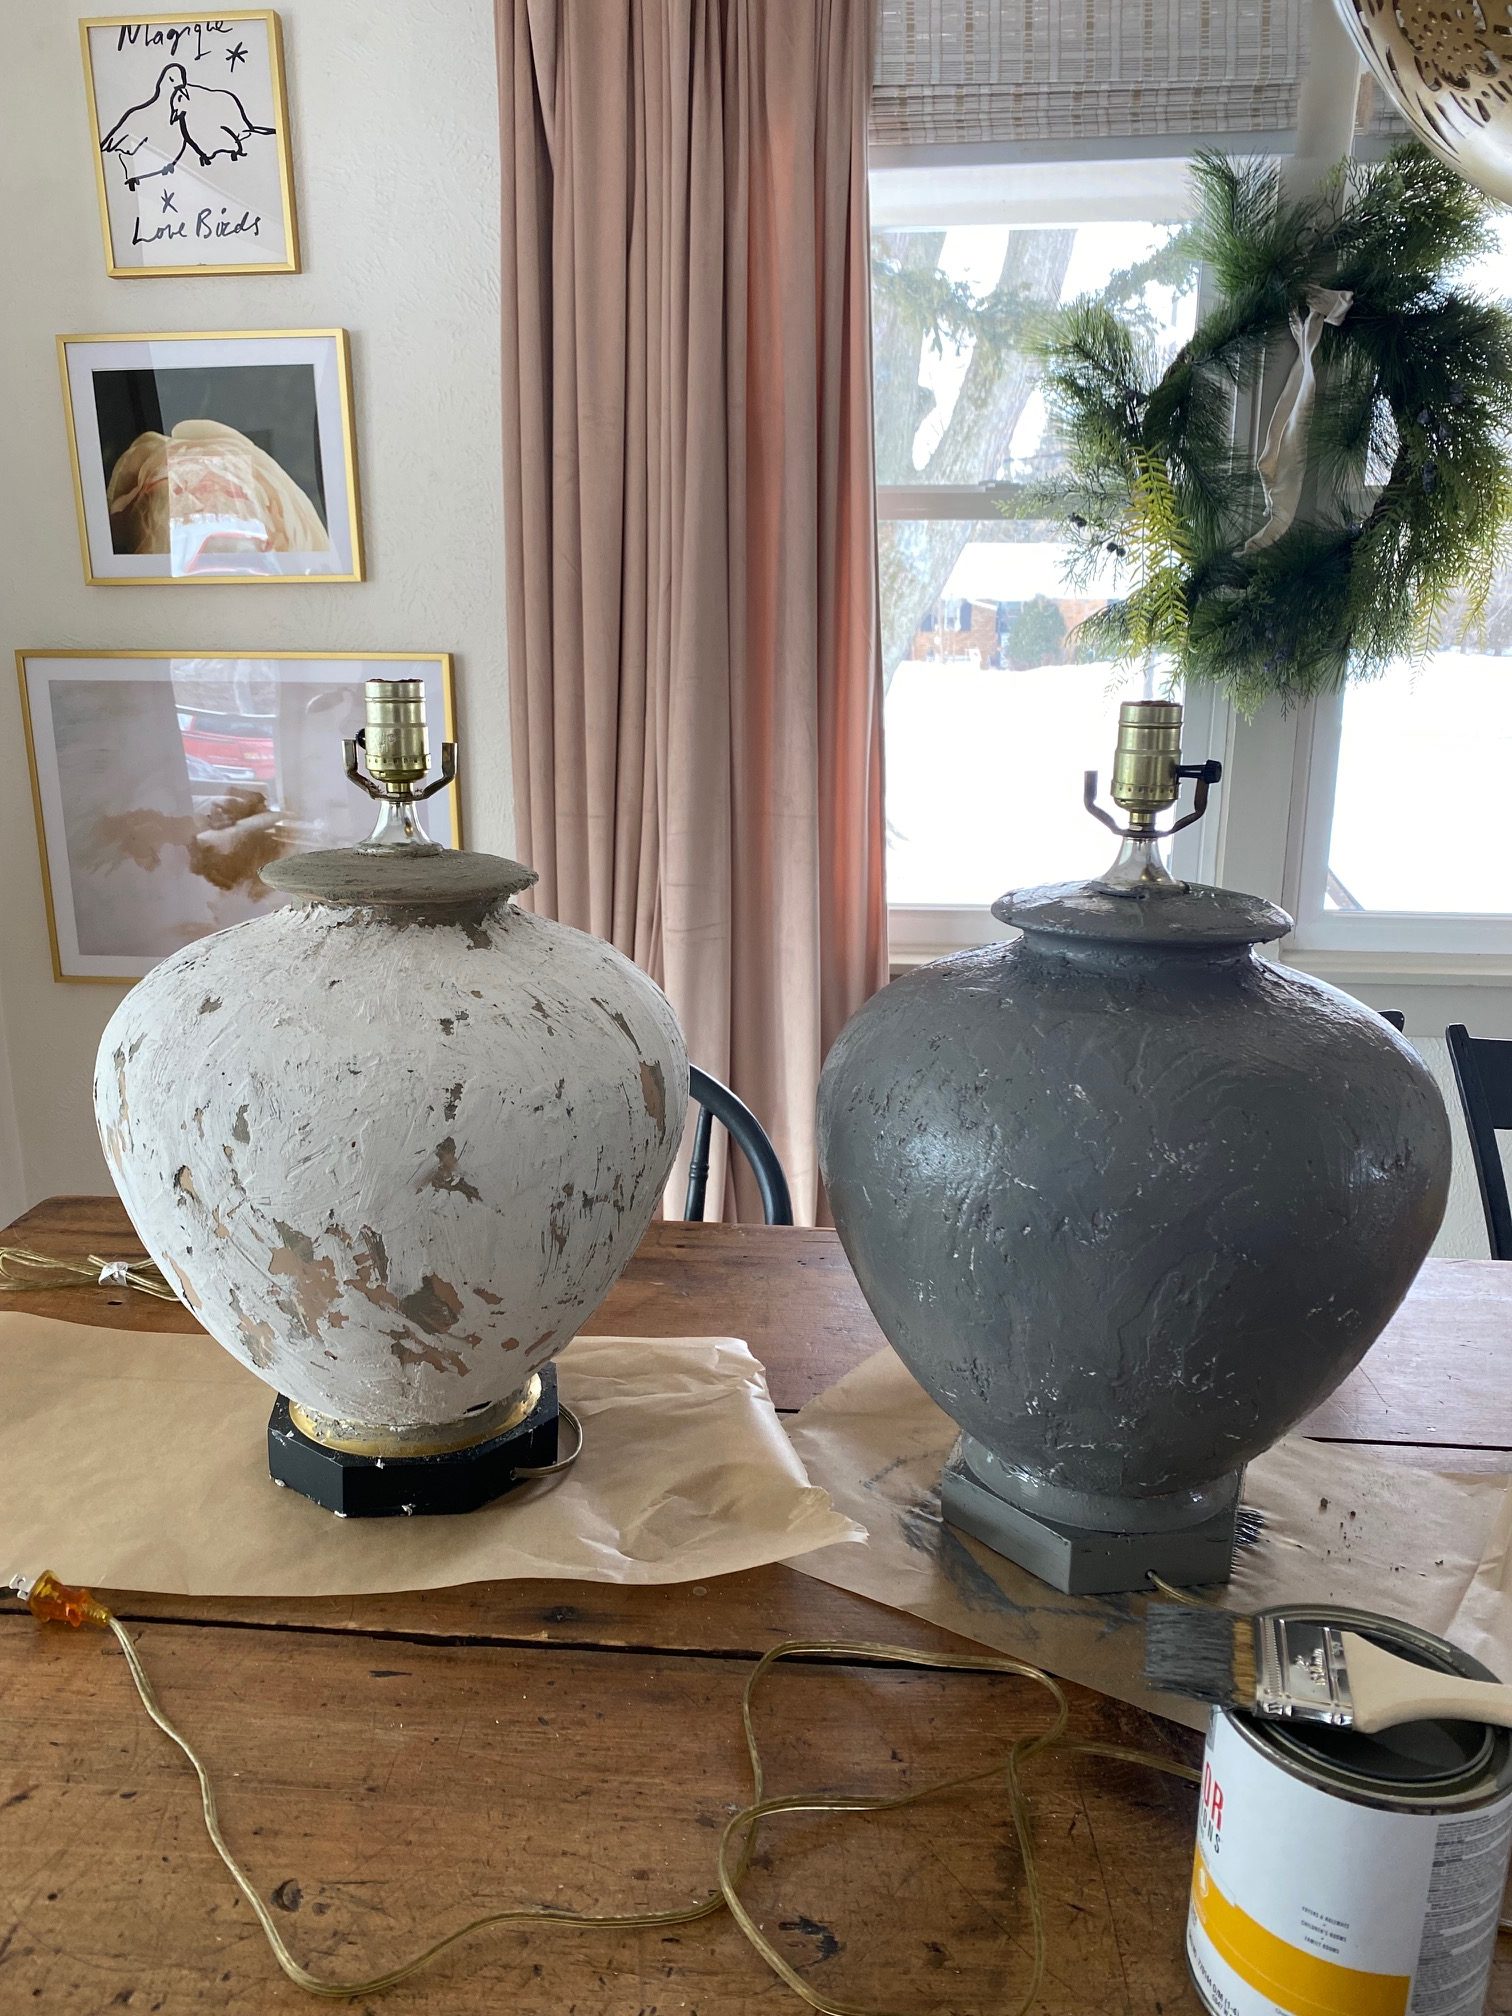
- After the last remaining concrete layer was dry I took the Spackle and smeared it all over the lamp using the spackle knife. I created depth by keeping some parts exposed concrete, some parks at higher peaks than others.
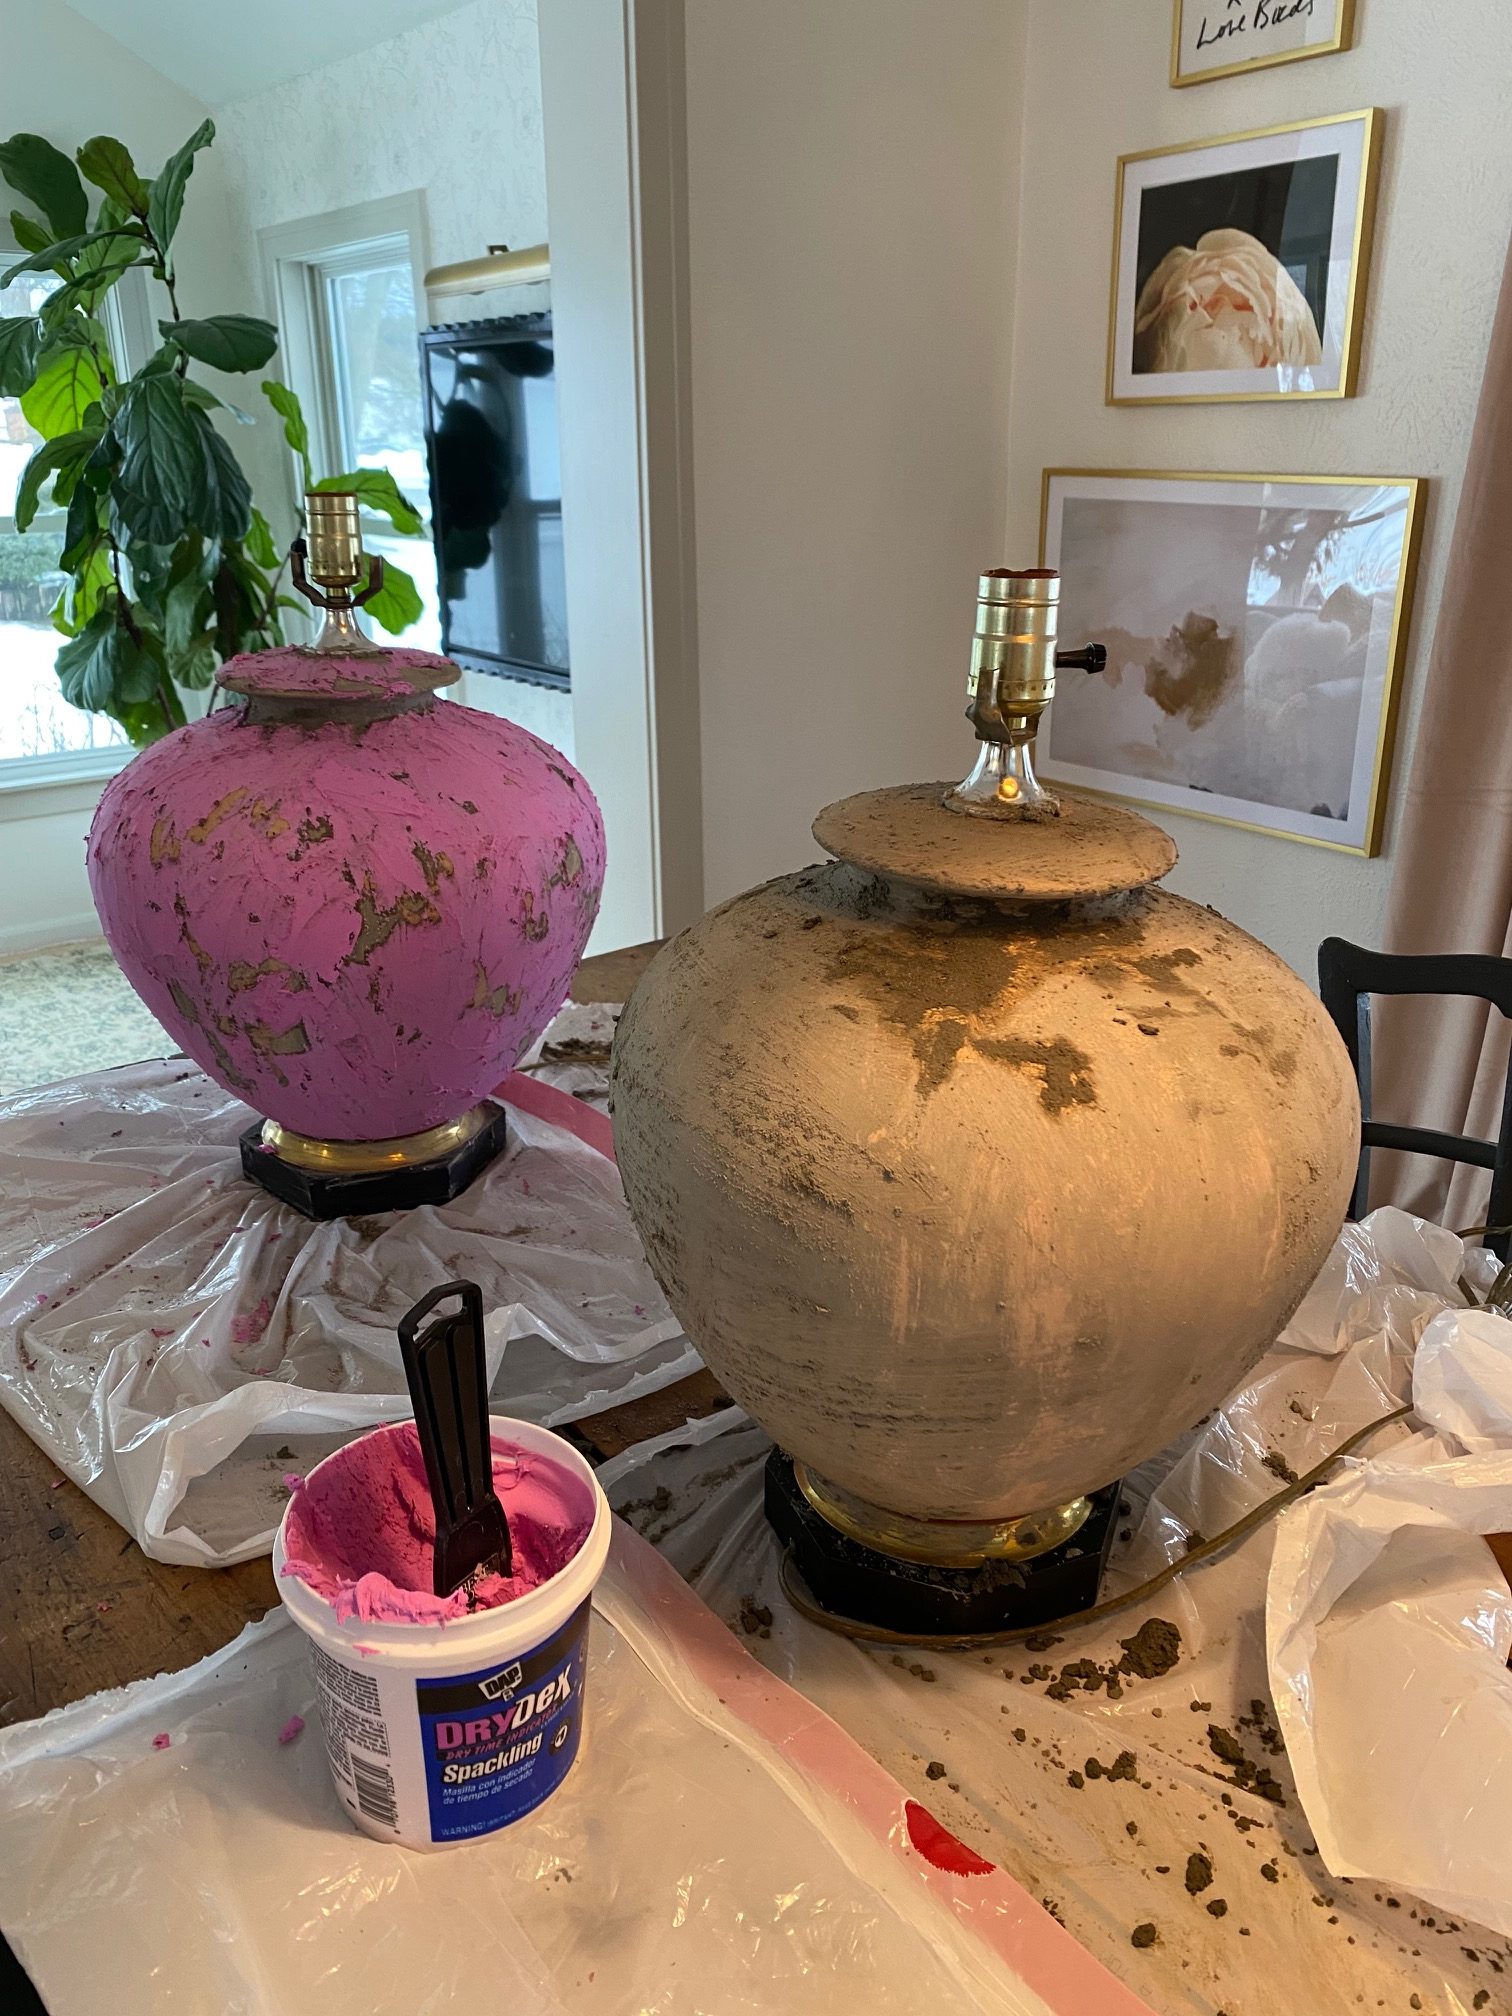
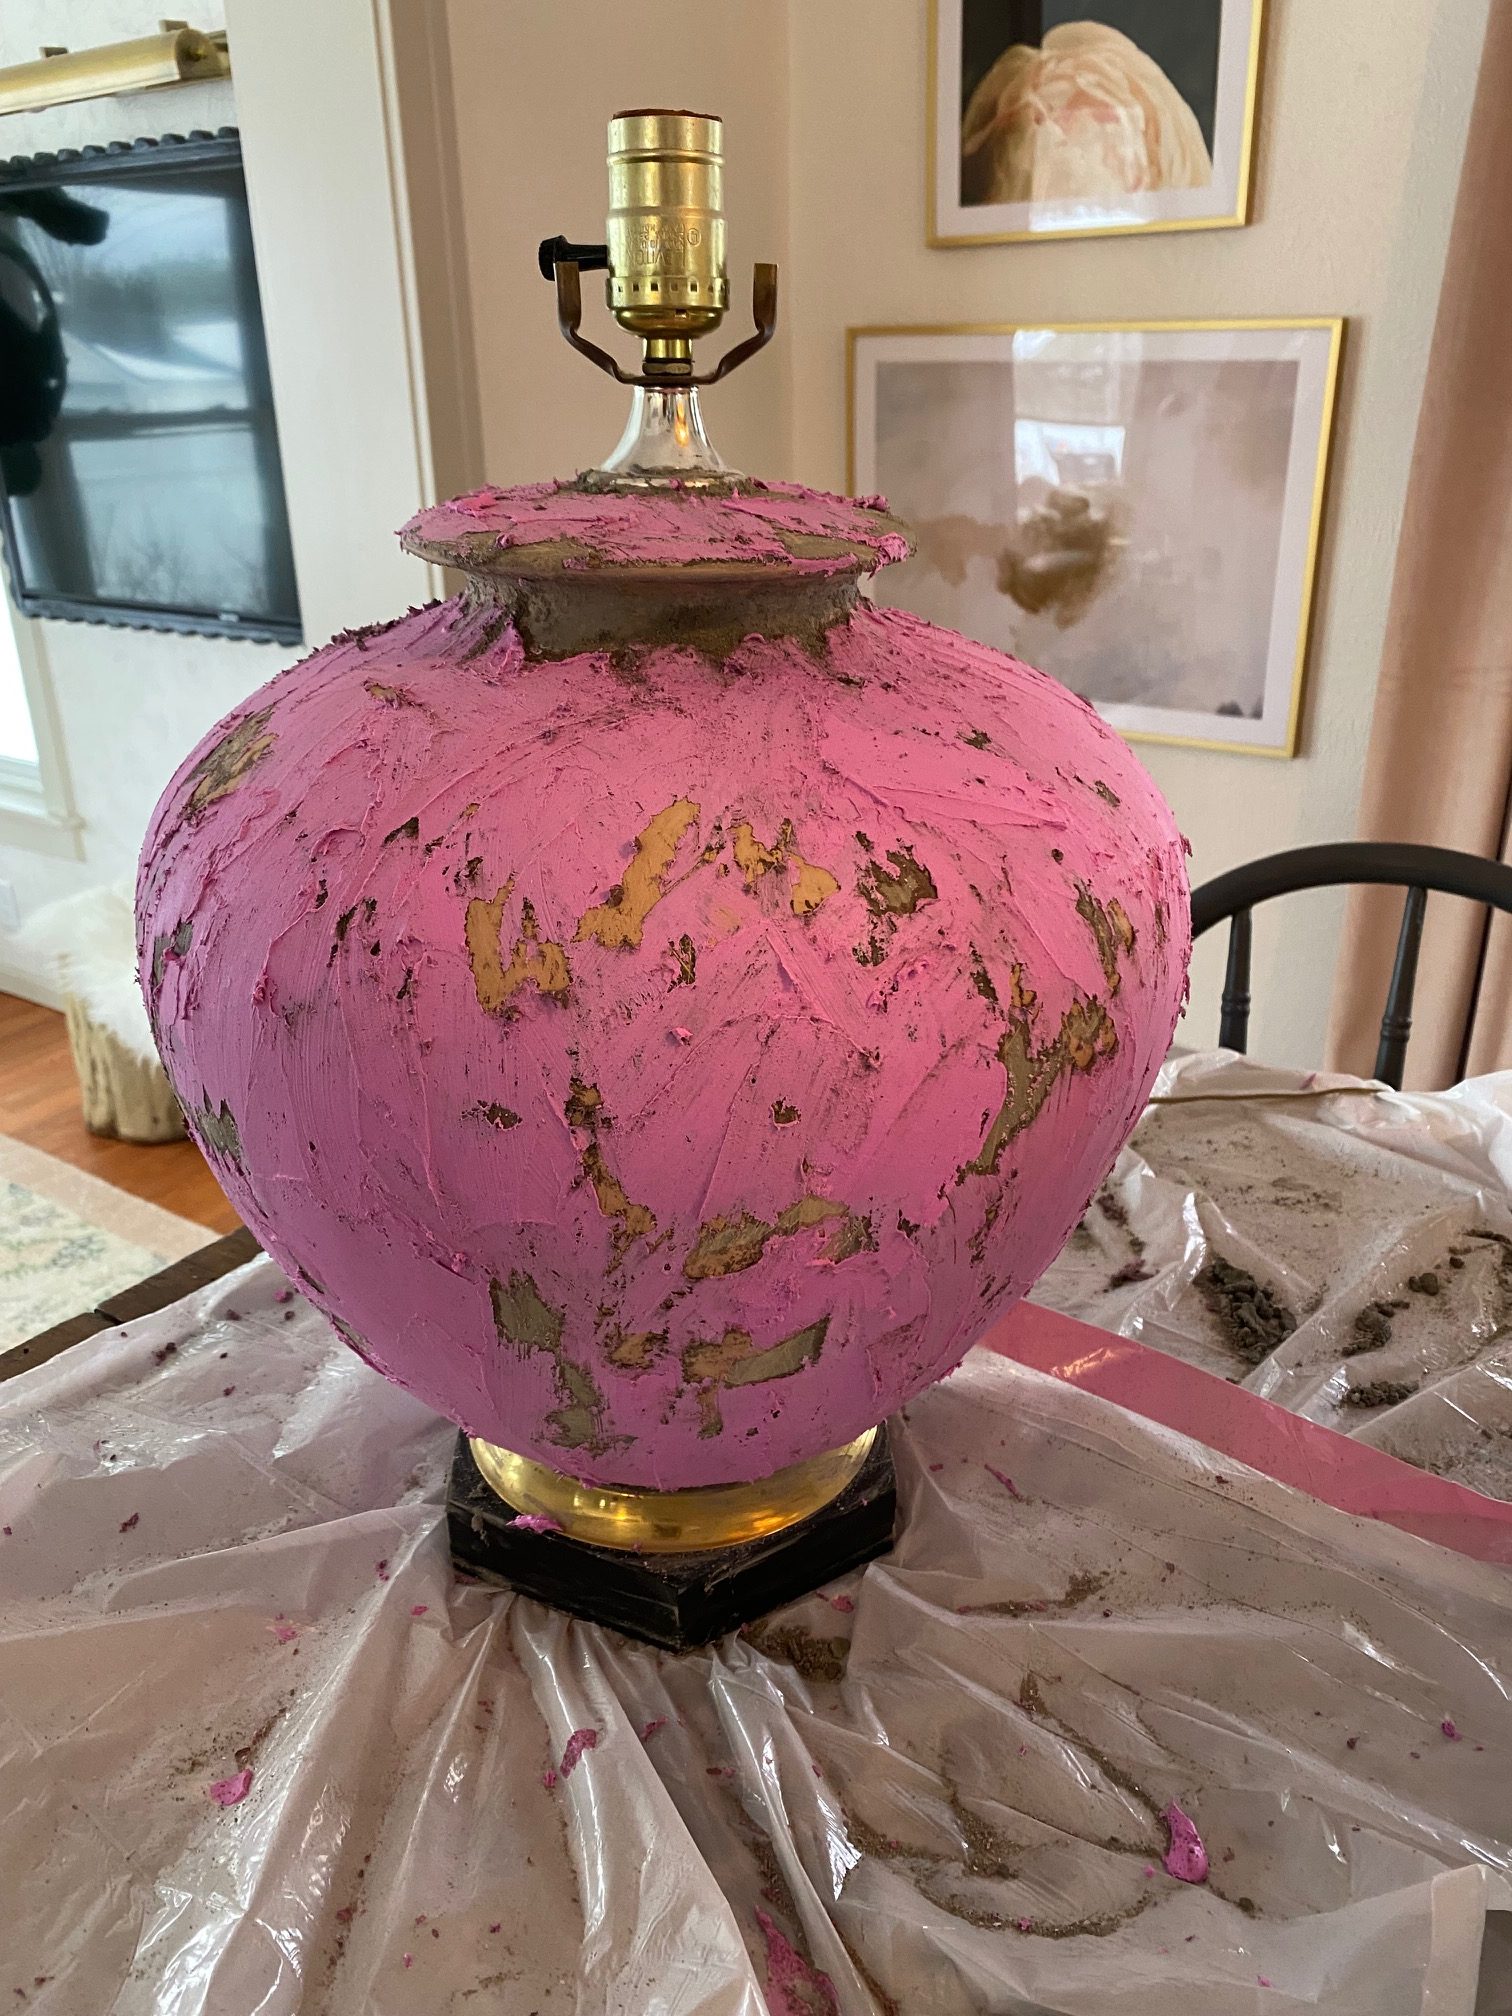
- While the Spackling was still drying I took a cheap paint brush and smoothed out the entire spackled surface. I made sure to use random strokes and didn’t follow any specific pattern to make sure everything looked organic.
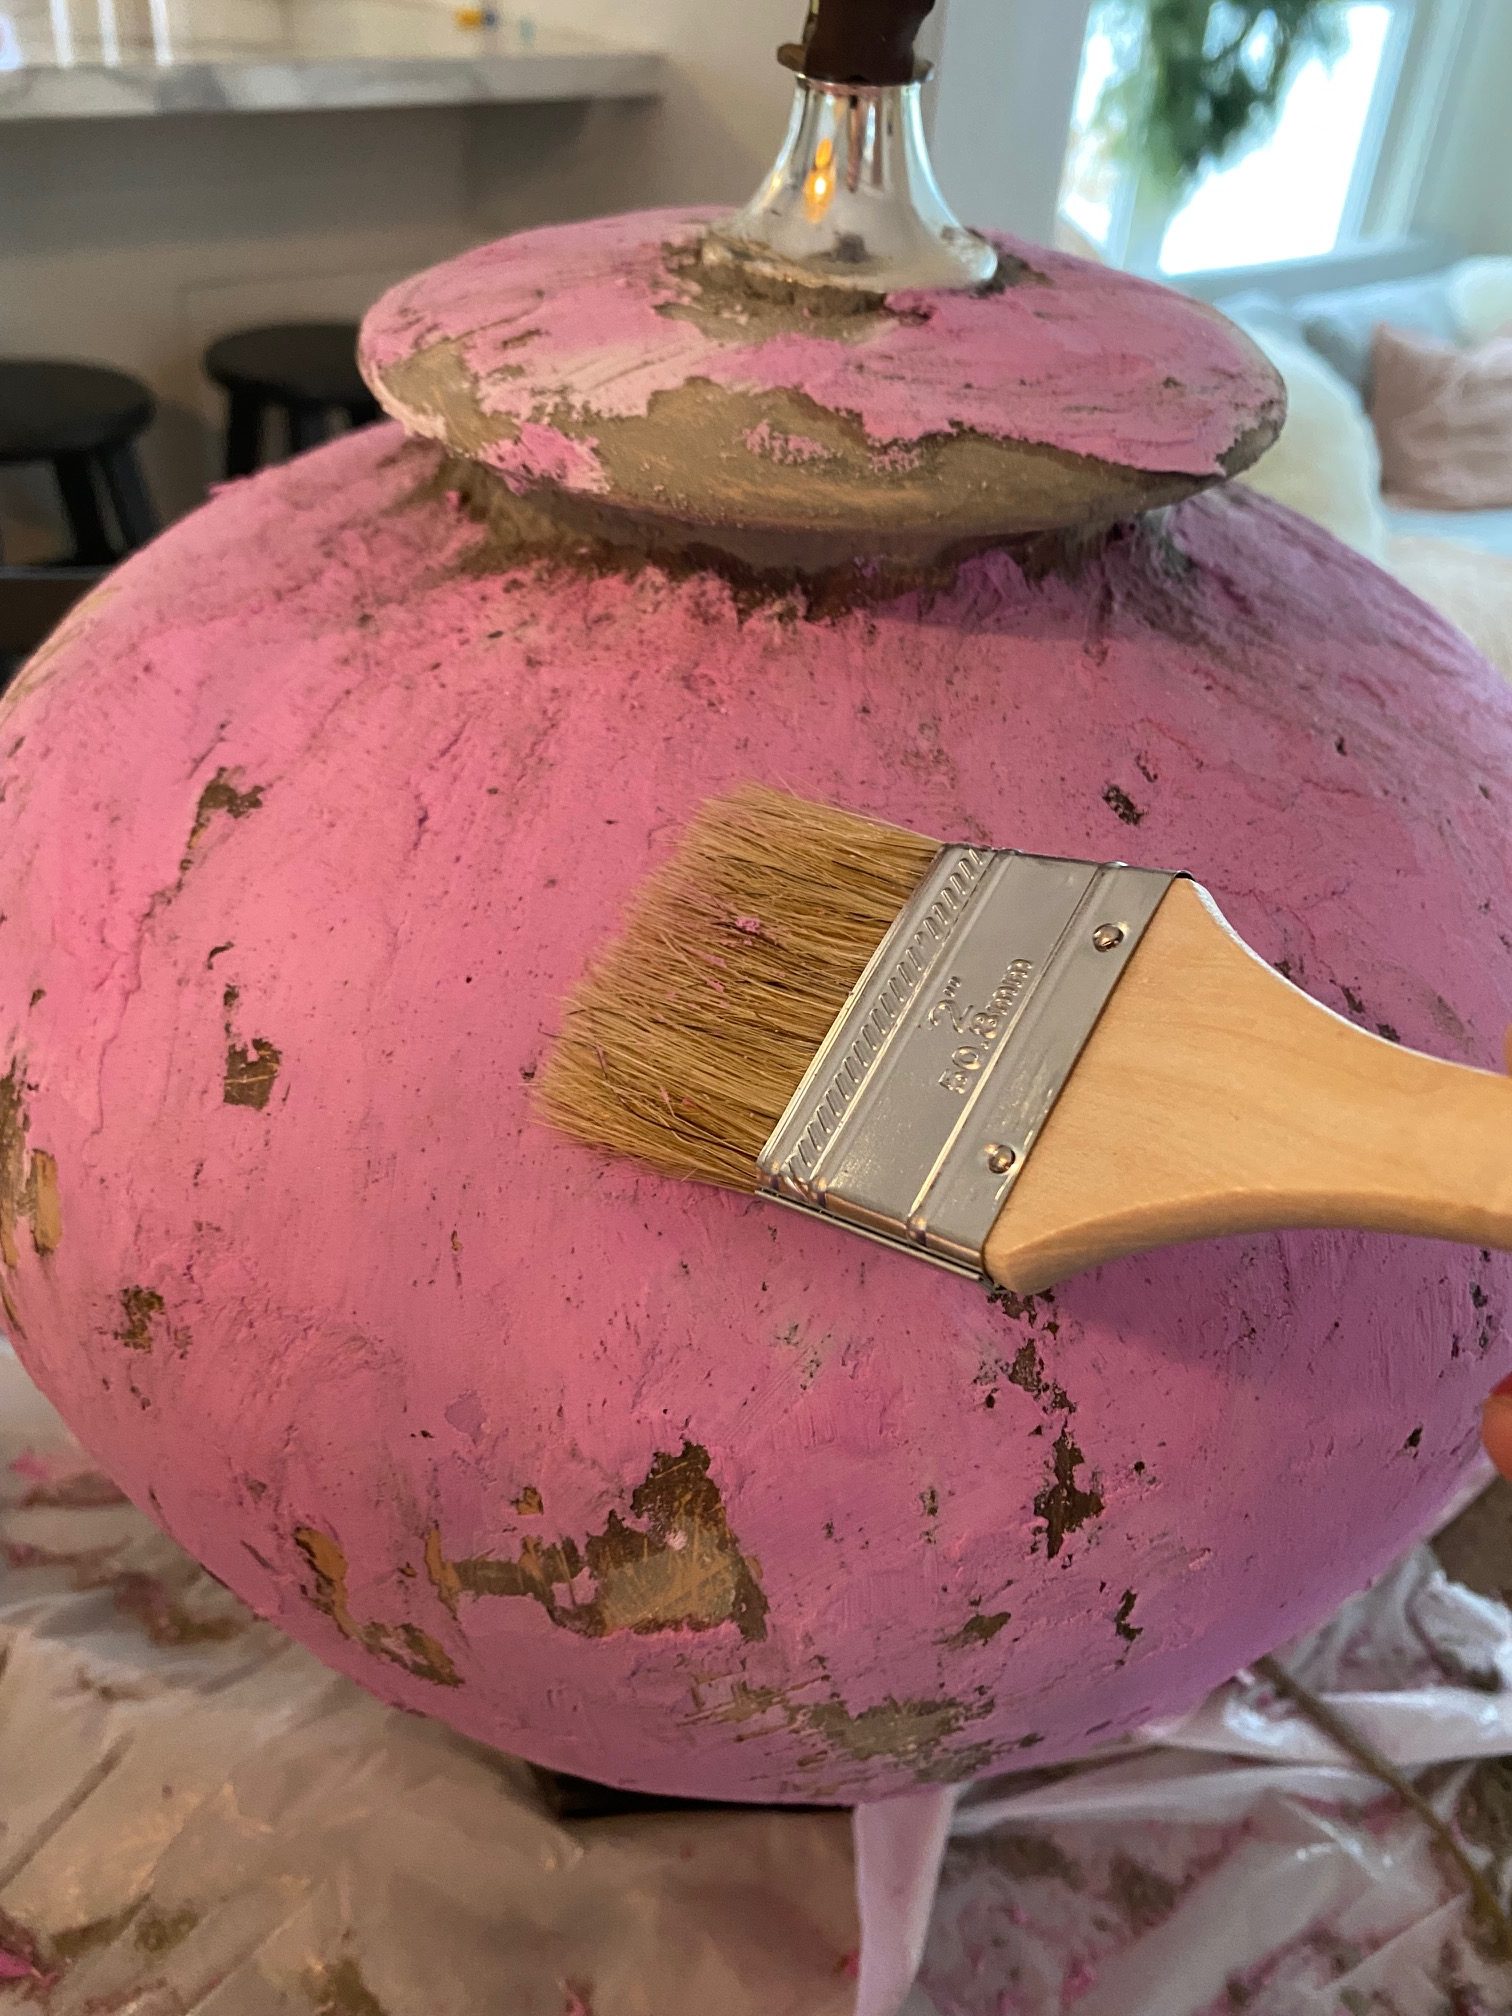
- Let the spackling dry overnight
- Take the gray paint and randomly brush it on your lamps. I went up, down, sideways etc.. to not follow a pattern but keep it organic looking. Let dry
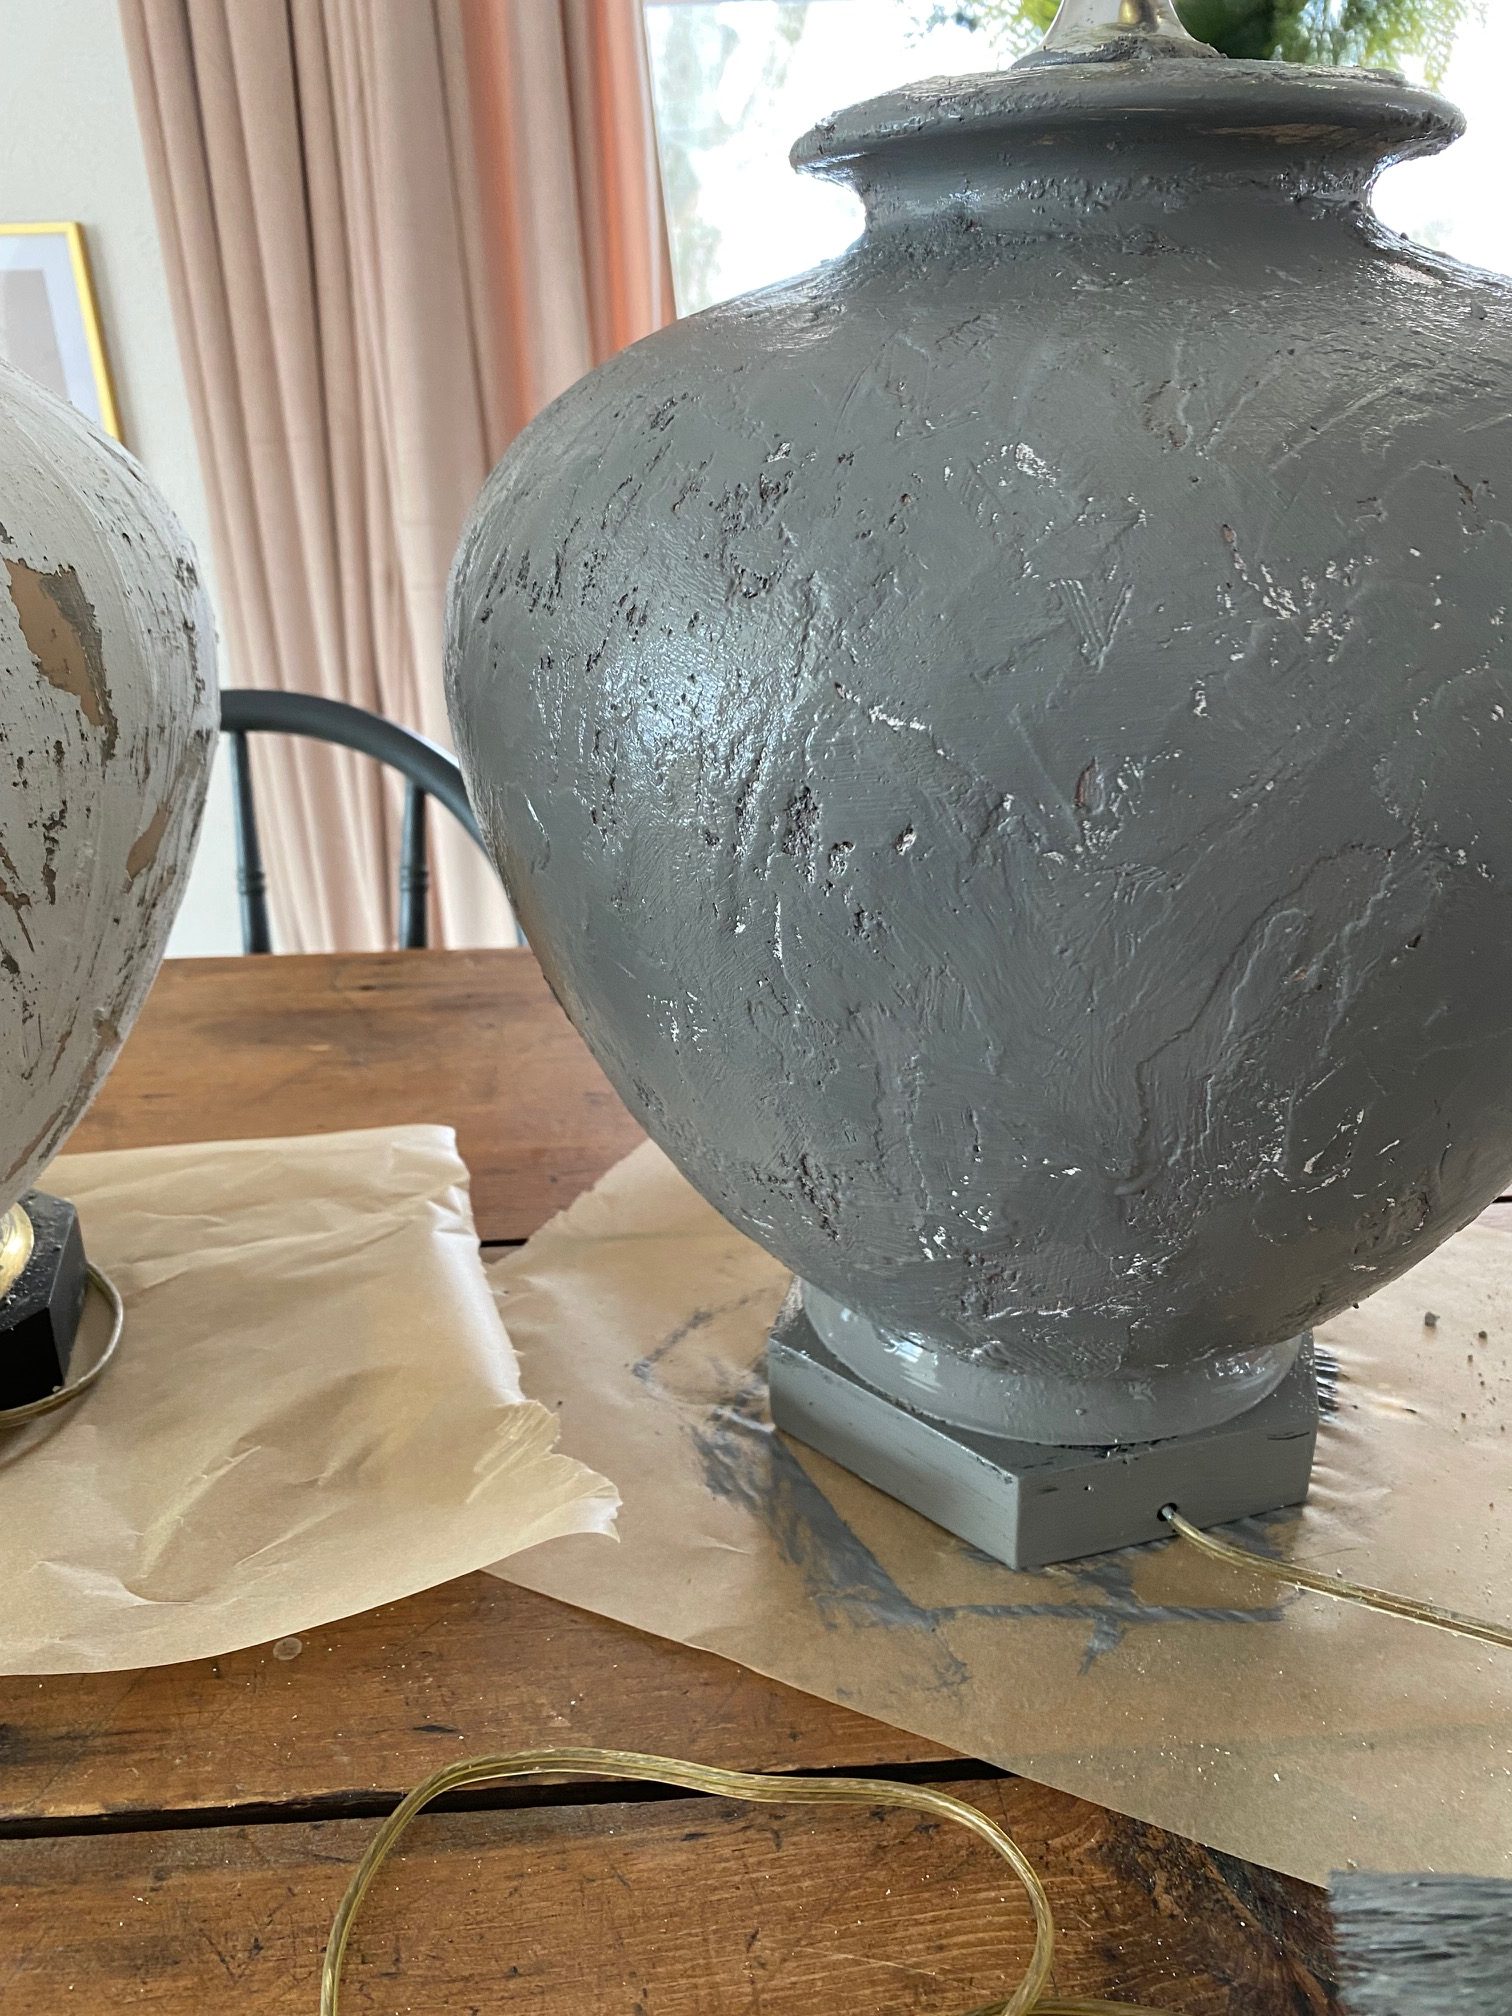
- Next I took some black paint that I already had and barely tipped the end of my paint brush into the paint and did more of a dry painting method. I did not want harsh lines but wanted to be sure it was a soft contrast that looked natural.
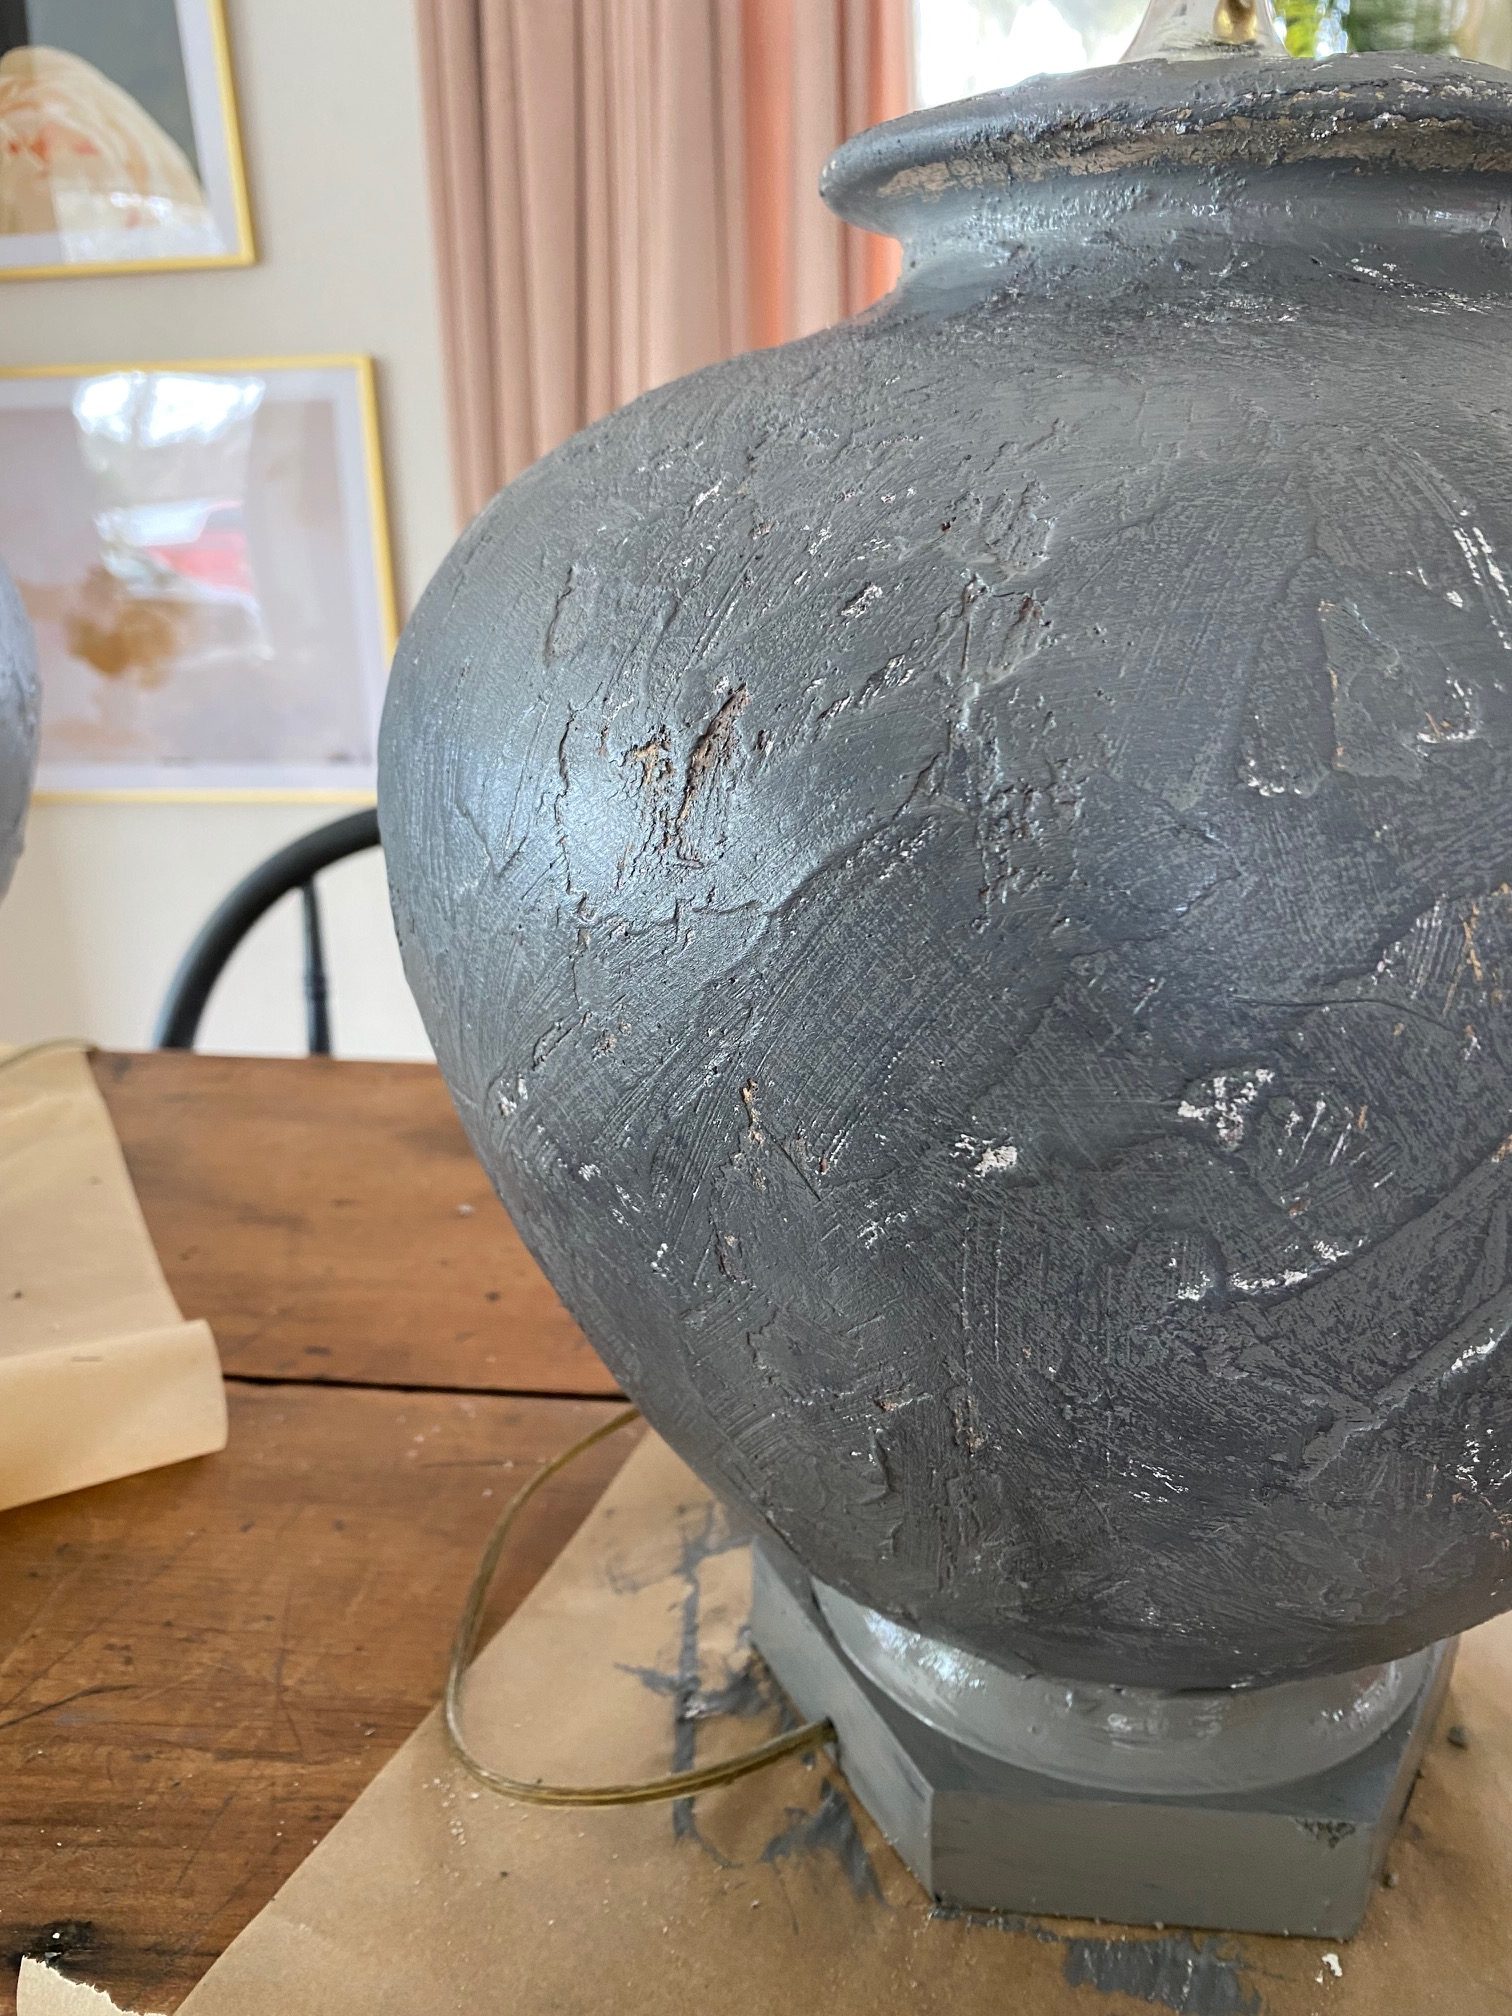
- Add the shade and ENJOY your lamp!


I LOVED how this project turned out and will be using this technique again very soon
Current Lamp Favs

Tips for picking the perfect Lamp:
Adding a lamp to your space can really impact a room. I love the soft glow they offer and the interest they add. You want to make sure that the lamp you choose fit the aesthetic of your space and is no more than half the size of the table it sits on. Typically when your sitting down you want the shade to be around eye level. If you have a lot of the same color around your space think about breaking it up and adding some texture with a rattan lamp or a different material like concrete. We often don’t think of materials like clay, concrete and glass adding texture but they do. If your space is small think about adding a larger lamp to bring big impact!