
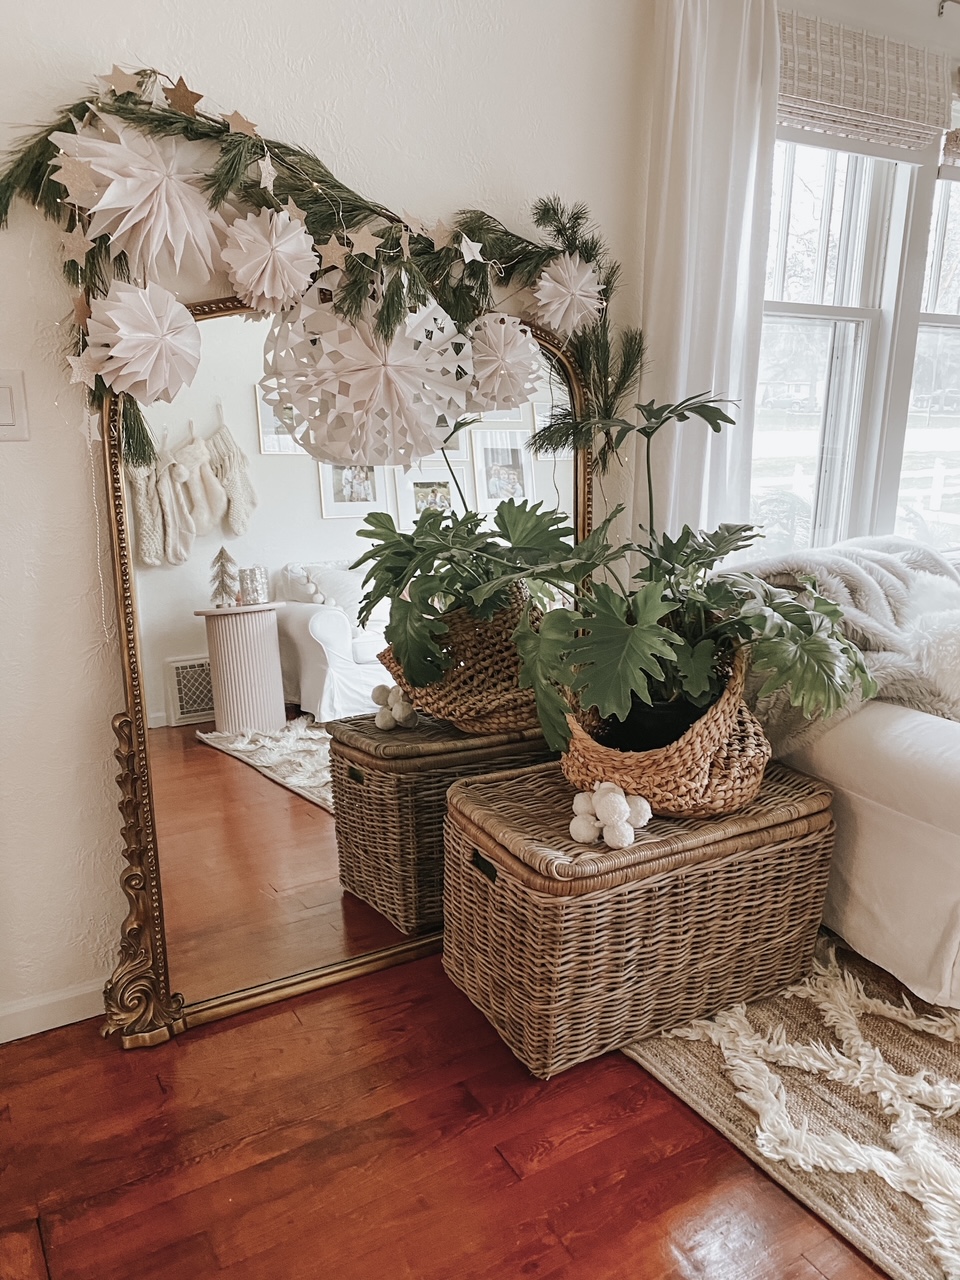
DIY Paper Bag Stars
This is one of the simplest and most affordable DIYs I have done in awhile. It is simple enough that everyone can help, kids included!
Supplies
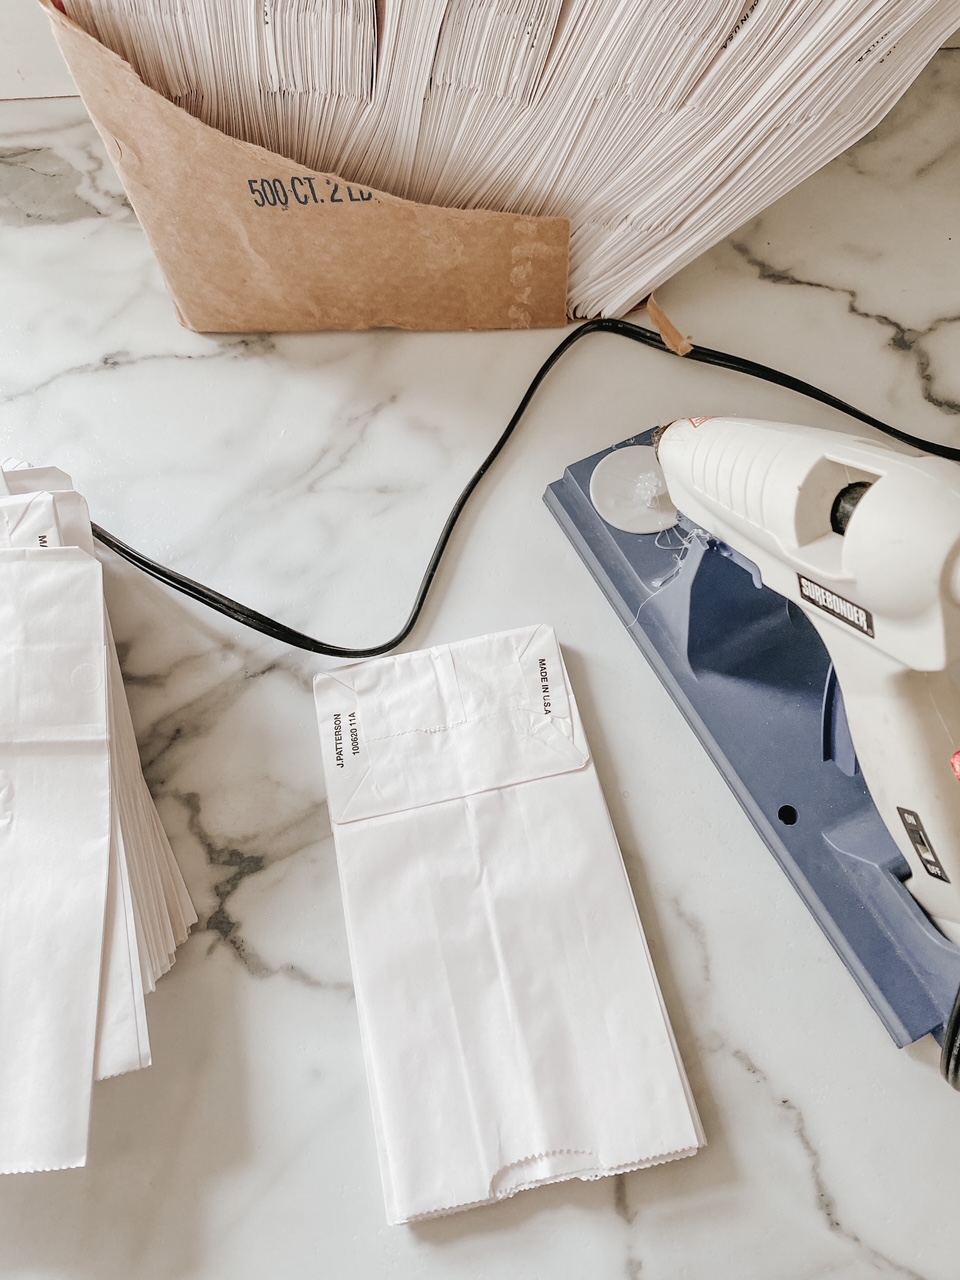
- Brown or White Paper Bags (We found our white ones from Gordons Foods)
- Glue sticks or Hot glue (we used Hot glue)
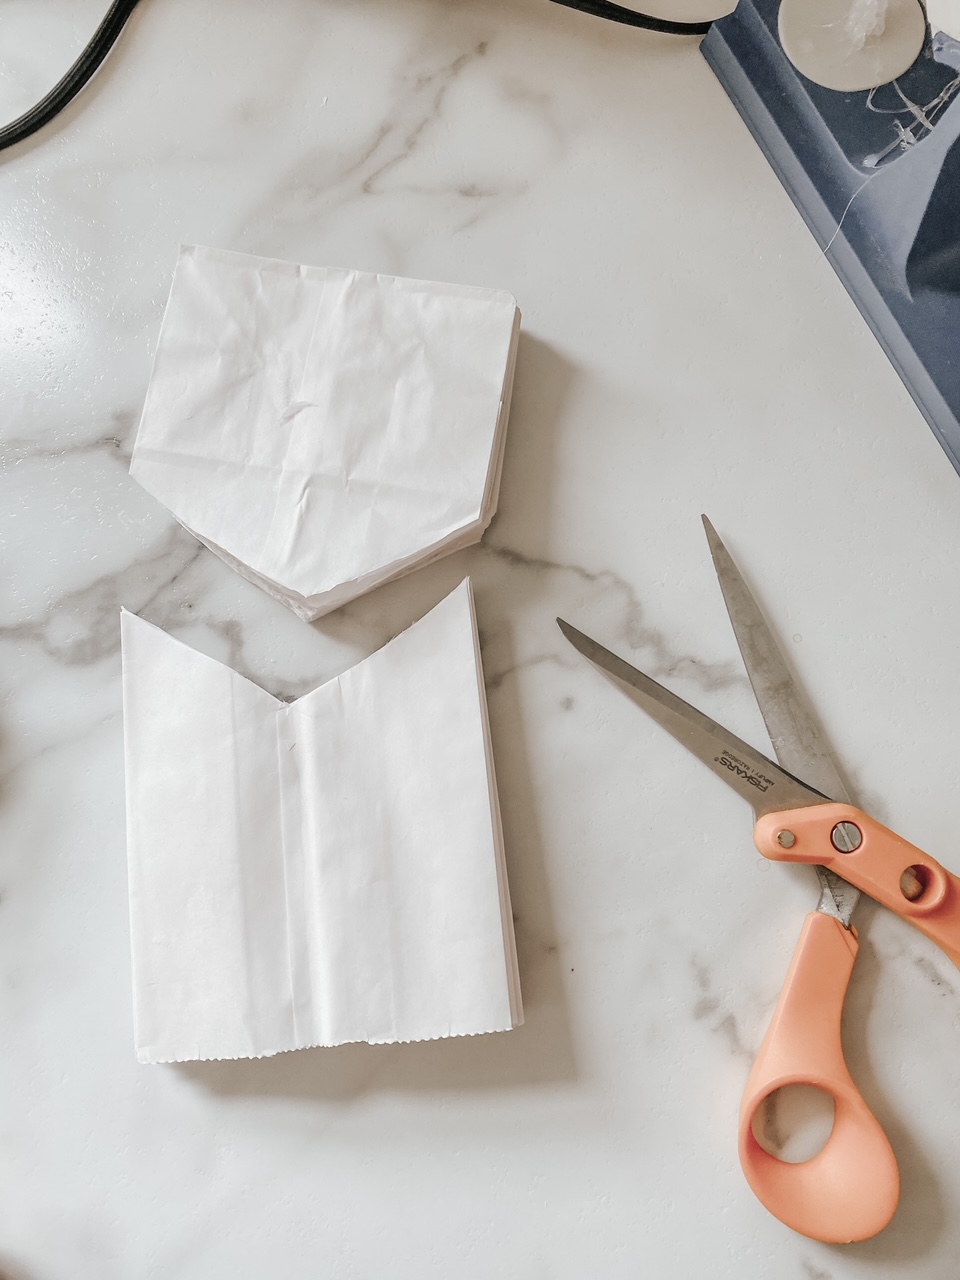
- Scissors (make sure they are super sharp. Mine were a little dull.
- Hole punch (or just use the end of your scissors)
- String or ribbon for hanging
First you want to unstick all your paper bags. For some reason they are all stuck together when you open the package. Depending on the size of your star I used 8-12 Bags per Star. Our white bags ended up being a tad smaller than a normal brown lunch bag so we used more bags for the smaller stars (12).
Start with the fold of the paper bag facing up and make a T shape on your bag with hot glue then glue the two folded sides together. You will then make another T with your hot glue but since your fold side is down you will glue the matching sides together (flat side). You repeat this process until you have glued all your bags together.
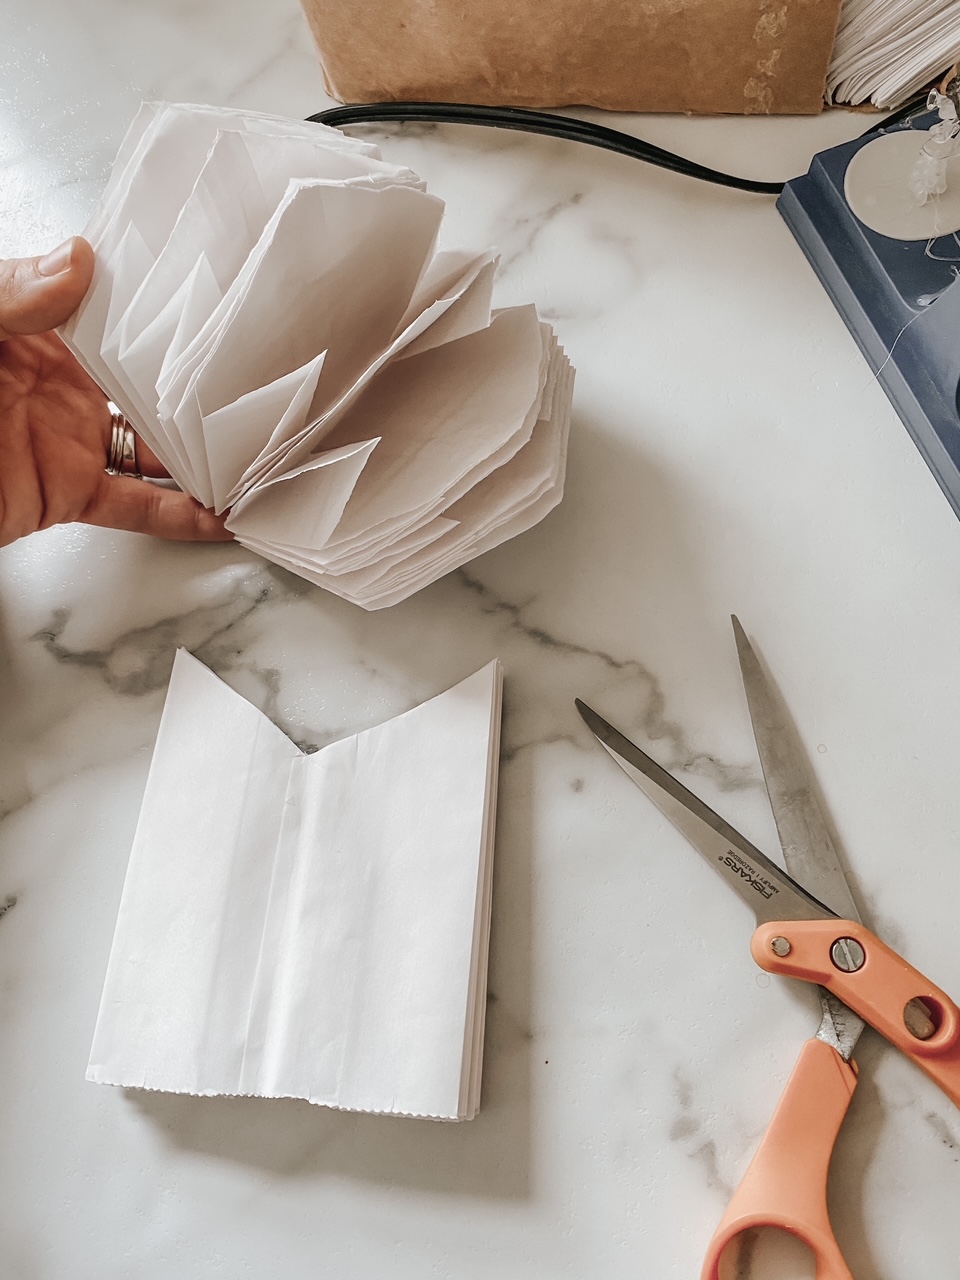
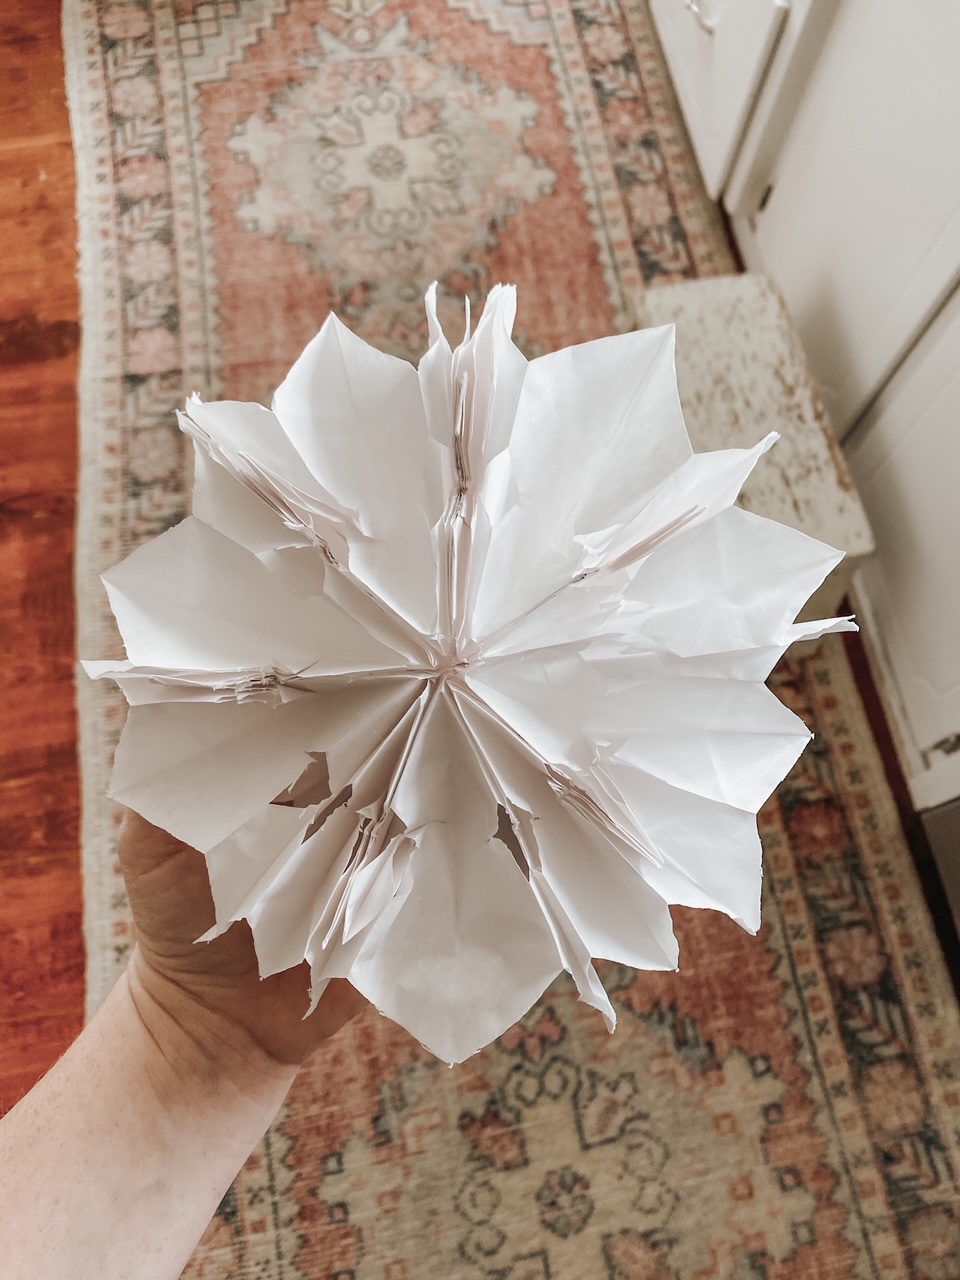
Once you have them all glued in a stack you can either open the fan and glue to two ends together OR you can cut different shapes to make your star have decoration. I did both.
You can experiment with different shape but I usually make a V in the bottom of my stack and then added smaller triangles on each side. We also did a few half circles too and those also turned out so cute.
Once you have made about 6-8 paper stars your ready to attach them to make garland. I used a hole punch to tie pre measured twine around each star. I made my garland 5 feet but you can make your shorter or longer depending on where you are putting it.

Thanks for stopping by the blog today!
Ali