How to make Pottery out of a Thrifted Vase
I have been trying to get my hands on some affordable Vintage pottery for a little while now and have had NO such luck. I was not about to spend several hundred dollars on a beautiful piece of Art that my children could very easily break during one of their wrestling matches or their other shenanigans. So I decided to DIY my own.
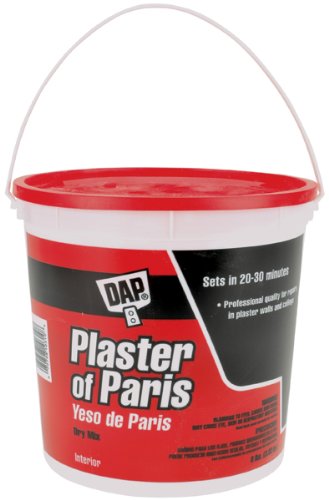
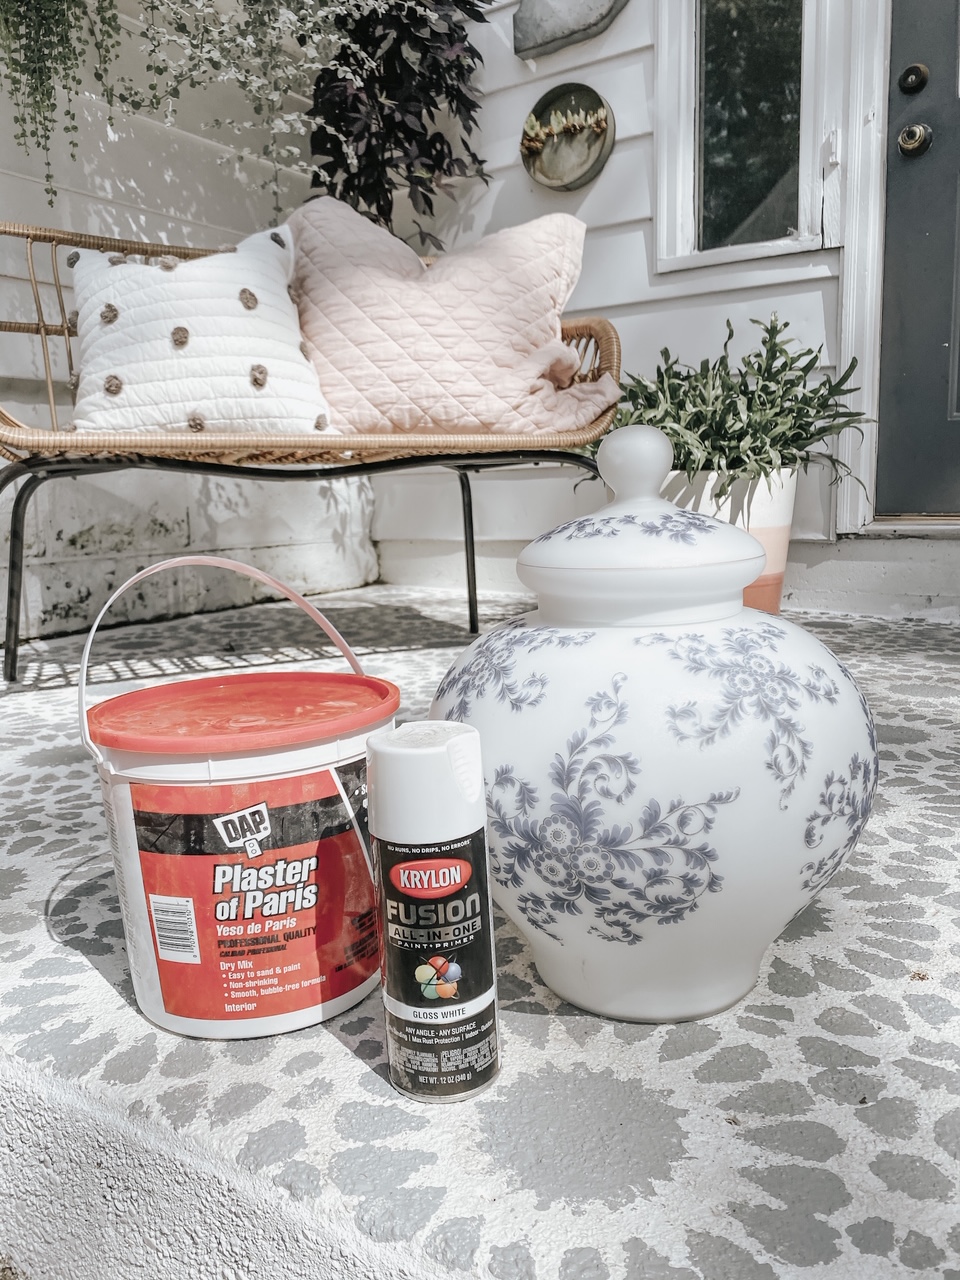
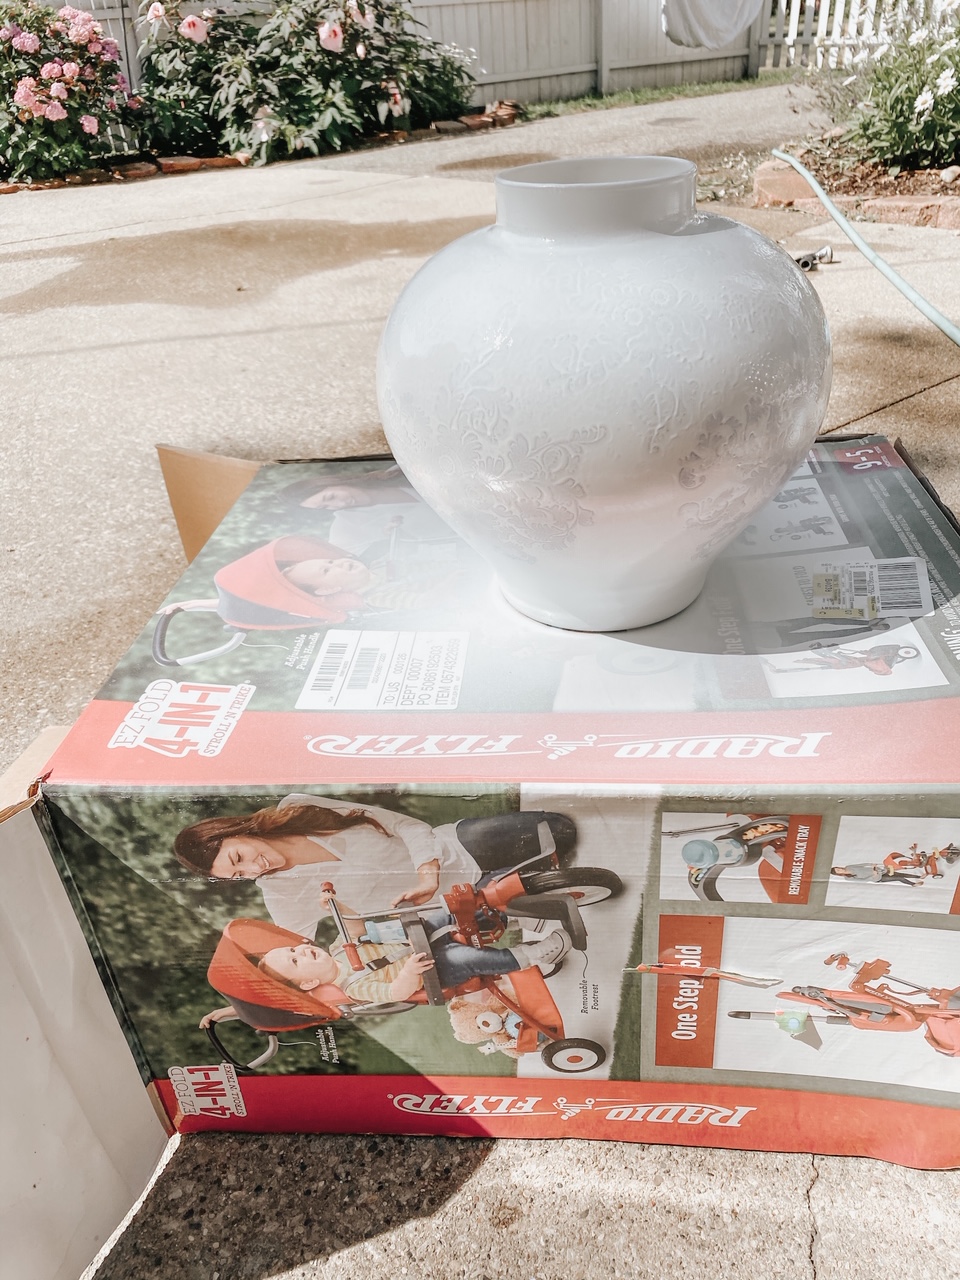
I have used Plaster of Paris for numerous things over the years and felt confident that it would be the best things to use for my DIY pottery. I picked up this urn from a local garage sale for its shape and went to work.
What you need:
- paint brush x 2 ( I used the cheap $1 brushes) ]
- Stir stick
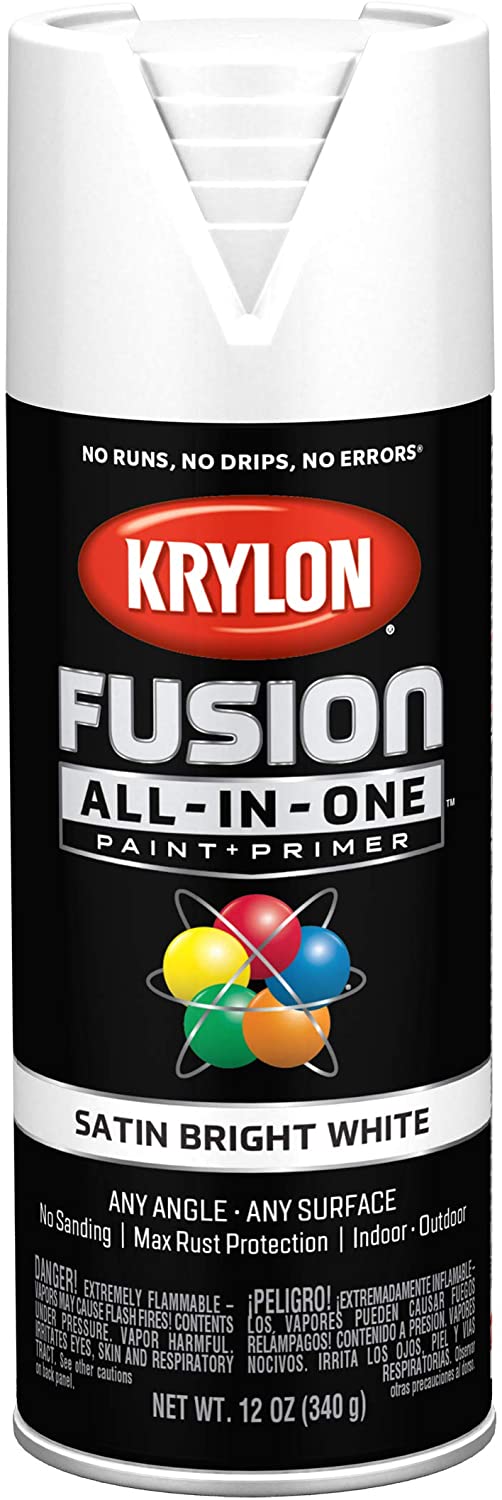
- white spray paint
- bucket or bowl
- light grit sand paper
- paint ( I used BM sculpture )
- plaster of pairs
- water
The first thing I did was clean the urn.
Next, I spray painted the urn with two coats. After the last coat dried lightly sanded it down. This just creates a little texture and will help your plaster adhere to the urn.
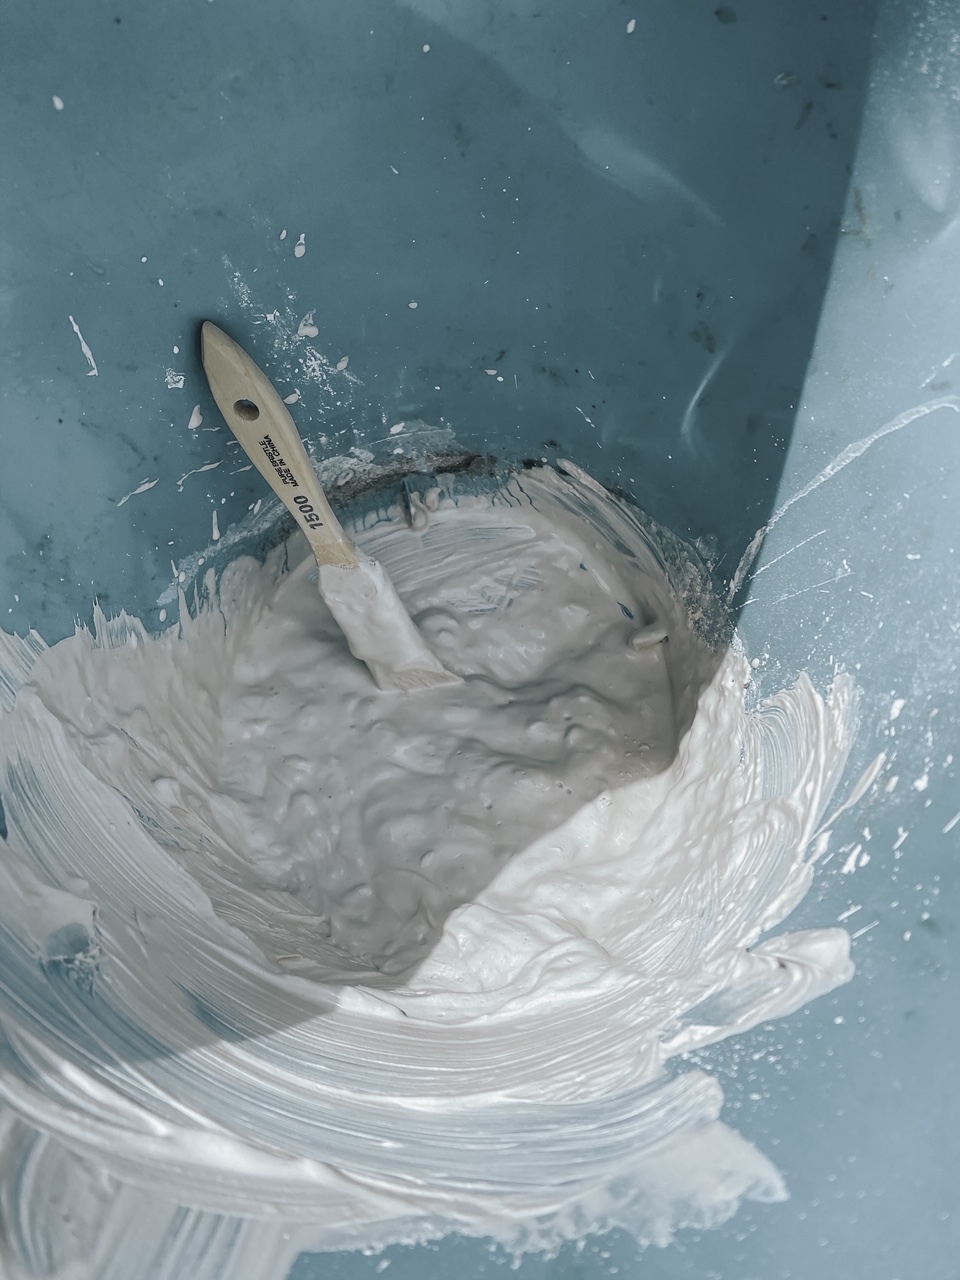
To make my plaster mixture I used 3 cups of plaster of paris and 1.5 cup of water. You should have consistency like pudding. Be sure to mix it well with a stir stick to break up all the big chunks of plaster of paris. I wasn’t super worried about smaller chunks because of the look i was going for.
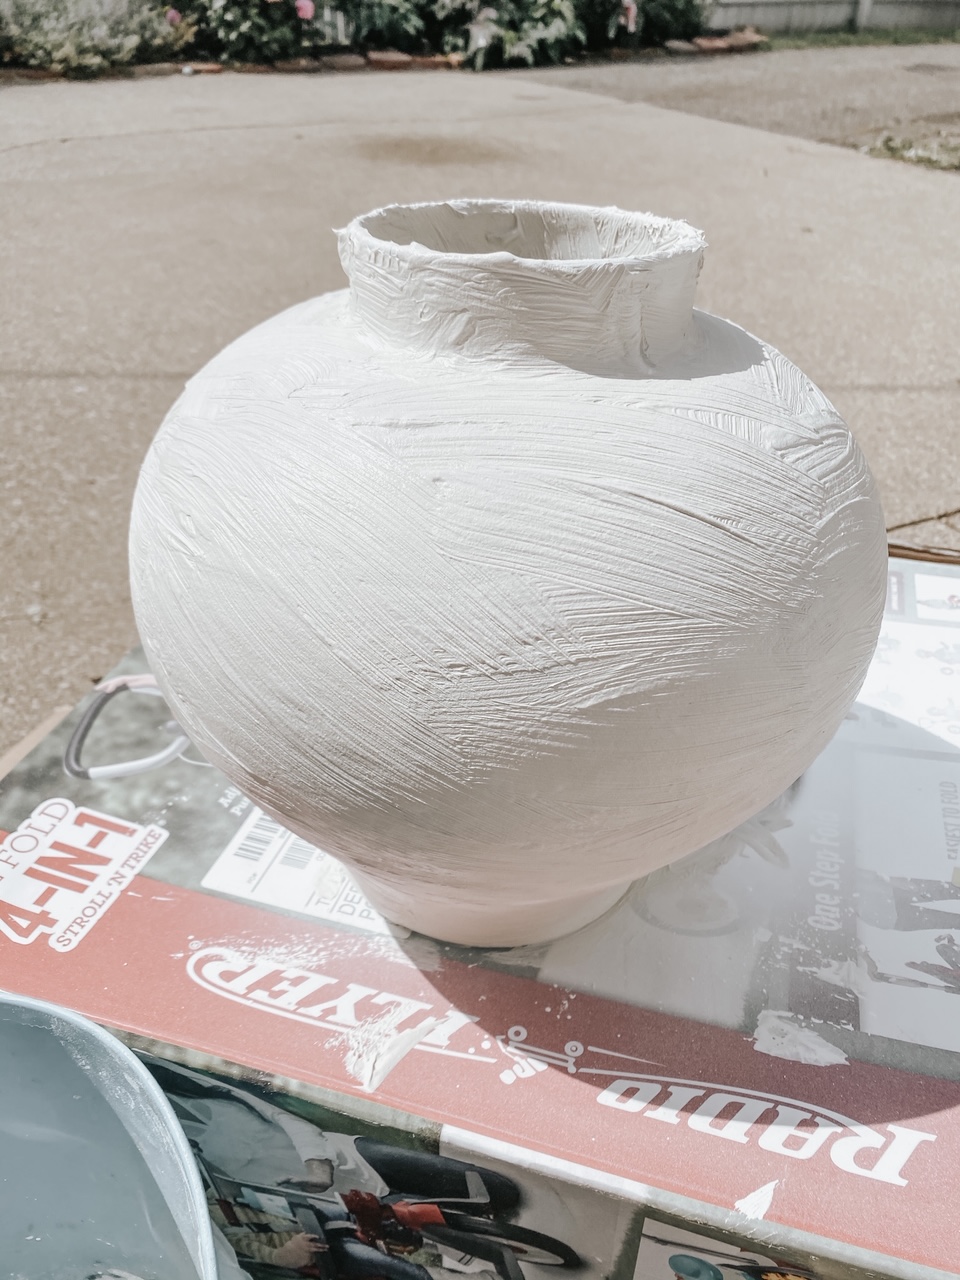
There is really no right or wrong way to paint the plaster on. I started brushing it on horizontally the first layer and did something a little different each layer for a total of 4 layers. I let the plaster dry in between coats in the sunshine. The great thing about plaster is – its forgiving. I had made a few “oops” and was able to take some water and brush along the spot I didn’t like. You could also use your hands wet down with water too.
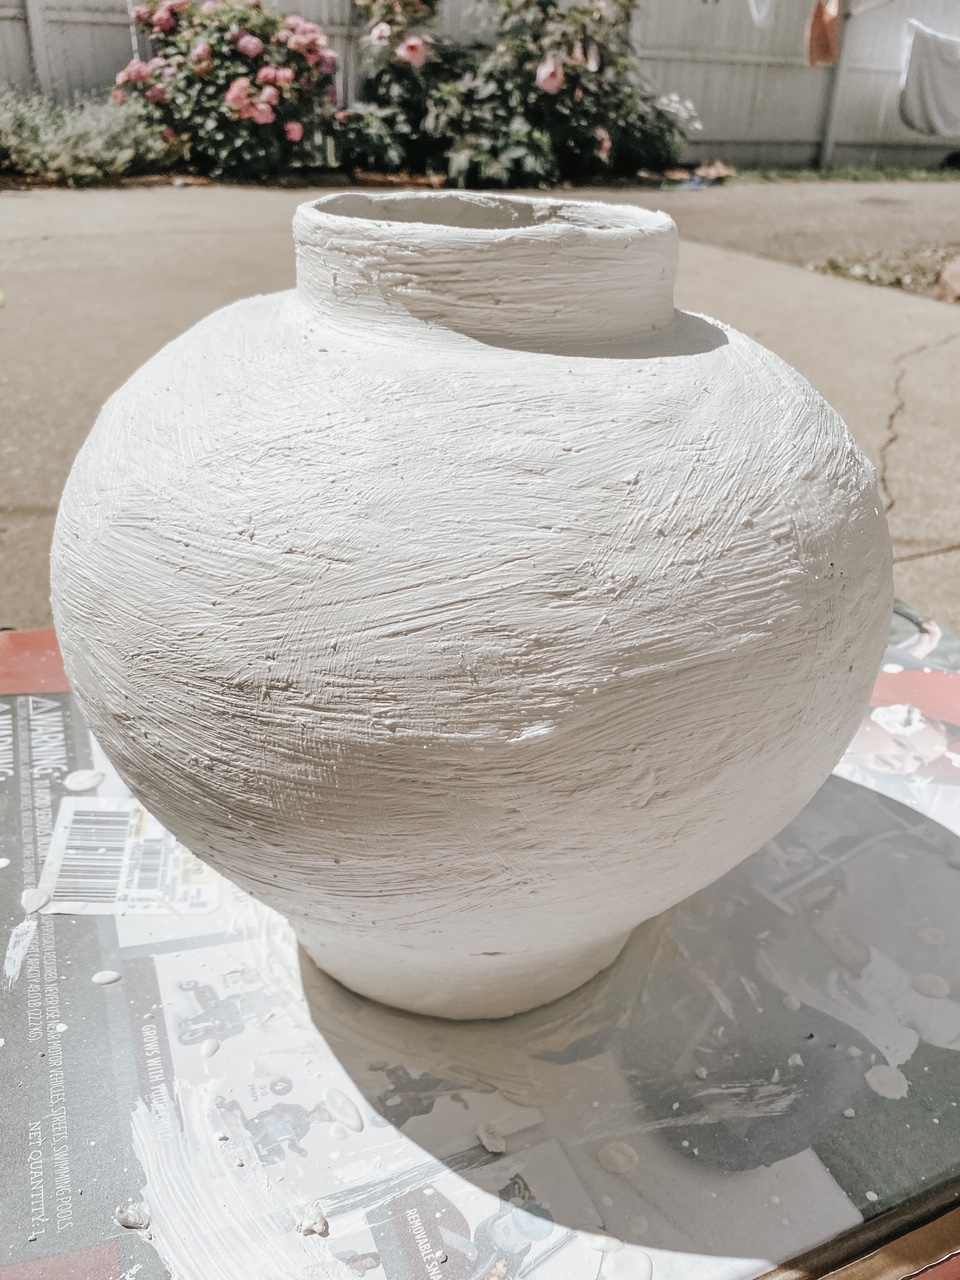
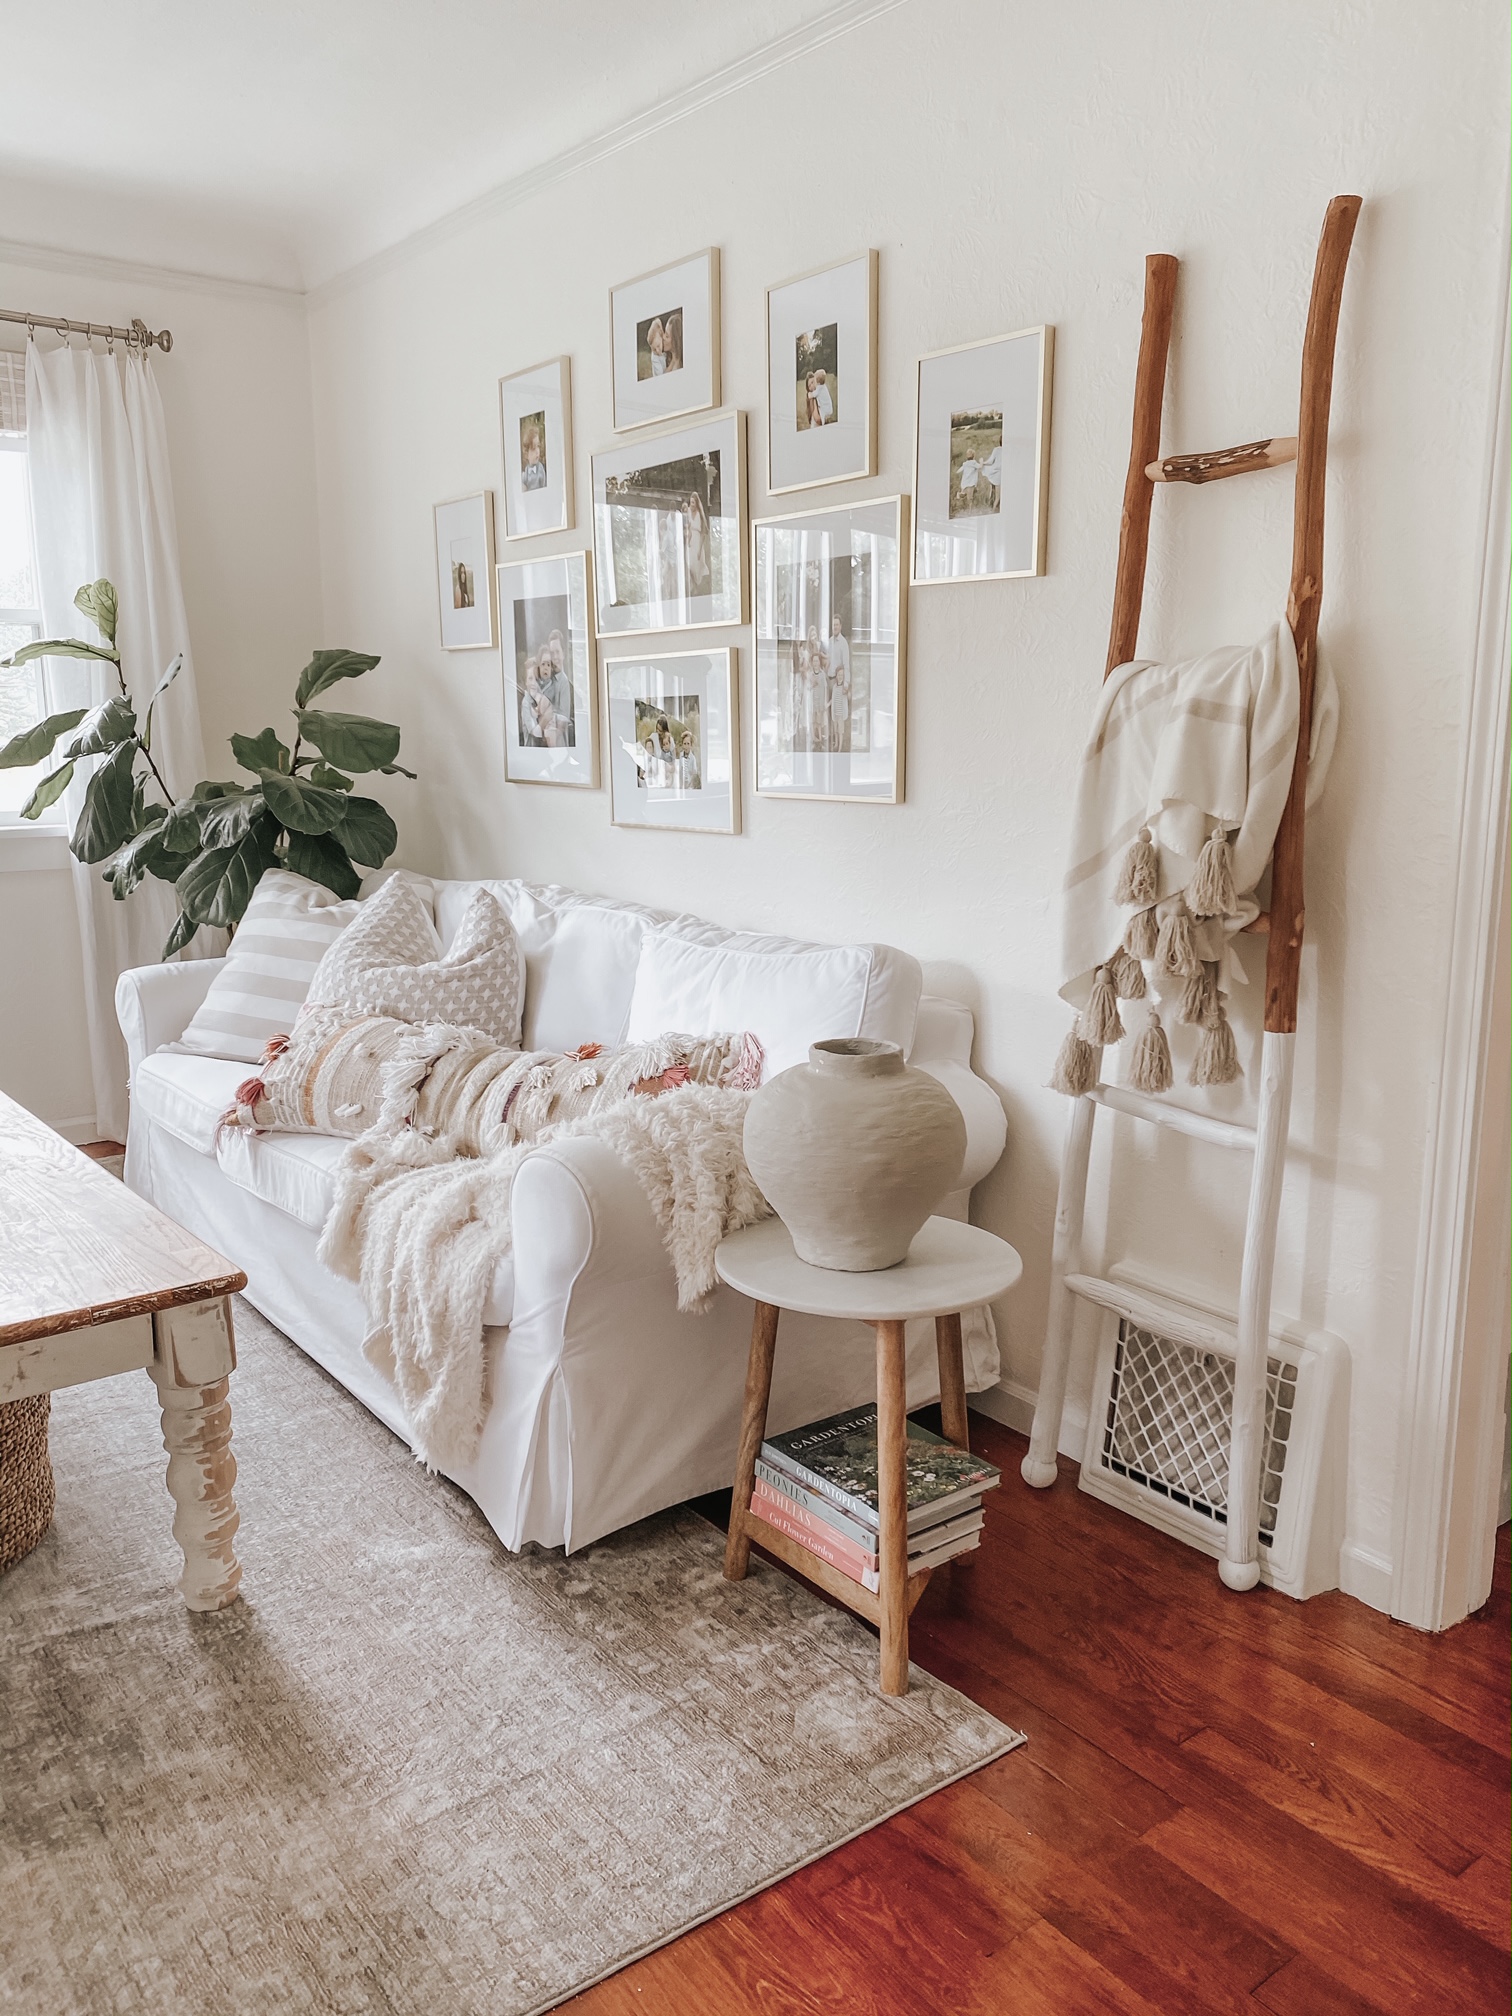
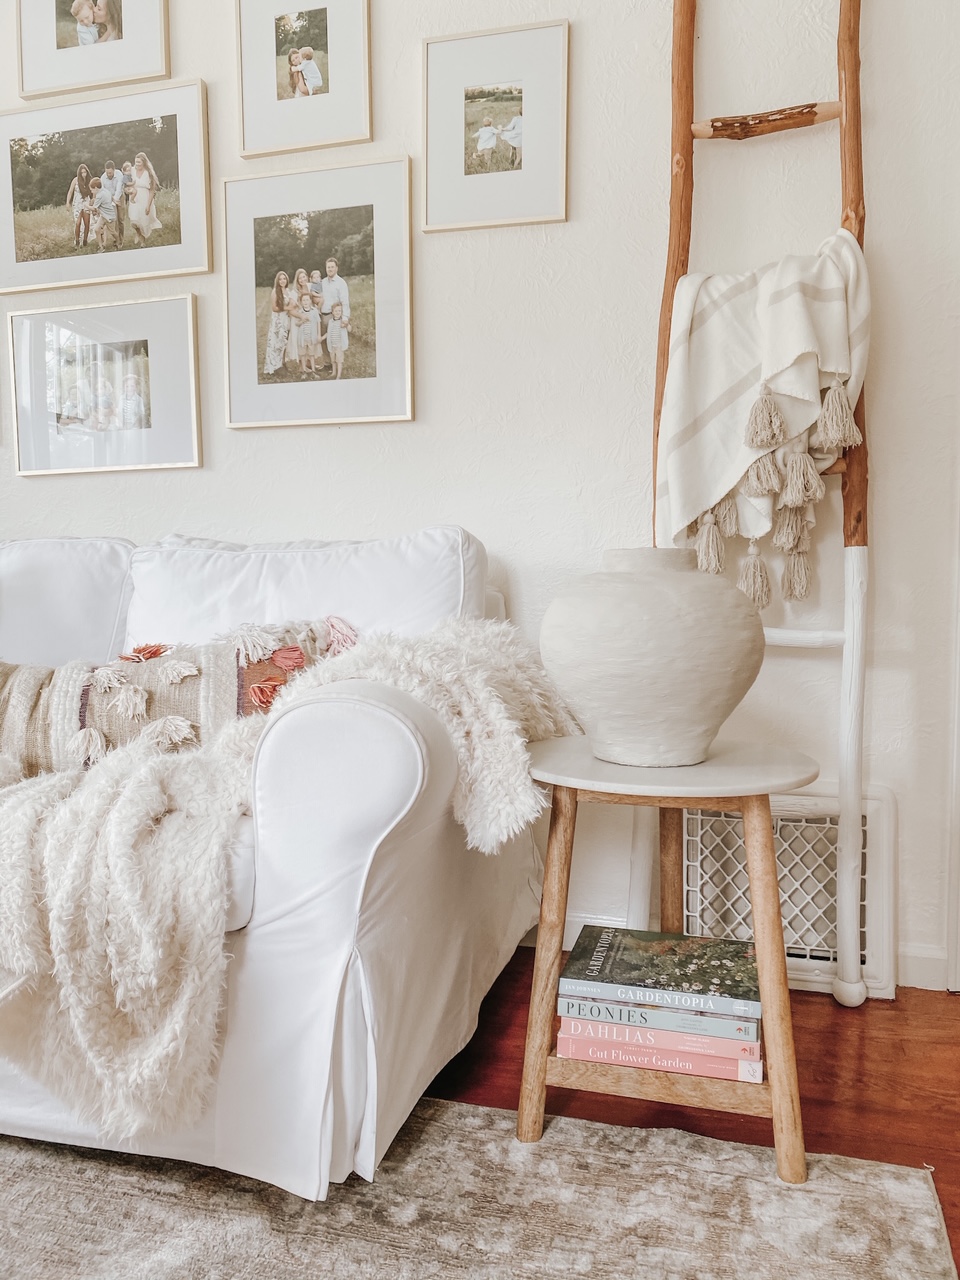
After my last coat was dry I decided to paint it. I used a paint sample I had already had laying around from our kitchen cabinet saga and I knew it would be the perfect color for what I was going for. Sculpture by BM mixed into a Sherman Williams sample. I loved this color so much I was thinking about doing something fun in our bedroom with it. Anyways, I just lightly painted two coats onto the urn and it looks like the real deal!
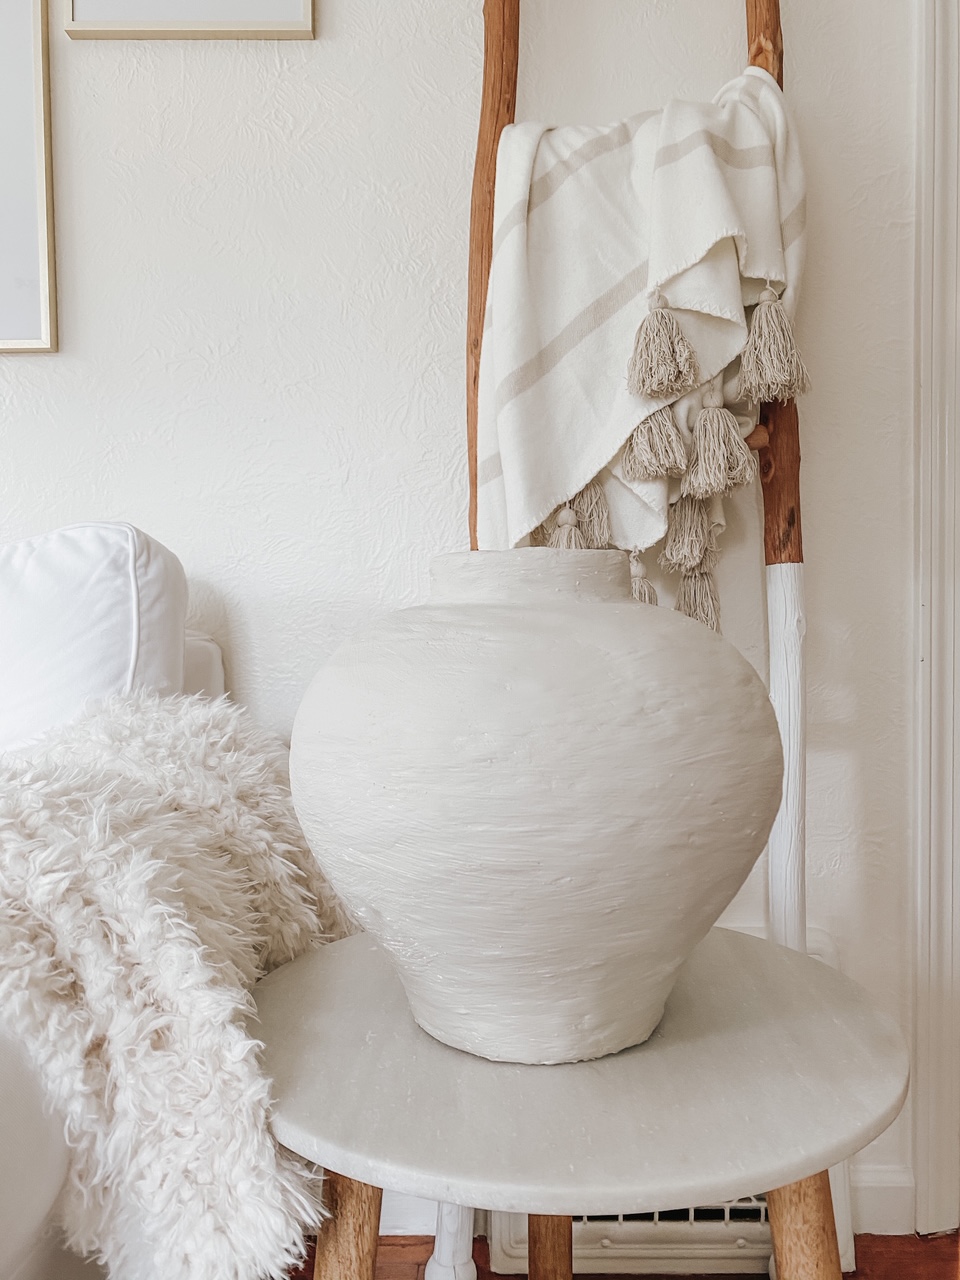
I absolutely love how it turned out! I have already done the same process to a thrifted wooden bowl I recently found and I have been looking around the house wondering what else I can plaster hah!
Here is a before and after of the wooden bowl using the same process as I used with the vase.

Thanks for stopping by the blog today.
Ali