
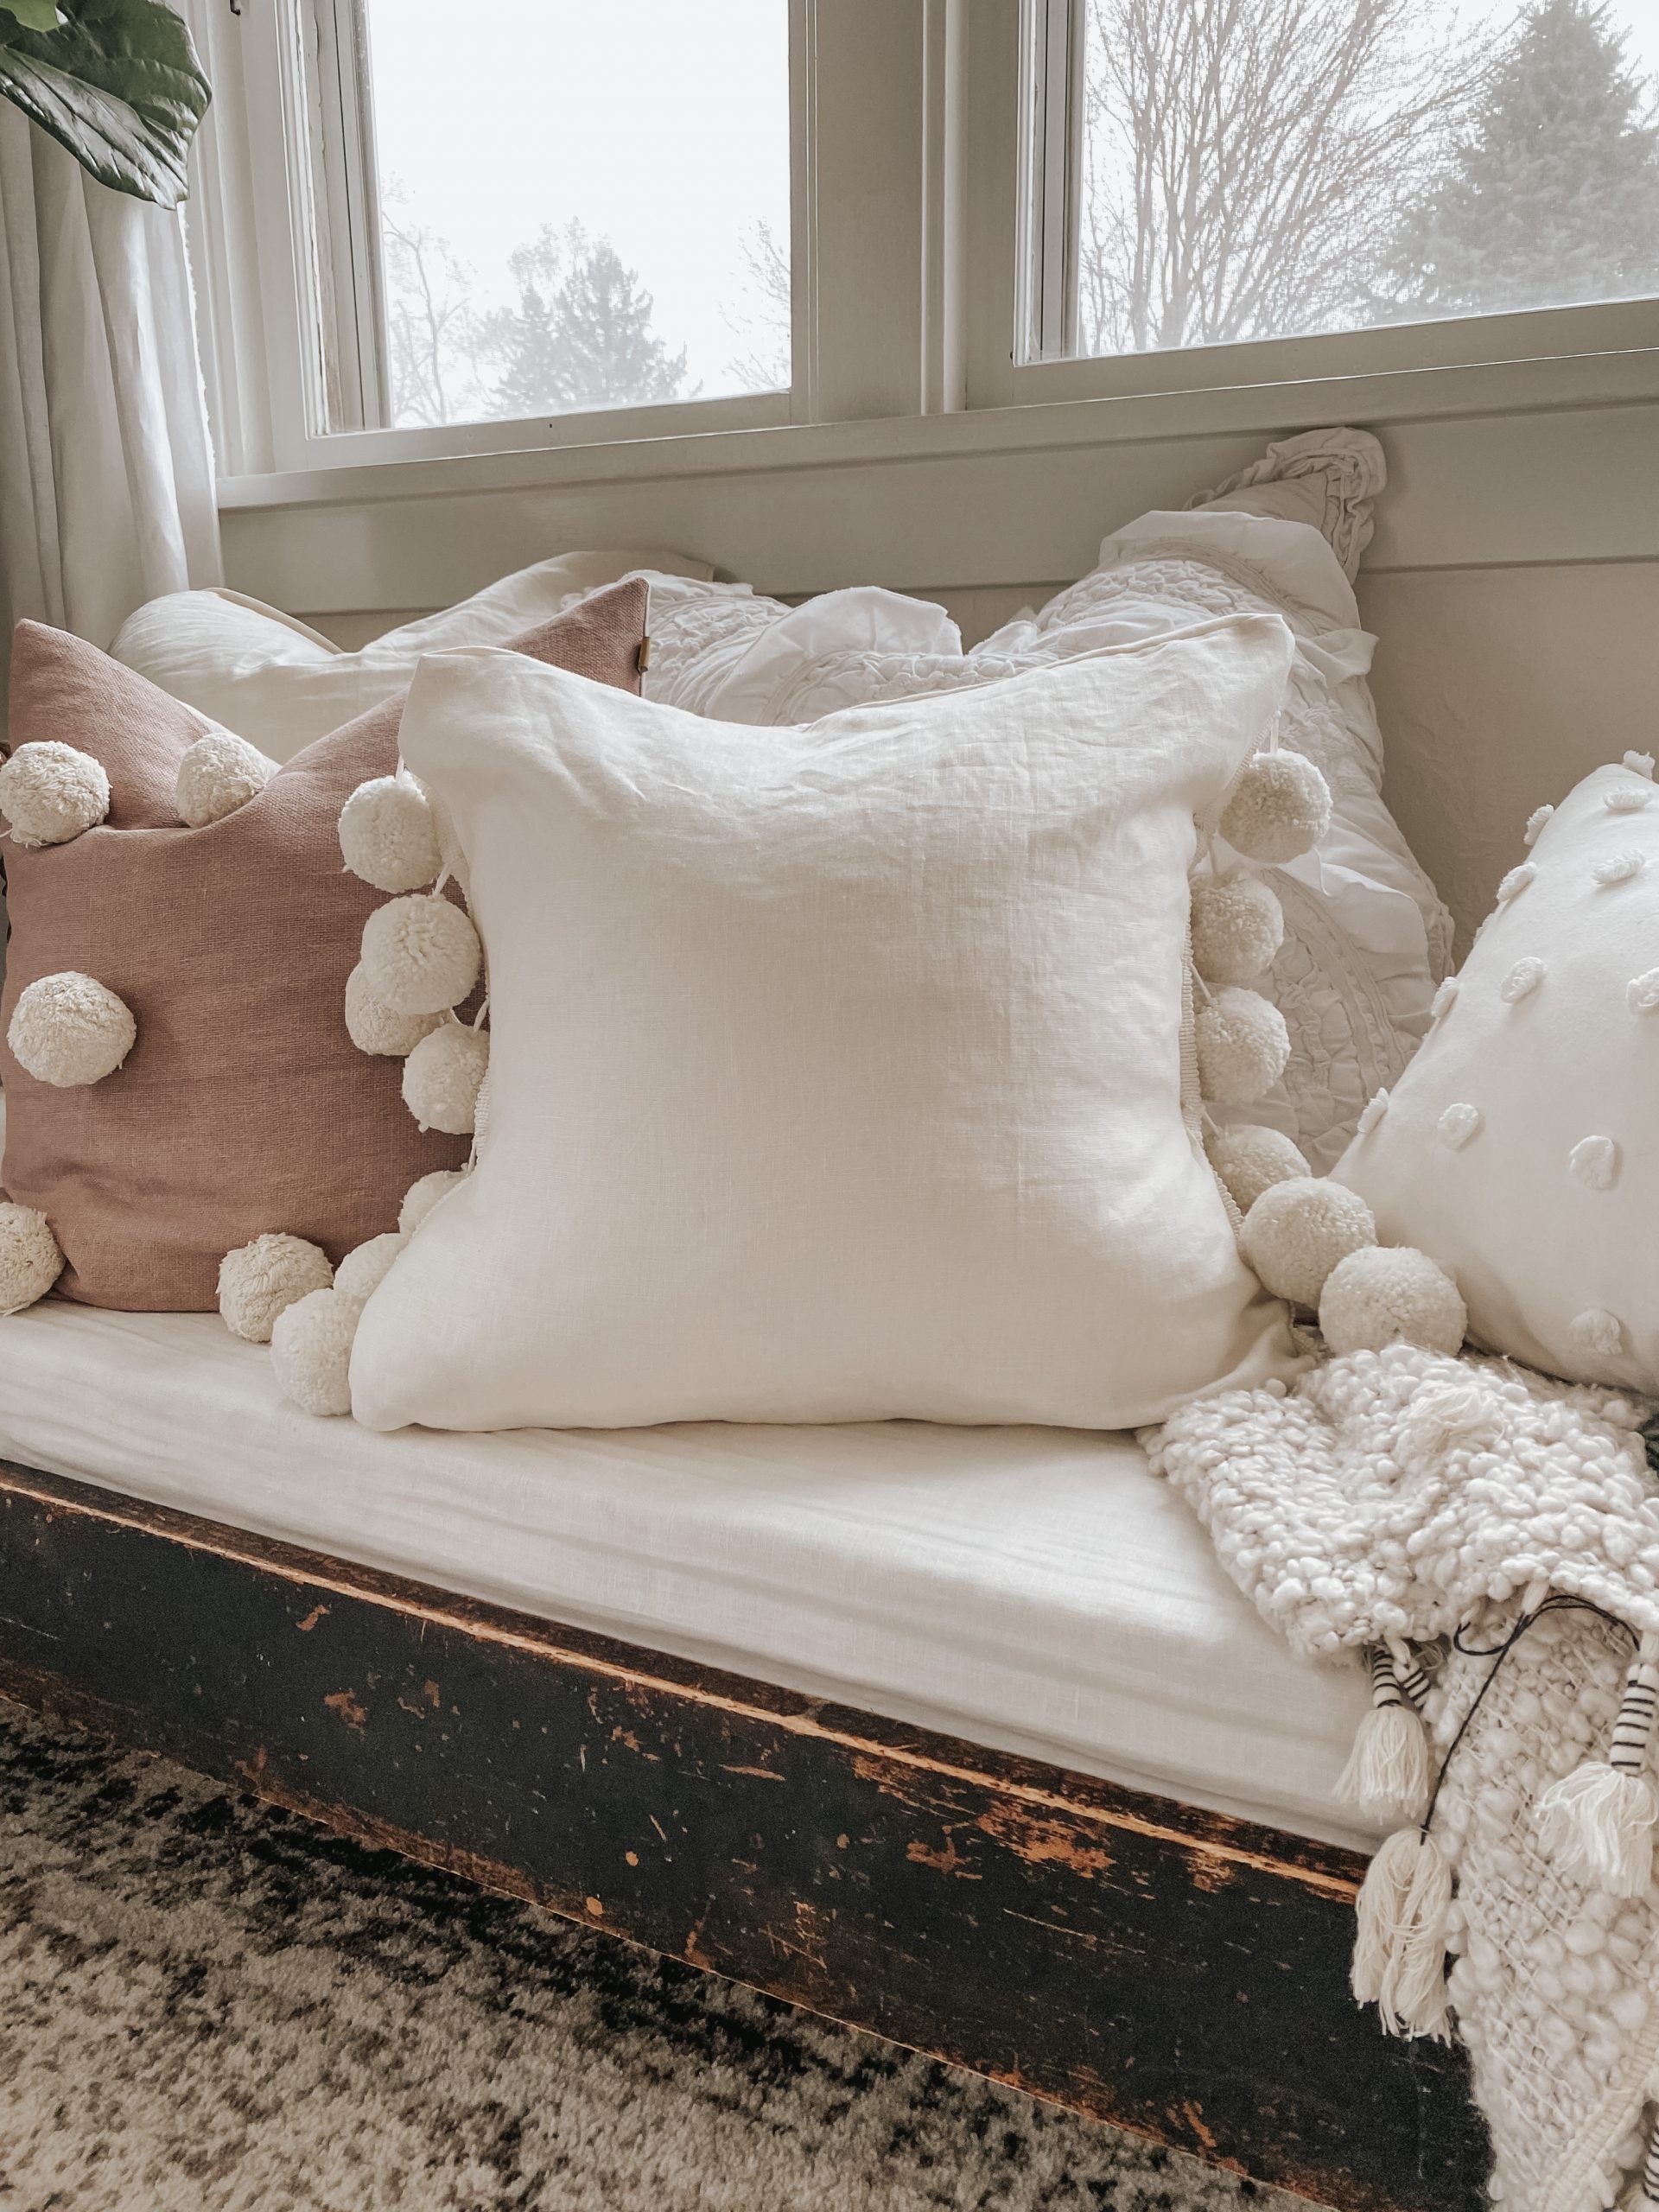
DIY Pom Pom Pillow
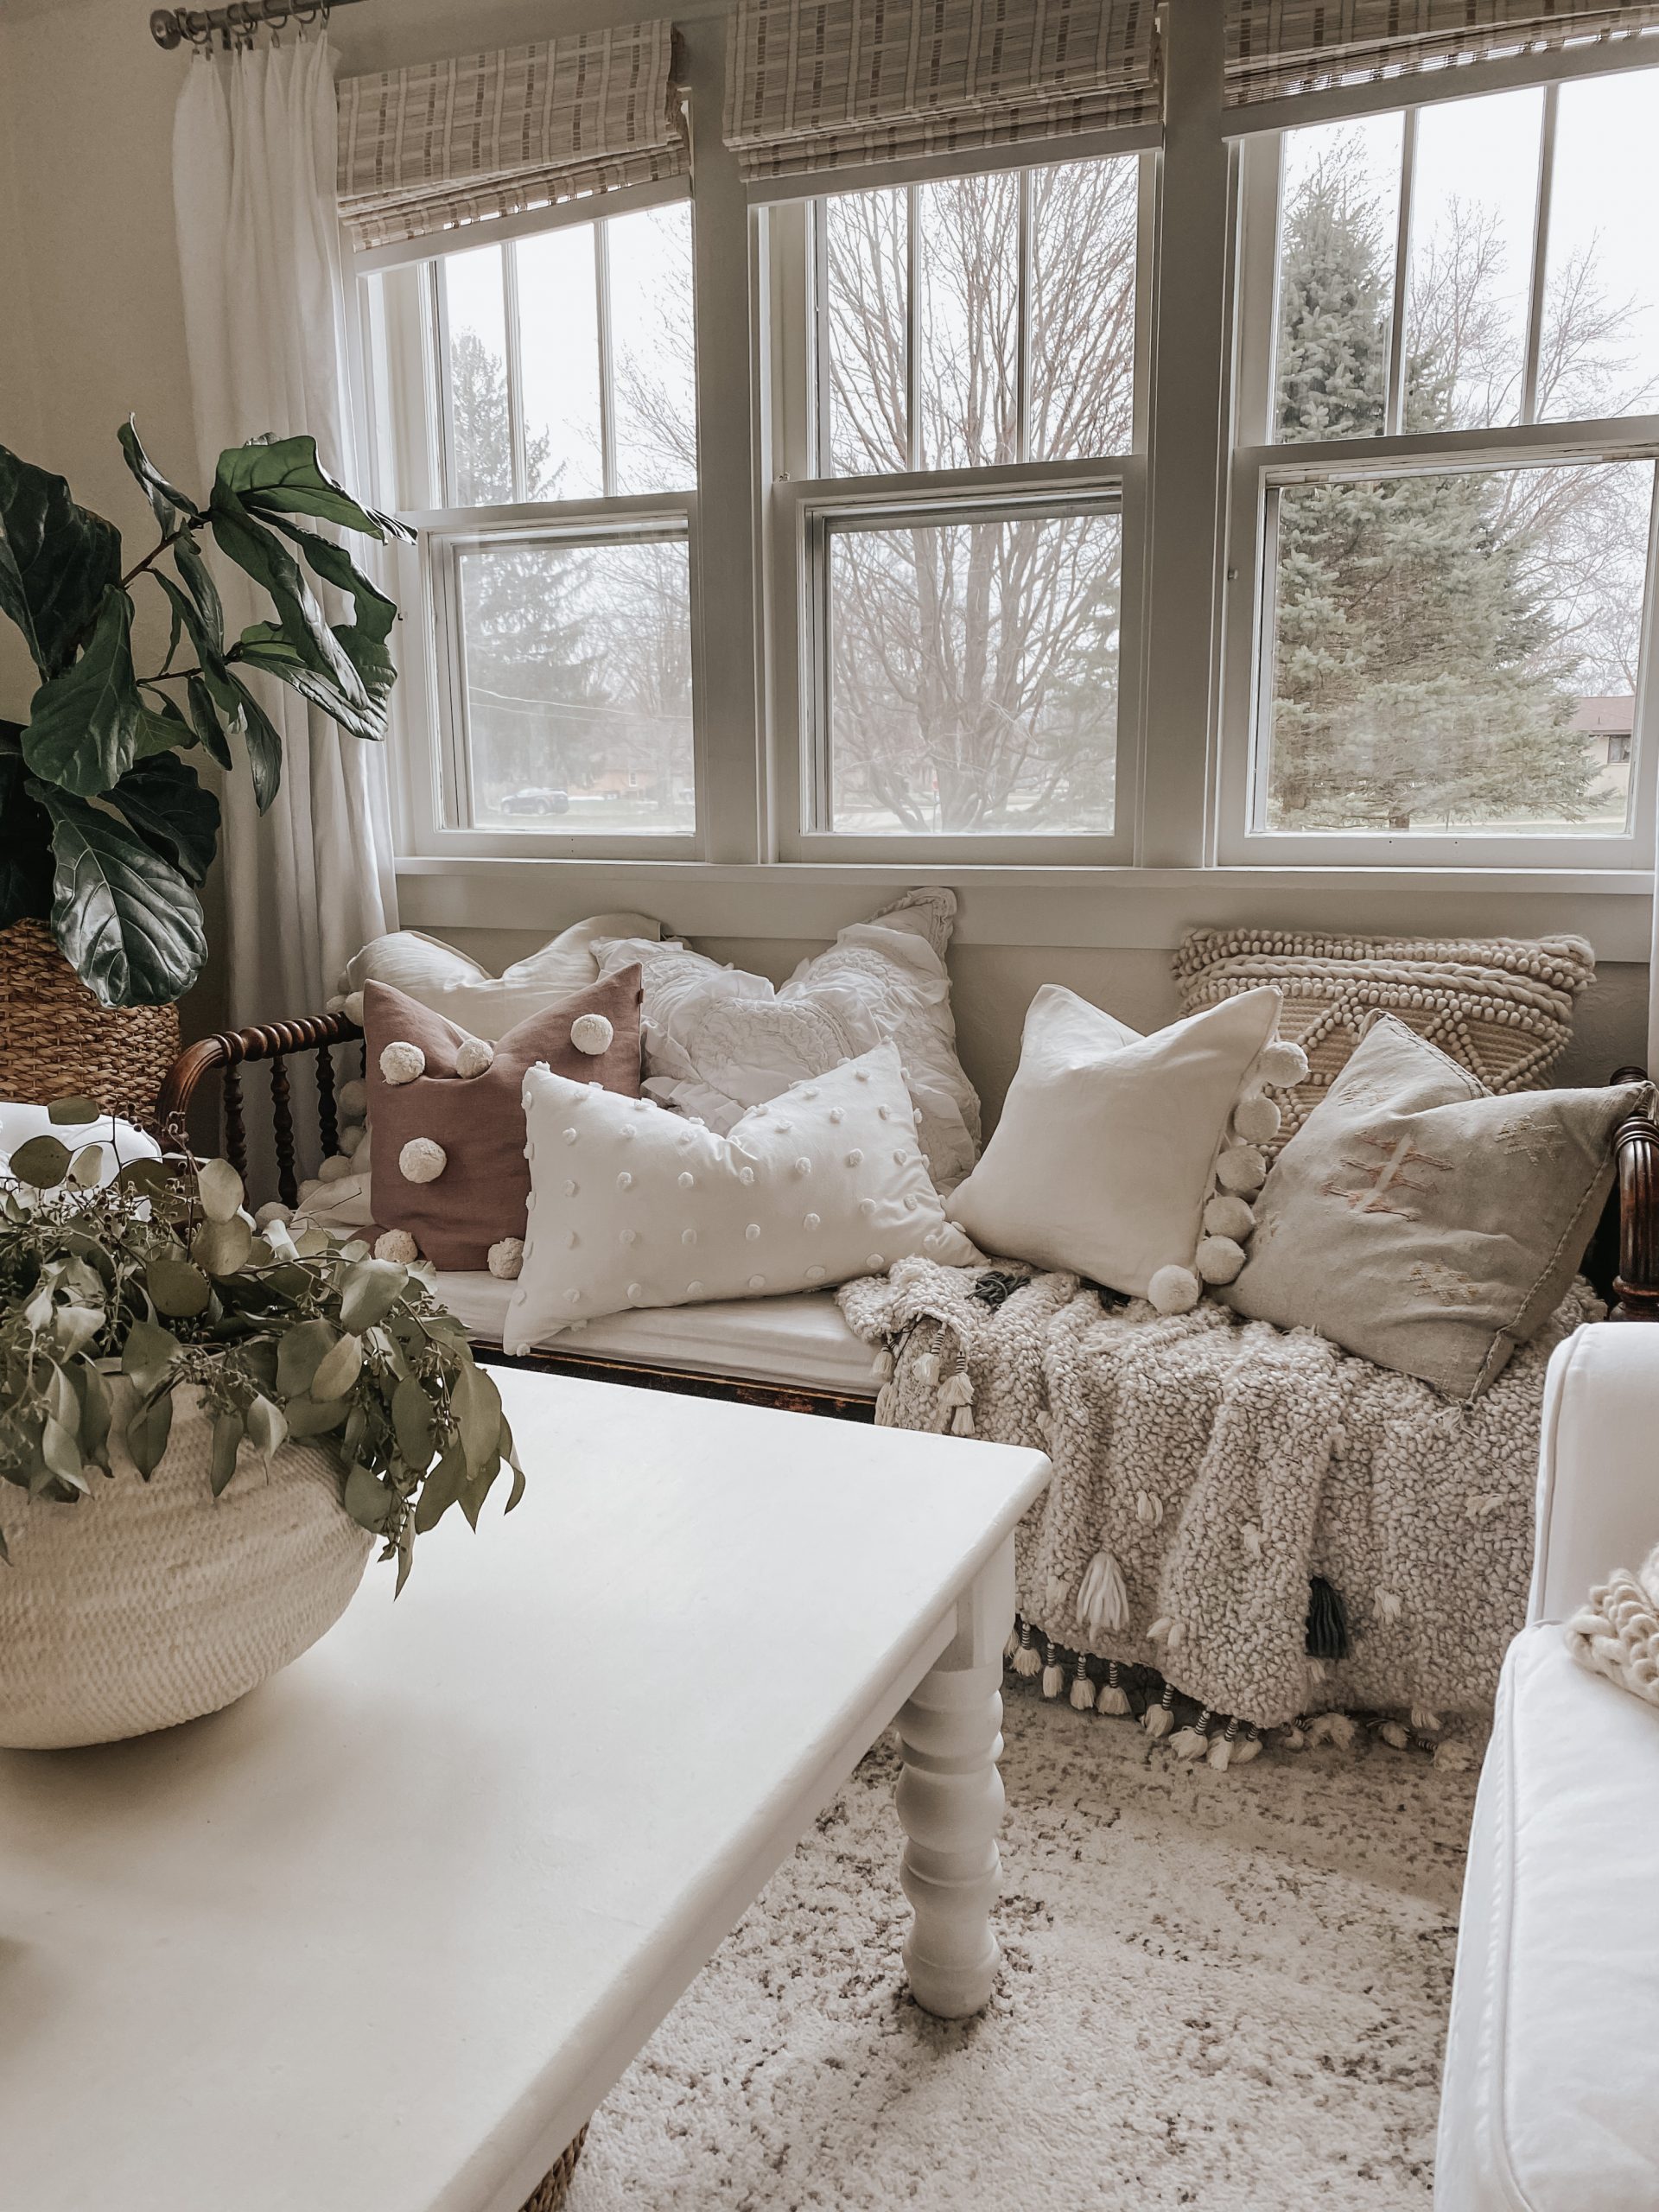
I have been obsessed with all the adorable pom pom pillows lately. I have purchased a few but after finding some pretty awesome PomPom trimming from Hobby Lobby I knew I could make a few myself and save some money. Pom pillows from a retailer will typically run you between $58-$100 + but this DIY was just under $20.
For my pillow I used Linen that I actually had laying around the house from another project. Linen is my favorite fabric and I love the soft wrinkly worn vibe it gives. If Linen isn’t your thing, you can use any fabric. If you love linen like me but don’t always love the larger price tag here is a little tip. Wait until JoAnn Fabric has their 20 percent off your total purchase then you can stack multiple coupons together. Also, I have ordered lots of 100% Linen Fabric through Etsy that ships world wide. You will have lots more options on color and pattern there if that’s what you are looking for.
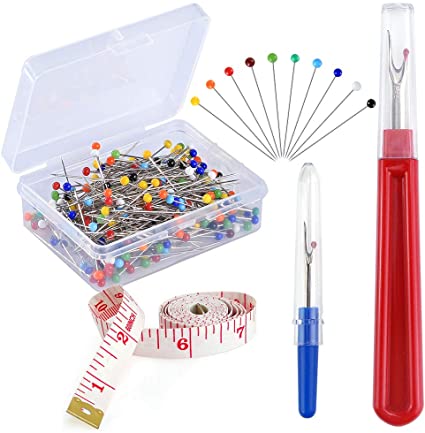
For this DIY you will need:
- Scissors
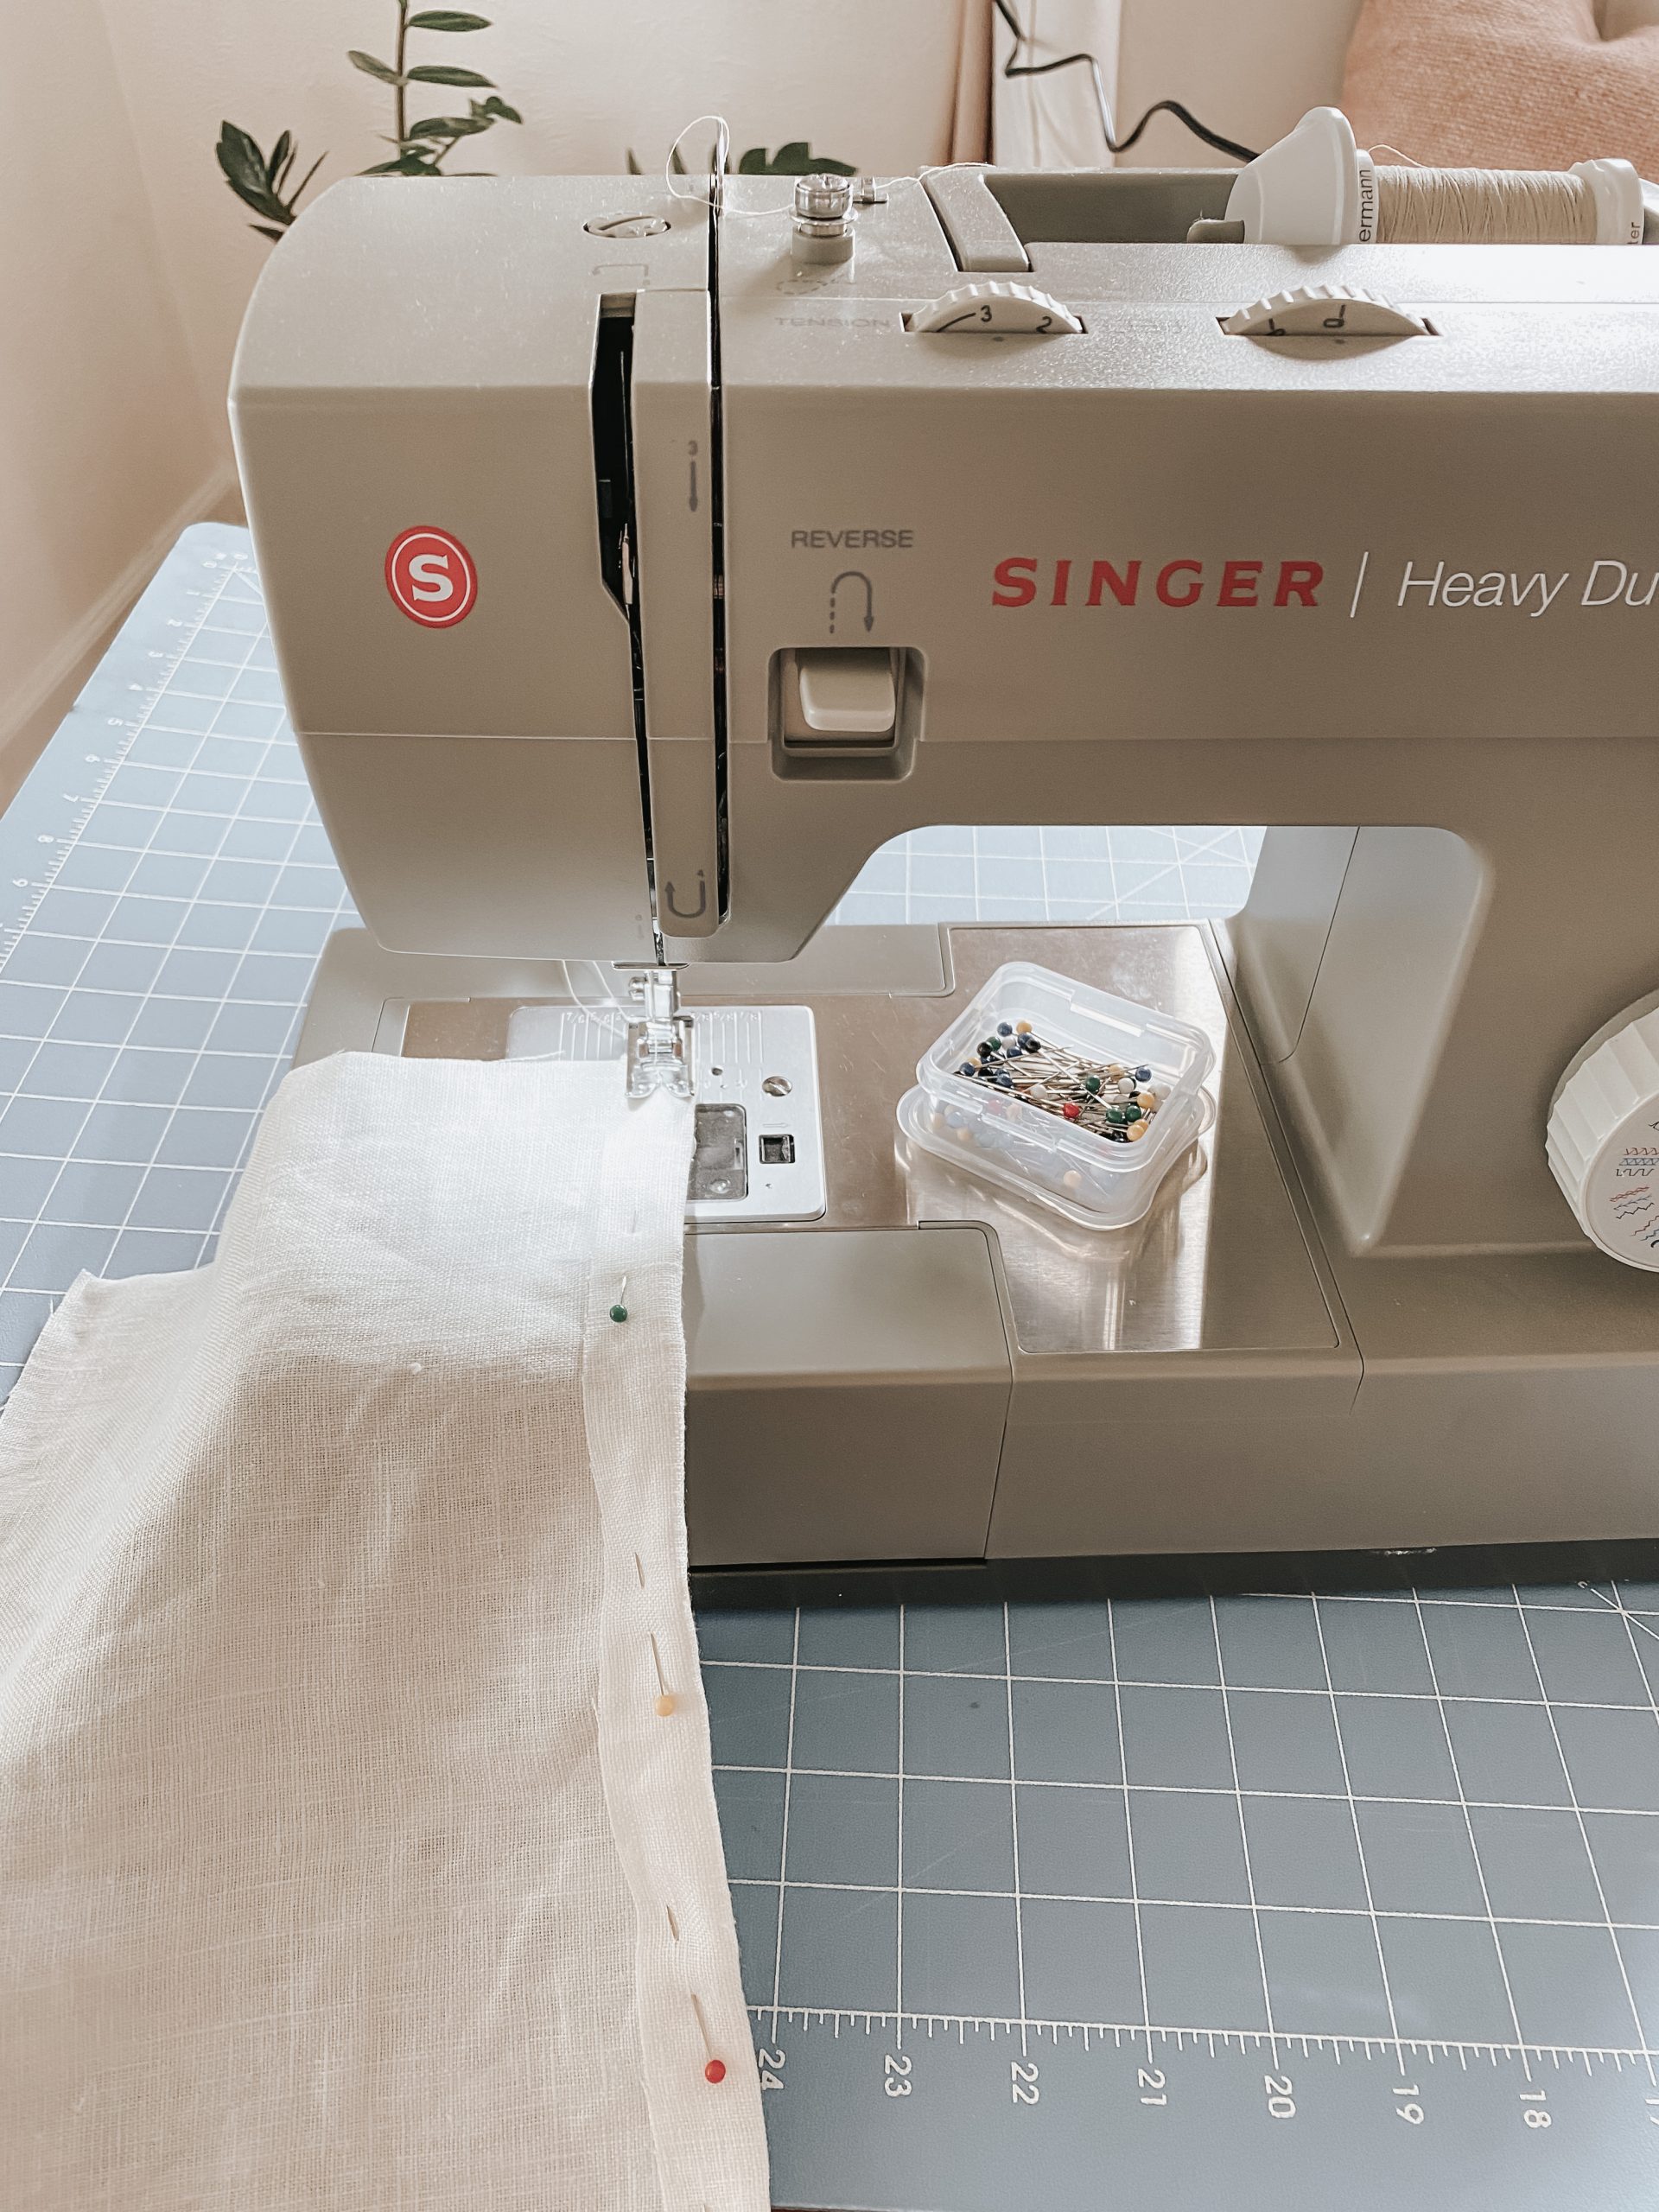
- Sewing Machine
- Thread
- Cutting Mat
- 1yd of Fabric
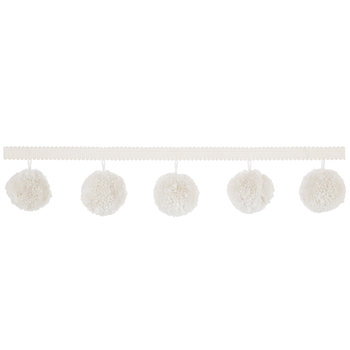
- pom pom garland
- pillow insert (my fav is IKEA feathered inserts)
All these items are linked at the end of this post.
Ok, So the first thing you want to do is lay out your fabric and cut it into three different pieces. Your first piece is going to be a 18″ square. This square will be the “front” of your pillow that will ultimately fit a 20″ insert. You want to make your pillow cover smaller so that when you put your insert inside it will look nice and fluffy and not droopy and saggy. The next two pieces you are going to cut is your two back pieces. You want to have two pieces because we are doing an “envelope” closure and not using a zipper. Both of your back pieces are going to measure 18″ x 13″. Using a cutting board will help you with measureing and cutting a straight line. If you have a rotary knife that works best but you can cut with scissors too.


So after you have your three pieces cut you are going to take you two back pieces are hem 1/4″ along each piece only hemming on of the width sides. This will be where your pillow insert will go.
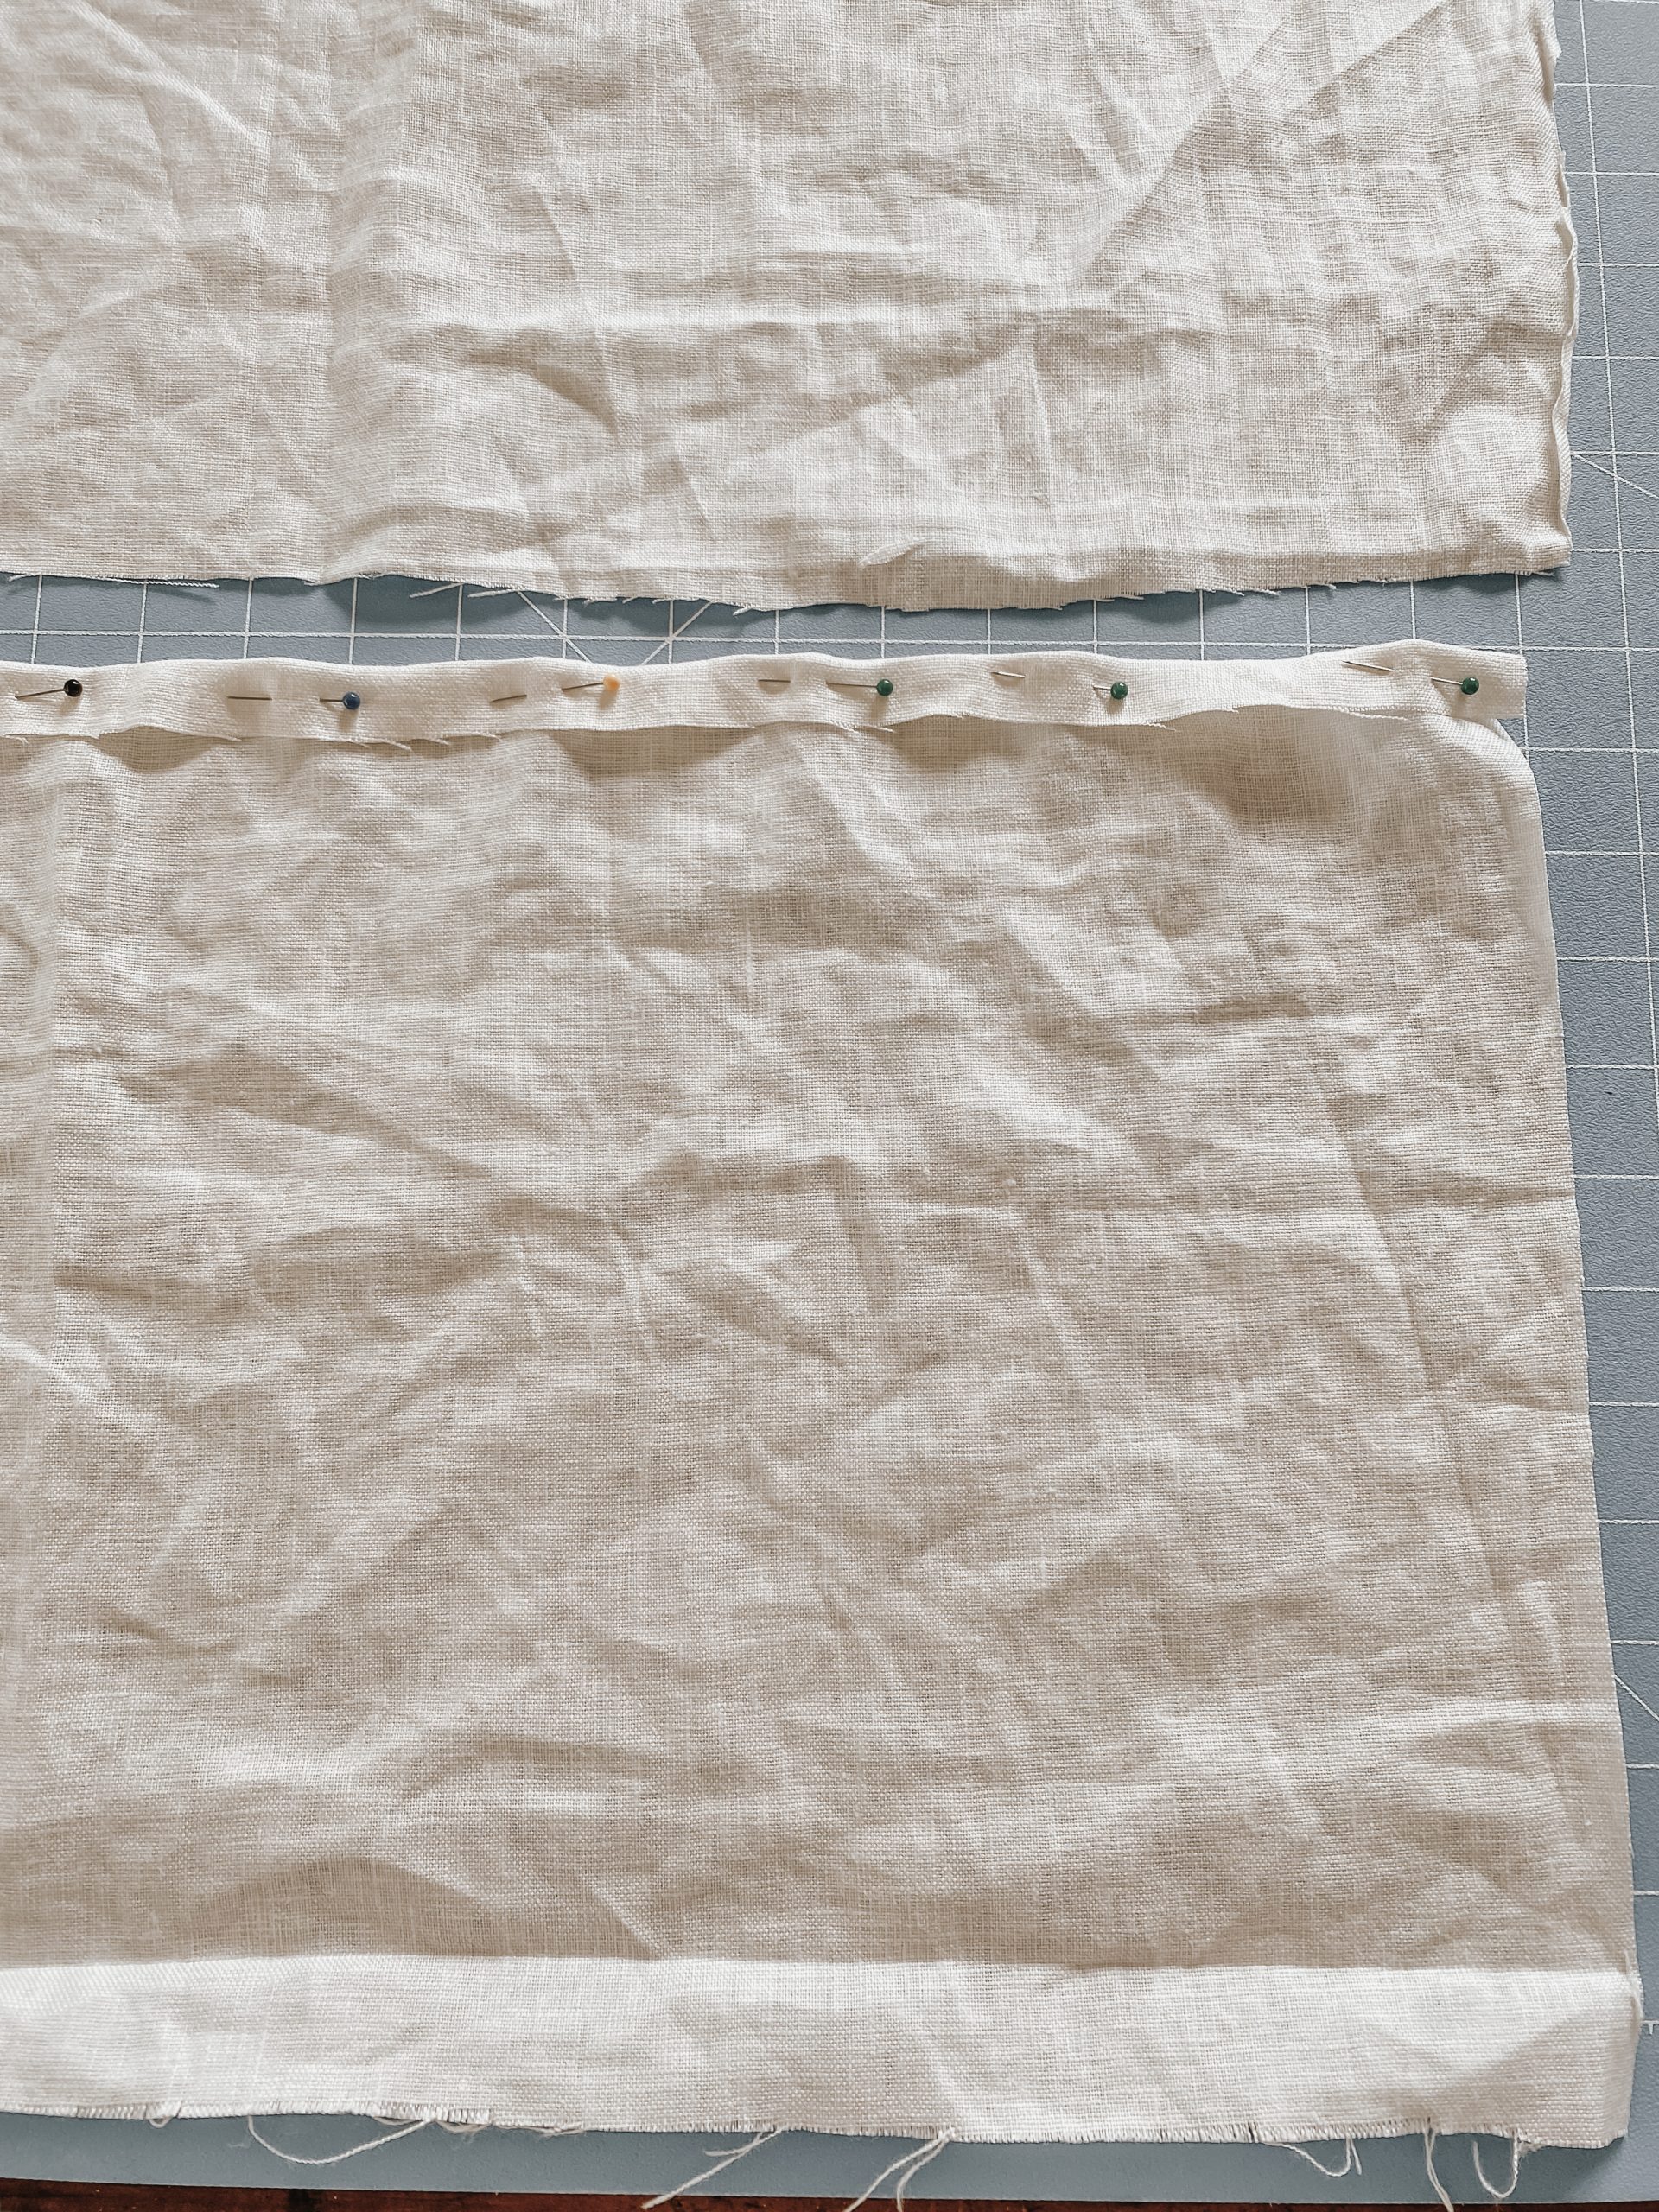

After you have sewn the two sides you are going to want to lay your front cover ( the 18″ sq.) down on a flat surface then add each of your 13″ pieces (pretty hemmed side down and towards each other) on top of your front piece. This will be the back but we are sewing the pillow inside out.
So after you have placed the pillow pieces together you want to add your Pom Pom garland. Measure and cut (2) 18″ strands of your pom pom garland. We are going to add the garland INSIDE your pillow then pin all three pieces (Front, garland, two back pieces) together. Remember we are sewing the cover inside out.
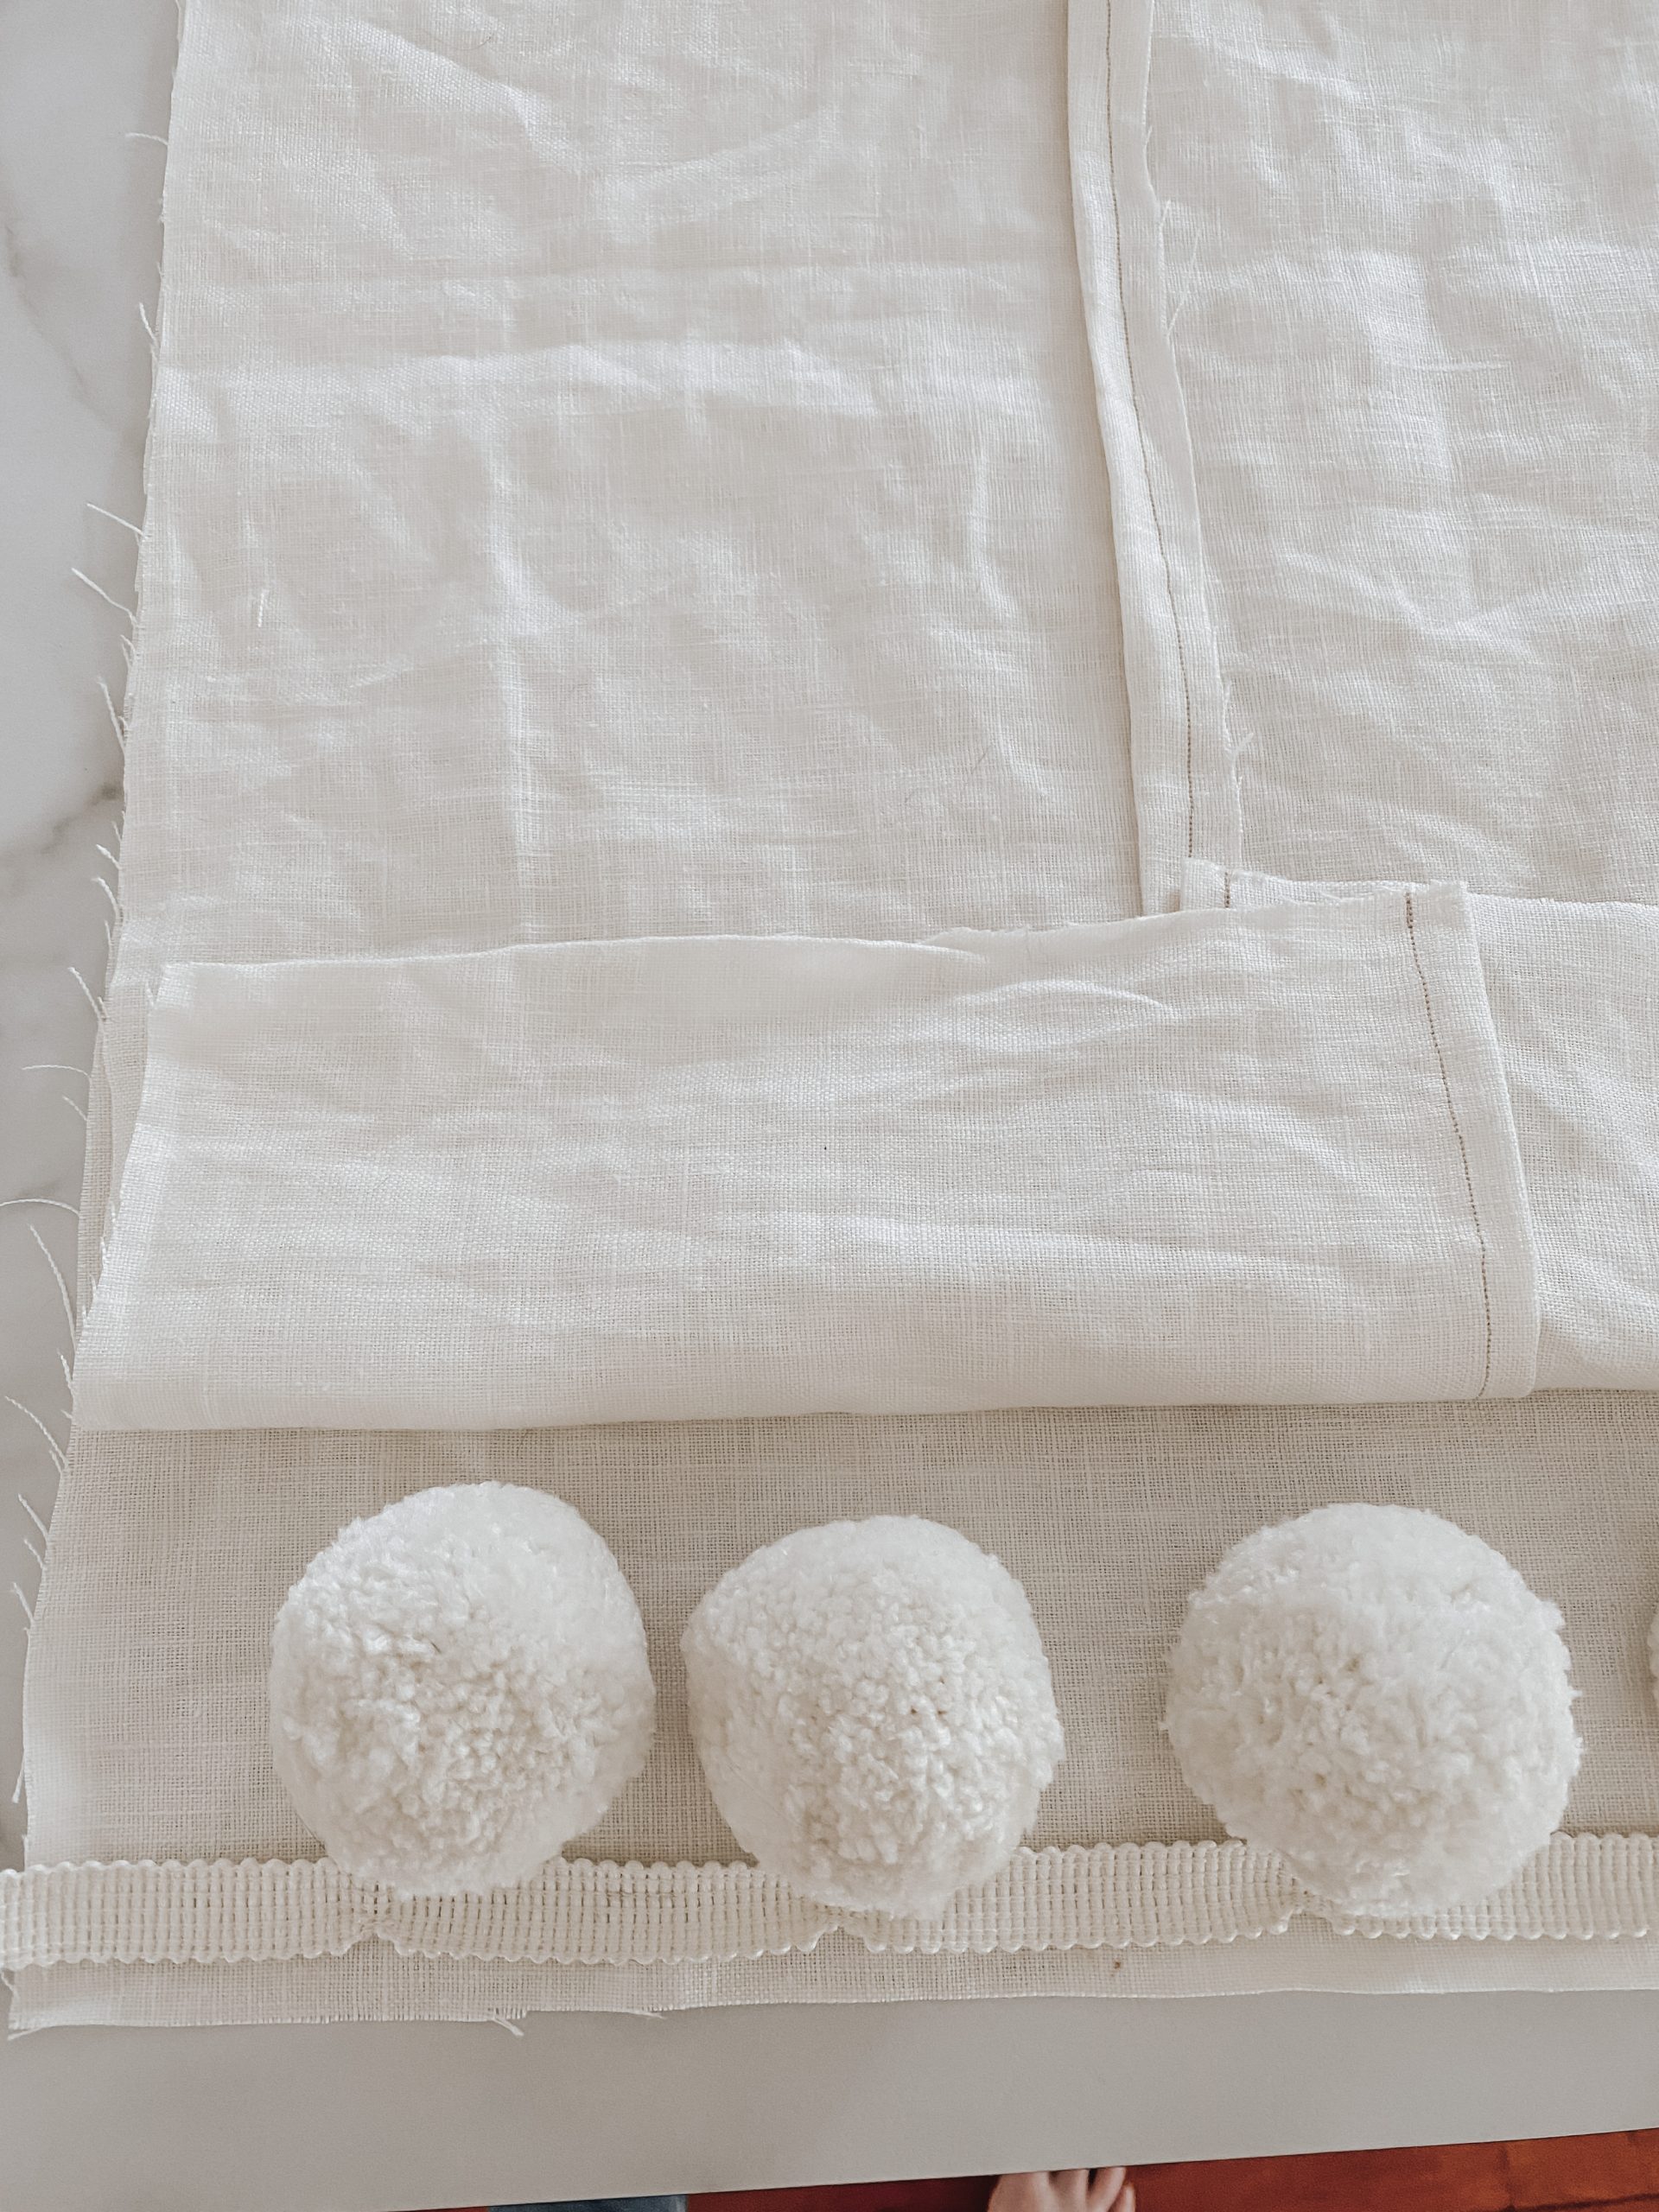

Because the poms are so big I sewed one side at a time and that made it easier to manage keeping the poms inside the pillow.

pin the pom pom garland on the opposite side and then sew.
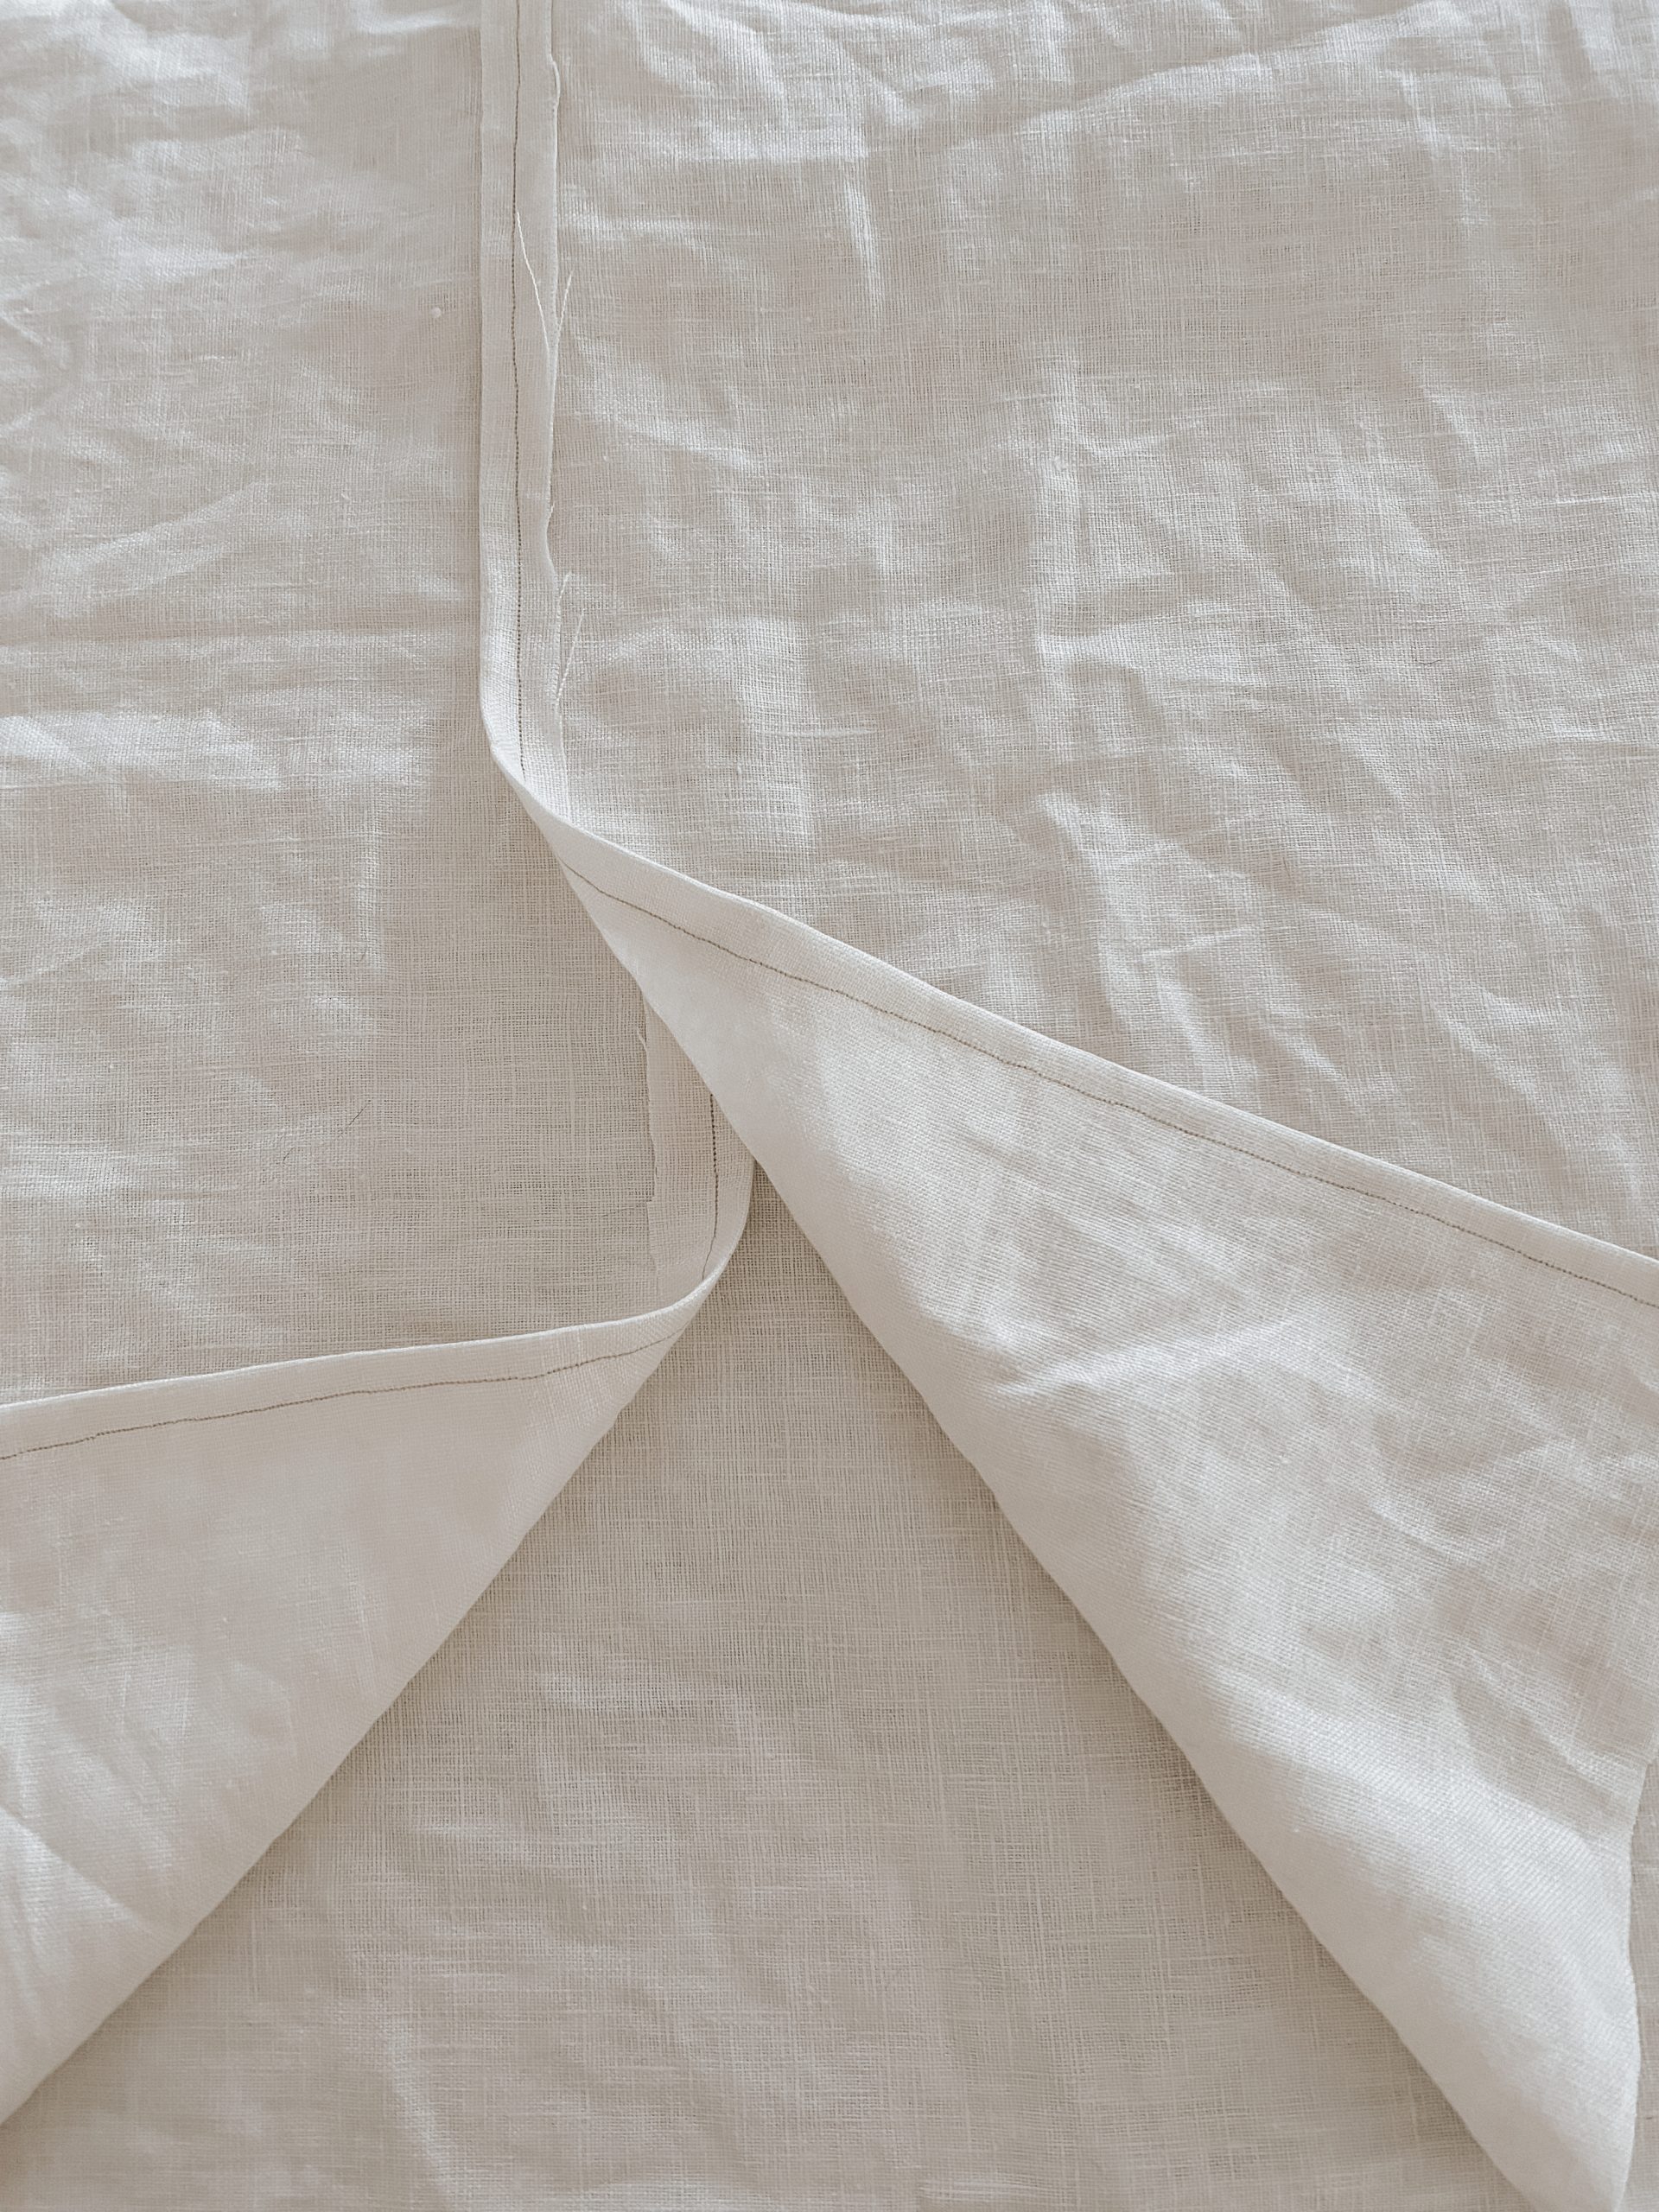
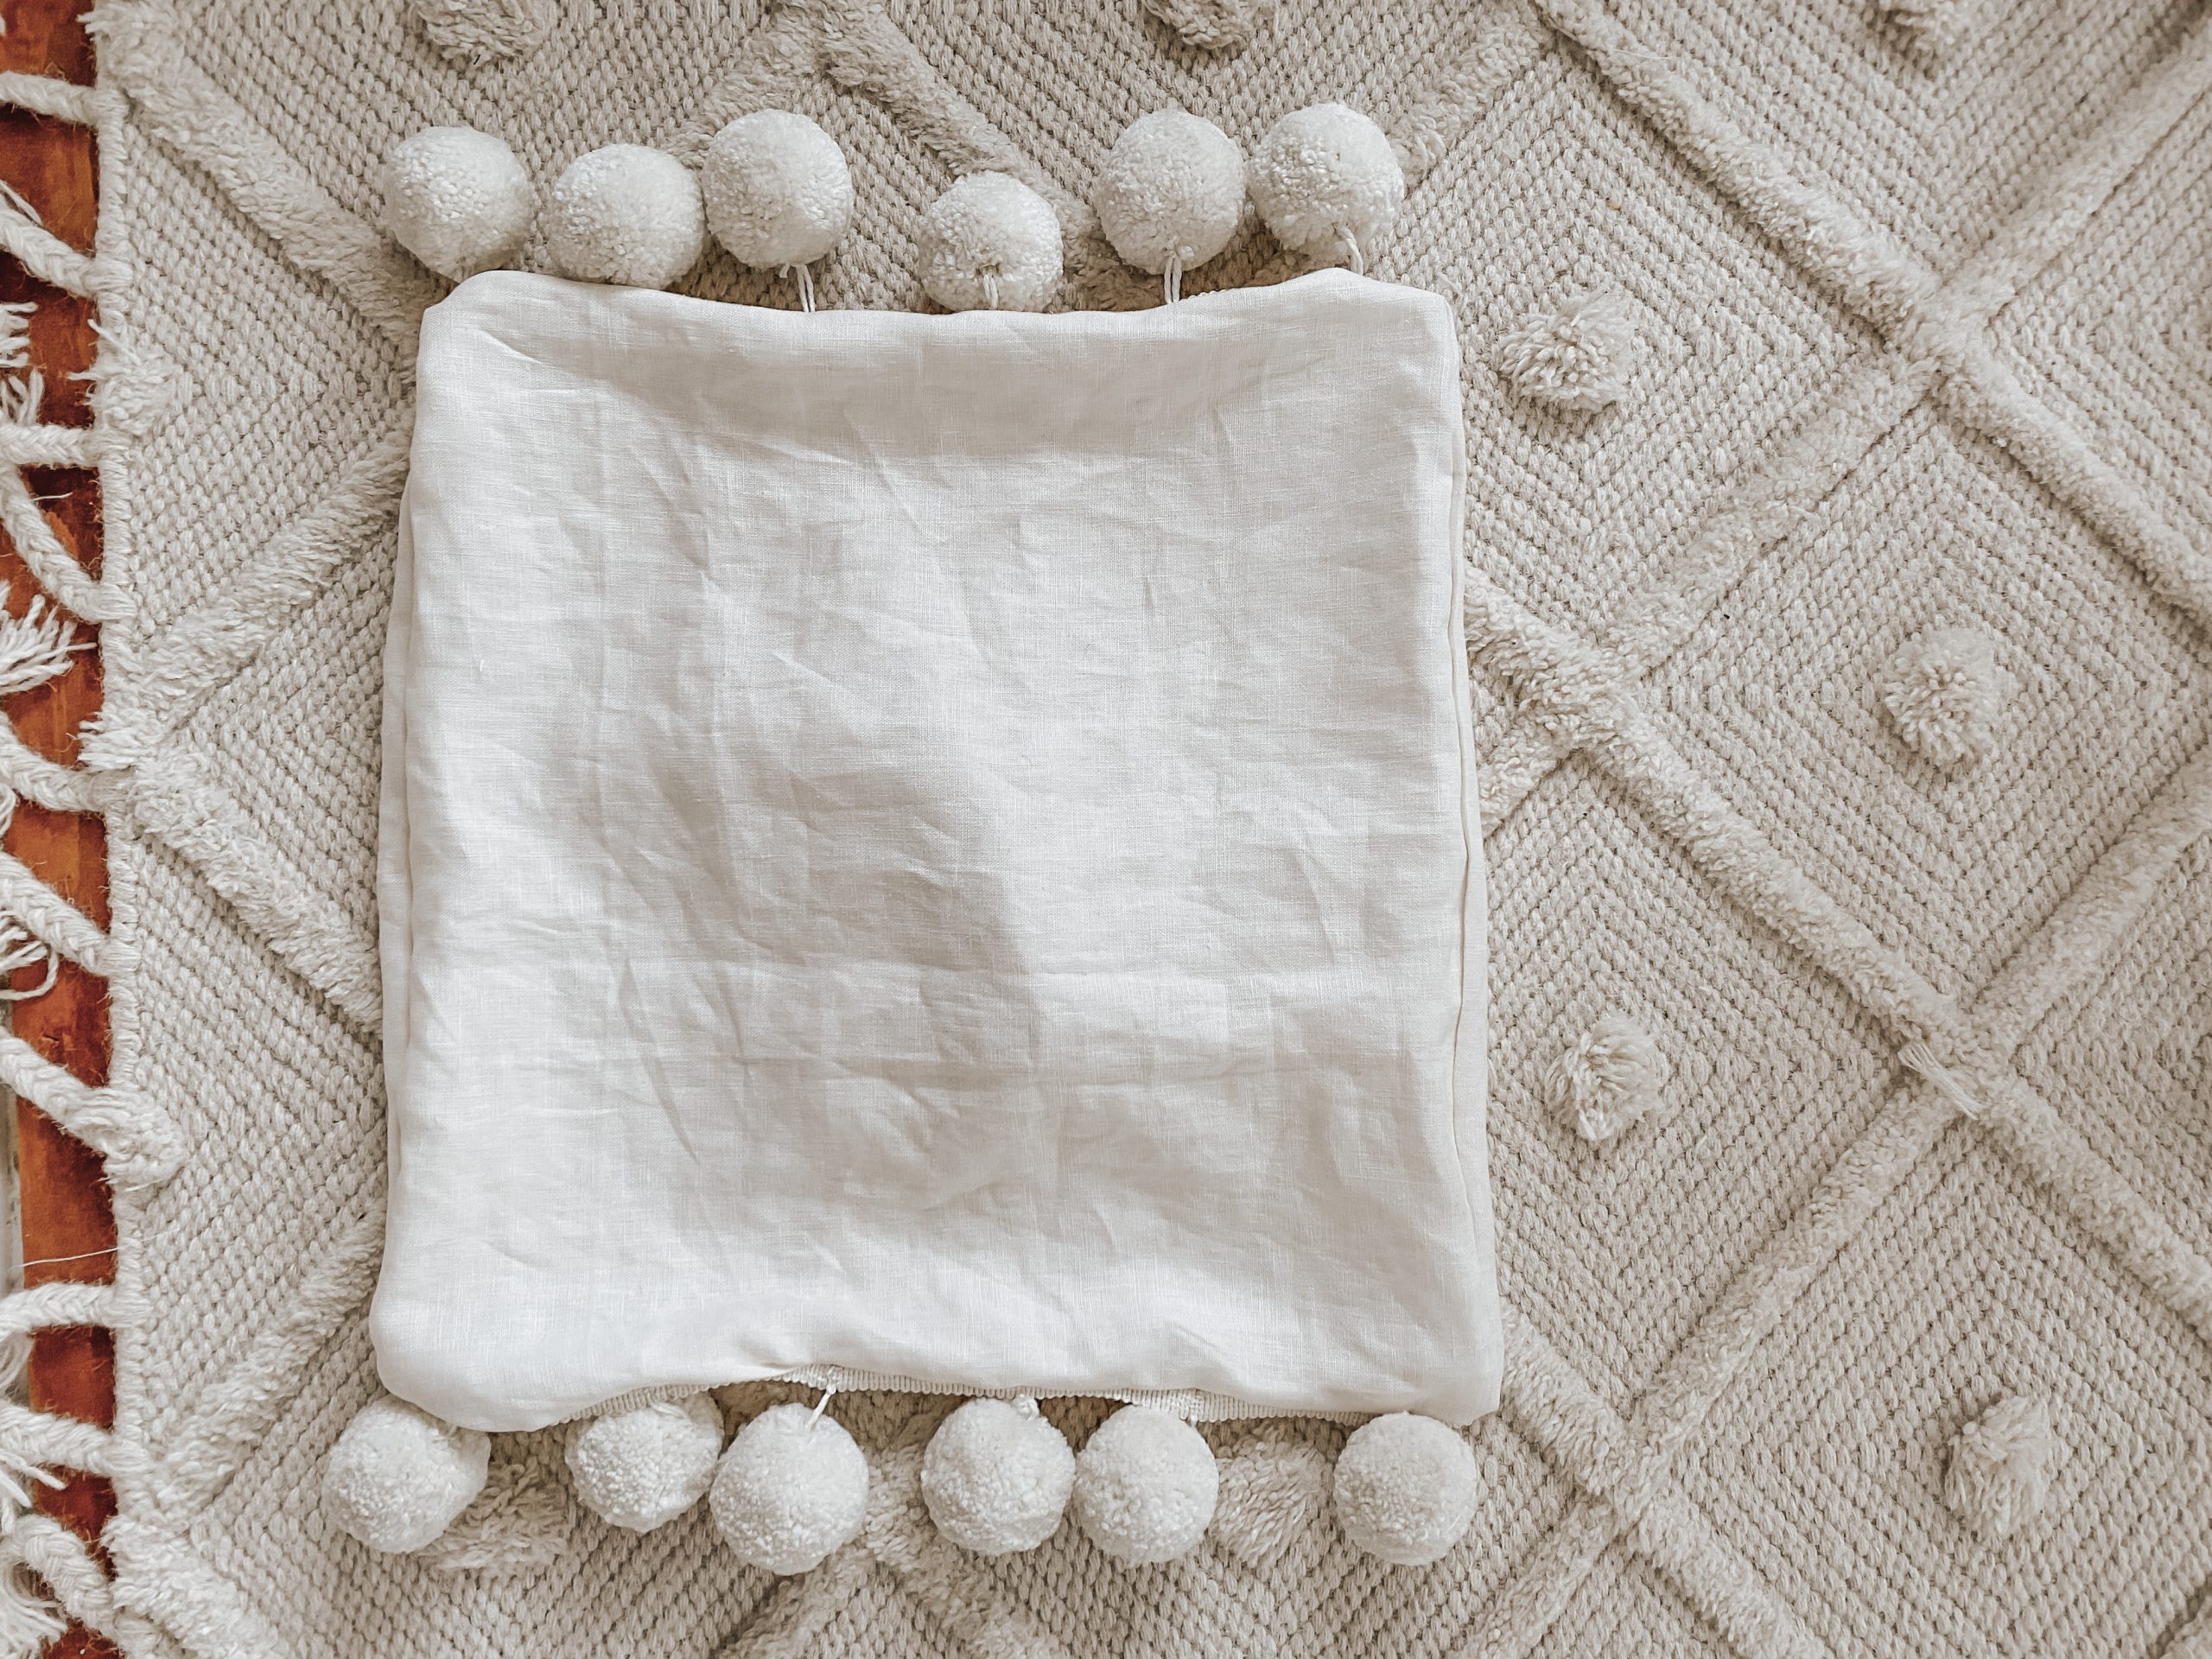
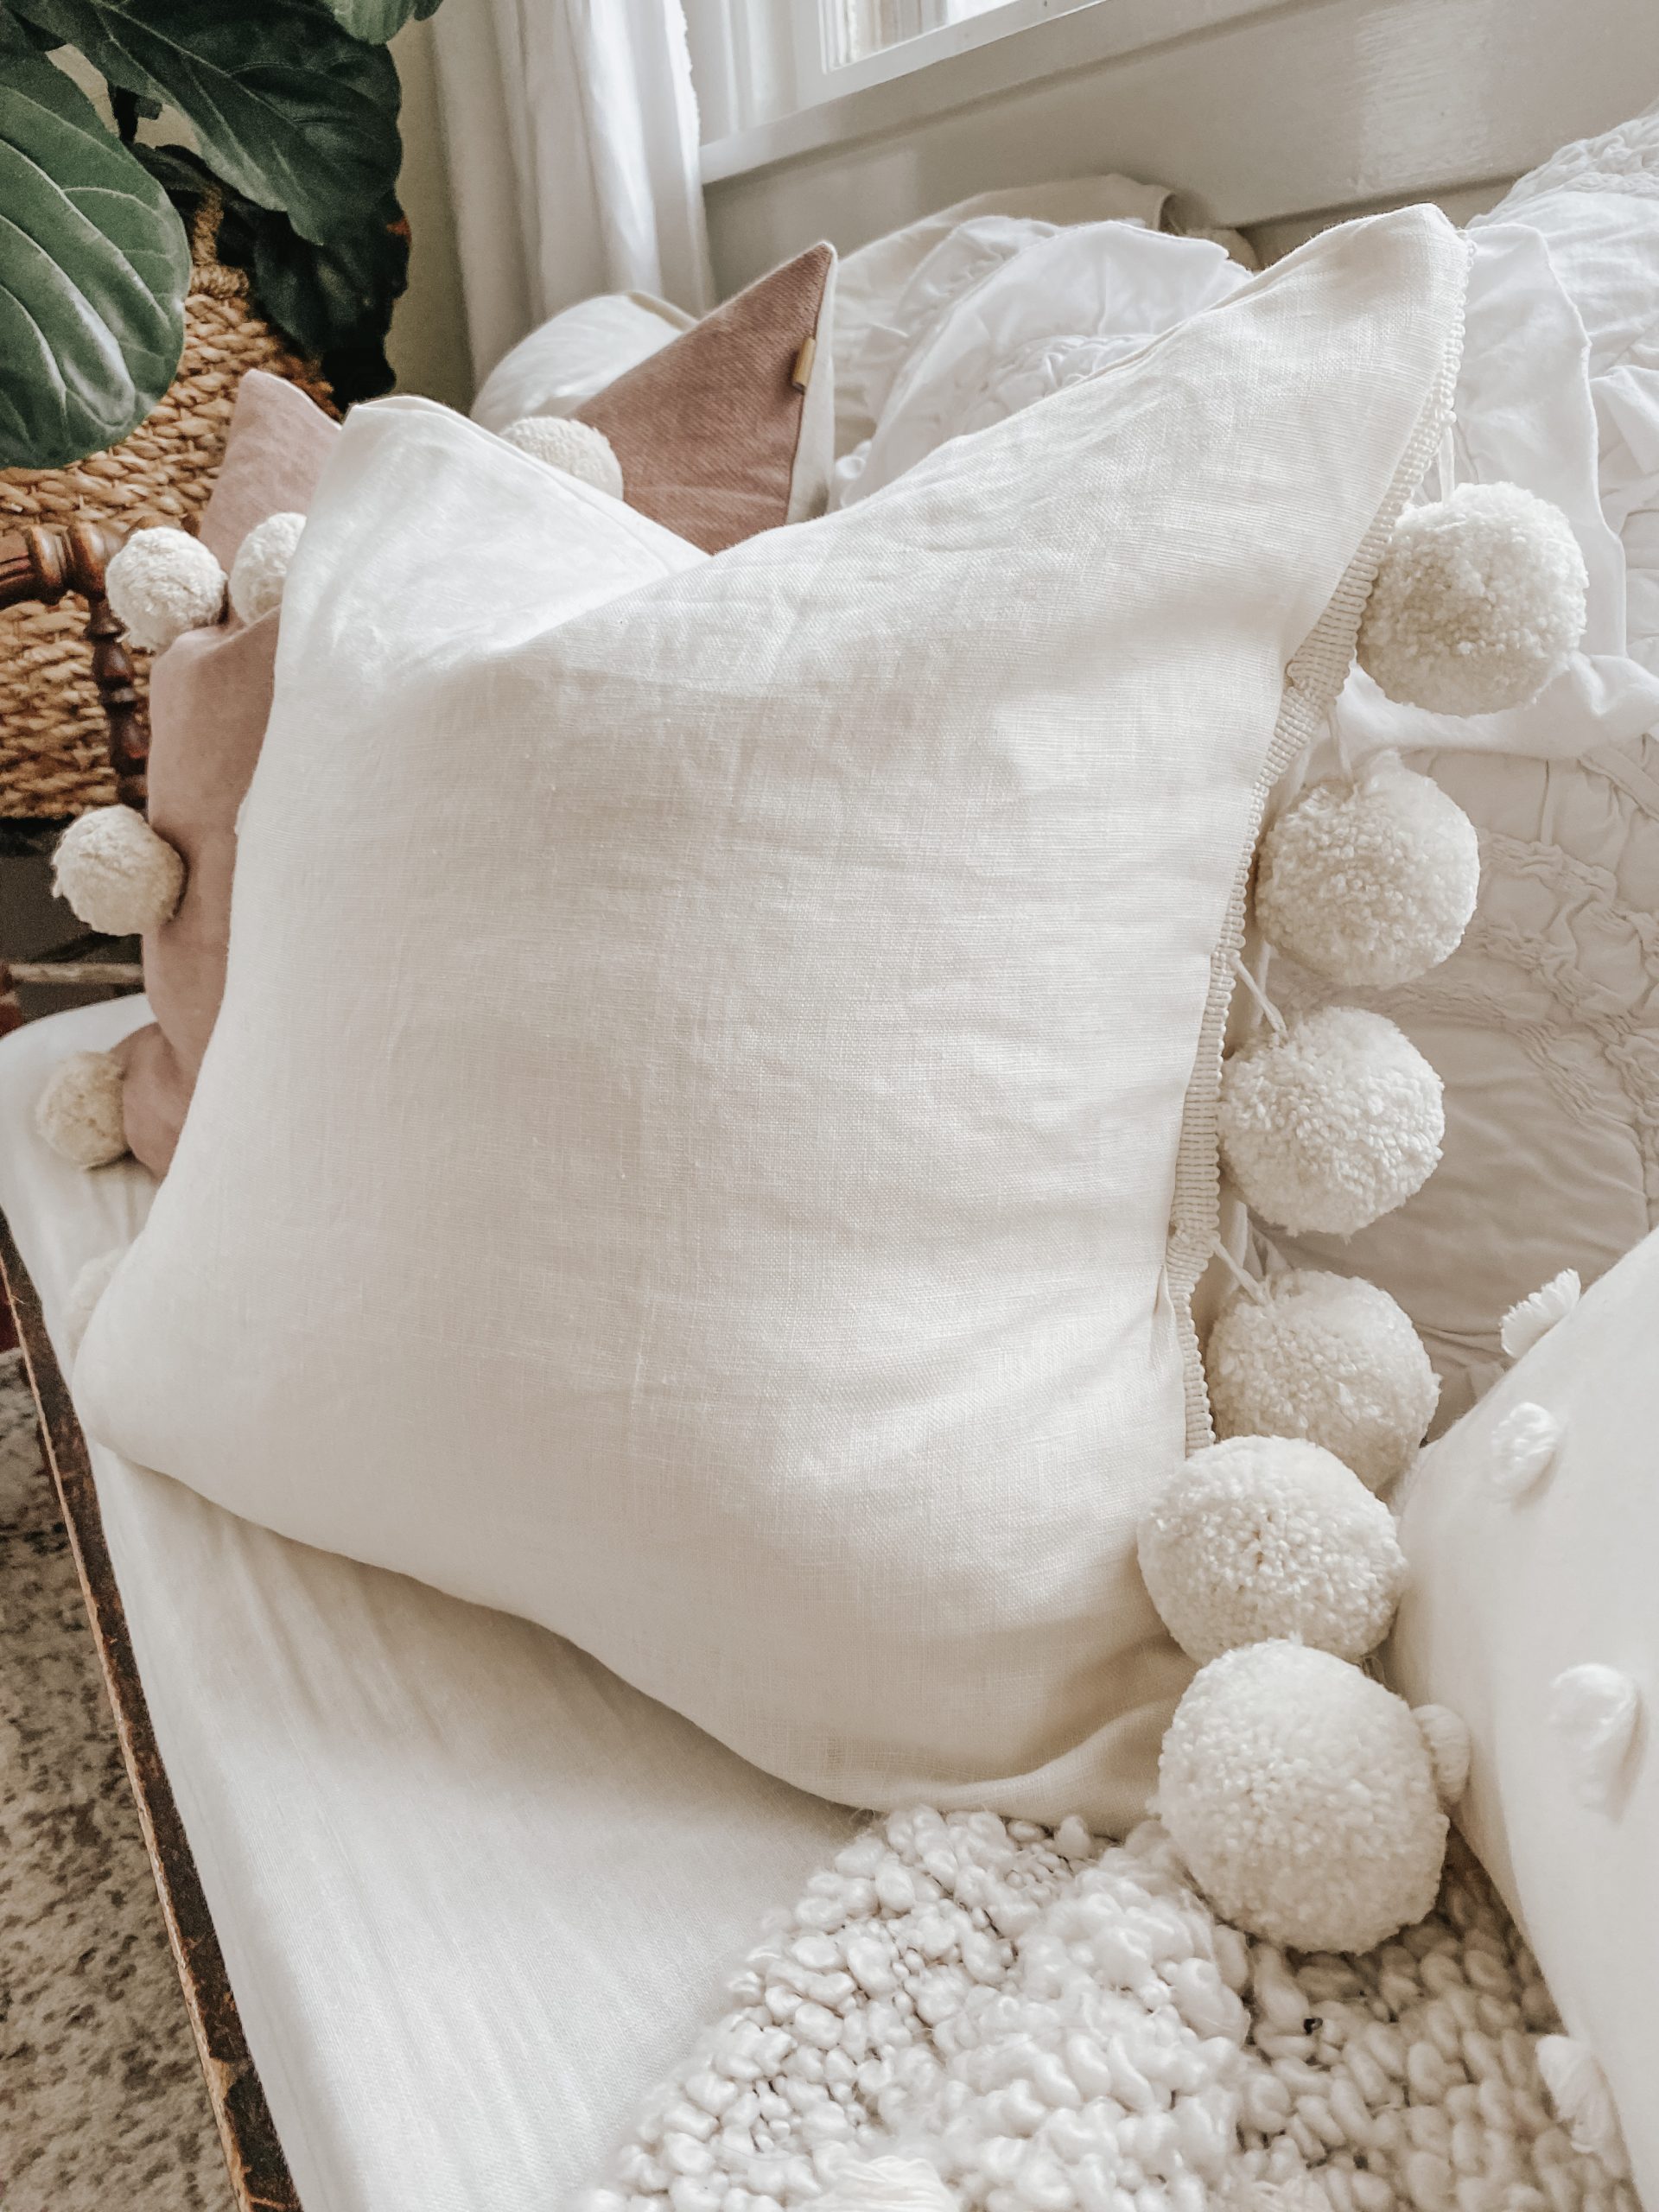
Next we are going to sew the top and bottom together at about 1/4-1/2″. Then flip it right side out and TADA you have just made the cutest little pillow. 
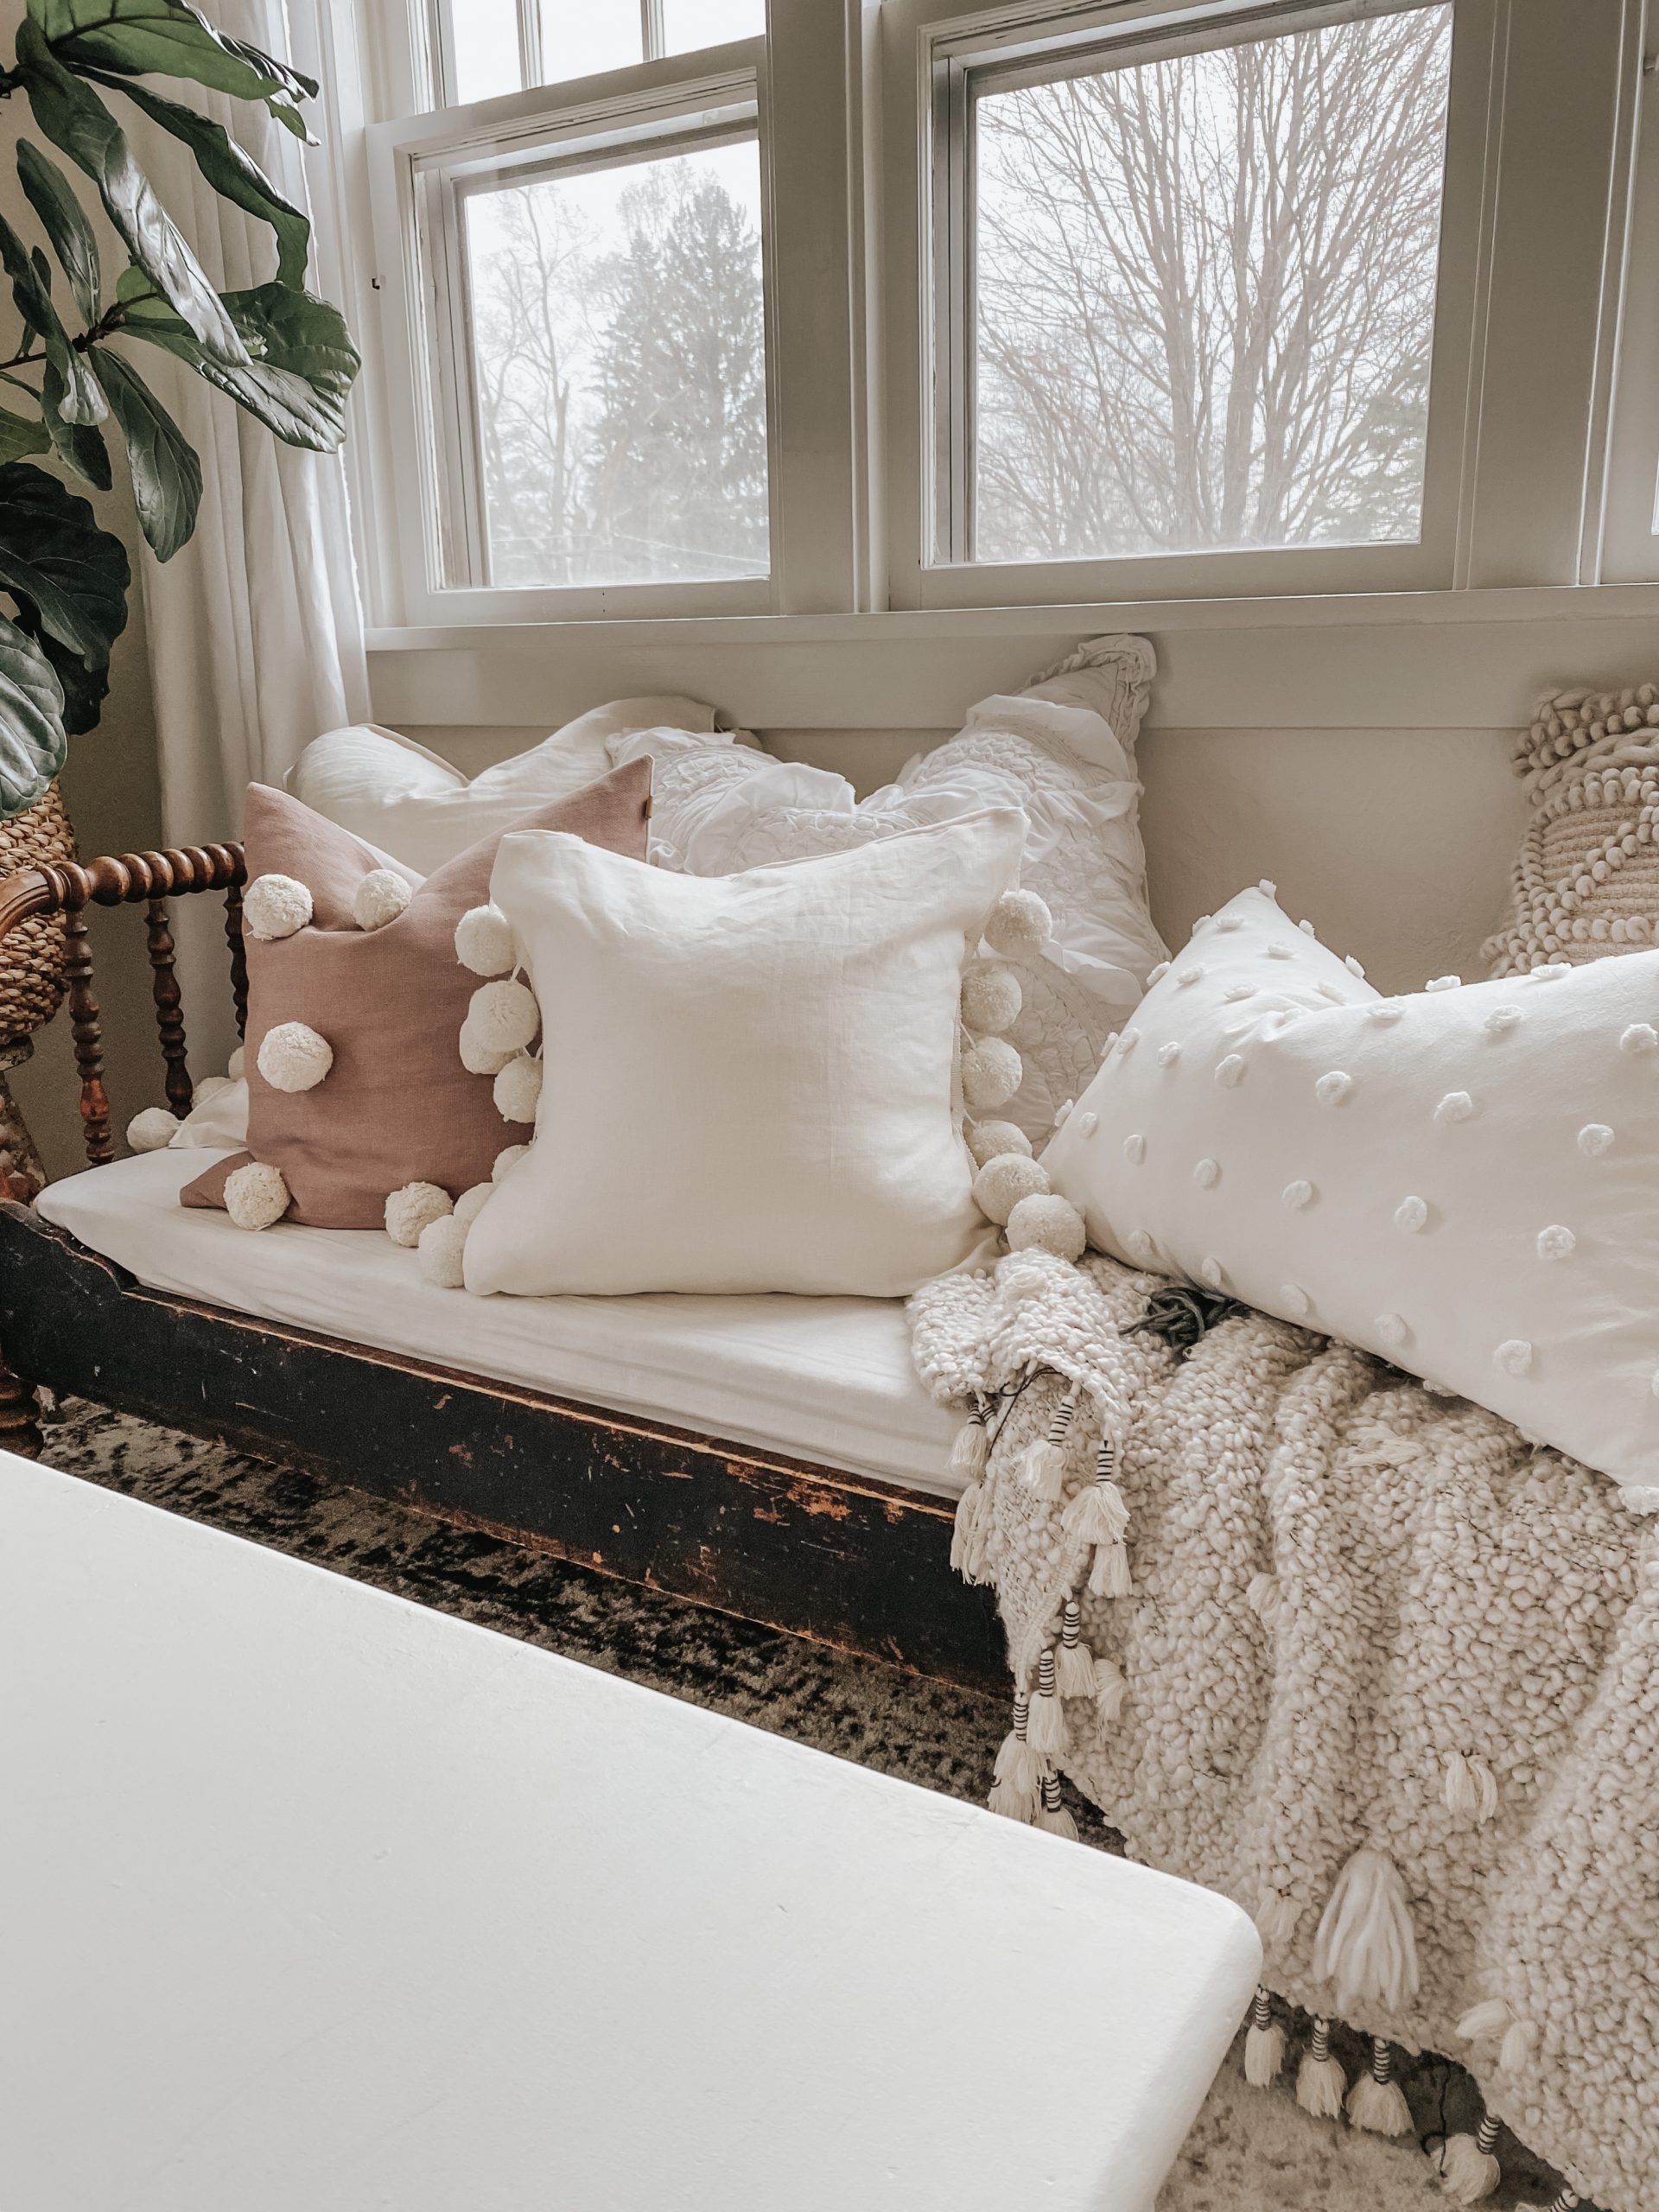
It was a super simple project and if I didn’t have all 4 kids running around it would have probably taken me less than 20 minutes instead of all day haha.

I hope you enjoyed this little DIY. This is the second one i have made. The first one i made a EURO size. To do that you just adjust your all your measurements to 24″ instead of 18″. Typically you want to sew a pillow cover two inches smaller than your insert to make it nice a fluffy.
LINKS


PILLOW INSERT (HERE) They ship!!!