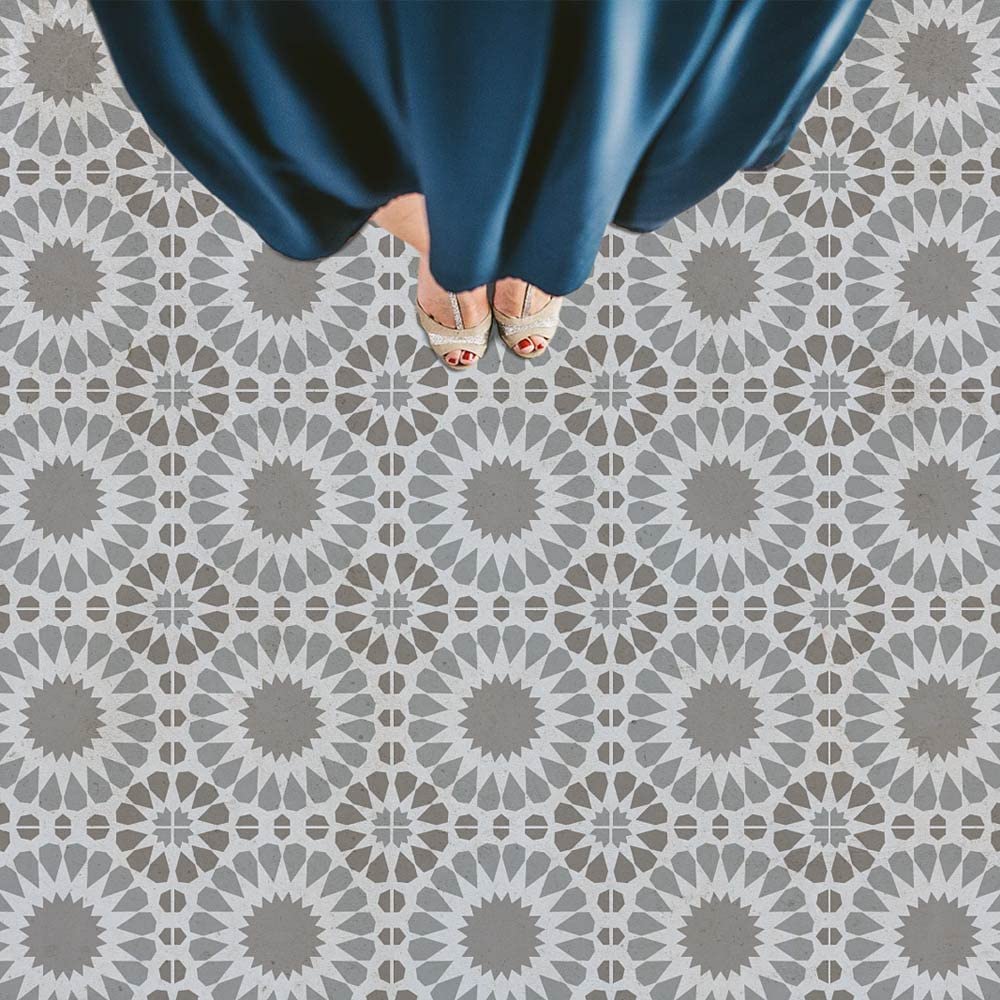
How to Stencil a Concrete Porch
Our DIY stenciled Patio is finally finished. After starting this project 6+ weeks ago, this is a big accomplishment to my summer project list. From start to finish I would say that I could have got it done in two days. This allows for two base coats of White paint with dry time in-between and then the time to stencil.
I had painted and stenciled our porch before (this is the third summer) and it has held up great. I didn’t seal it, it is not a covered porch and we live in Michigan so we have a flux of weather temperature. I also salt this area in the Winter months. With the minimal cost/time involved and the BIG impact it gives to a space it is well worth committing to repainting it every two years. I also should say that I decided to repaint for a refresh. My porch wasn’t peeling or anything, I just thought it looked a little dirty. We have 4 kids and a XL dog and this is our main entry/exit that we use for our home.
Supply List:
- Power washer/Heavy duty cleaner
- Stencil
- Sponge
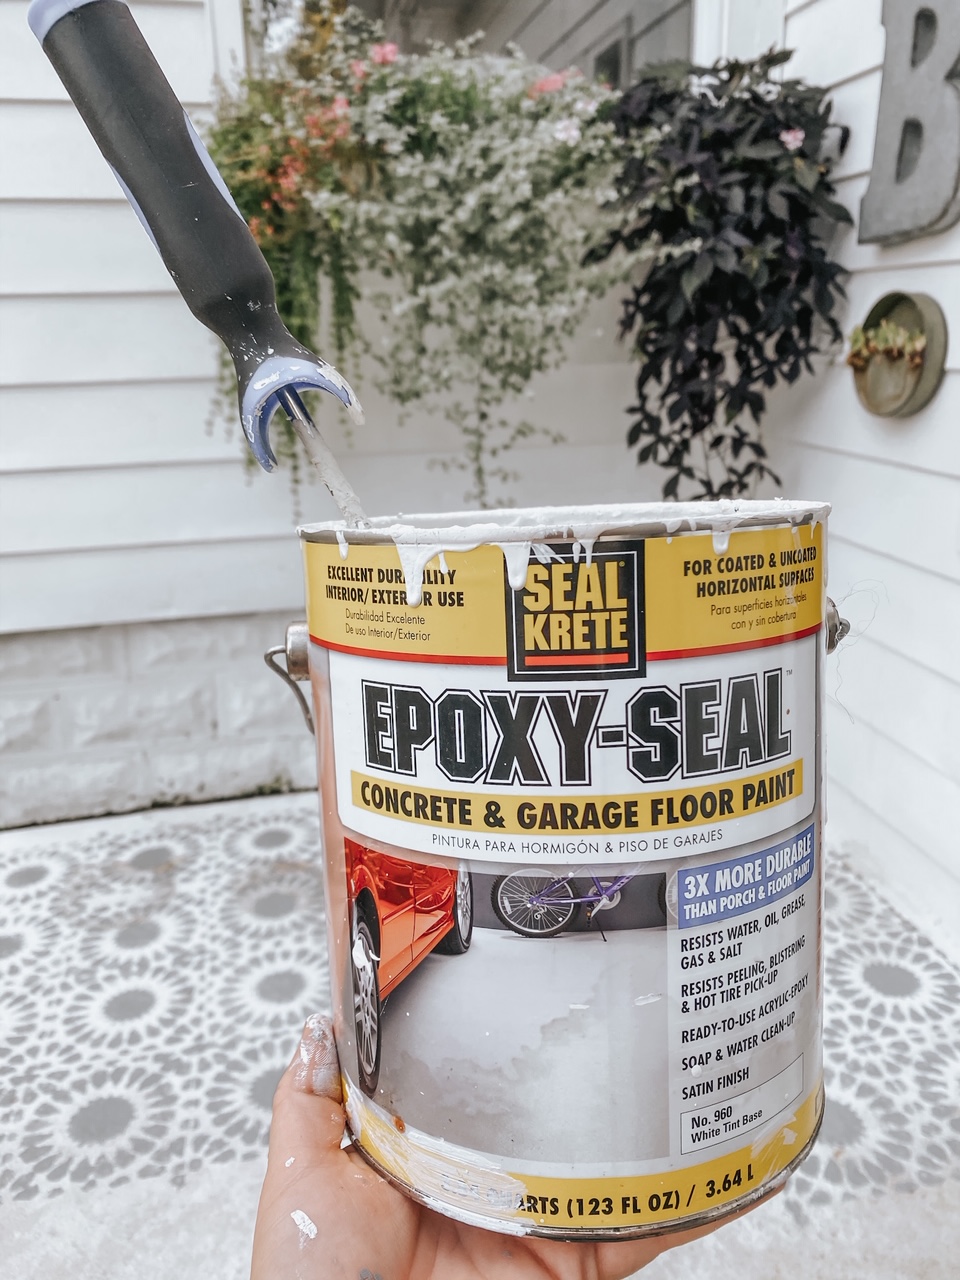
- White Concrete paint
- Paint roller/pan
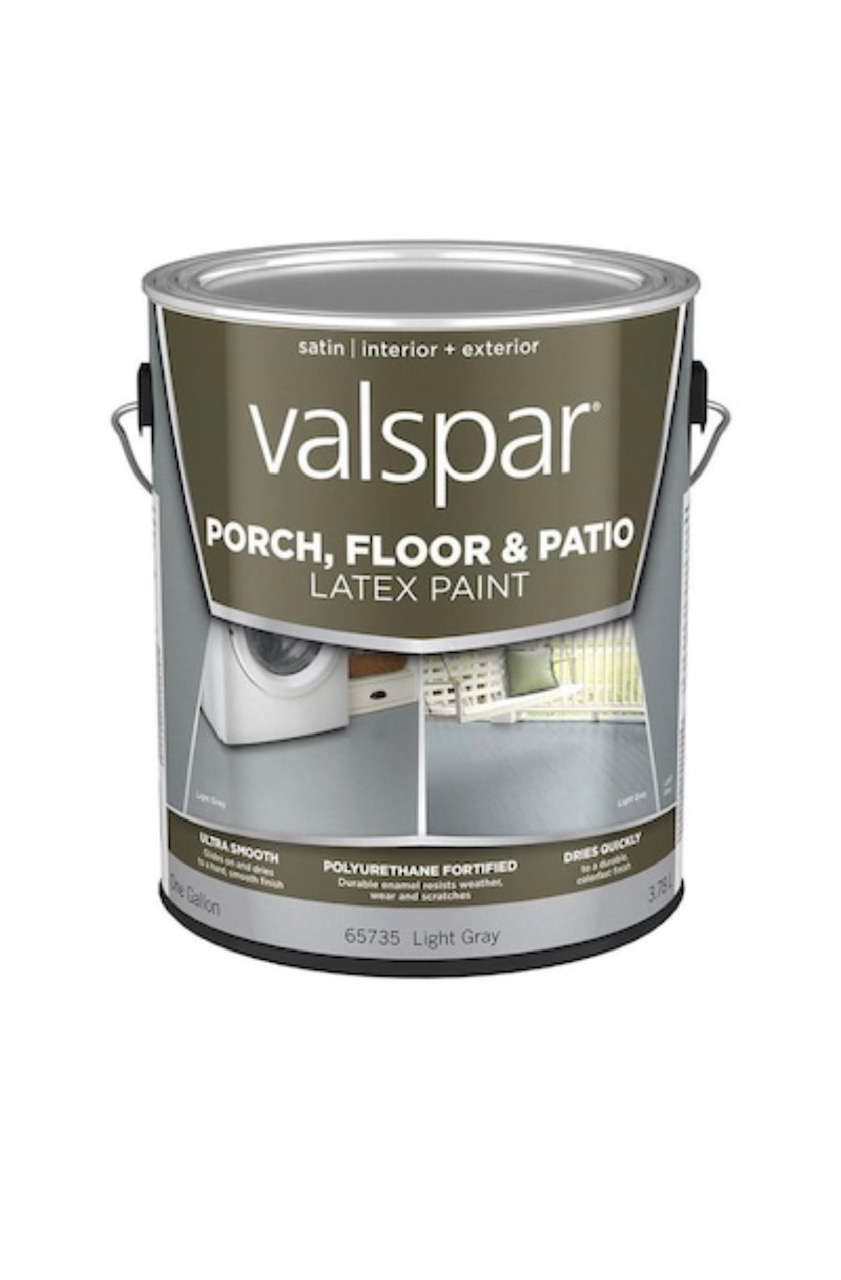
- Gray Concrete paint
- Level
*The end of this post has links to the exact products I used.
So, where do you start?
Power wash! You will need to power wash your space or use a heavy duty cleaner to strip the concrete of any residue. I would do this the day before you plan to paint. This will ensure the paint adheres to the concrete the way that it should.
Next, paint two layers (maybe more depending on how your coverage is) of White concrete paint making sure you allow the paint to dry completely in between coats. I did paint the sides of our porch as well. Since I also painted our small concrete slab that has entry to our garage from the side yard I noticed that if your concrete is not course it dries A LOT faster. Our main patio is really rough and it takes several hours in the summer sun to dry. Its also a full time job to keep everyone from NOT stepping on it.
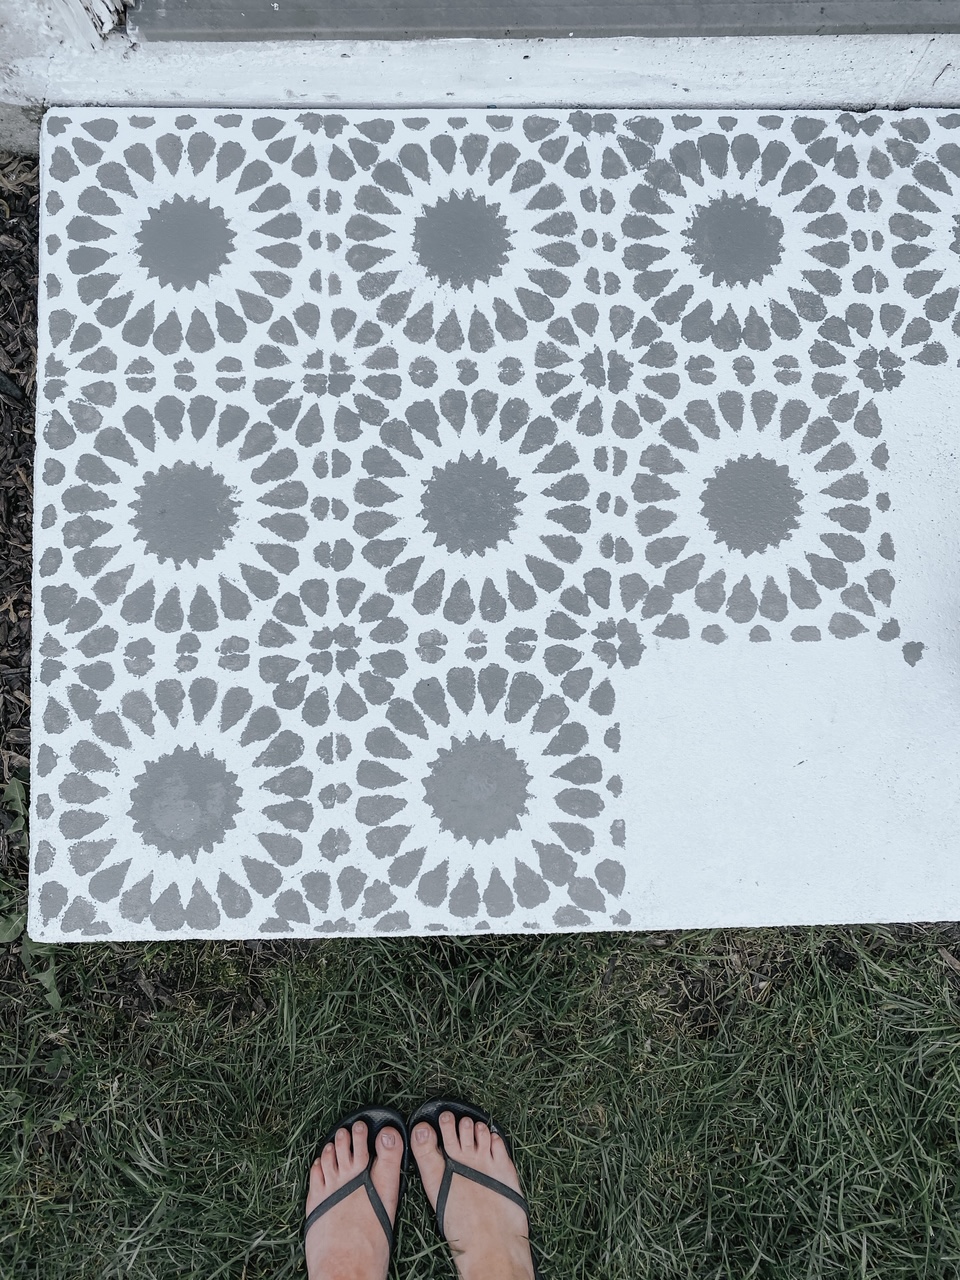
Now is the fun and a little more time consuming part – stenciling! My first go around was a breeze but this refresh project was a little more…interesting. Grayson is mobile and into EVERYTHING. He was completely fascinated by the paint and It was a full time job from keeping him away from it, which we ended up failing at since he stuck his hand with the sponge in the can at the end of this project.

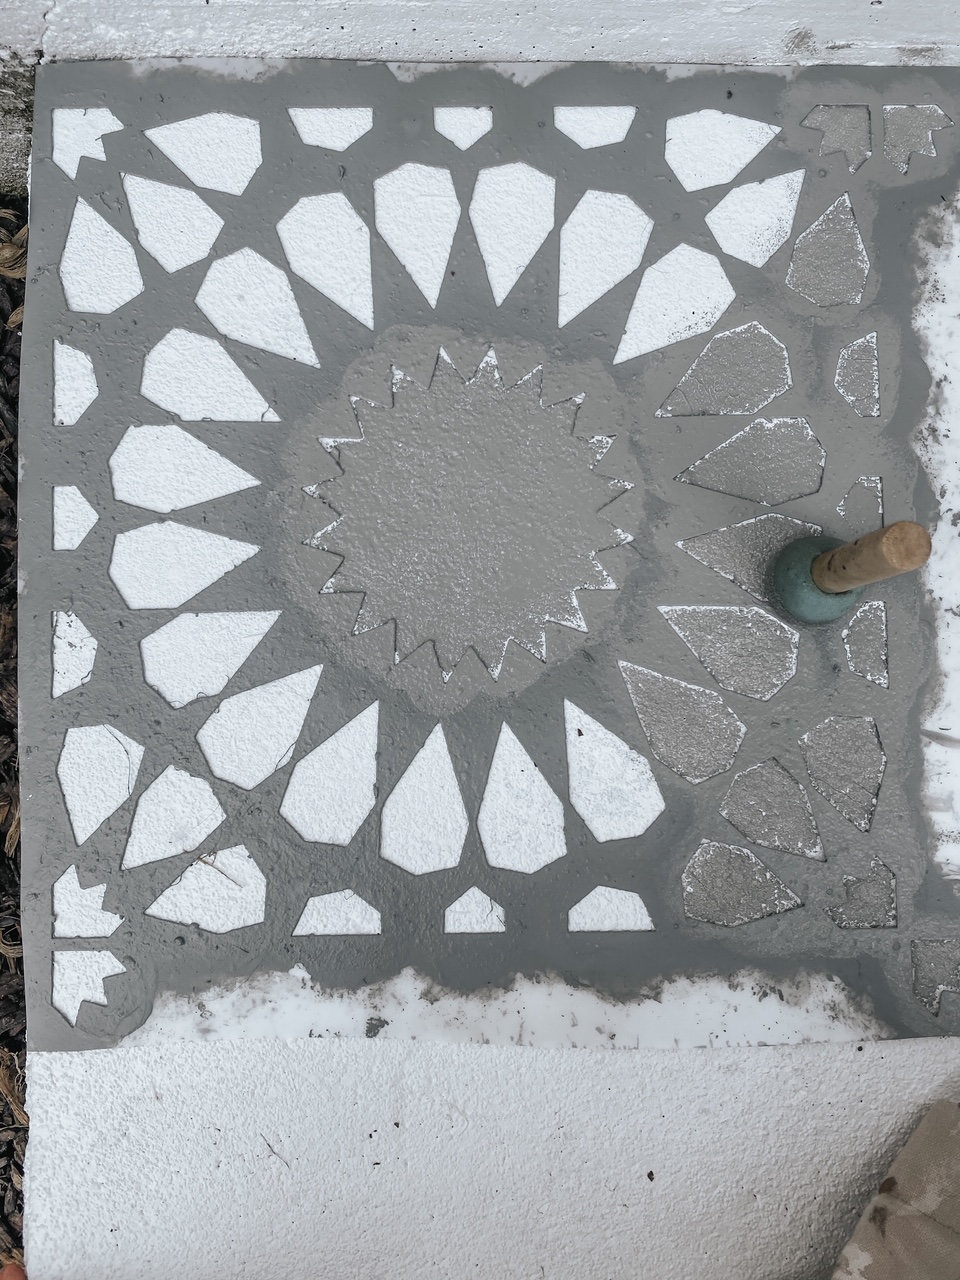

I started in the corner. You could use some spray adhesive or tape to keep things in place but because our patio is really rough, neither would work. Keeping your hand on on side of the stencil to keep it from moving, take your sponge and dab the paint on the cut outs of the stencil. Our home was build in the 40s with an addition in the 80s. So nothing is really 100% even so you can use a level to make sure your stencil is level. As you move on to your second square make sure that your stencil lines up. For the stencil I choose, the corner arrows line up as your move sideways and then two line up when you add another row. The Stencil does dry pretty fast but also make sure as you move along each time that there isn’t extra paint on the bottom of the stencil. There were several times I took a break to let it dry out in the sun so it doesn’t smear as you move along.


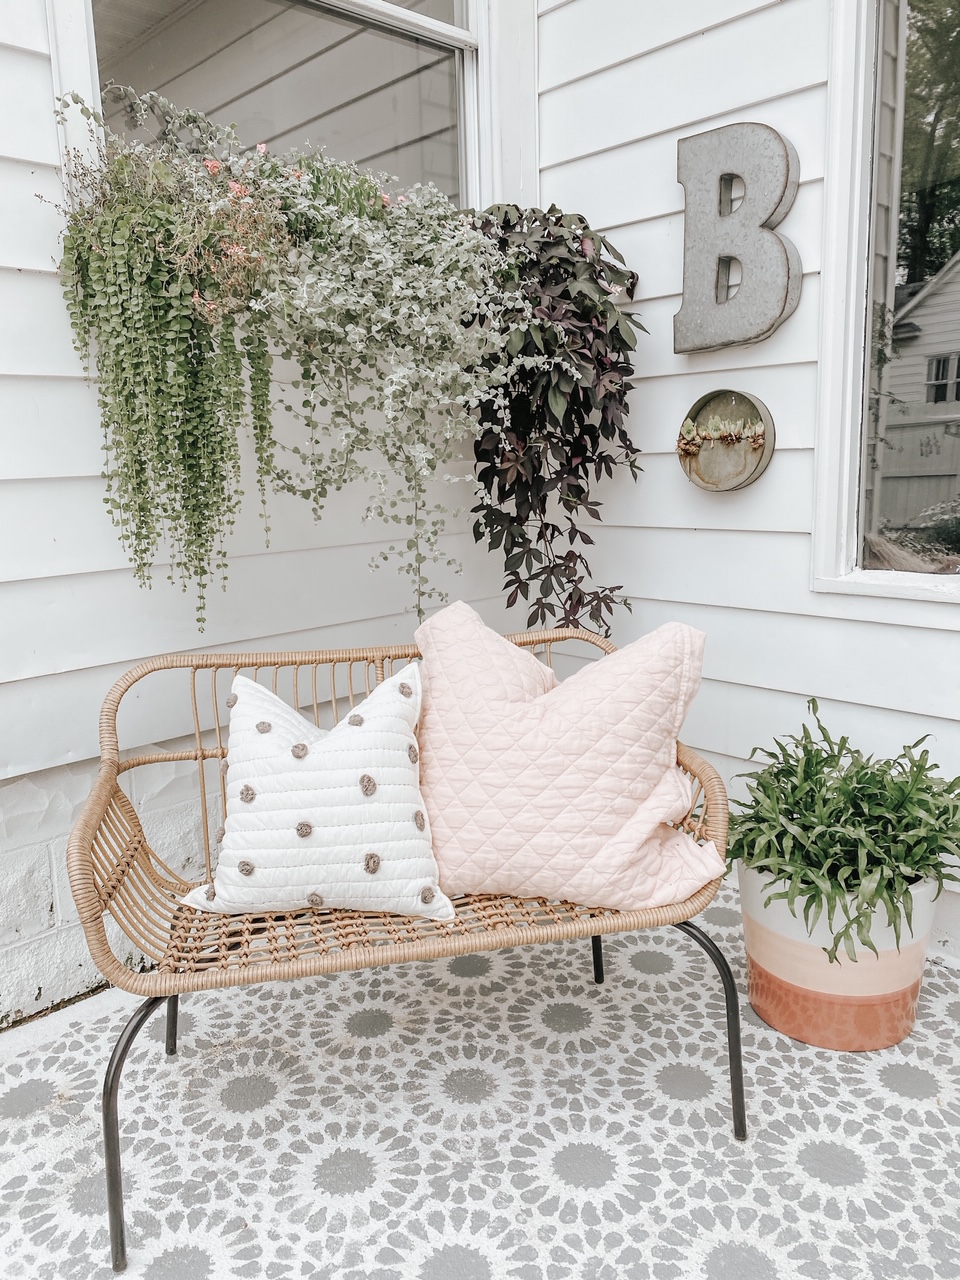
I LOVE stenciled floors and it really does make all the difference.
Ali
Here are the exact supplies I used for this project with links.