
Easy No Sew Curtains in 15 Minutes

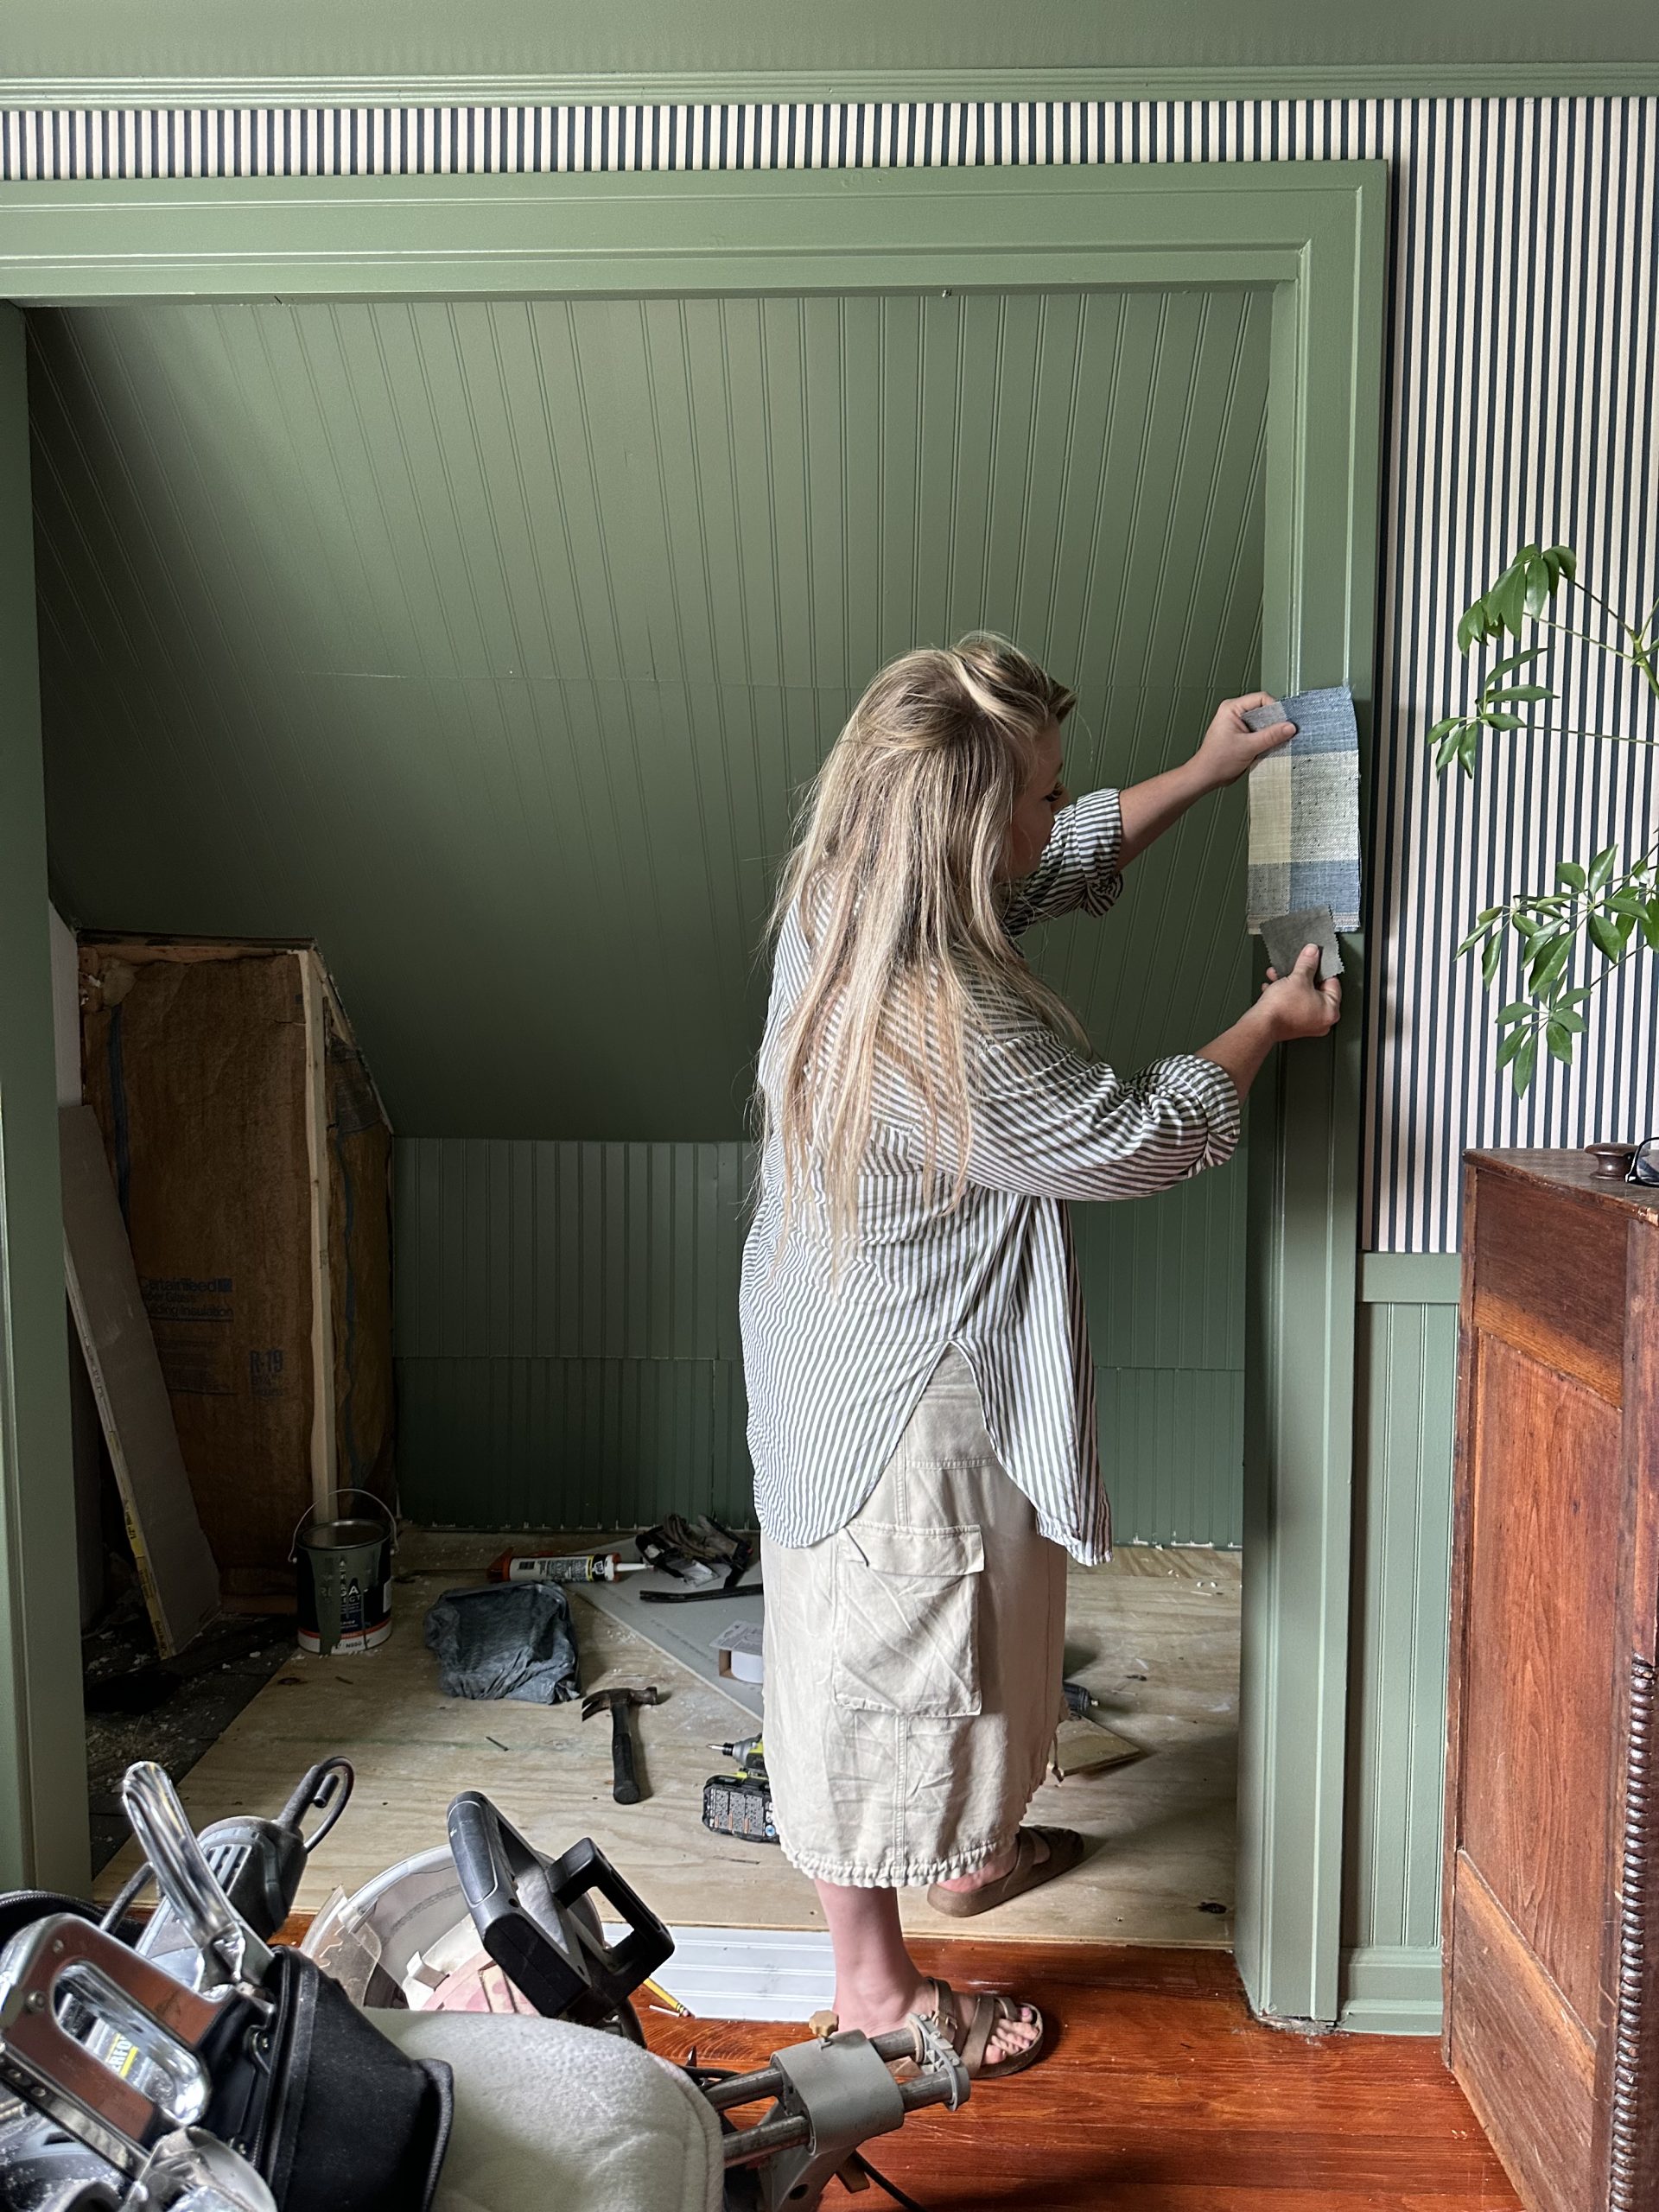
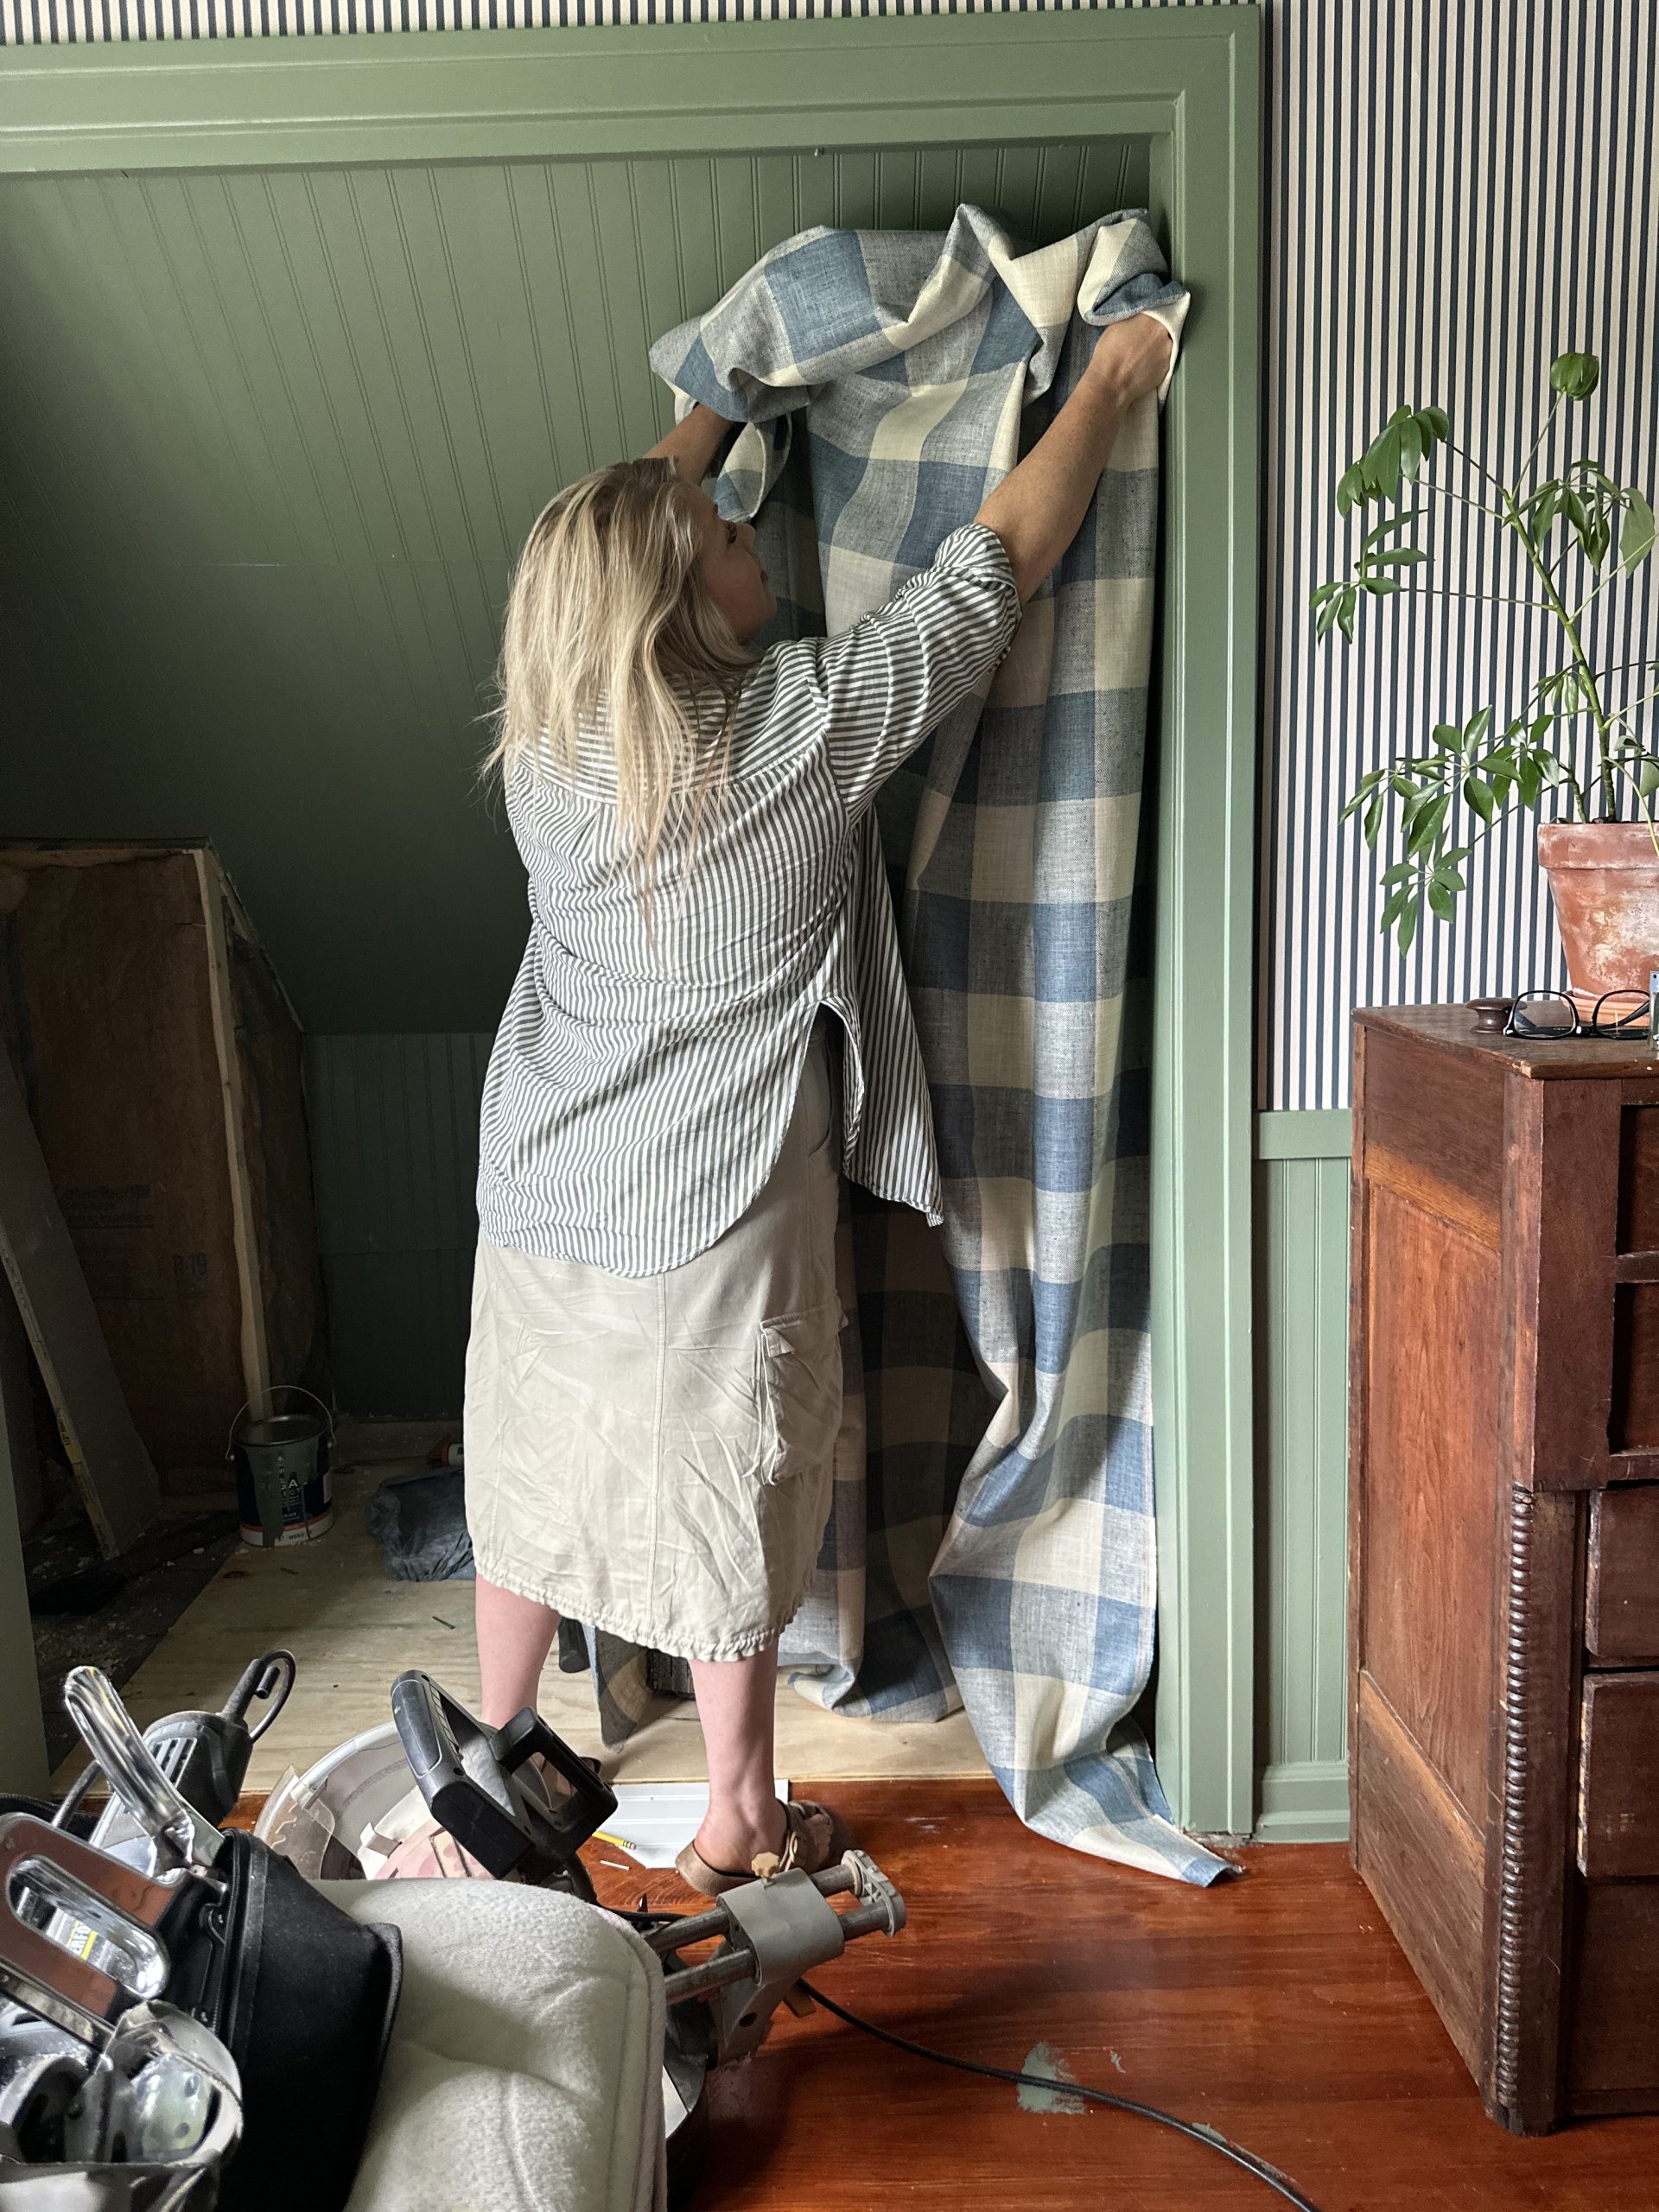
We are wrapping up out little bed nook with No Sew Curtains! If you are short on time, don’t want pull out your sewing machine and set it all up OR if you don’t know how to sew – this is for you. A quick and easy way to “sew” a set of curtains in 30 minutes.
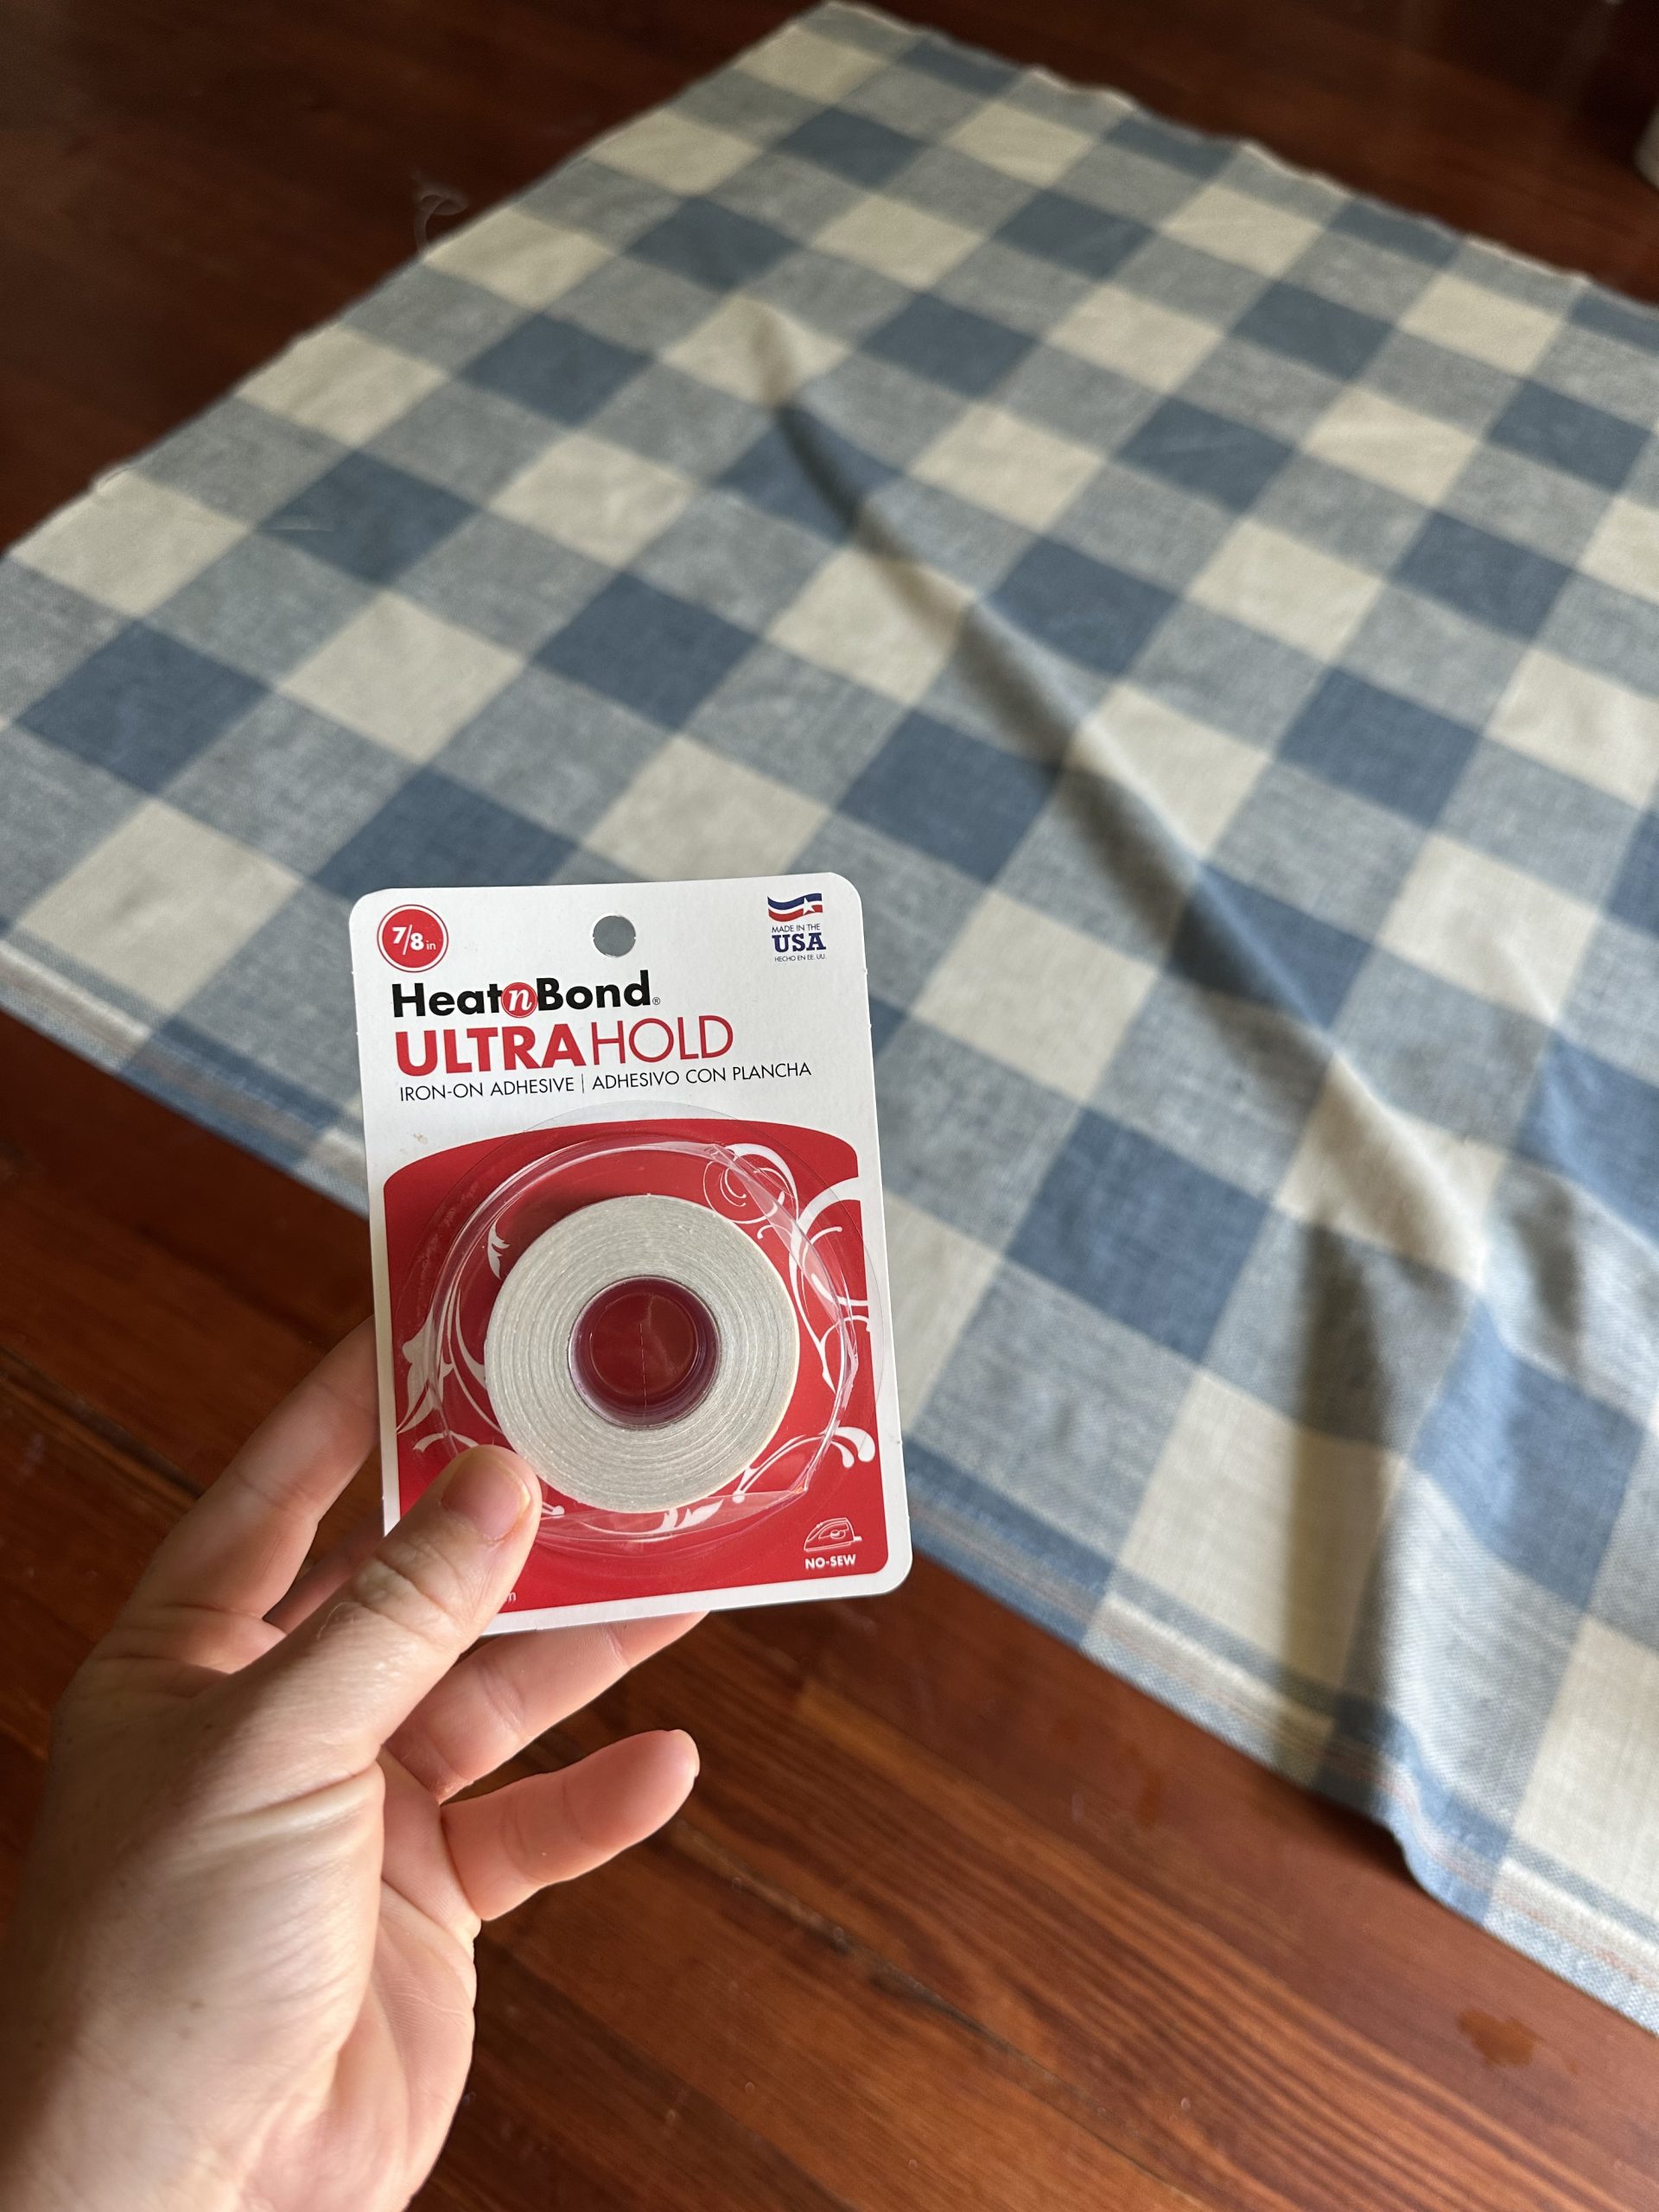
Heat tape is such a timesaver and all you need is an Iron. I pre-washed my fabric before cutting my fabric into my desired curtain length. Pre-washing may seem like a step you want to skip if you are crunched on time but let me tell you from experience – don’t do it! All fabric shrinks a little after washing and drying and if you skip this step it can lead to shrinking AFTER you have made your curtains. I had made some linen curtains for our home in the past, skipped pre-washing and ended up with curtains that were 4-6″ shorter than what they originally were. I was so upset and had just wasted quite a bit of money on that fabric. So, pre-wash friends- it’s worth it!
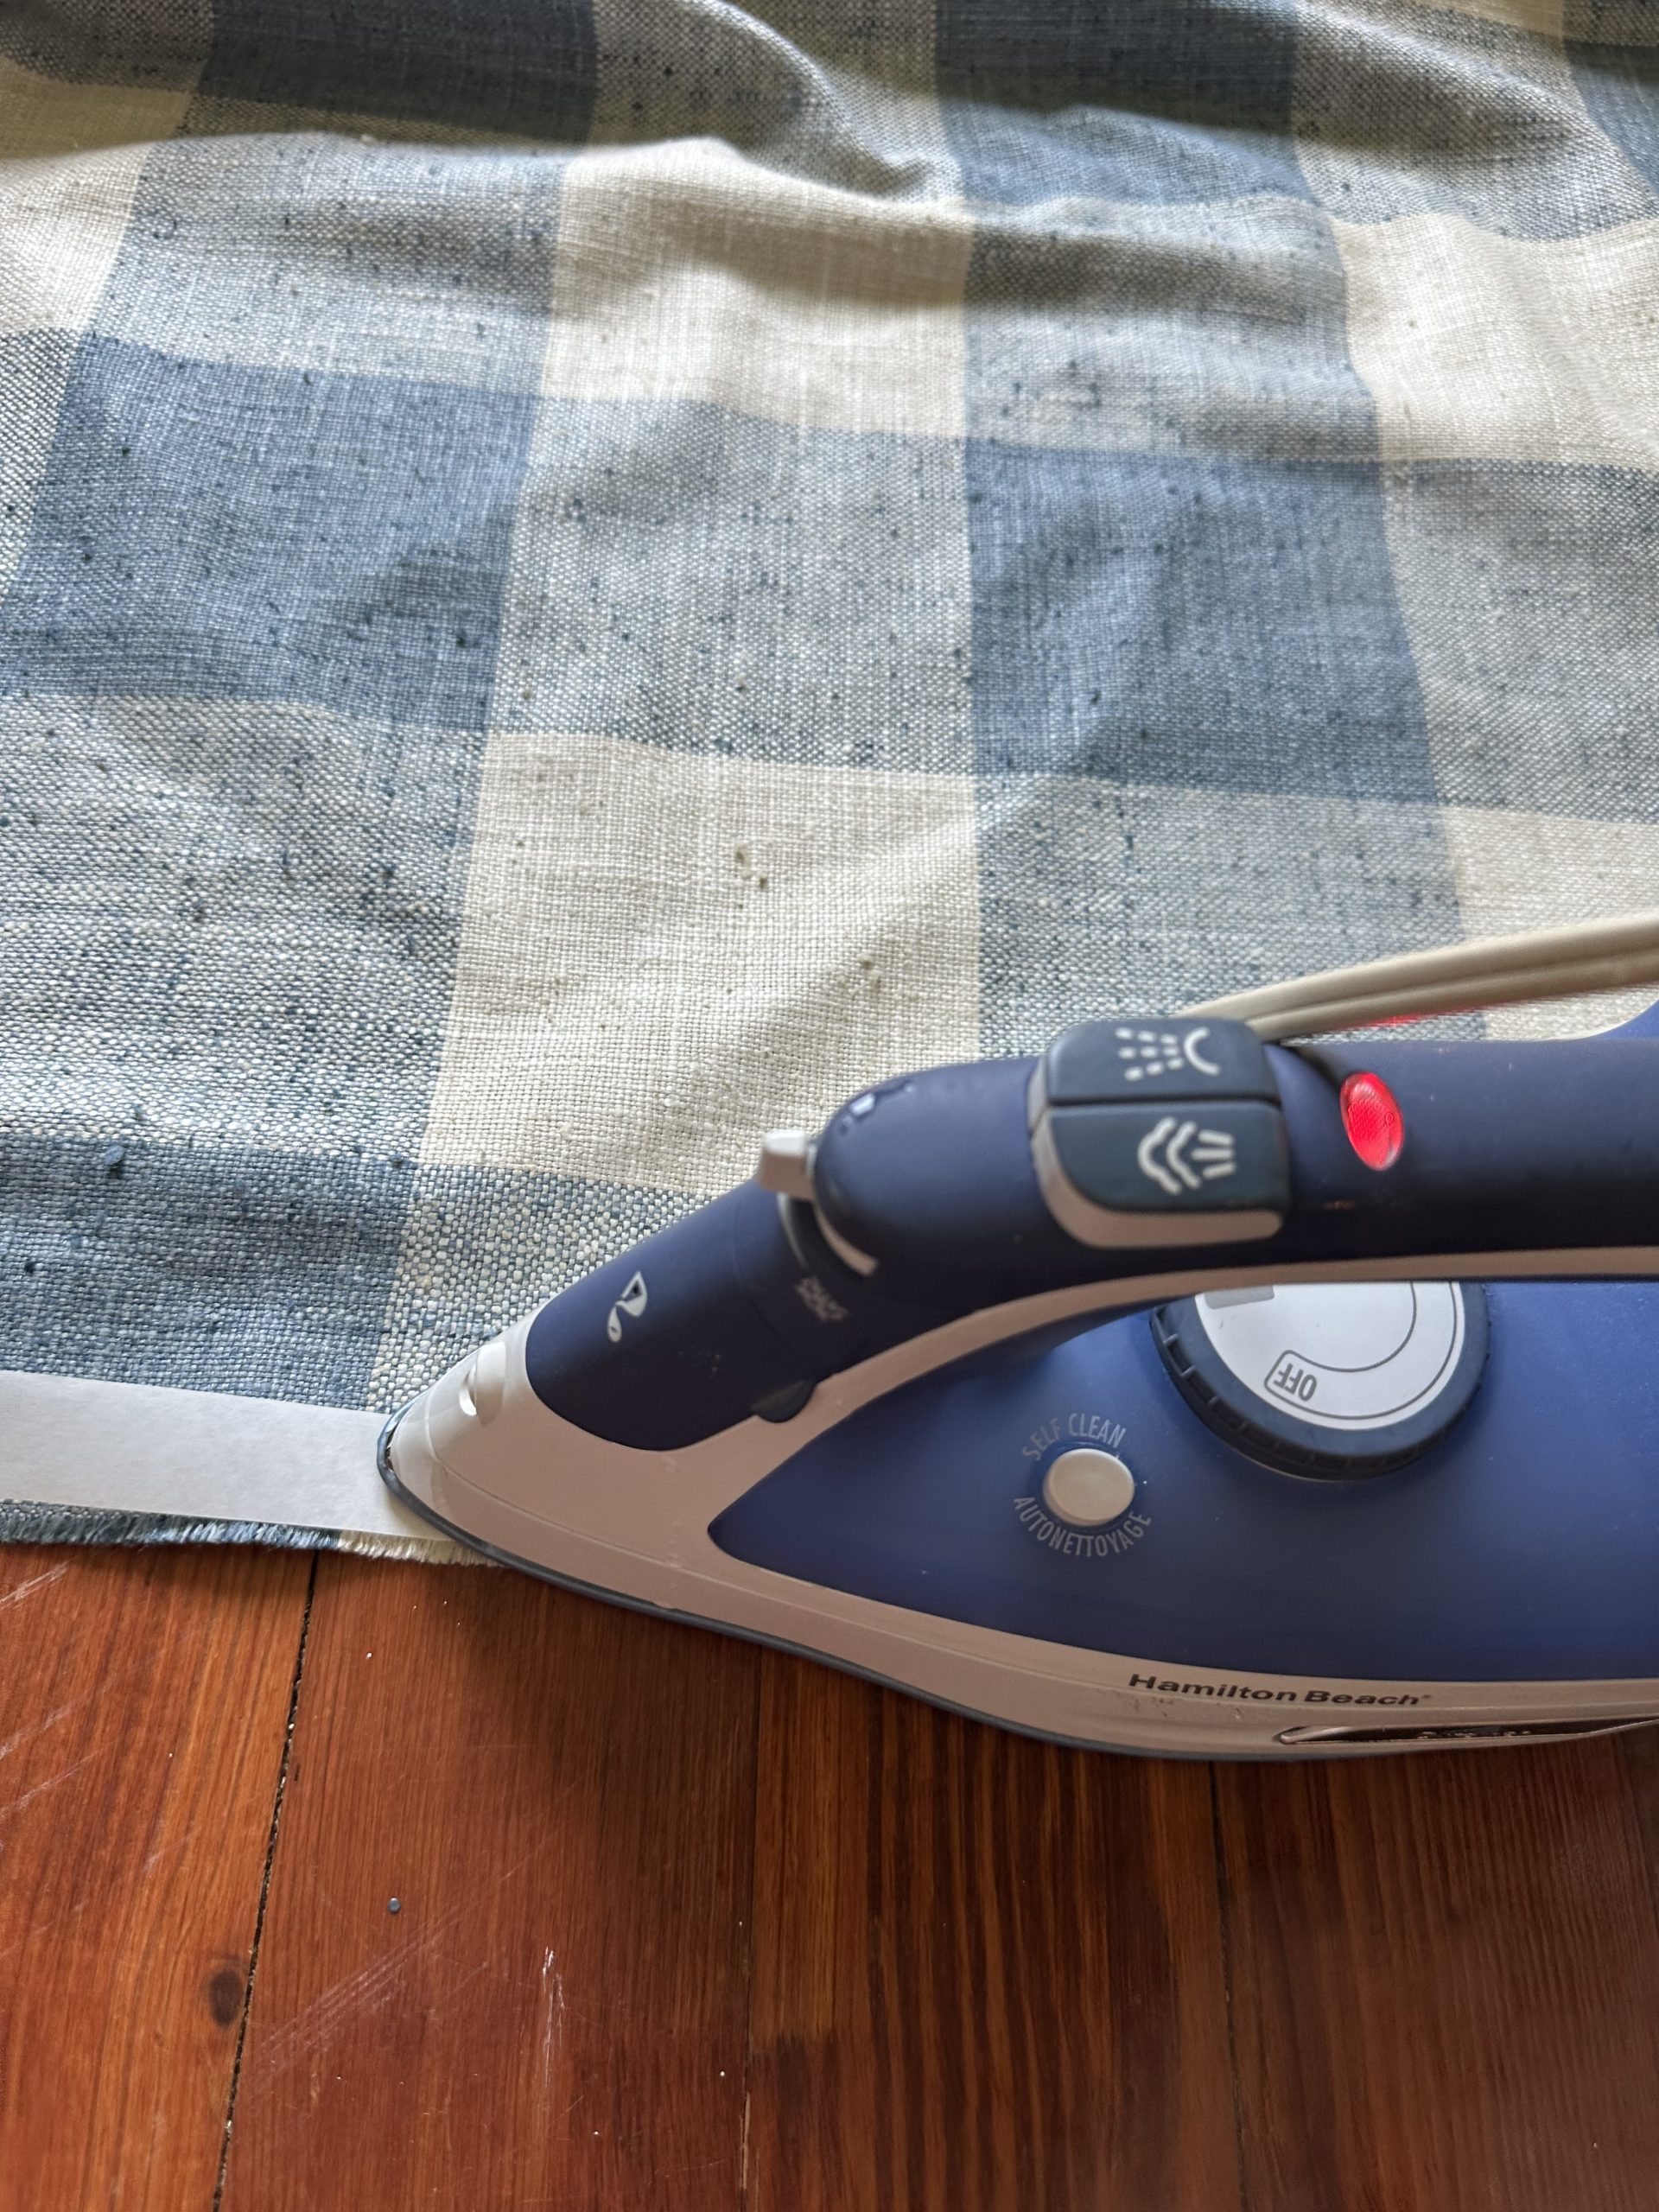
I used this heat tape (here) to fuse the raw edges of the upholstery fabric I purchase (here).
Step 1. Pre-wash
Step 2. Measure and cut your fabric to your desired length. Keep in mind while you are measuring that your seam will be about 1″-1.5″ so be sure to add that to your desired length. I personally love when curtains puddle on the floor so I always add an extra 2-3″ of fabric to my total to create that look.
Step 3. Pre heat your iron, lay your curtain panel out of the floor, grab your heat tape and a towel to protect your floors as you iron. I didn’t use a towel because I am sanding down these floors next week. If your chosen fabric is extra wrinkly iron it all our before moving on the the next step. Since I used heavy weight upholstery fabric I skipped this.
Step 4. Start unrolling your heat tape on the edge of your fabric. I usually start length wise and work my way around the curtain. Roll your tape paper side up right along the edge of your fabric until you’re about 1/3 of the way down. I like to work in sections to ensure my tape doesn’t move all over. Grab your iron and iron the paper side of the tape; unrolling it little by little until you get to the end. Be sure to cut the tape before you iron on that last section. When you’re finished ironing the tape on go back to your starting point and peel off the tape. Make sure you get ALL the paper off or it won’t adhere property and you will have loose seams when your finished.
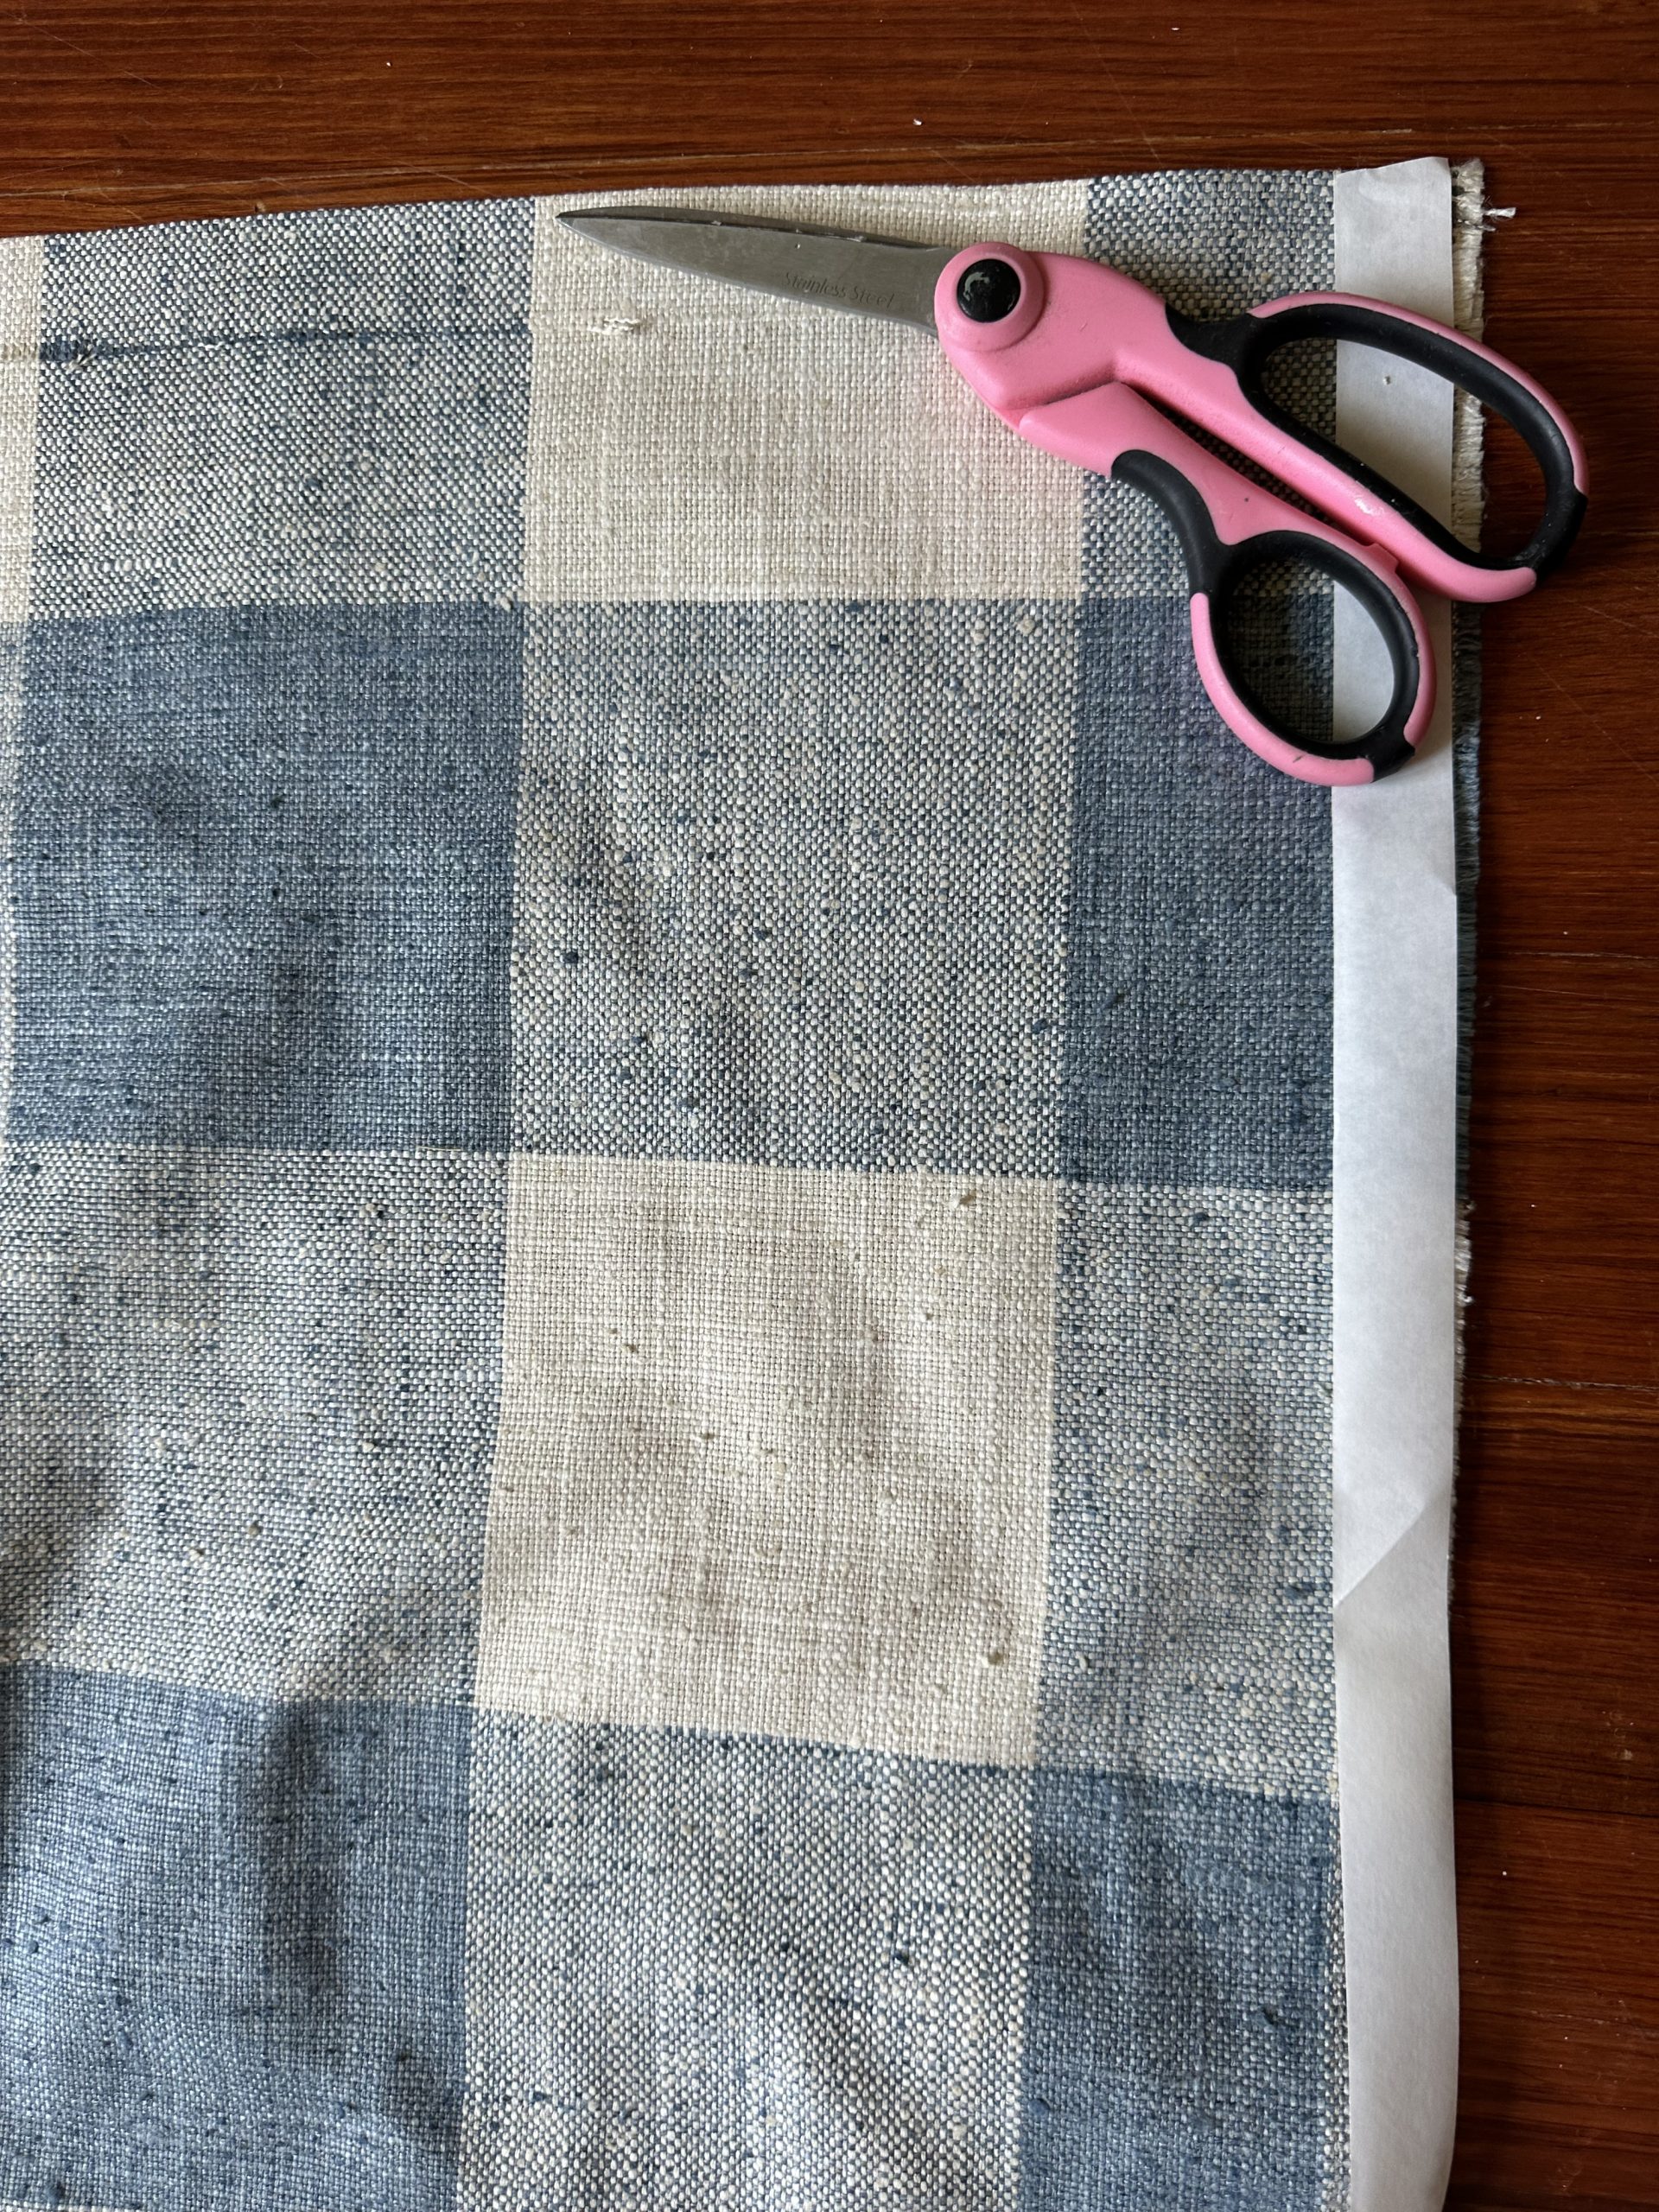
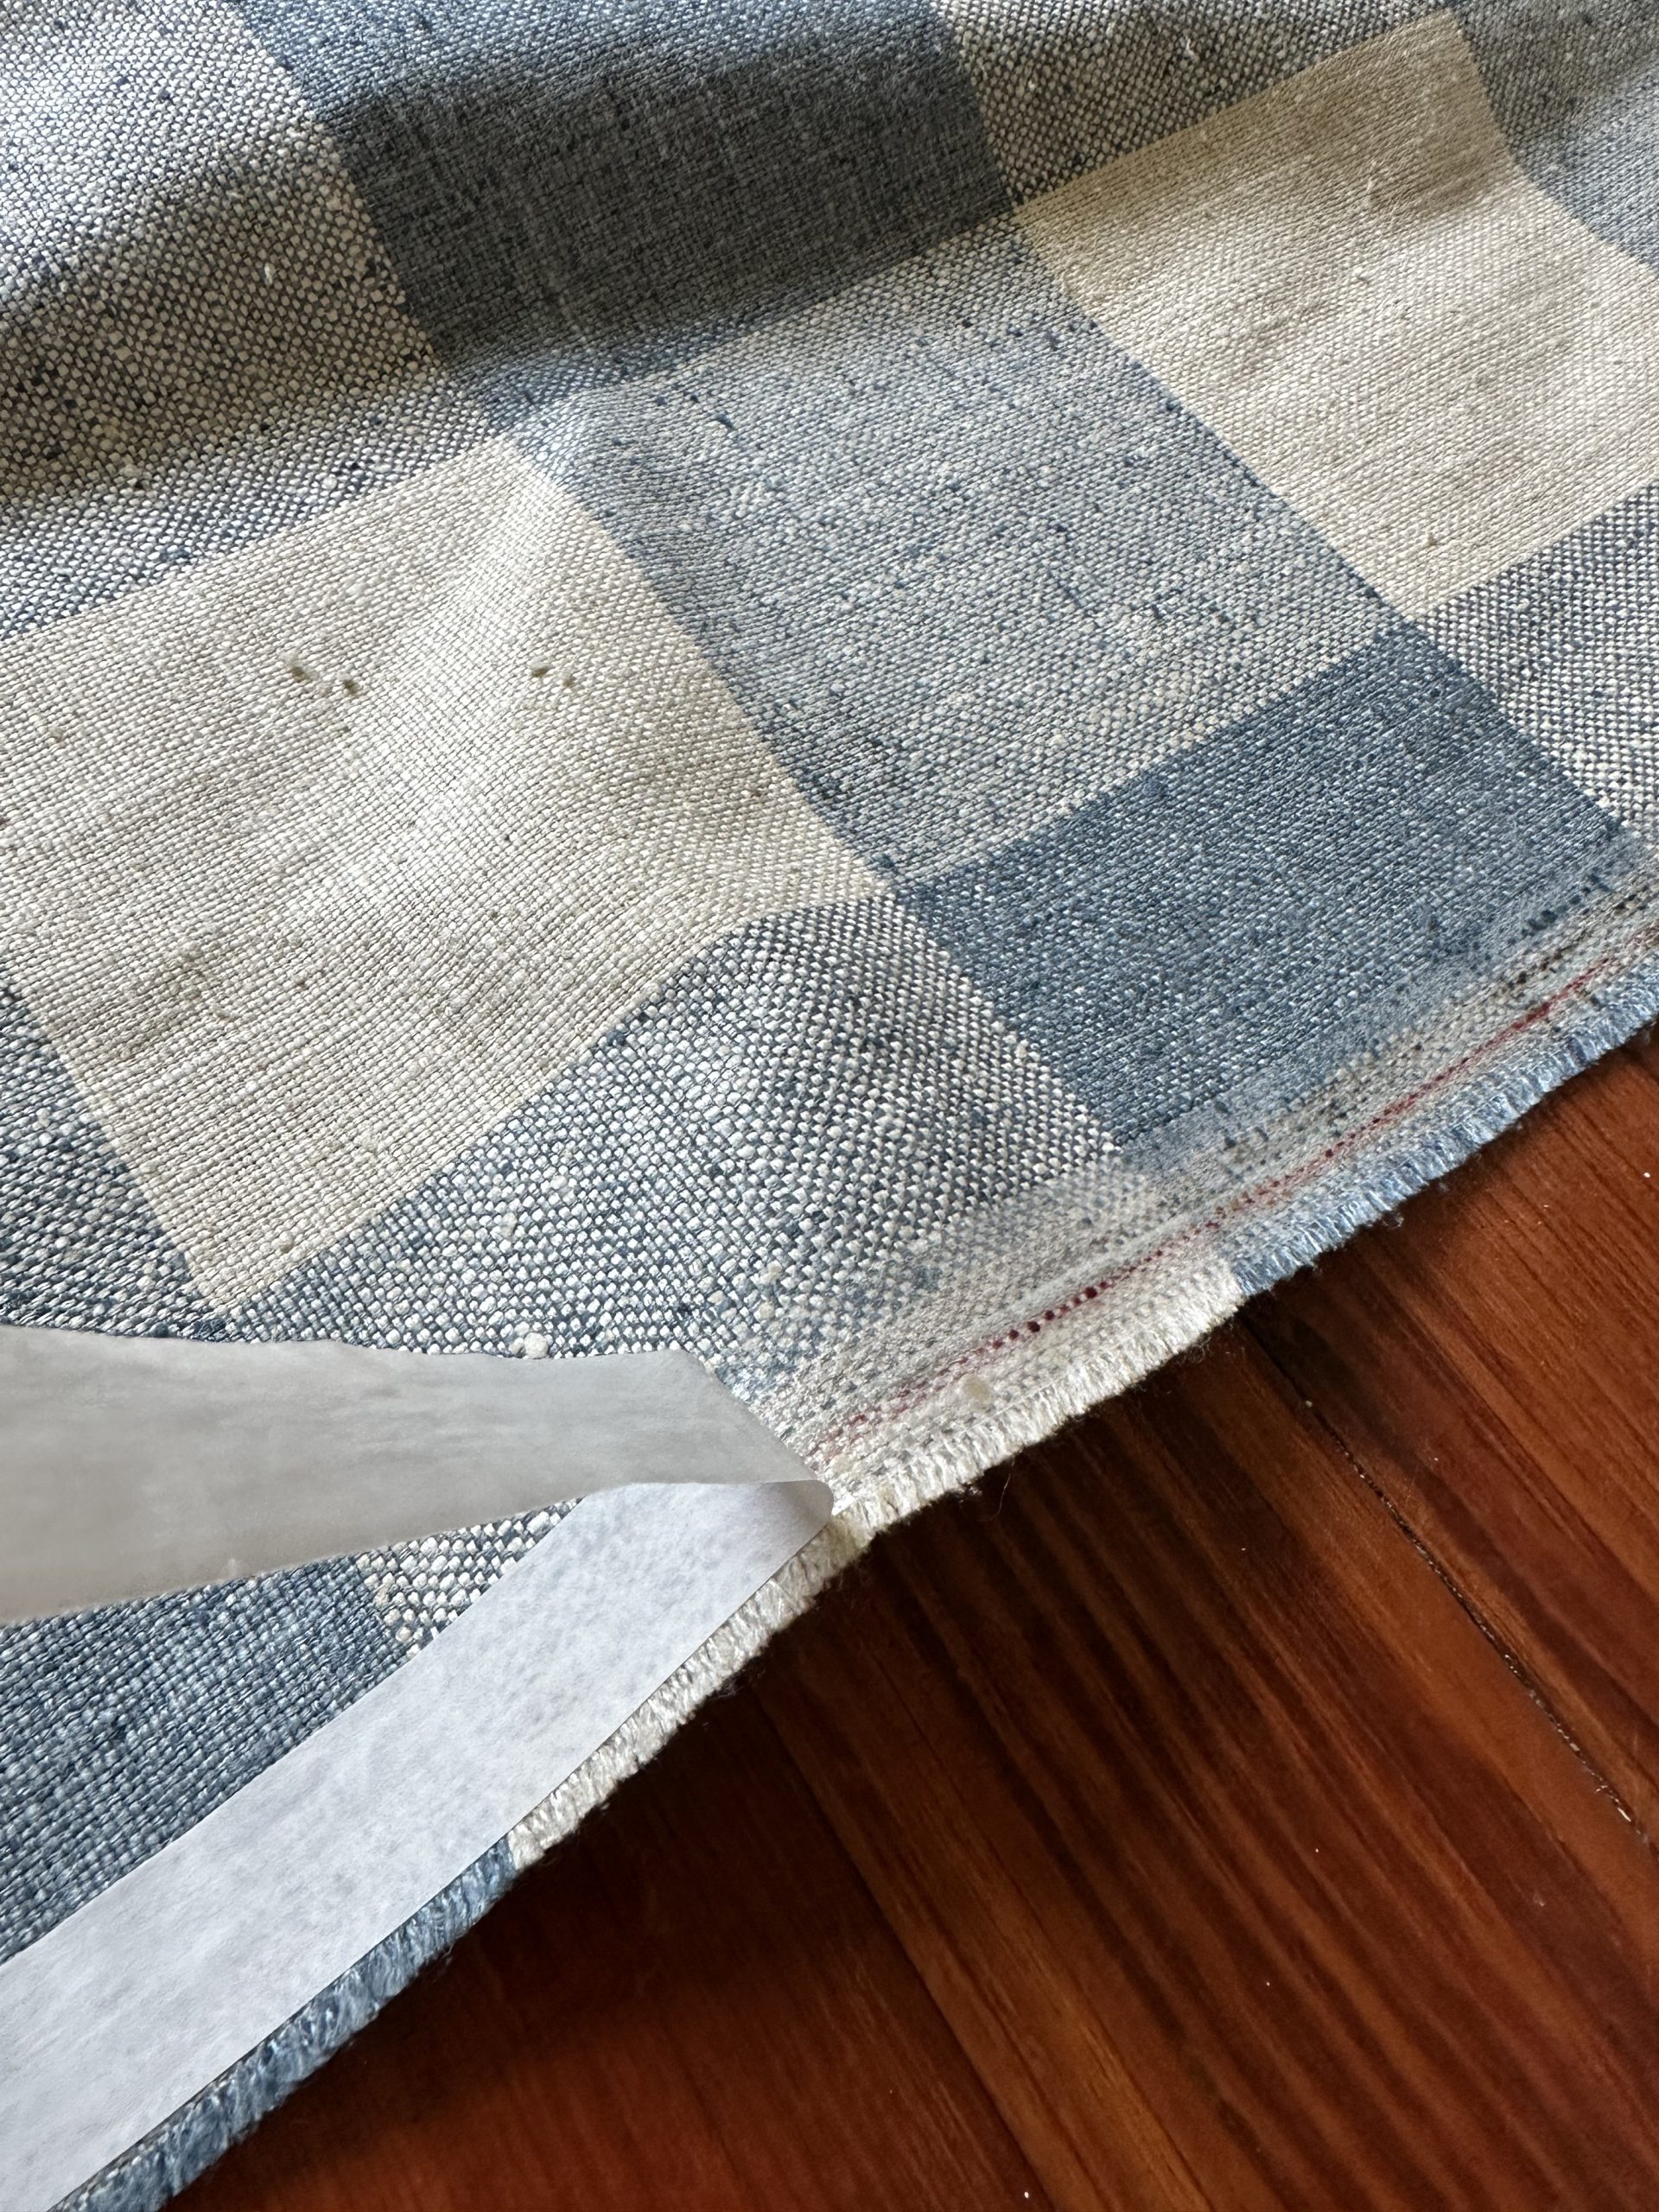
Step 5. After removing the paper you’re going to fold the fabric onto itself evenly. It’s best to work in small 8″ sections ironing down the fabric as you go. It does take a little time to adhere (maybe 5 seconds or so depending on your iron and the heat setting) but once it does – you’ll know. Your Fabric will be fused together and secure. Work your way down your fabric until the length is fused together.
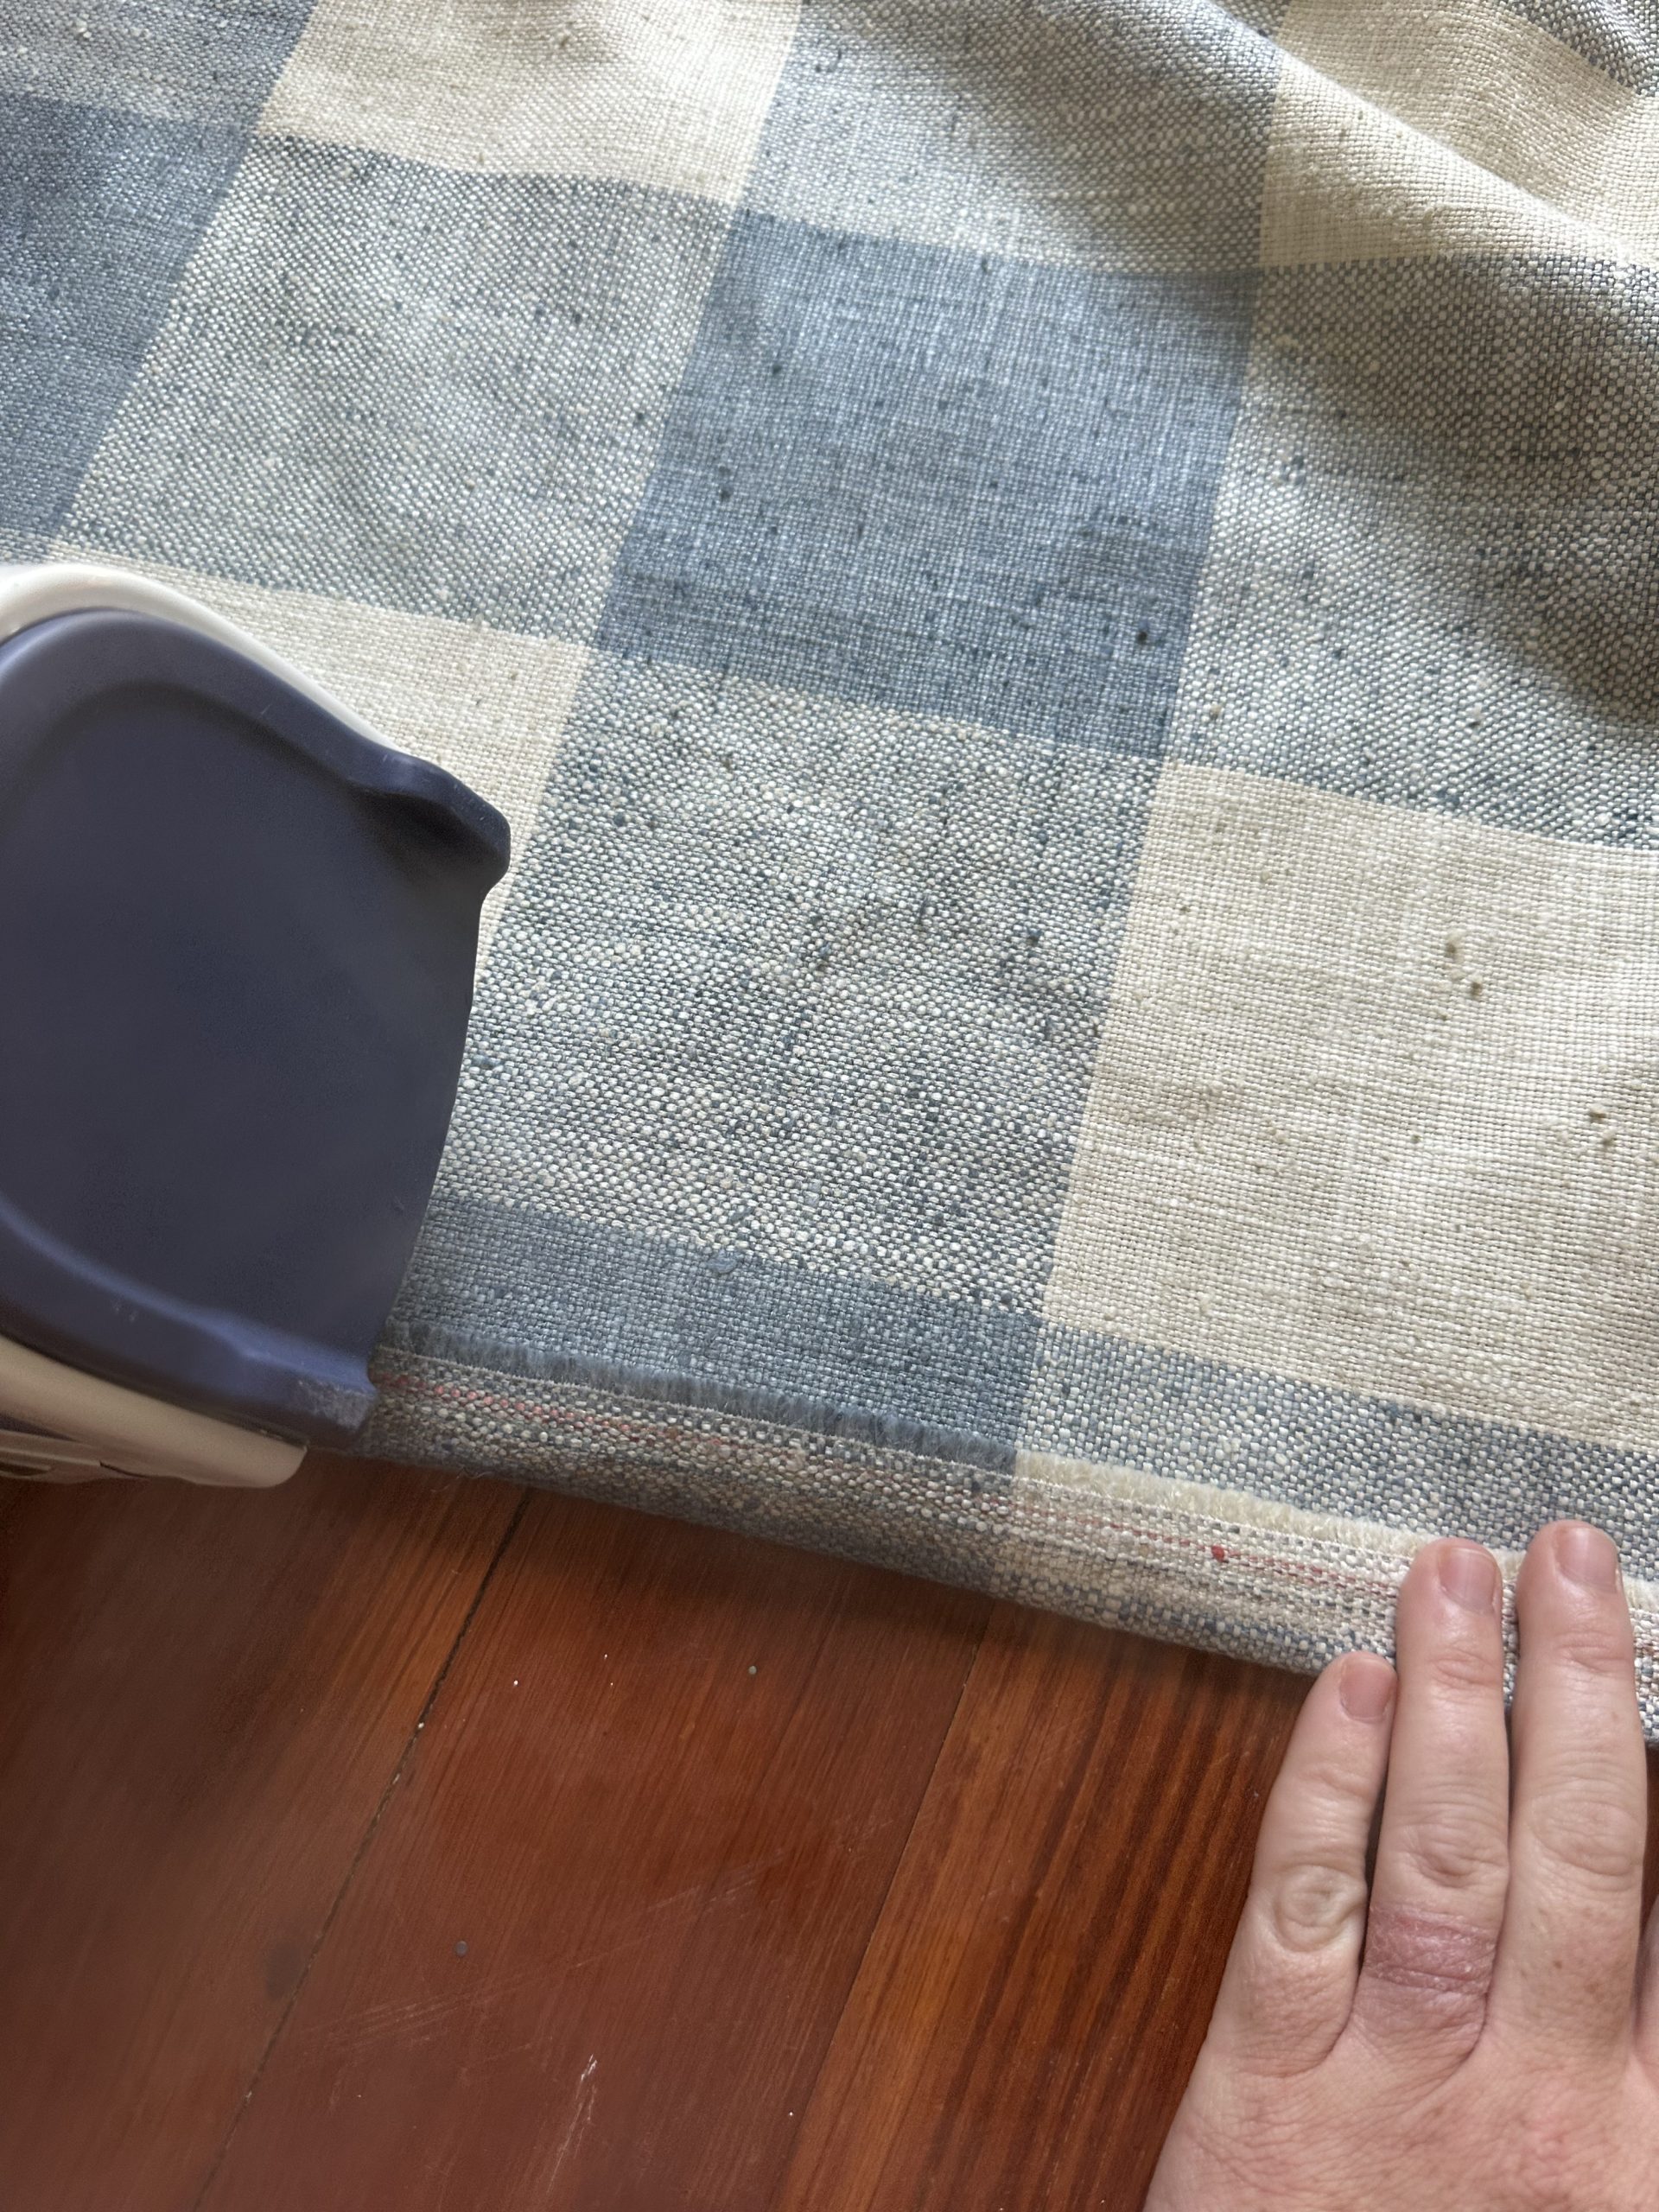
Step 6. Repeat steps 1-5 all around the length and width of your fabric parcel. When you’re done with all sides and they are cooled – they’re ready to hang!
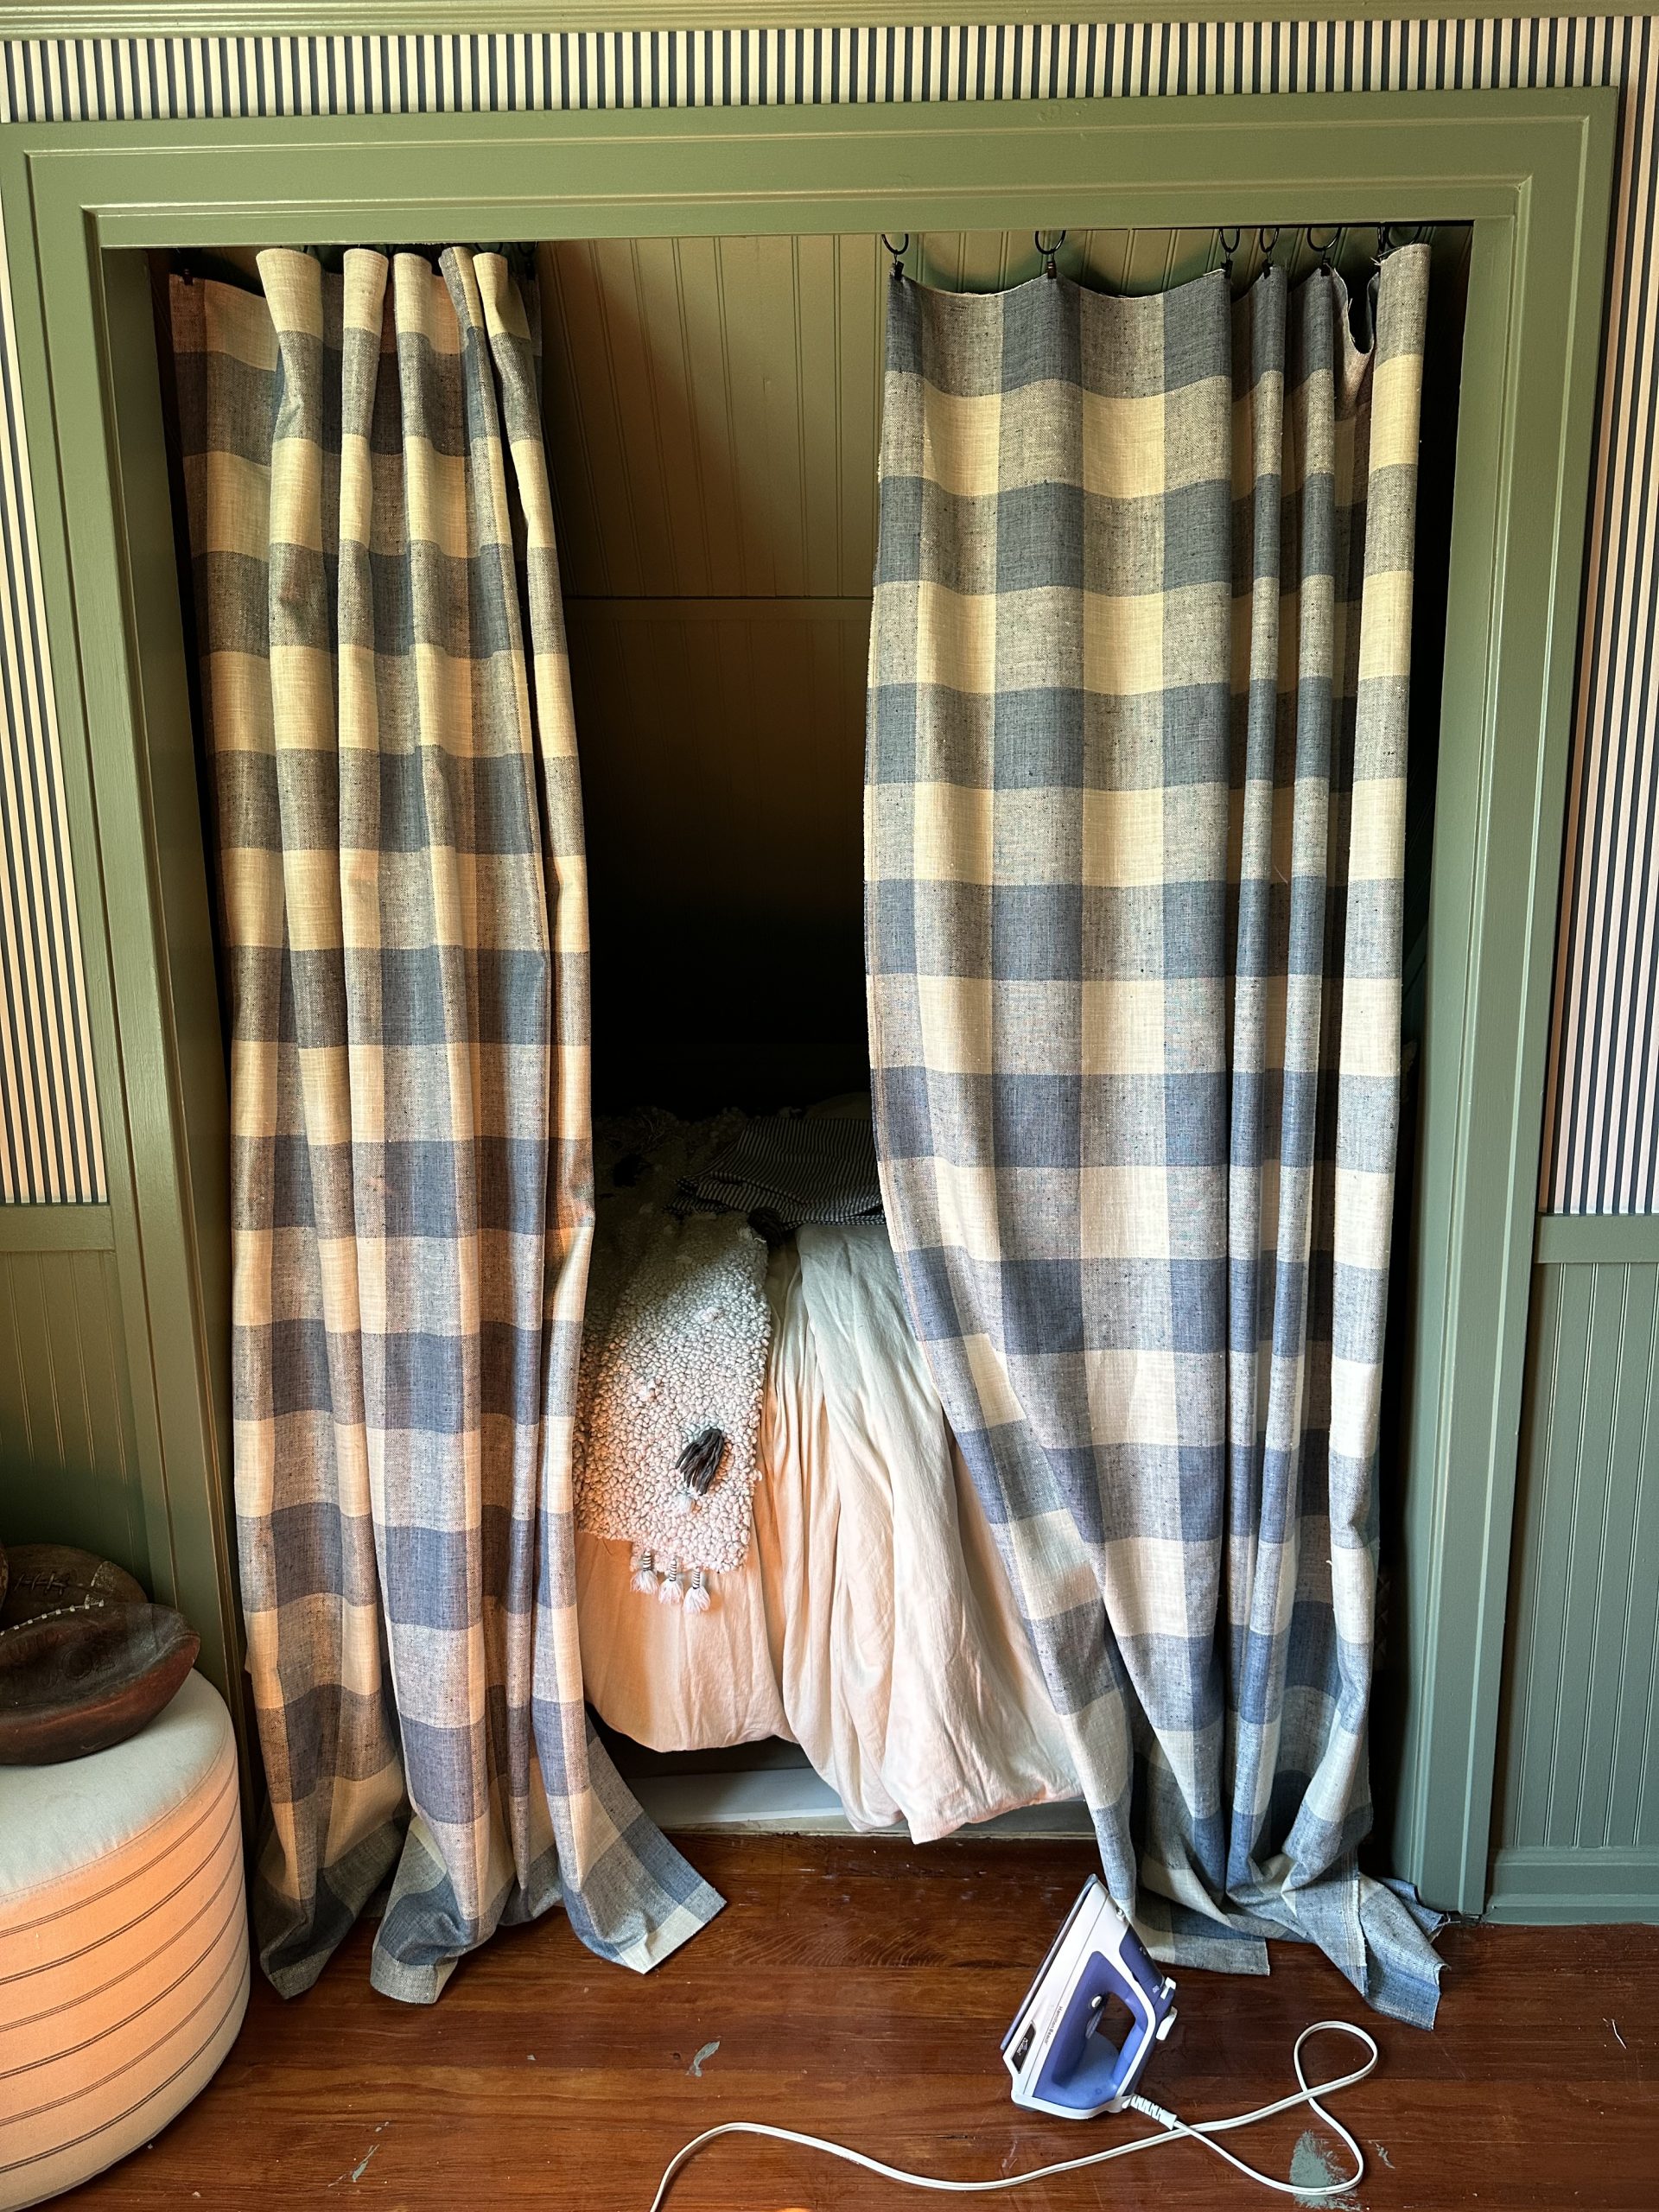
Left curtain panel is “sewn” and the right is next up!
This step by step guides is for curtains that are going to be hung on rings as it leaves no room for rod. You could always, using a rod as your guide, create a gap big enough for a rod on the width of your panel.
Then Rod I used is (here) and rings (here). For other sources head over to my Shop Page.
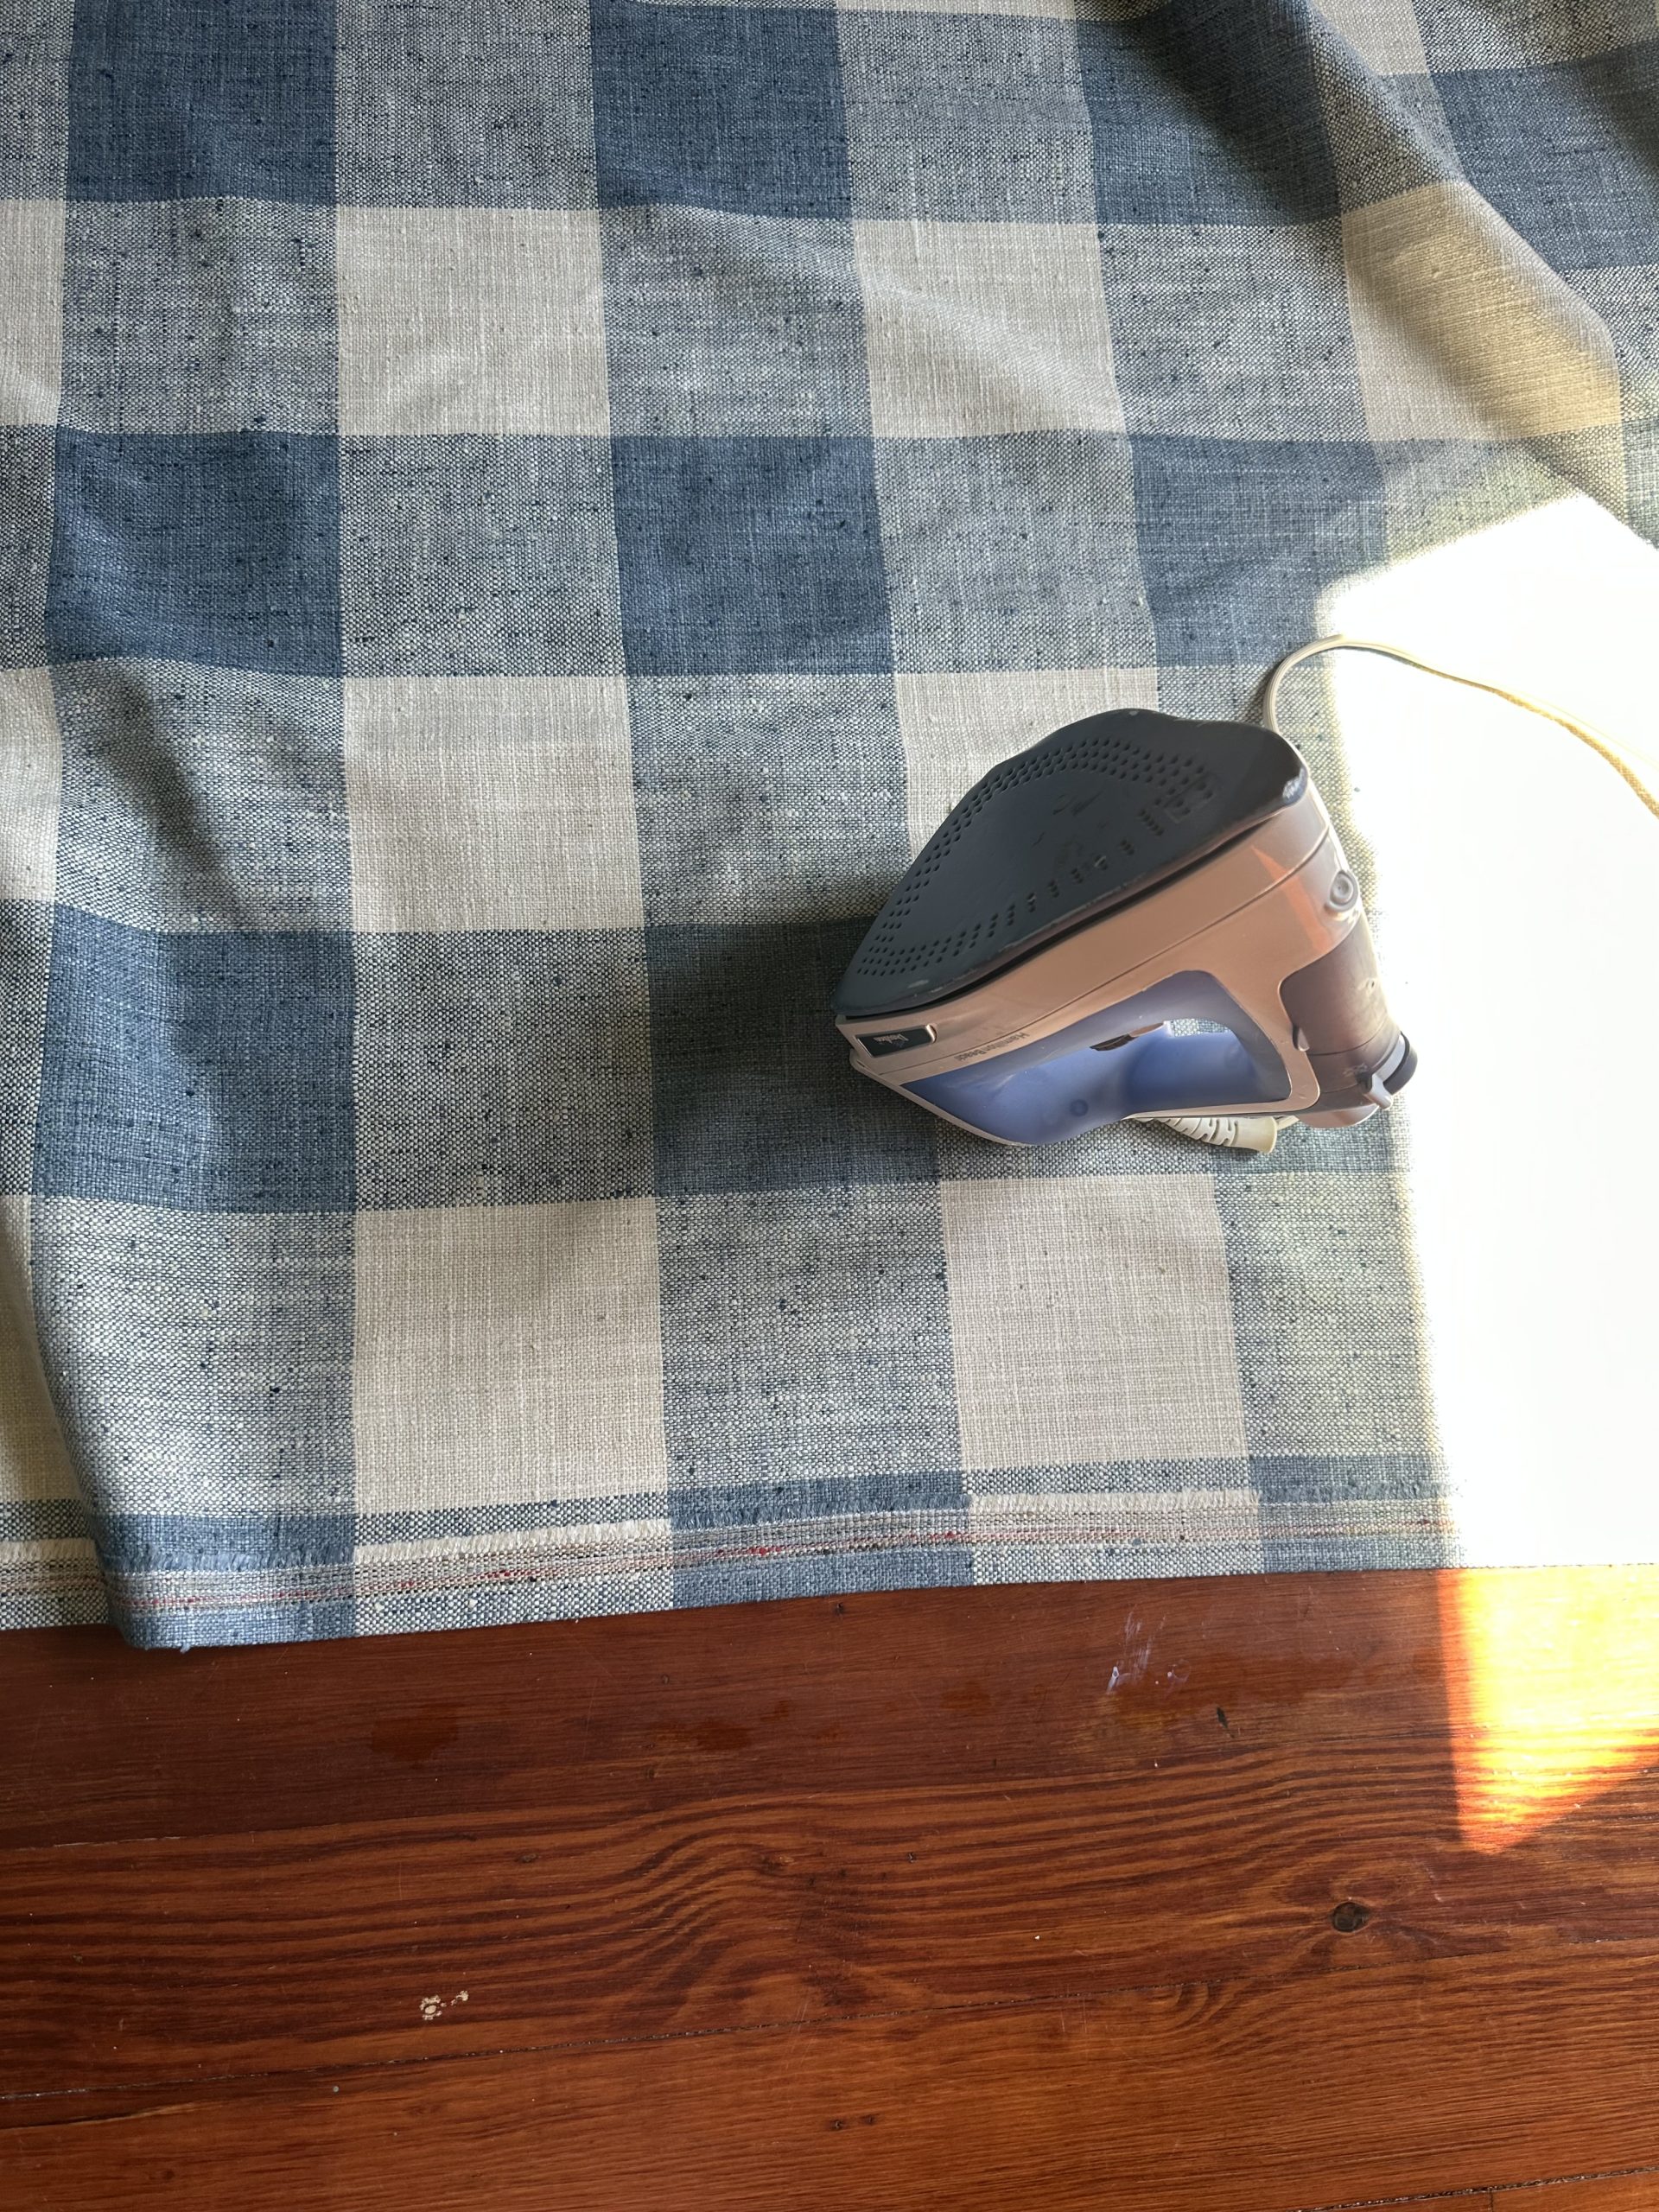
The heat tape makes the seams firm and strong with no sewing involved! It took me about 30 min to create two curtain panels.
Weather your in a bind, don’t know how to sew or do not want to thread your sewing machine and fight with its quirks – heat tape is for you!!
Let me know in comments what you think of this project. You can see more of this space (here).
xo
Ali
-
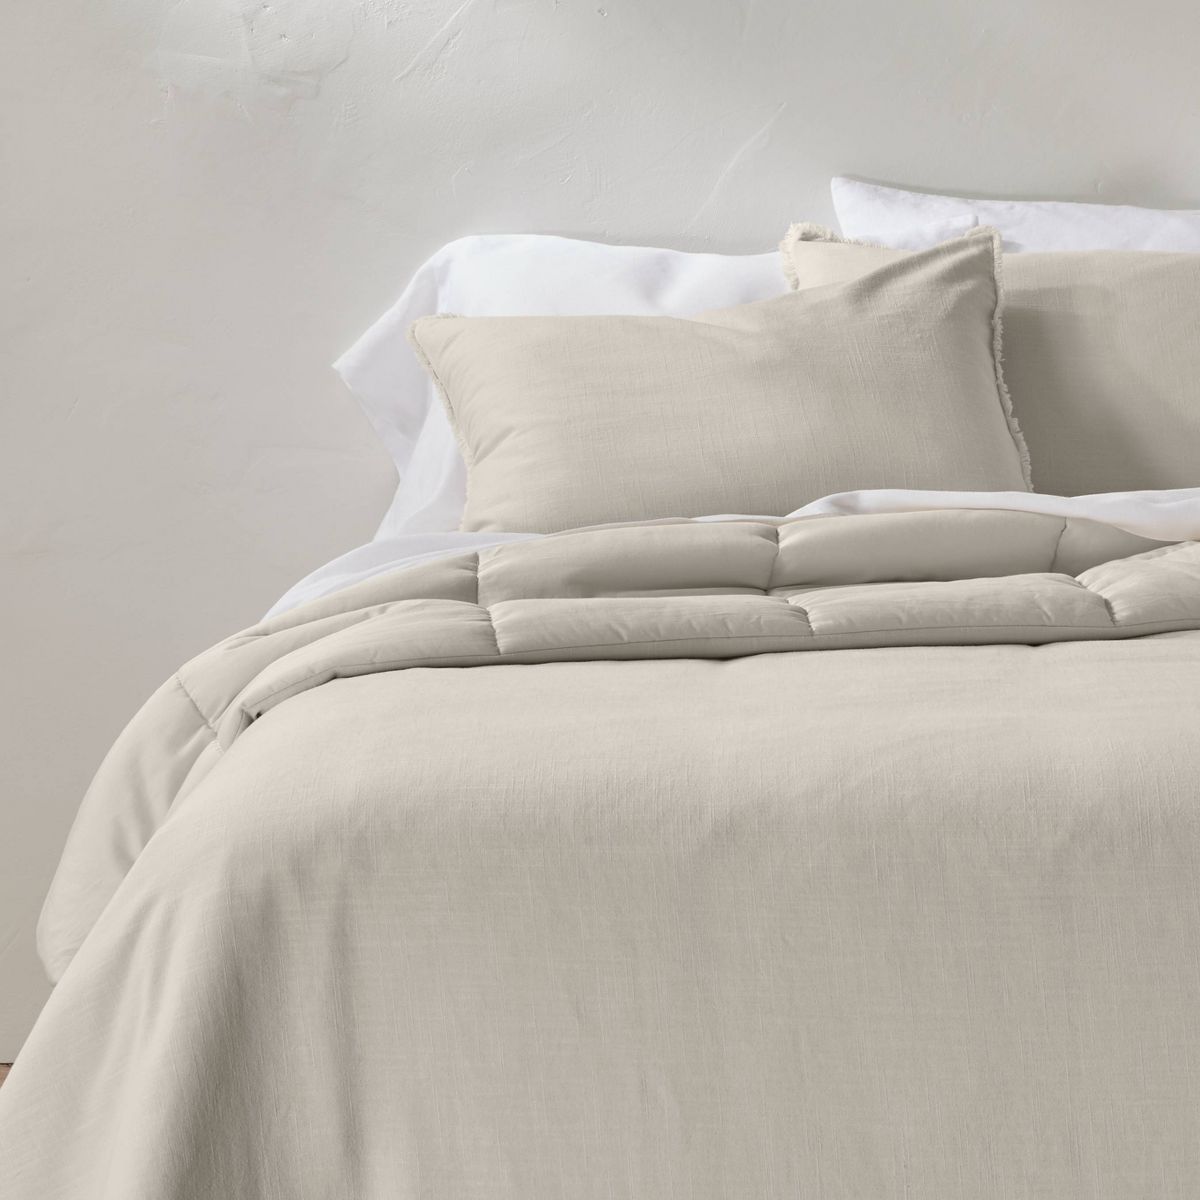
- Linen Bedding
-
- Blanket
-
- Pillow